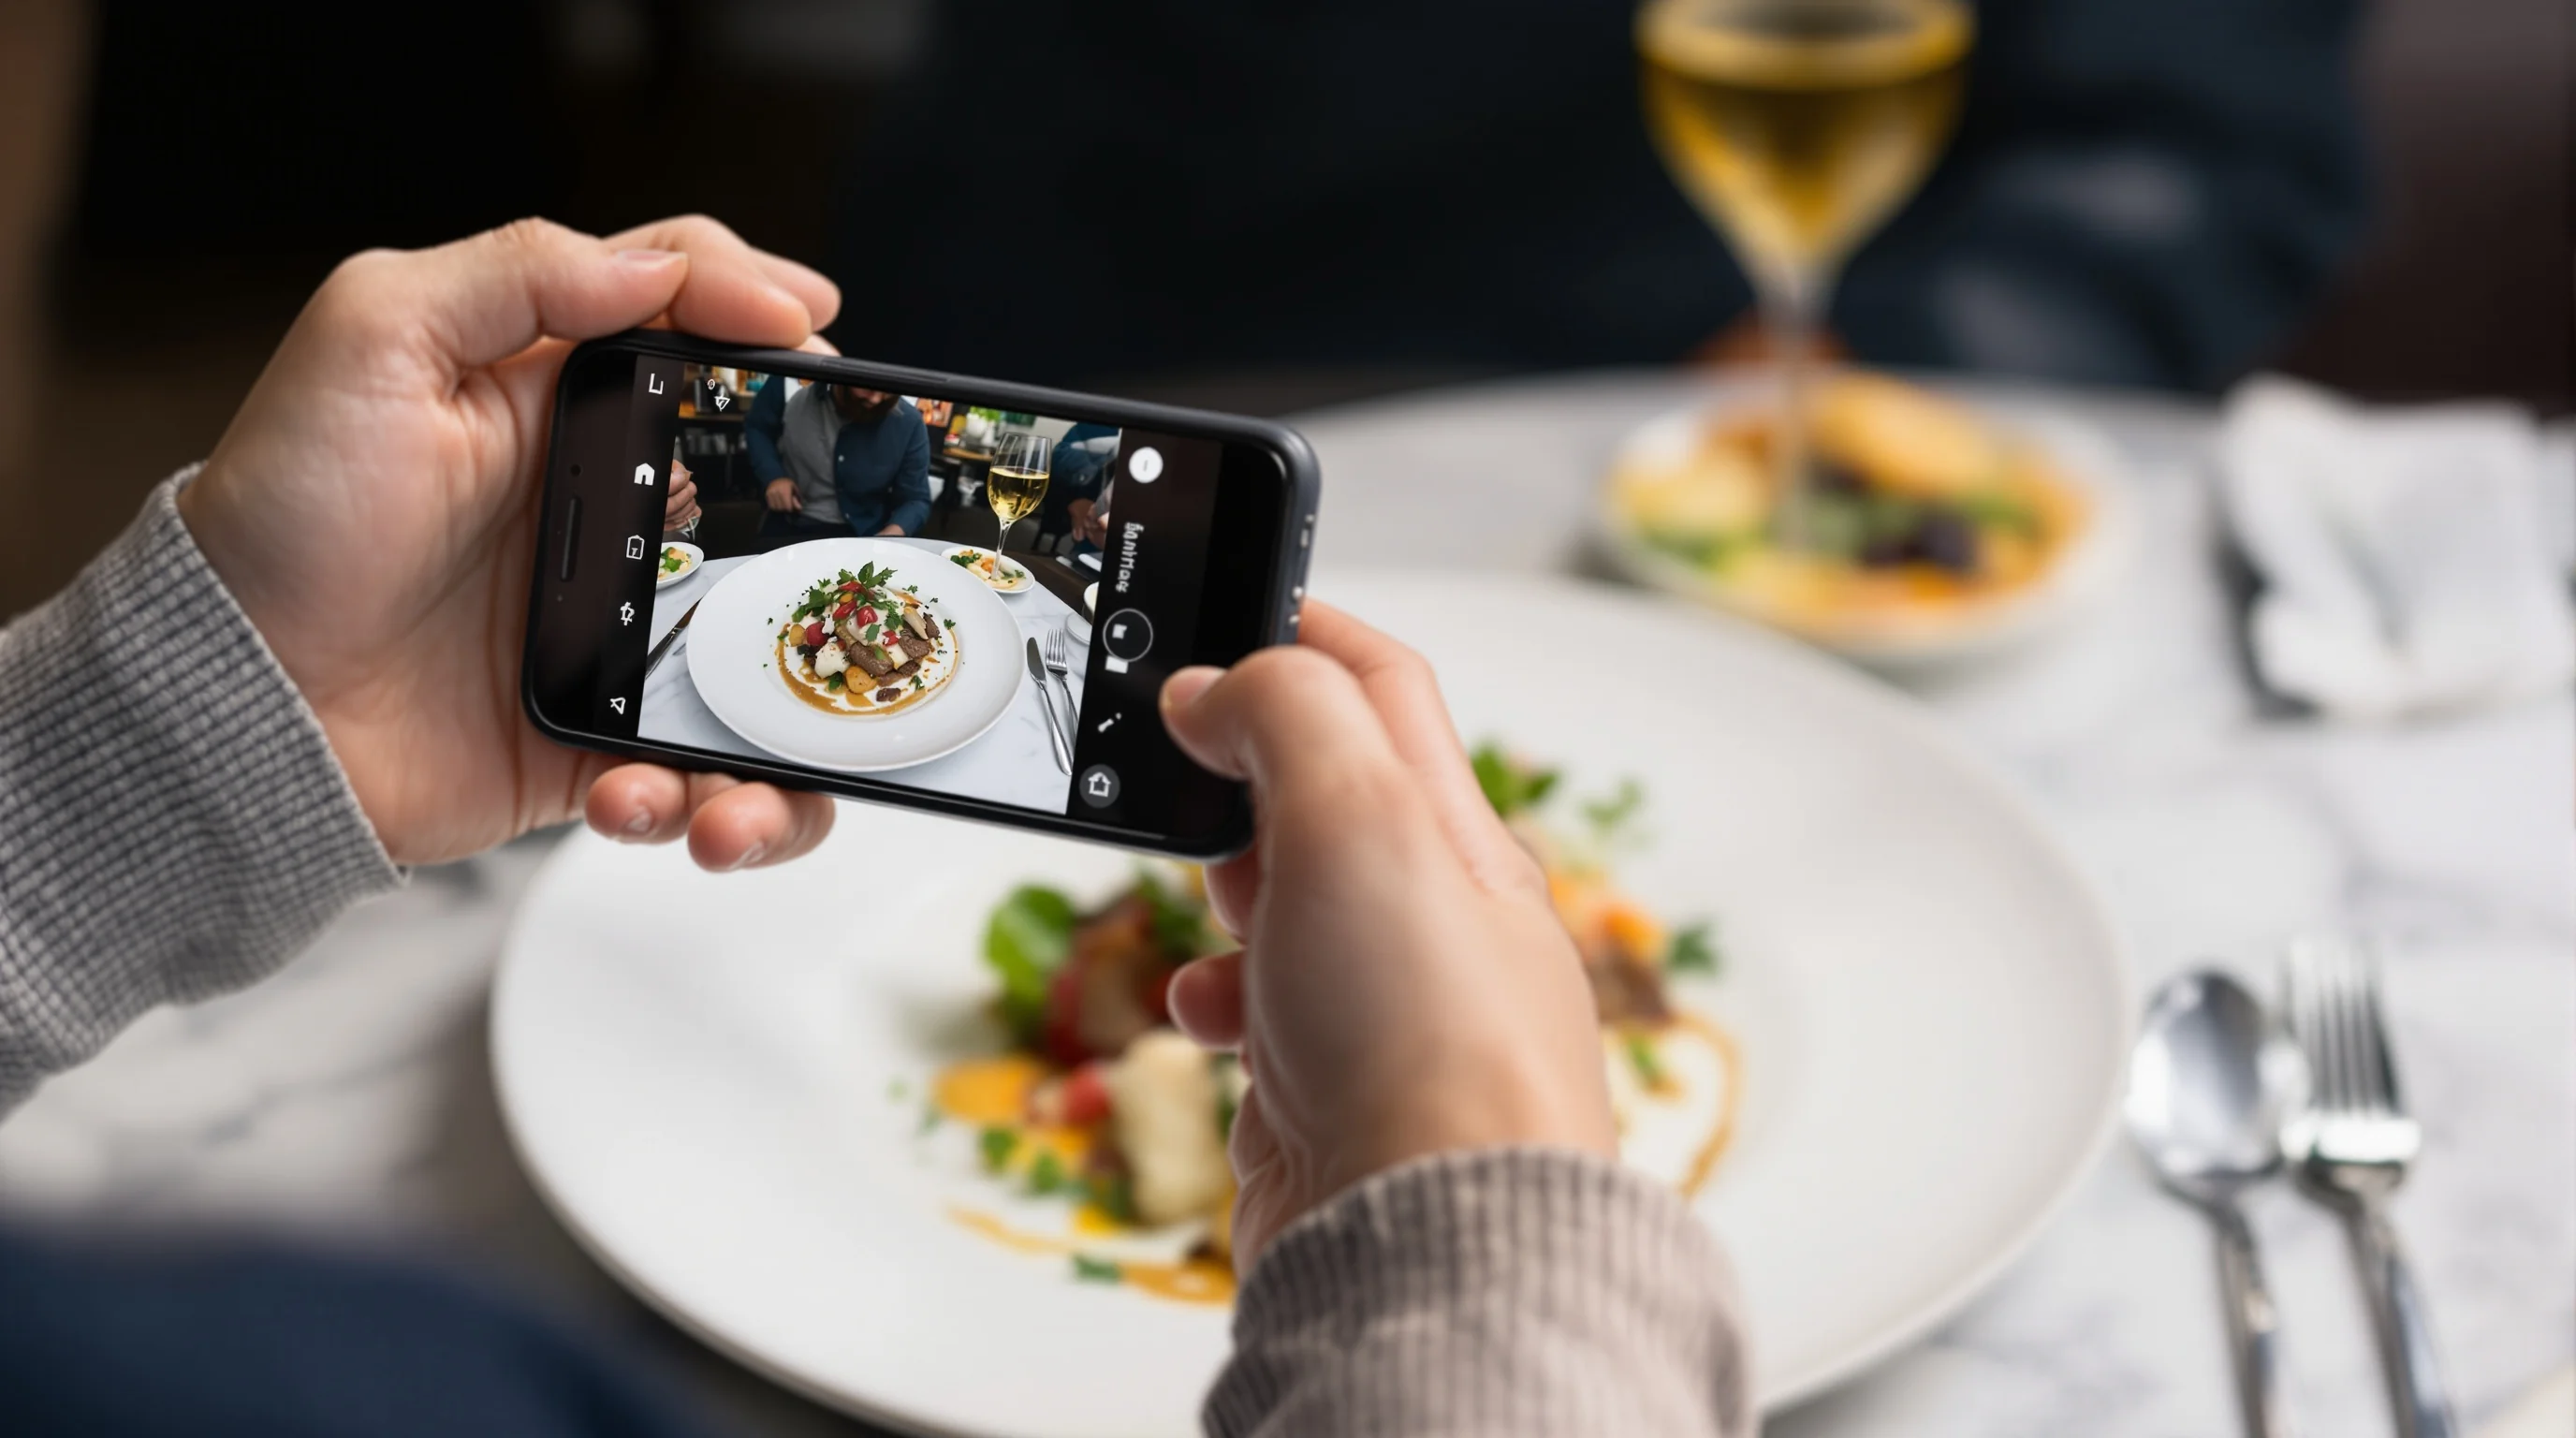
Introduction — If your customers scroll past menu items because your photos look flat or unappetizing, you are not alone. Nearly half of diners look for restaurant photos before ordering, and menus with images convert about 25% more customers, according to industry research. Bad photos can actively reduce orders, while better images help curious browsers become paying guests. This guide explains why images matter, how to diagnose common problems, and concrete steps you can take today — with inexpensive tools, smartphone tricks and modern AI options — to fix poor-looking restaurant photos without a costly photoshoot.
Why good photos matter for restaurants (and what bad photos cost you)
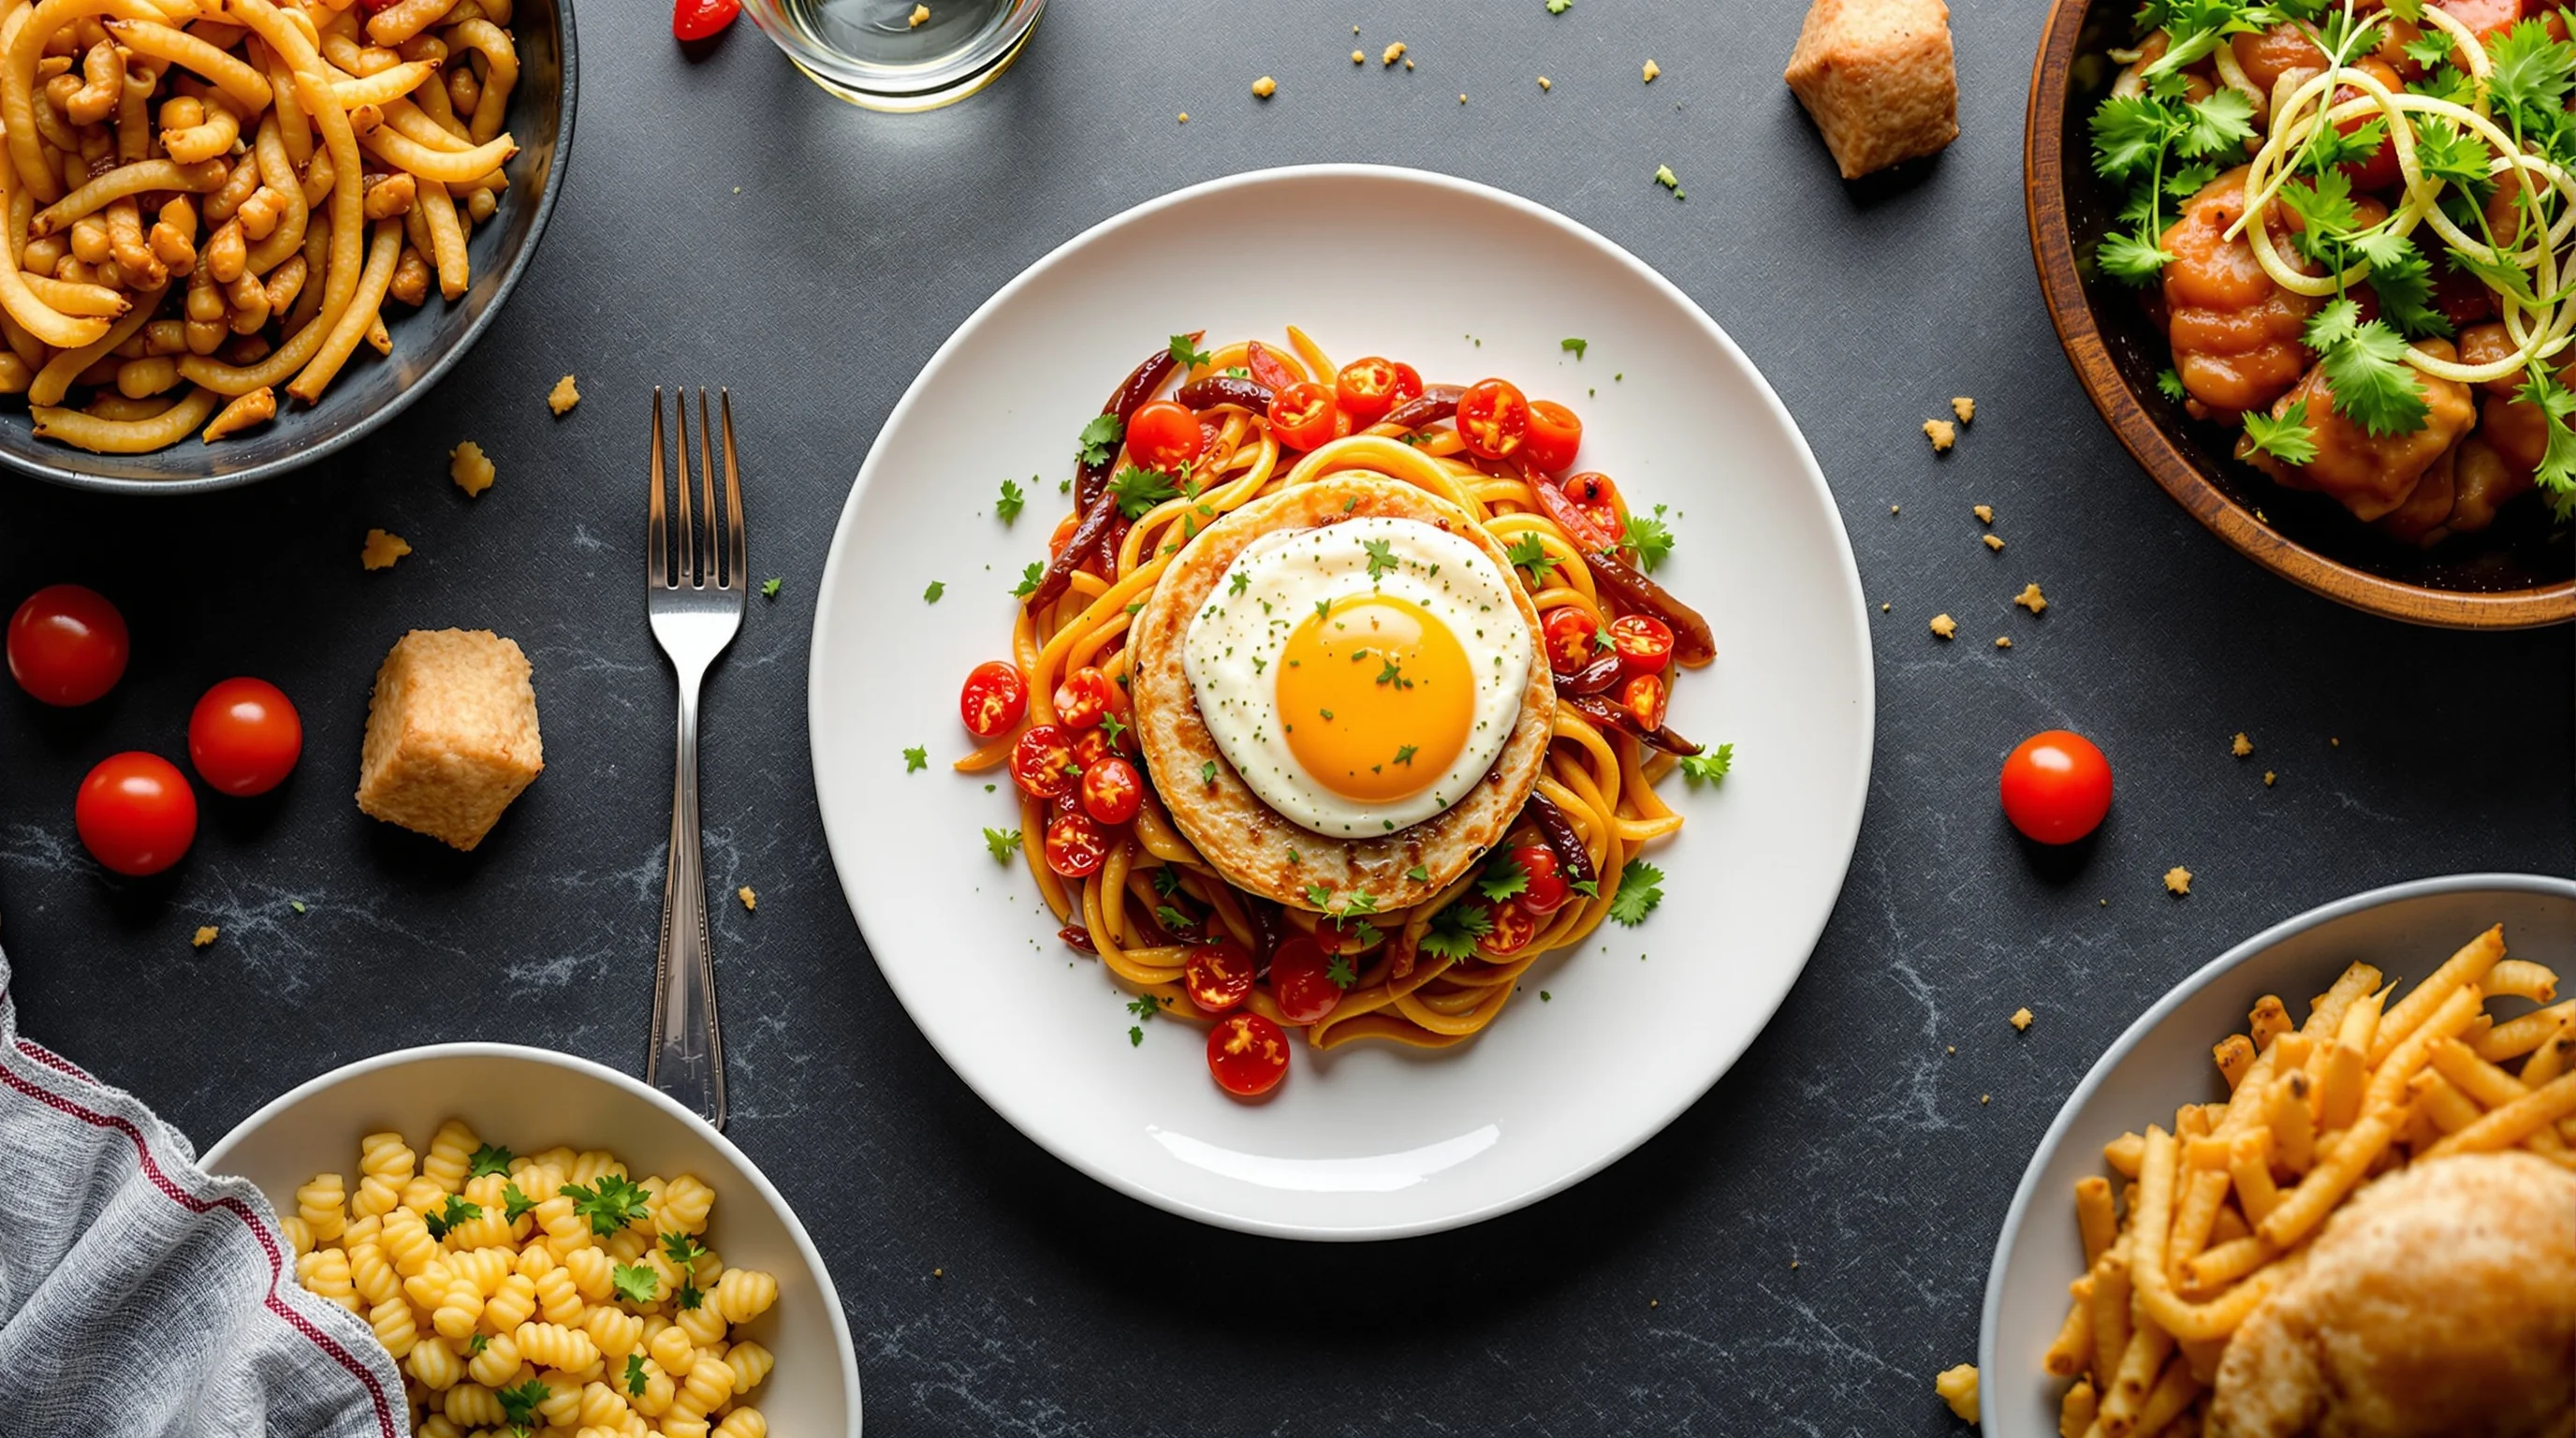
Humans eat first with their eyes: the sight of food stimulates appetite and expectation. Research shows about 45% of diners seek out food photos before ordering and roughly 75% say menu pictures influence their choices. Well-lit, styled menu photos can lift conversion and increase orders substantially; some restaurants report up to a 30% increase after improving images. Conversely, poor lighting, muddy colors or cluttered composition make even excellent dishes look unappealing. That lost trust directly affects click-throughs on delivery platforms and the decision to reserve a table in-person.
Thinking strategically about photos is as important as portion sizes and menu copy. A consistent set of images across DoorDash, Grubhub and your website signals professionalism and helps customers know what to expect. If reshooting every item is unrealistic, quick fixes and targeted reshoots can still deliver meaningful uplift in orders and revenue.
Why do my restaurant food photos look unappetizing?
Start by diagnosing the problem. Common issues include poor lighting (harsh overhead or dim ambient light), wrong white balance (food looks too yellow or too blue), poor composition (clutter, wrong angle, cut-off elements), lack of texture and improper focus. Camera limitations can matter but rarely cause failure by themselves — "Cameras do not make great photos, the photographer does," as noted by FSR Magazine. In practice, most bad images are fixable with small changes to light, angle and post-processing.
Other tell-tale signs: reflections that blow out highlights on glossy sauces, backgrounds that distract from the dish, and inconsistent styling across photos that undermines brand credibility. "Bad photos mean [customers] scroll right past your amazing food," warns PlateFix.ai — which underscores that poor images can actively cost orders.
Fix lighting fast: practical restaurant lighting tips
Lighting is the single biggest determinant of whether a photo looks professional. Whenever possible, shoot near a window using side light — it reveals texture, creates appetizing highlights and softens shadows. Avoid on-camera flash; it flattens food and produces harsh reflections. Use a white foam core or even a white menu card as a reflector to bounce light back into shadowed areas. For low-light dining rooms, increase ISO sparingly and stabilize your phone on a small tripod or steady surface to prevent blur.
If you want a deeper dive into practical restaurant lighting tricks, see our guide 7 Restaurant Lighting Tricks for Better Food Photos. That post walks through reflectors, window setups and simple modifiers that your team can use in service without disrupting guests.
Composition and angles that make dishes pop
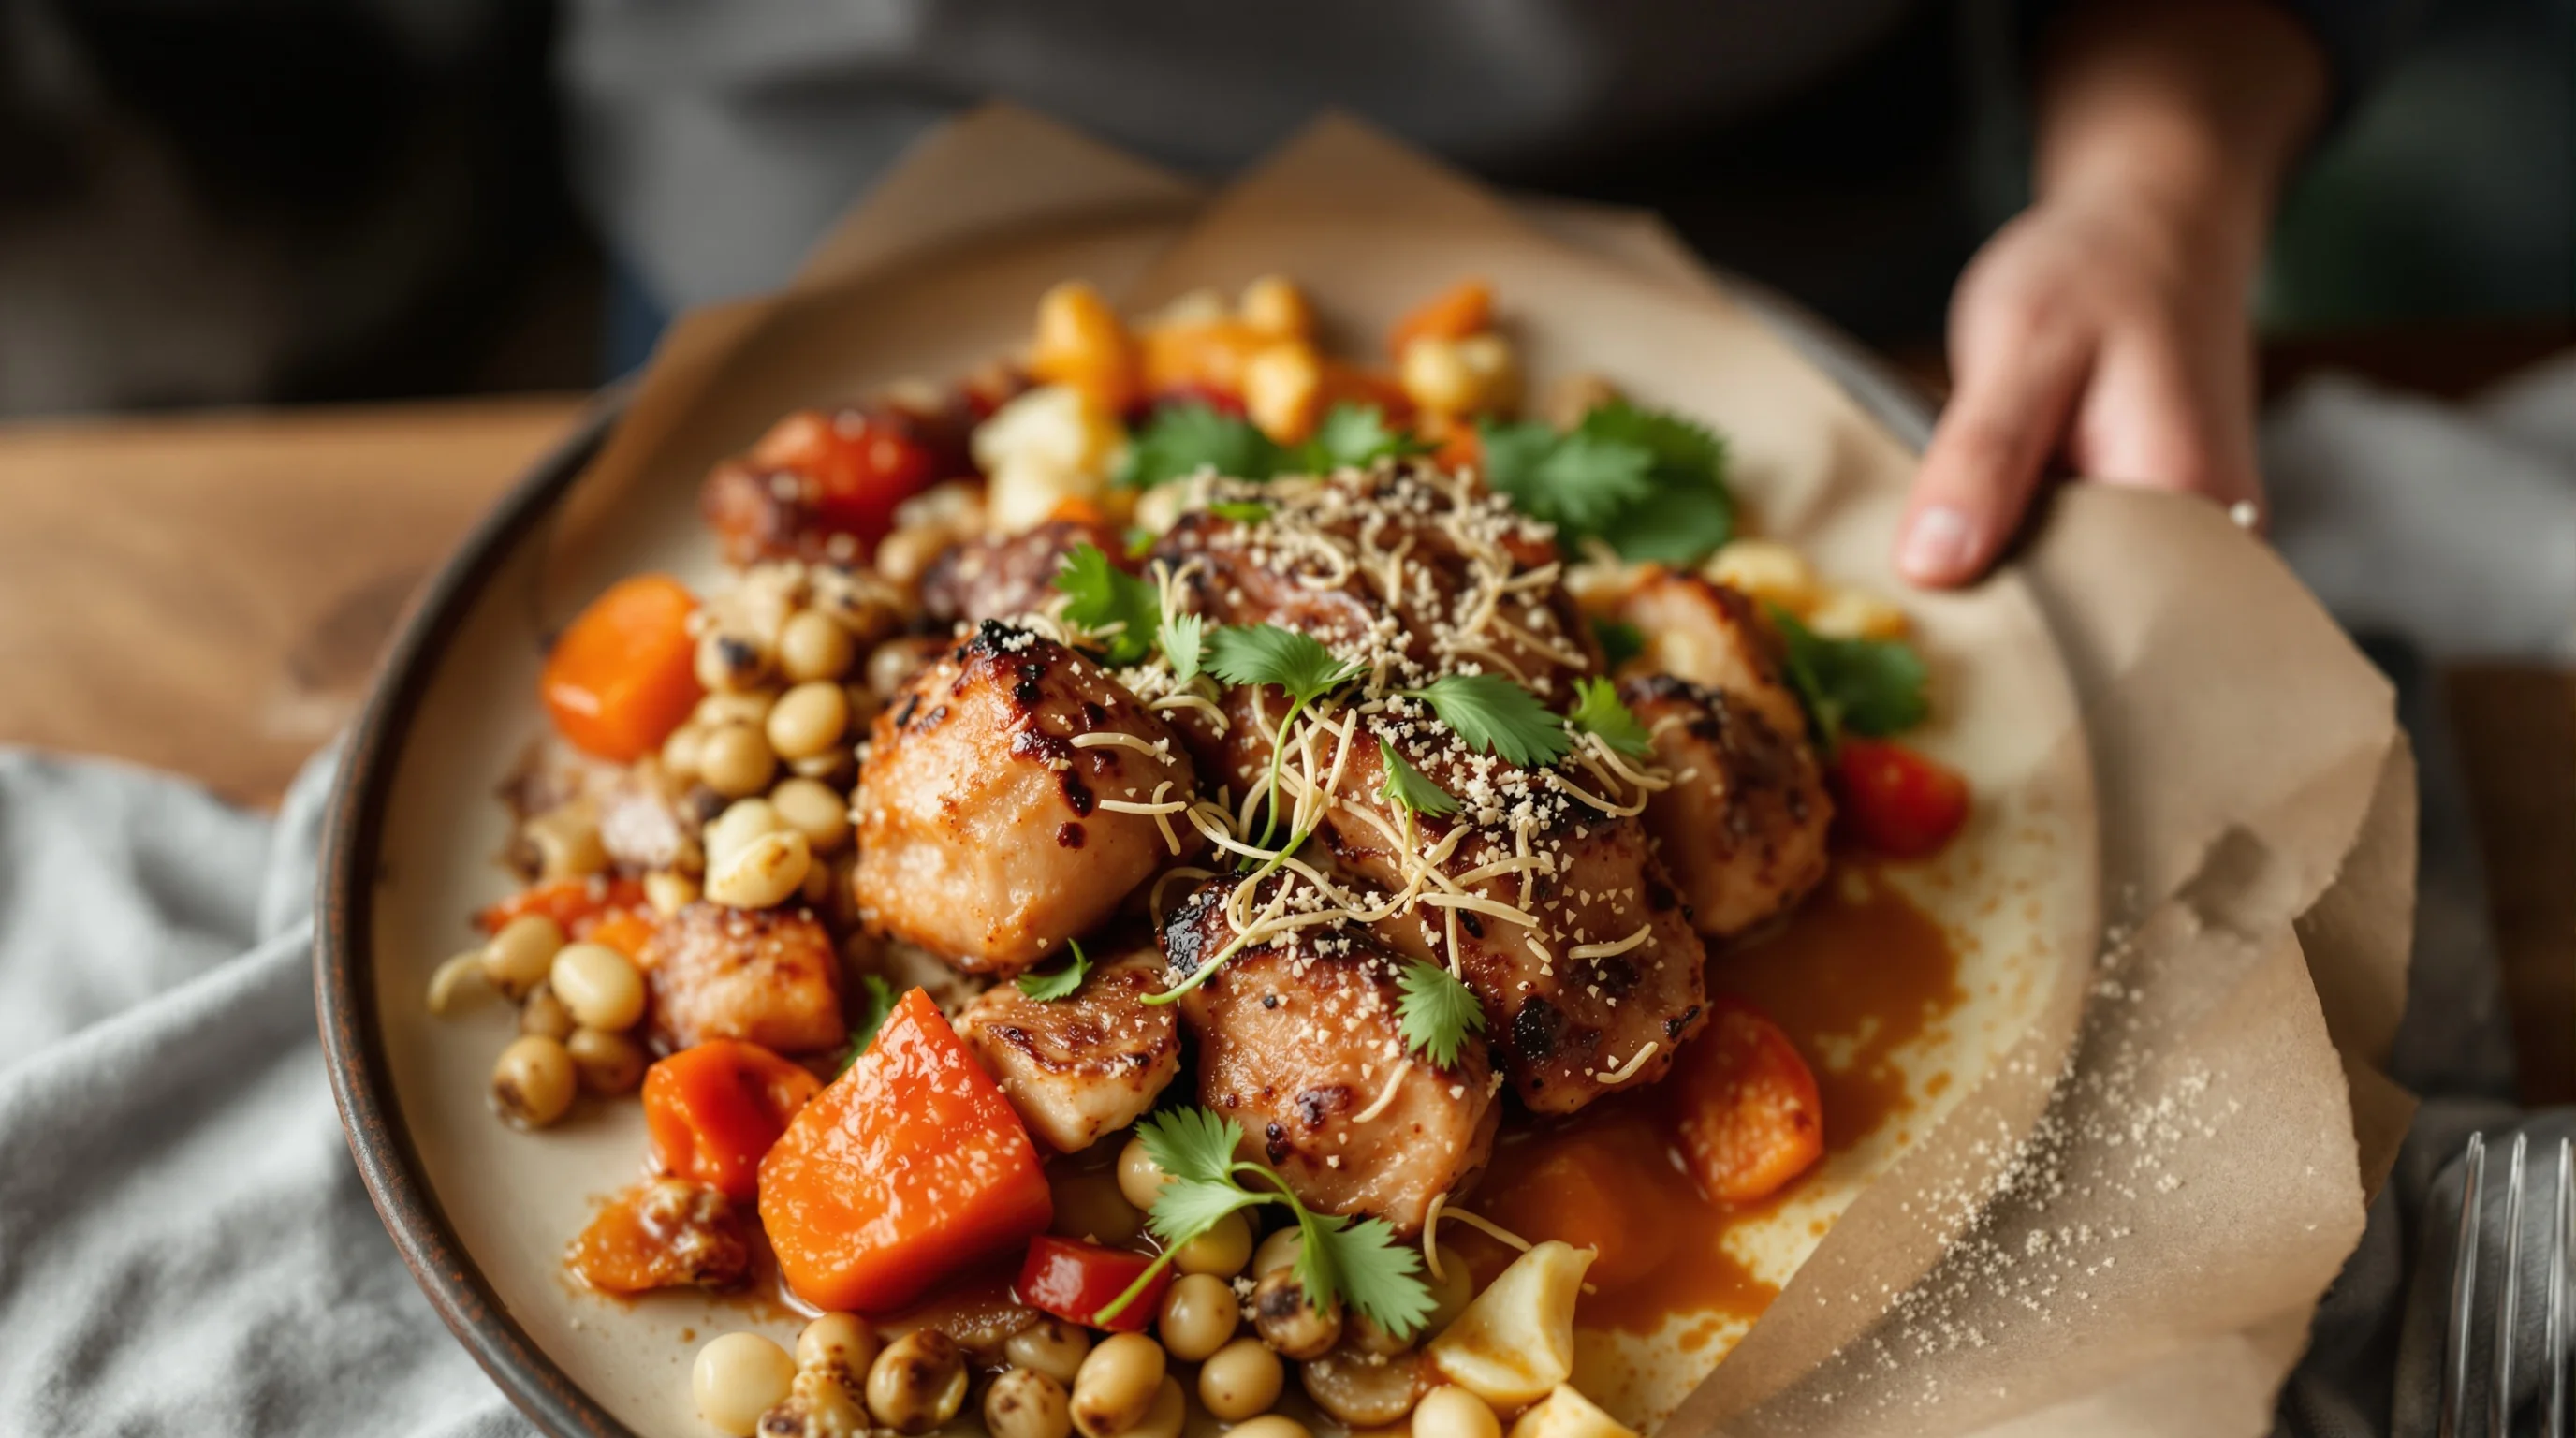
Composition shapes how appetizing food appears. Use the rule of thirds to place the main subject slightly off-center; leave breathing room and remove clutter. Choose the angle that matches the dish: overhead (flat-lay) works for pizzas, bowls and plated spreads; a 45° angle works for layered sandwiches and burgers; close-side shots emphasize height and texture. Keep props minimal and consistent — matching plates, napkins and flatware that reflect your brand identity.
For step-by-step angle guidance, consult our piece on The 5 Best Camera Angles for Food Photography, and for overhead setups try The Easy Way to Capture Perfect Overhead Food Shots — Flat-Lays.
Quick fixes for photos you already took
If reshooting is impossible, editing can rescue many images. Correct exposure and white balance first, then increase contrast and clarity slightly to bring out texture. Crop to remove distractions and recompose using the rule of thirds. Watch saturation — a small hue shift can make food look fresher, but overdo it and colors become unrealistic. Tools like Lightroom Mobile or Snapseed are powerful and free enough for teams to use quickly.
To address the content gap many competitors miss, here is a concrete Snapseed walkthrough: open the image, use 'Tune Image' to fix exposure and ambience, use 'White Balance' to remove color cast, 'Details' to increase structure, and 'Selective' to boost saturation only where needed. Finally, use 'Lens Blur' sparingly to enhance subject separation without destroying edges.
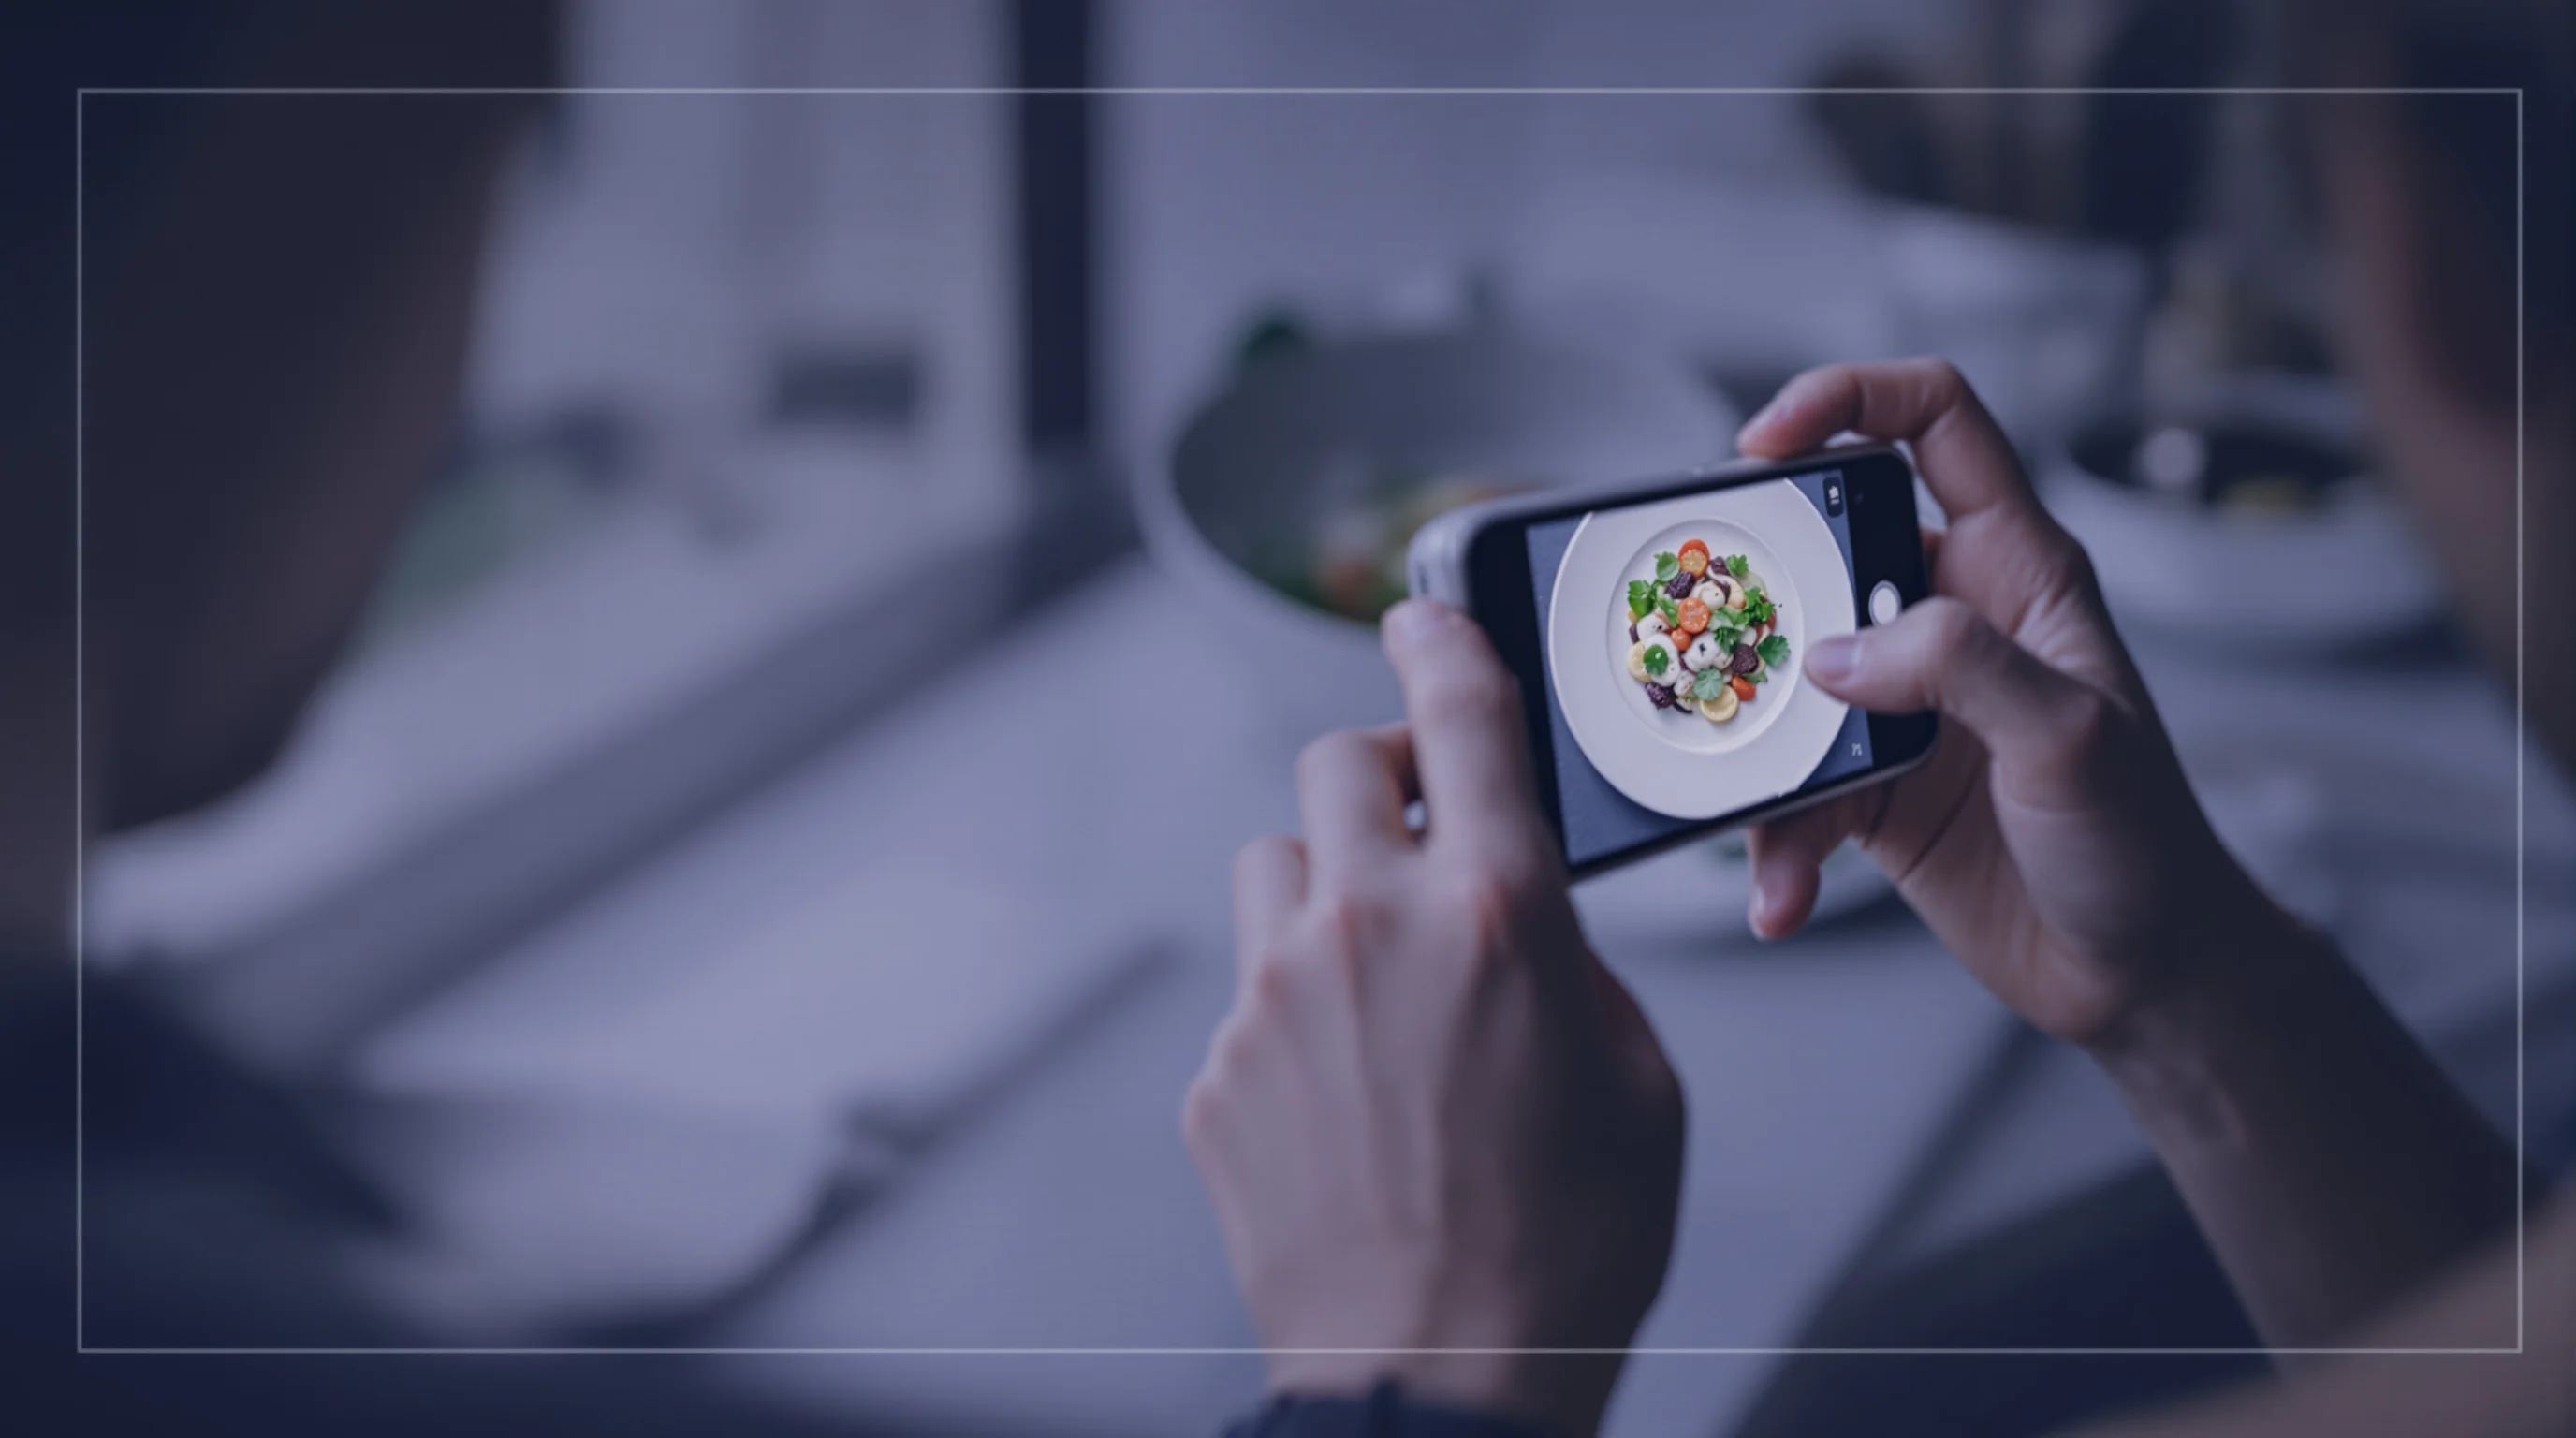
Step-by-step smartphone editing workflow (fast and repeatable)
Create a 3-minute workflow your staff can repeat: (1) Straighten and crop to preferred aspect ratio; (2) Adjust exposure & shadows; (3) Correct white balance; (4) Boost texture/structure; (5) Remove small blemishes or distractions; (6) Export high-resolution for delivery platforms. Keep presets so images are consistent across dishes and platforms. Consistency is as important as perfection — customers trust a coherent visual menu.
- Crop to platform specs (4:3 or square for socials)
- Fix exposure, avoid blown highlights
- Correct white balance to true-to-plate color
- Increase clarity/structure for texture
- Use selective saturation, not global saturation
- Export at full resolution for menus
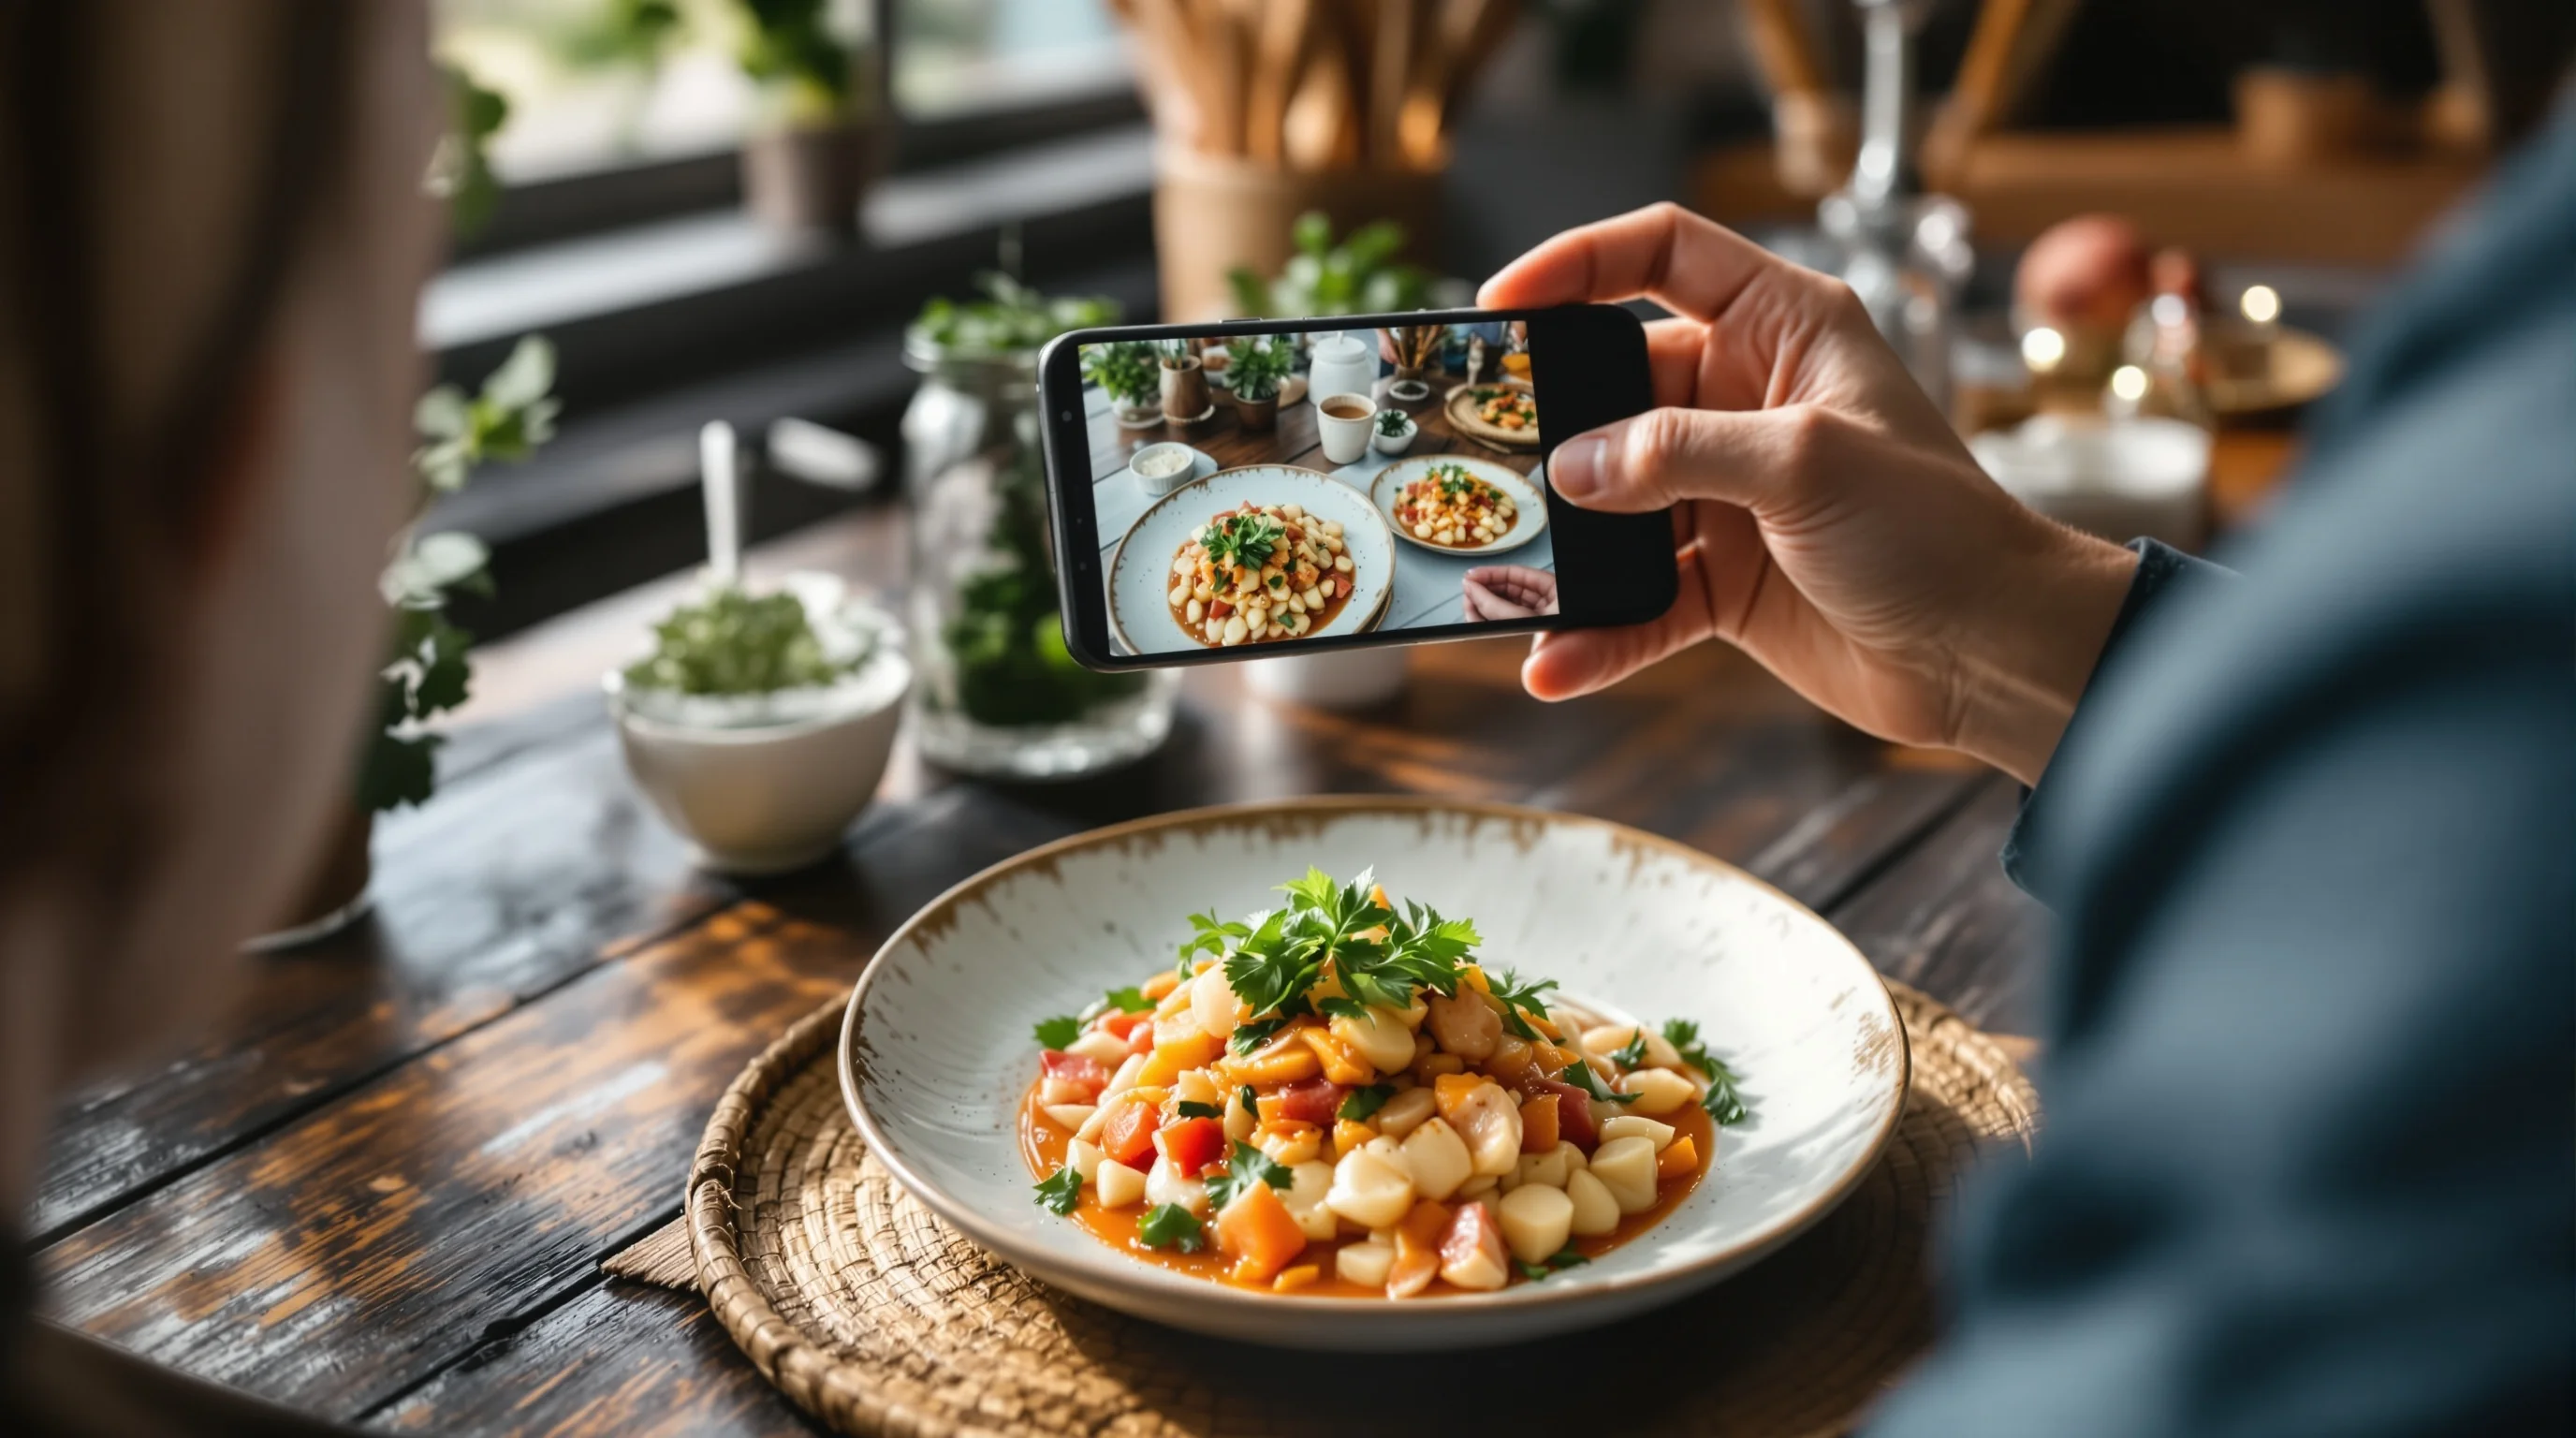
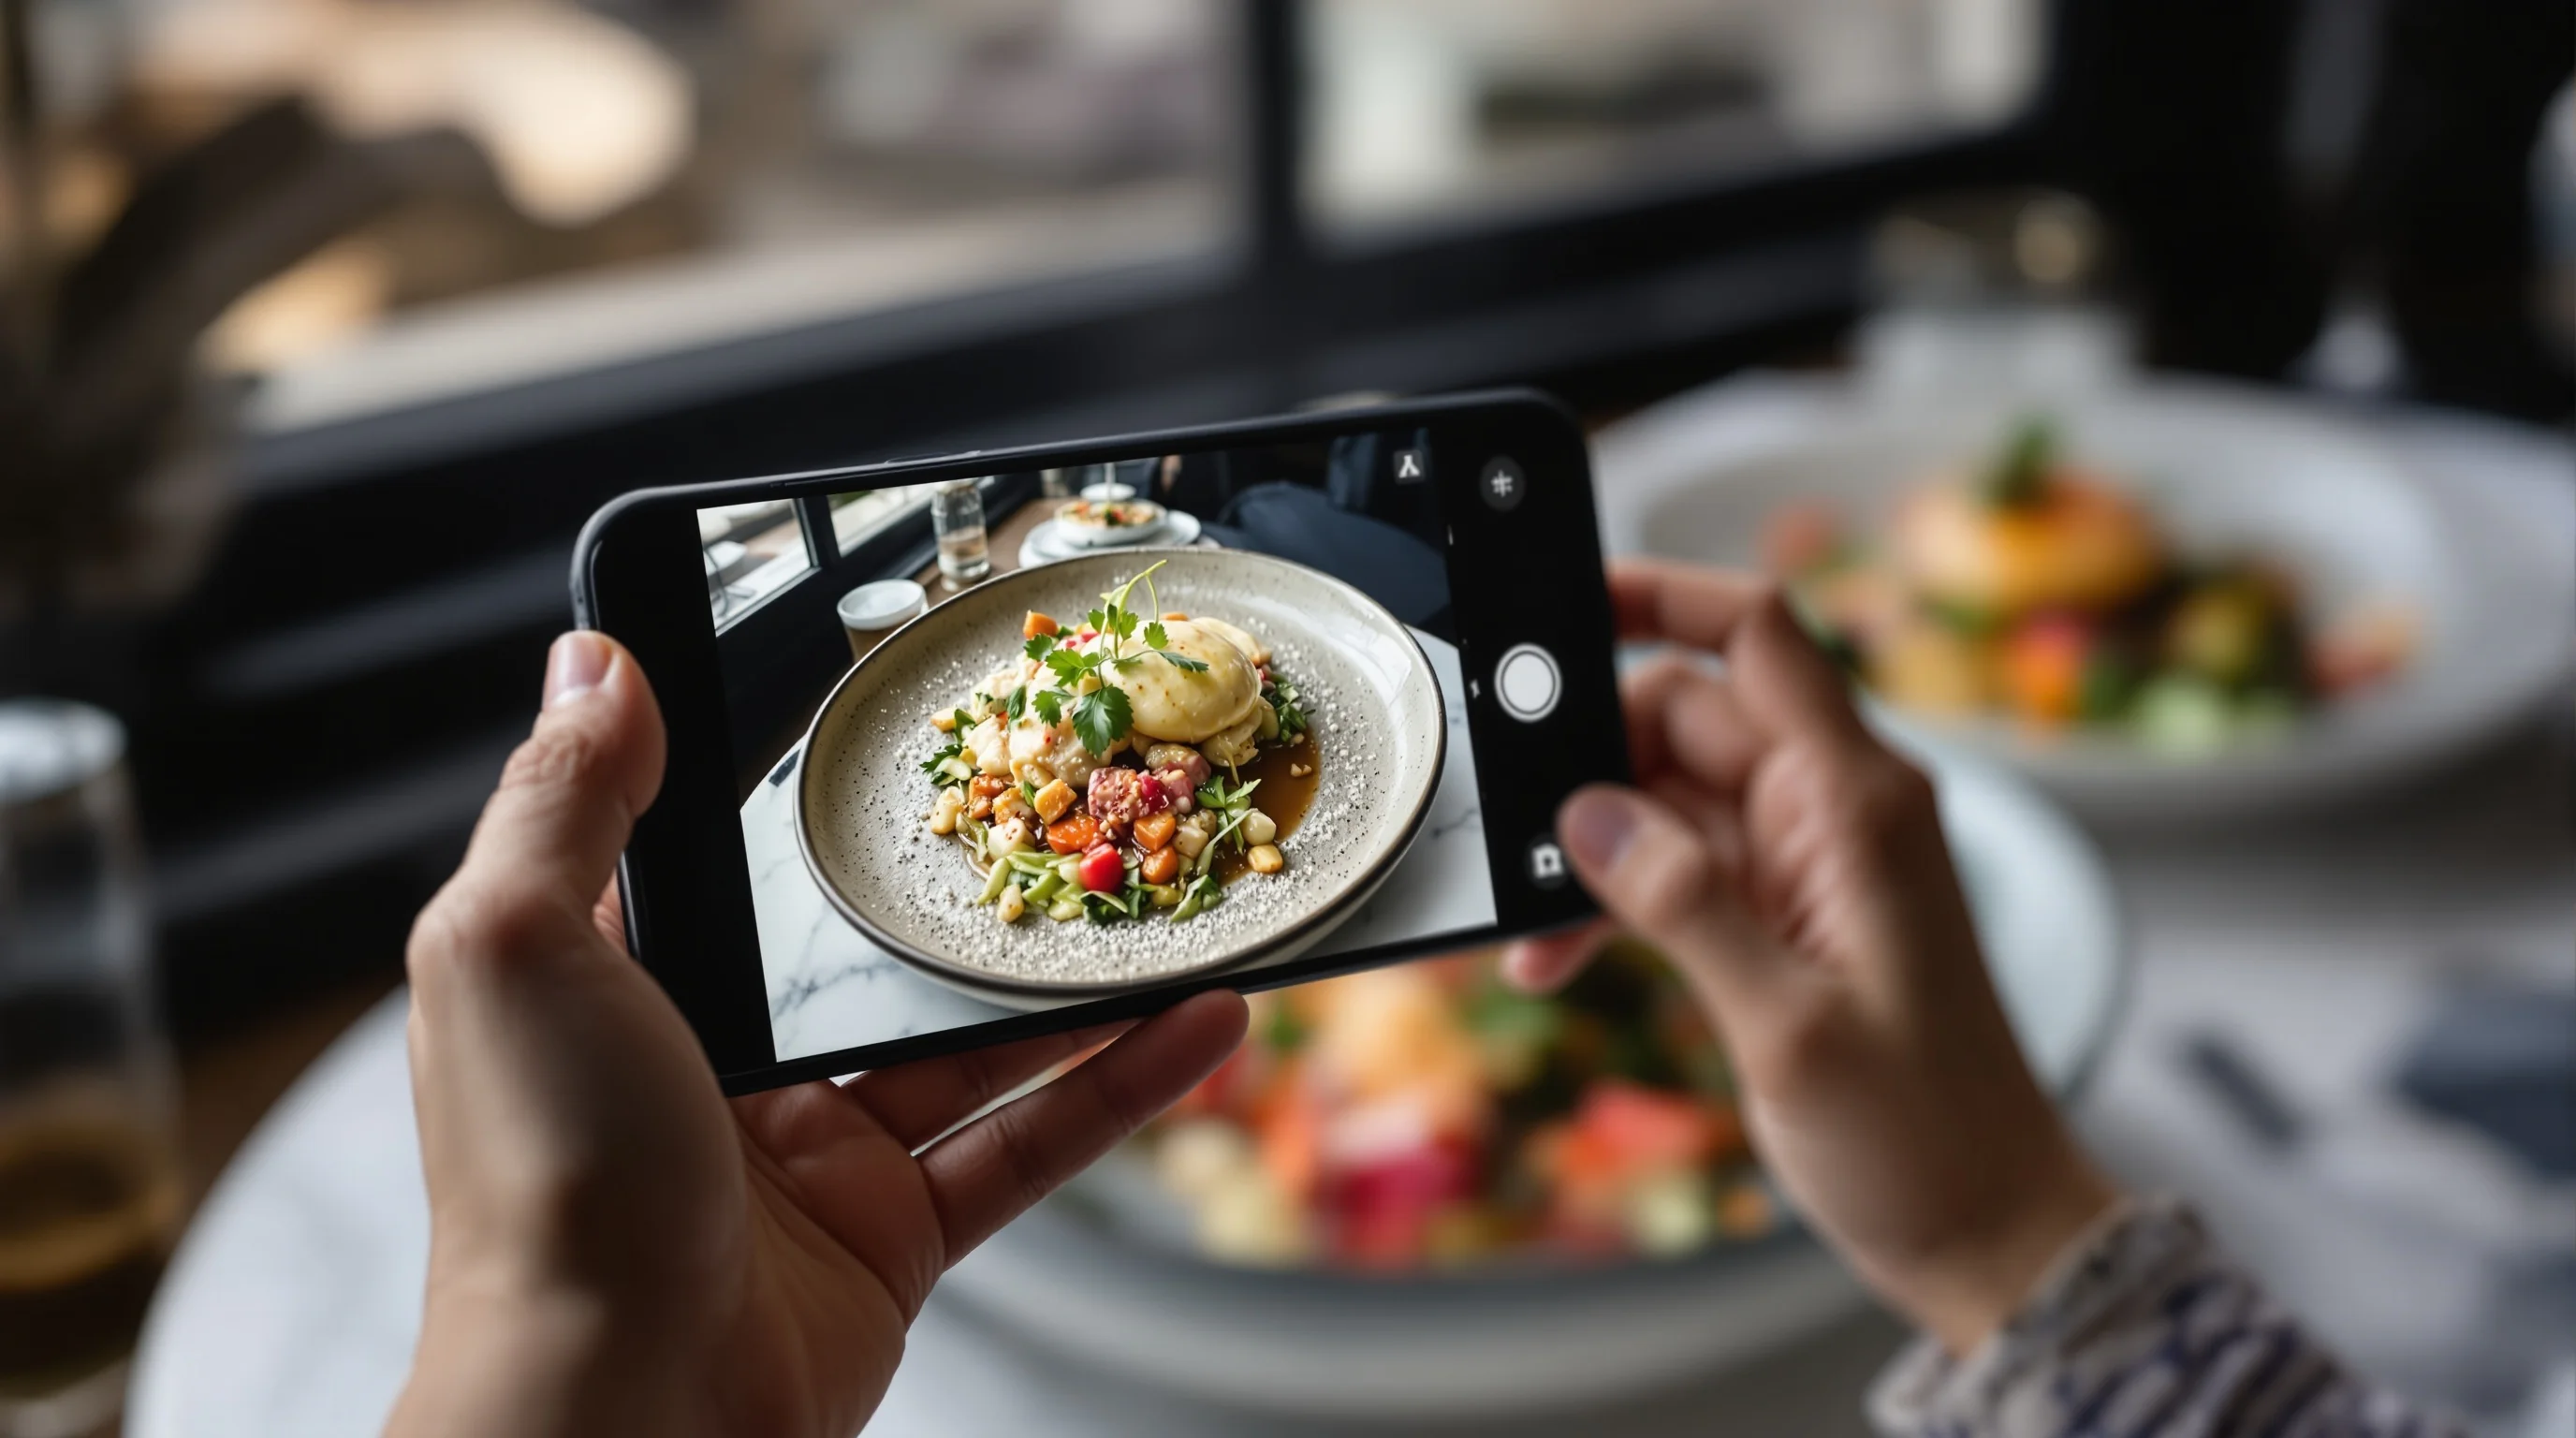
Equipment: smartphone vs camera — what you actually need
Modern smartphones capture excellent food photos if you control light and composition. Phones are fast, accessible and ideal for updating daily specials or delivery menus. Dedicated cameras (DSLR or mirrorless) give more control and dynamic range but cost more and require a trained shooter. If budget is tight, invest in a small tripod, a reflector and learn lighting — you’ll gain more than by buying a high-end camera.
For guidance on camera choices and when they make sense, see our Best Camera for Food Photography guide. It helps restaurants weigh cost versus benefit and choose gear that suits their workflow.
When to hire a pro — and when AI is the smarter choice
A full professional food shoot delivers creative direction, styling and a large library of images — ideal for menus, rebranding or print. However, shoots are expensive and time-consuming. Many restaurants find a hybrid approach: reshoot flagship dishes professionally and use efficient alternatives for the rest. AI-driven services now offer instant, pro-quality upgrades for existing phone shots — an affordable option for tight budgets or quick platform updates.
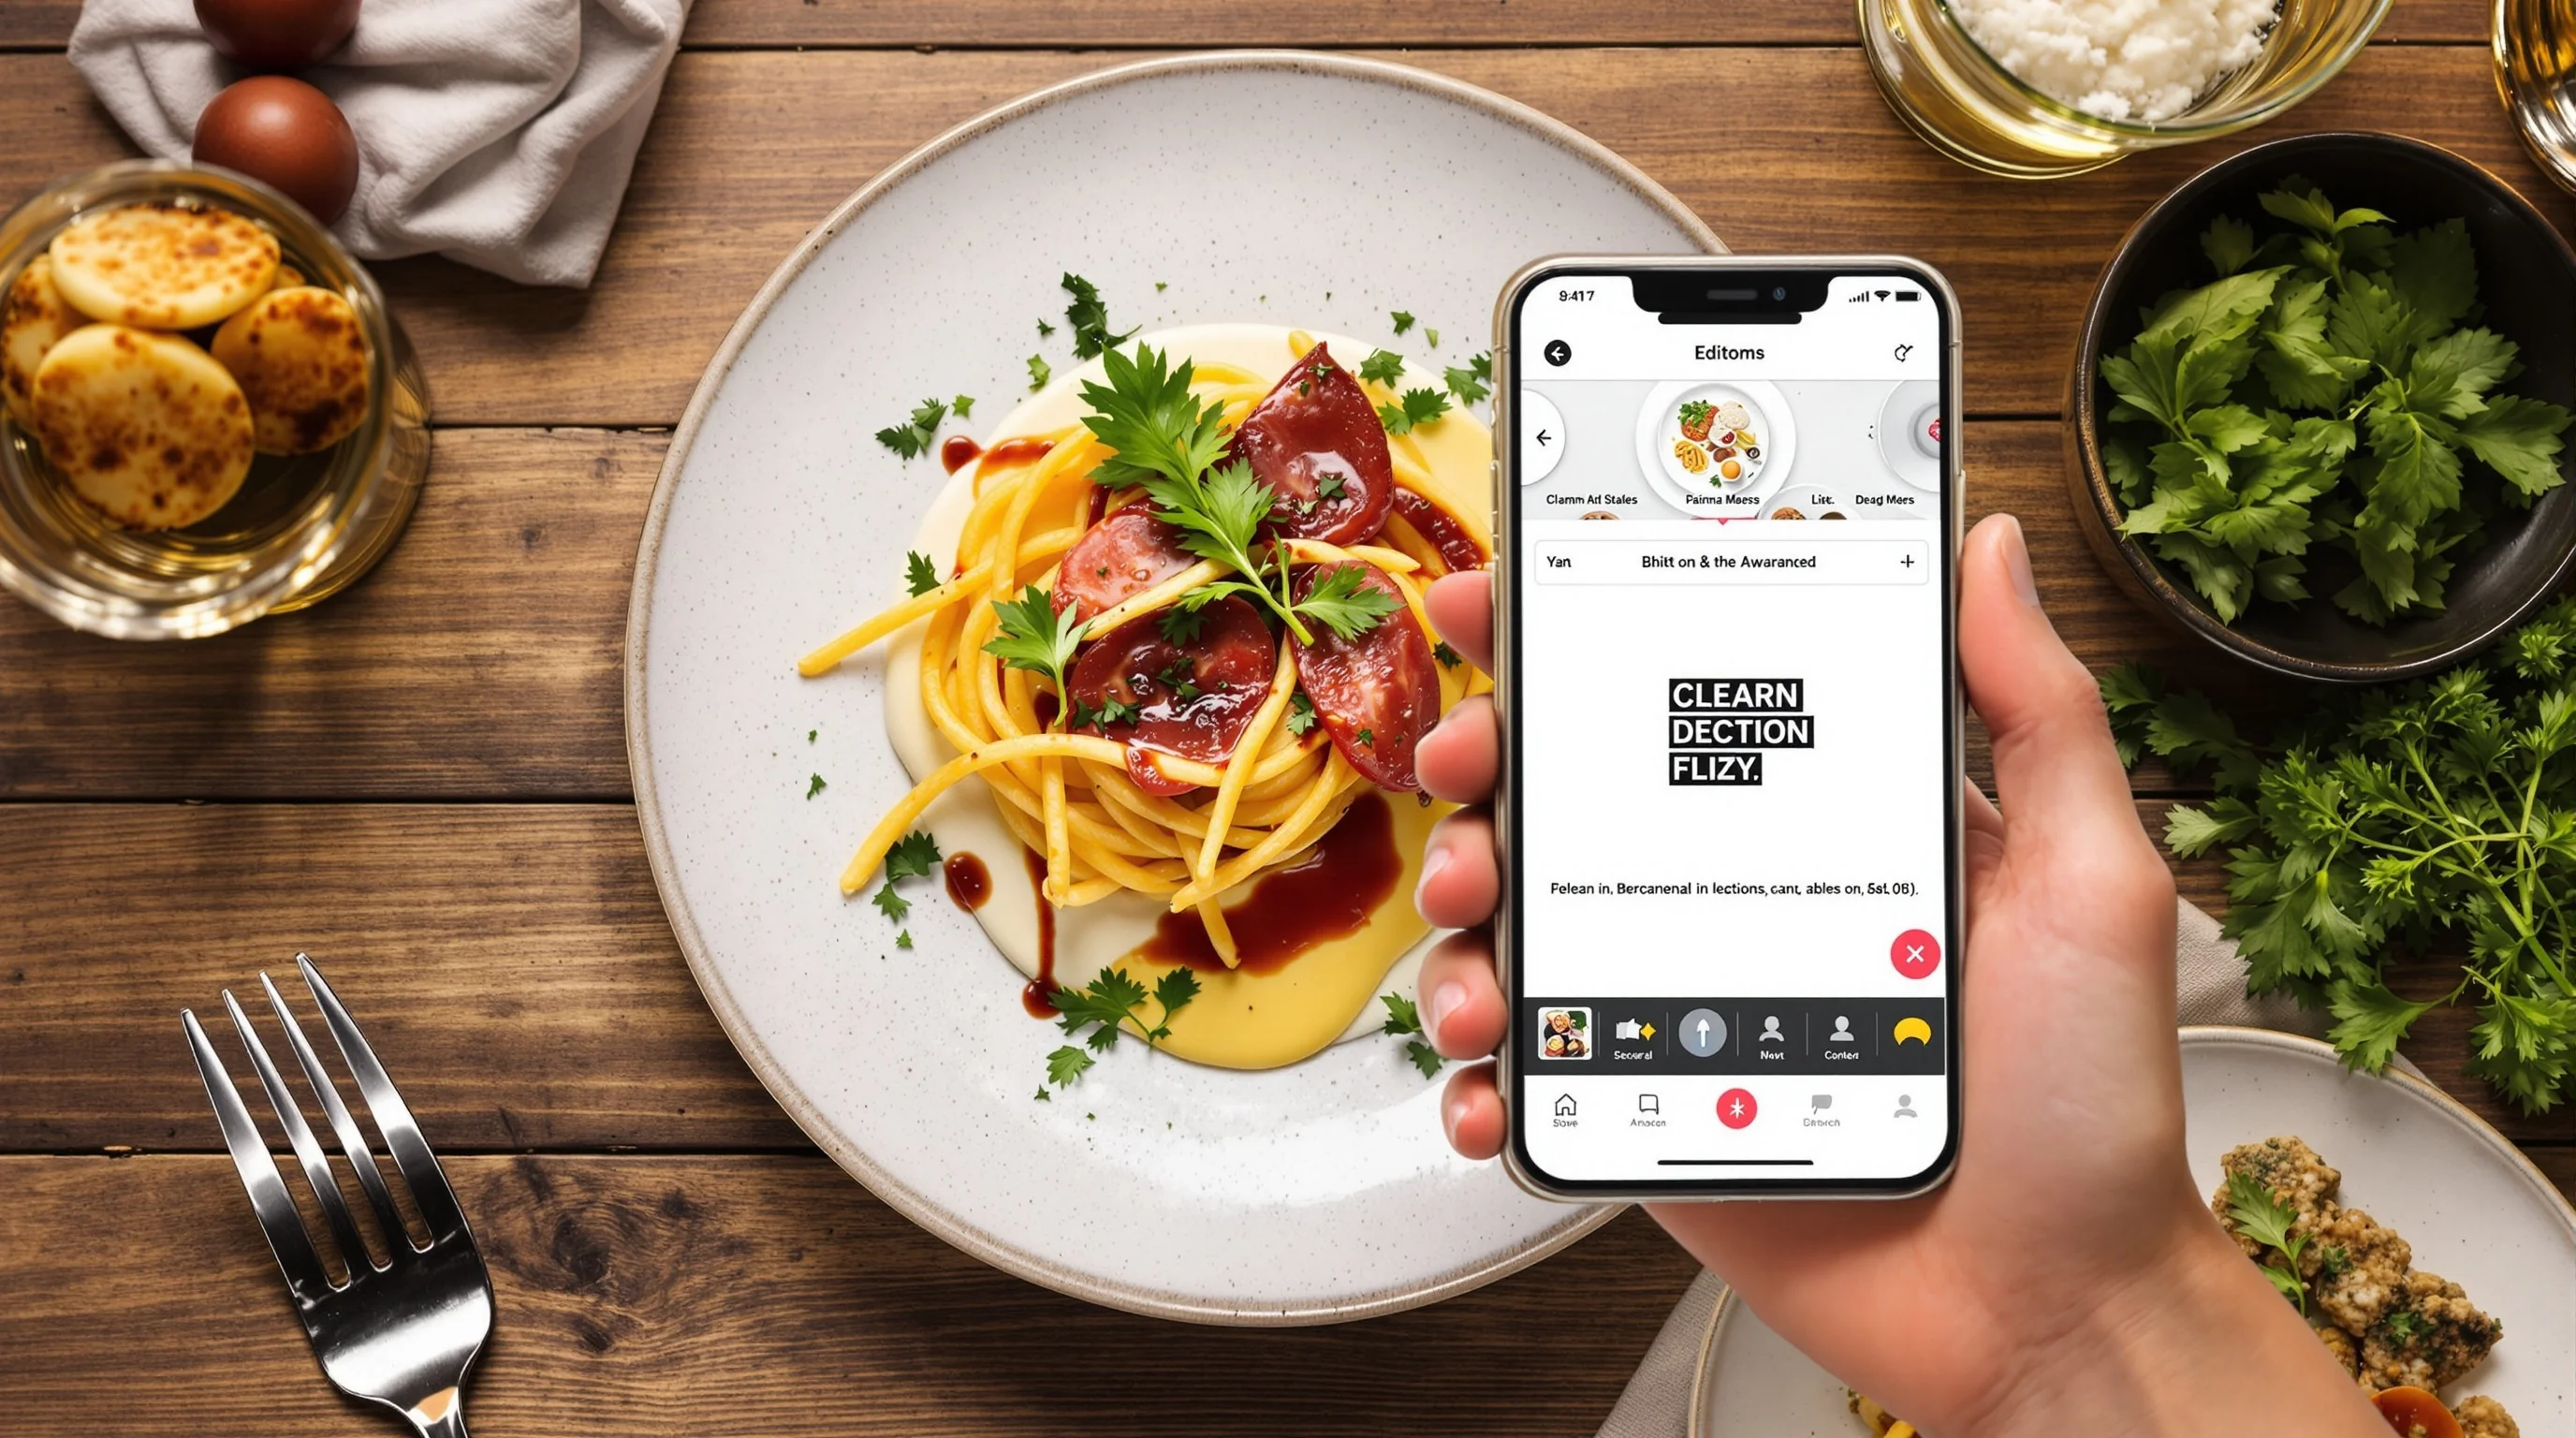
YummyPic is an example of an AI-powered food photography platform that transforms simple phone photos into professional, restaurant-quality images in seconds. It’s especially useful when reshooting isn’t possible: YummyPic can enhance lighting and color, replace dull backgrounds, and generate multiple styled versions optimized for DoorDash, Grubhub and Uber Eats. For many restaurants, this approach delivers the speed and cost-effectiveness of DIY with pro-like results.
- Speed: professional photos in seconds vs hours
- Cost-effective: fraction of a photo shoot price
- Variety: multiple styles from bright to moody
- Convenience: no lighting gear or props required

Practical checklist: prepare for a quick reshoot
If you can reshoot a handful of items, follow a short checklist to save time and get reliable results: clear the plate edges, use a window-side table, choose a neutral plate, style with one fresh garnish, steady the camera on a tripod, shoot multiple angles, and export both high-res and platform-specific crops. Our posts on 10 Steps to Prepare for a Food Photoshoot and How to Plan a Restaurant Food Photoshoot provide full templates and shot lists.
Aim for a small, repeatable process the kitchen and front-of-house can carry out without slowing service. Even one well-shot hero dish per menu section can dramatically improve perceived quality when customers browse.
Practical tools, presets and workflow hacks
Standardize your workflow: create a few mobile presets for light, airy and moody styles, build a quick styling kit with consistent plates and props, and keep an 'upload to AI' folder for images that need instant enhancement. For delivery platforms, make platform-specific crops and name files clearly so your digital manager can update listings quickly. If you need platform guidance, check our DoorDash and Grubhub pages for specs and tips: DoorDash Photography and Grubhub Photography.
Remember: consistency yields trust. A consistent look across Instagram, your website and third-party apps reduces friction in the ordering decision and supports the perception of reliability and quality.
Conclusion — small changes, big impact
If your restaurant photos look bad, you have clear and practical paths to improvement. Fix the lighting, choose better angles, standardize a quick editing workflow and be strategic about what to reshoot. For immediate, scalable improvements without the cost of a shoot, AI services like YummyPic can rescue dull phone shots and deliver multiple pro-styled versions optimized for delivery platforms. Remember the data: nearly half of diners search for photos before ordering and menus with images convert roughly 25% more customers. Invest a little time in visuals and you can convert more browsers into orders.