Introduction: Good lighting turns a meal into an order. This guide, 7 Restaurant Lighting Tricks for Better Food Photos, gives restaurateurs, managers and food creators clear, usable lighting techniques to improve menu, delivery and social images shot in real restaurant conditions. Many restaurants face dull, underexposed images, harsh overhead shadows and awkward yellow casts — problems this article addresses with simple fixes, smartphone-specific hacks and post-shoot solutions. Read through for quick wins you can implement during service and for ideas that save time and money compared with hiring a pro.
Why lighting matters and how it affects appetite
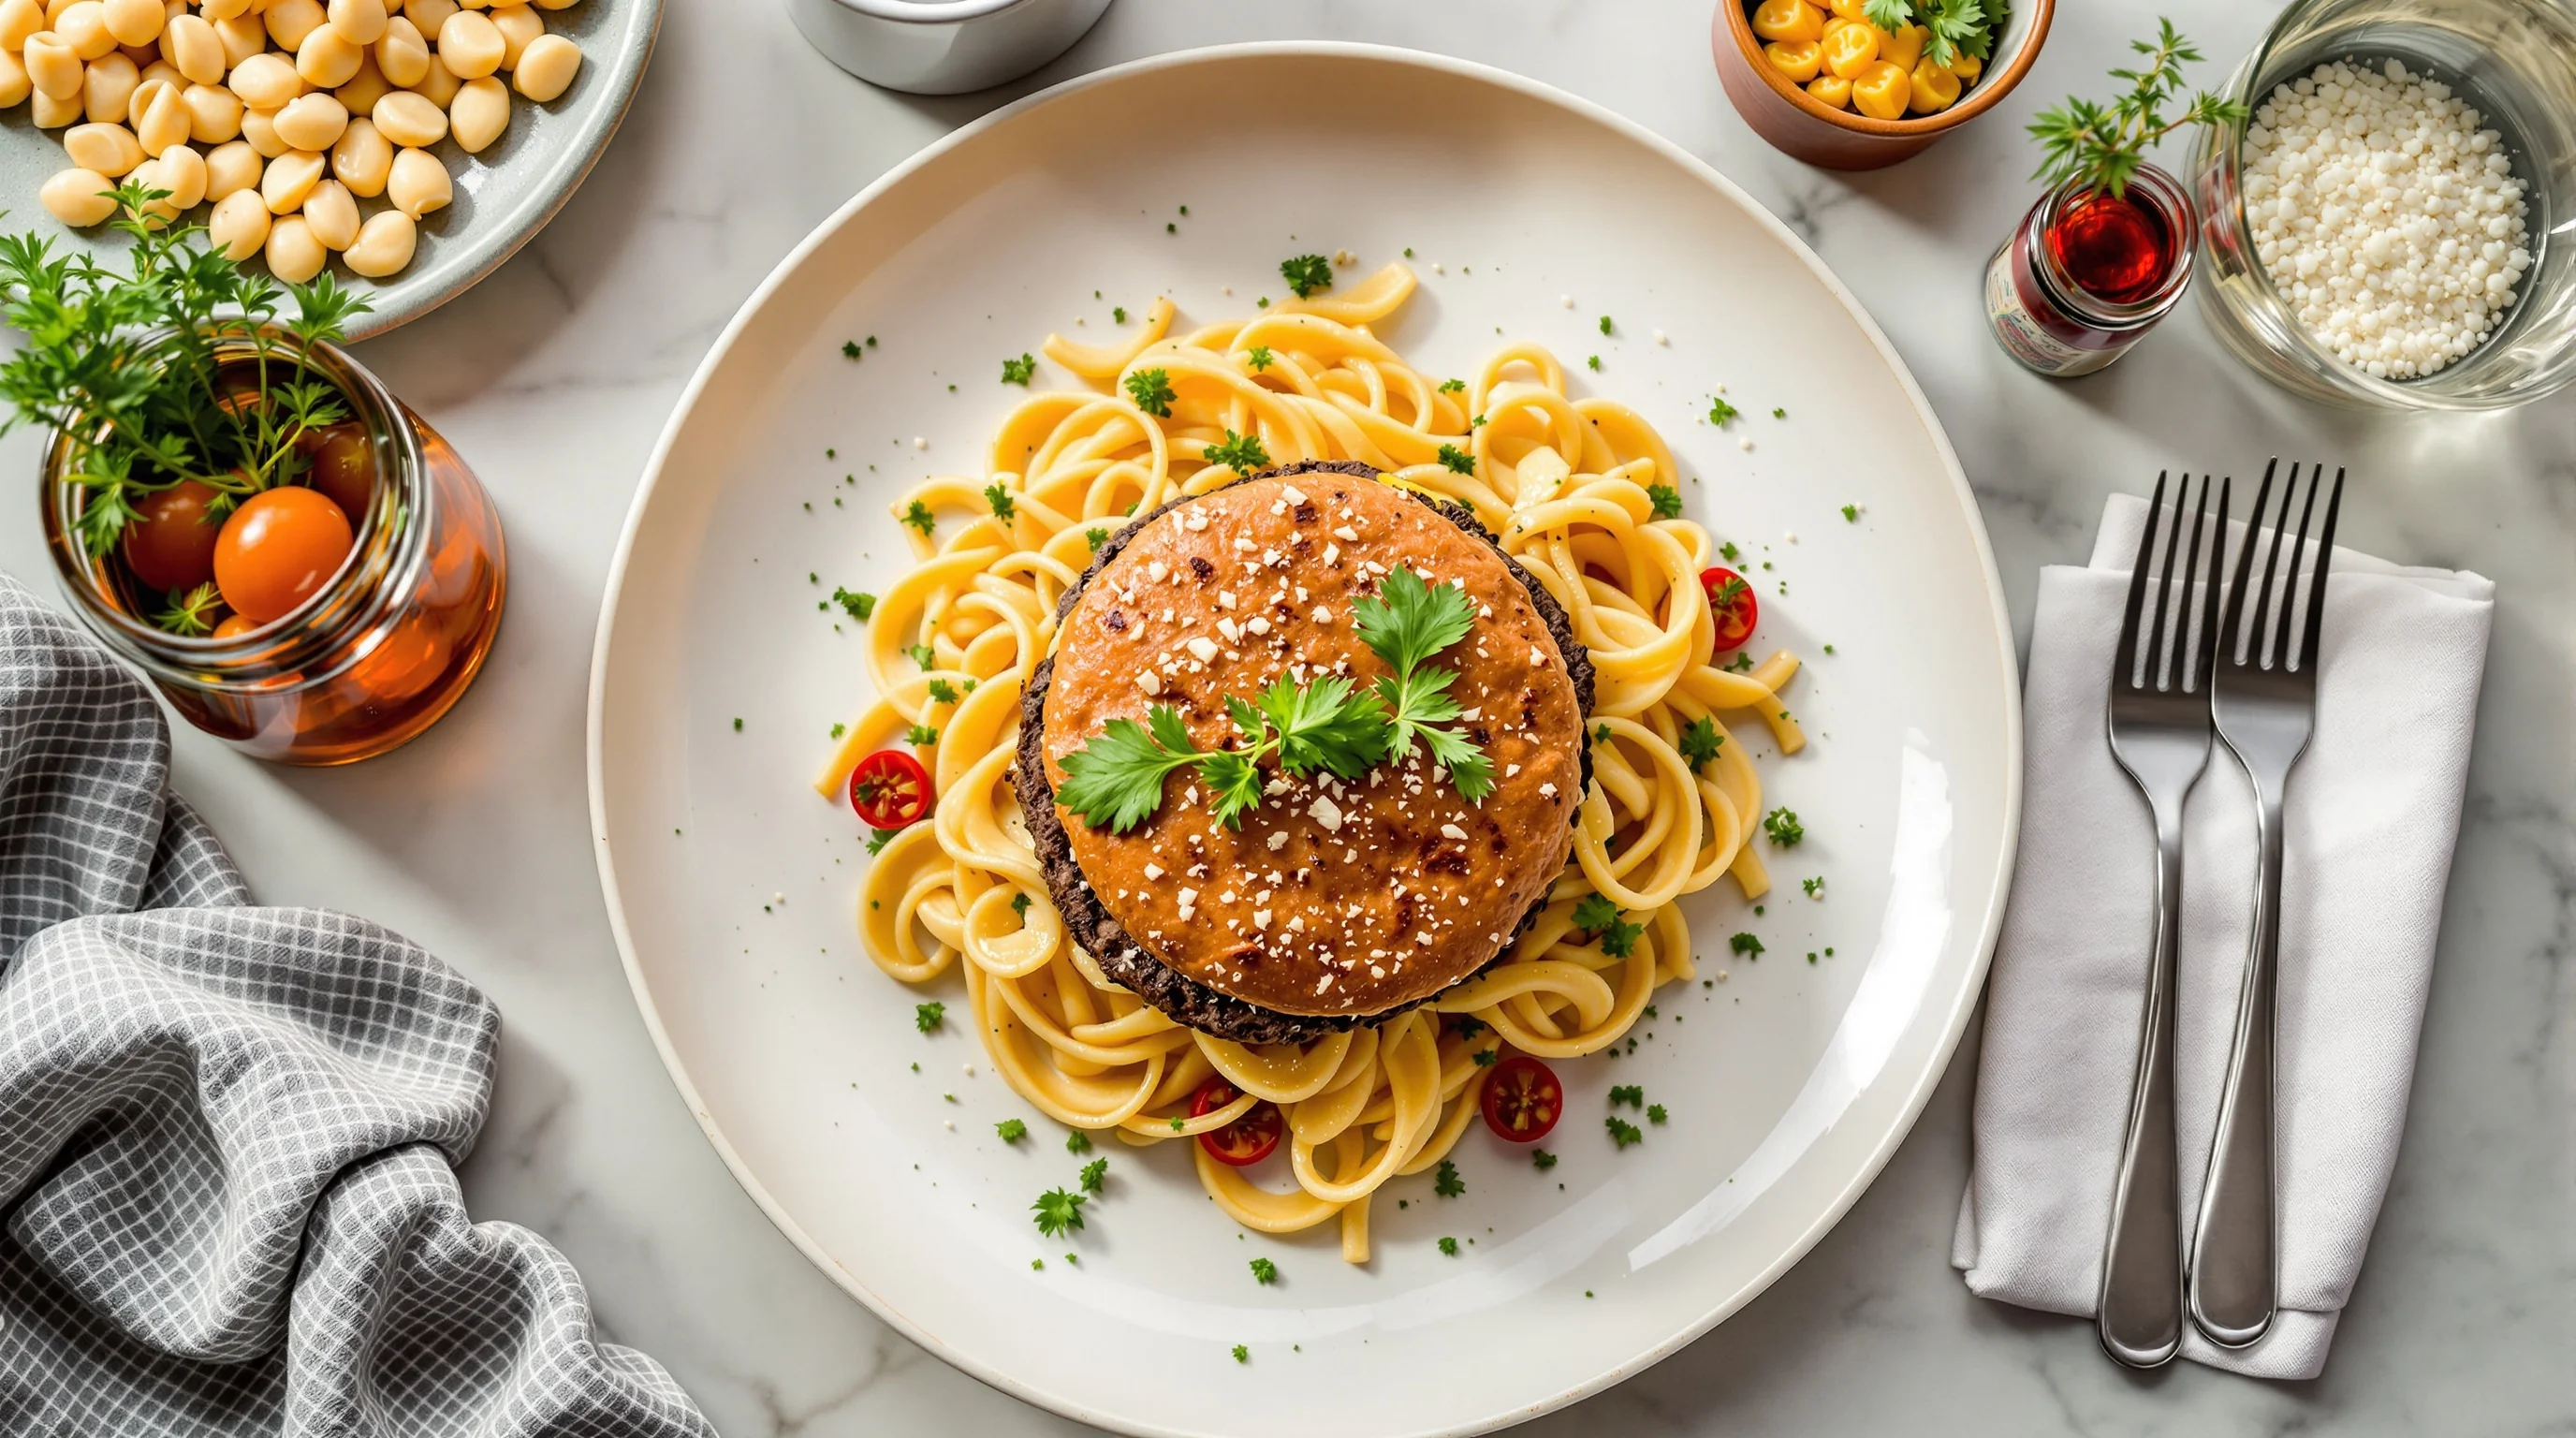
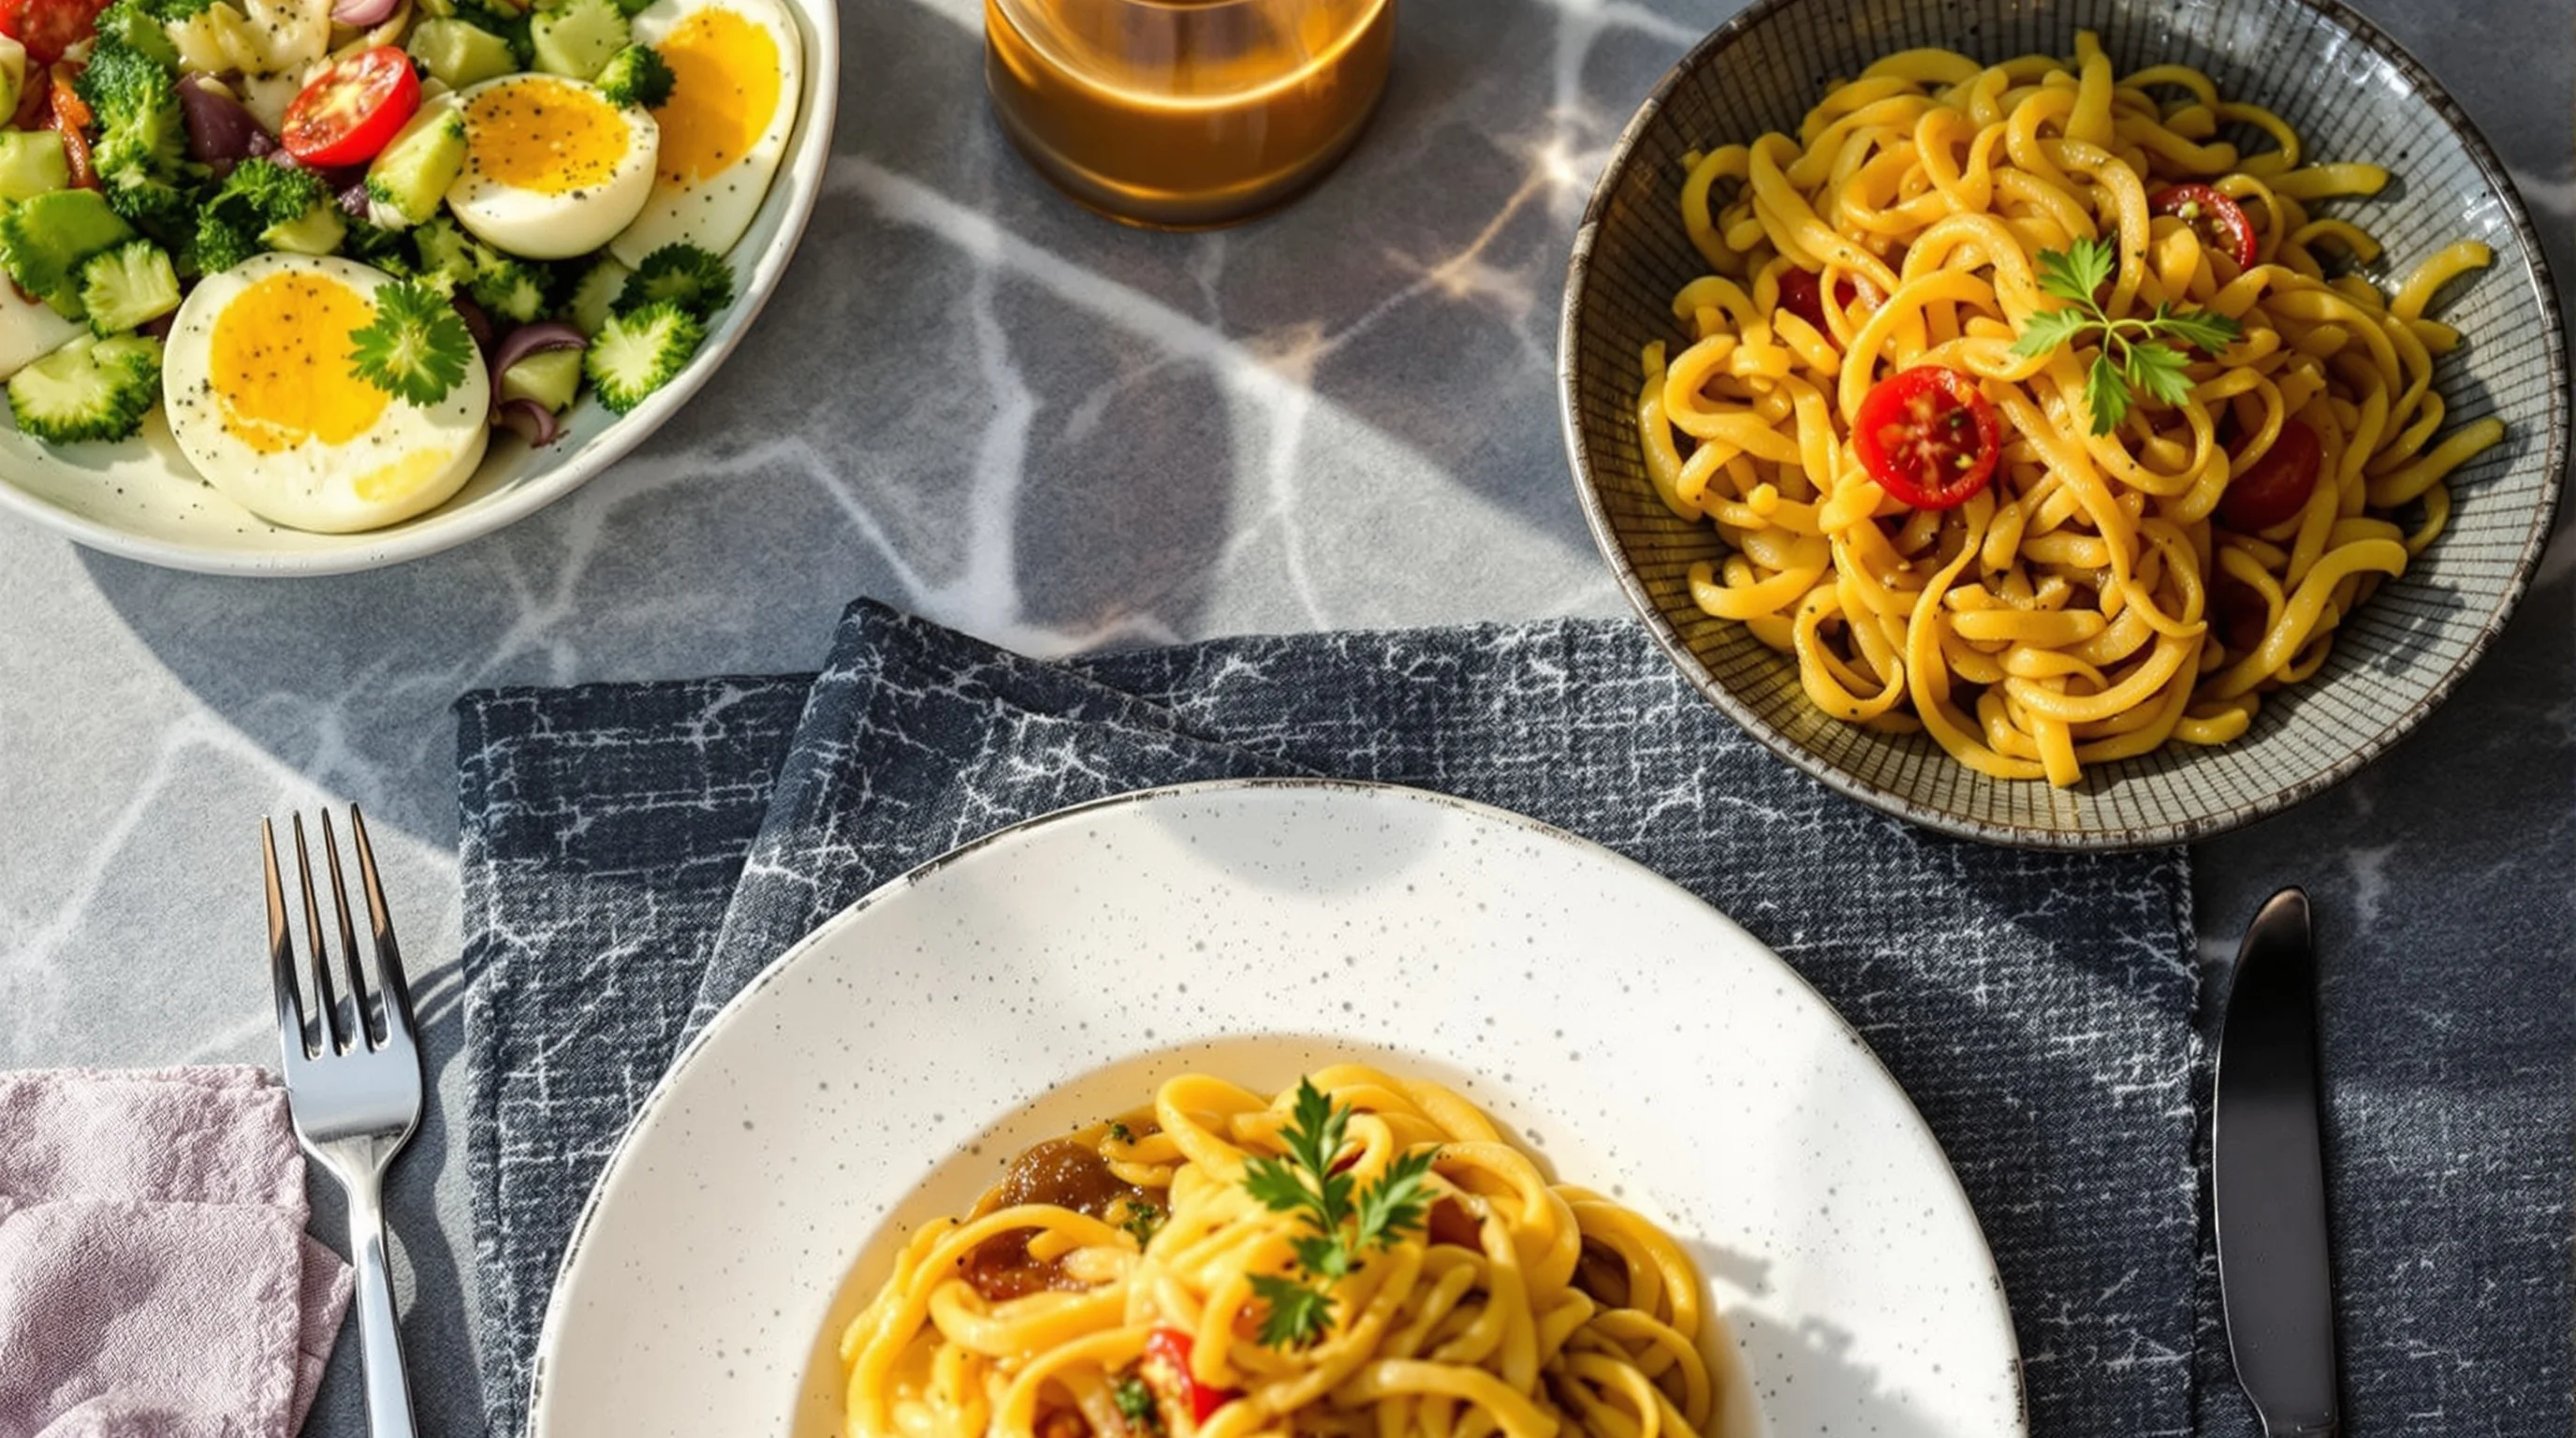
Light defines texture, color and shape. Side lighting from a nearby window adds dimension by highlighting texture and form in dishes — that extra edge of definition makes food look freshly prepared and more appetizing. According to Upmenu, 75% of consumers say photos on a restaurant’s website influence where they dine, and restaurants see about a 30% sales uplift when they feature high-quality food photos. Creating attractive photos with the right lighting therefore has direct business impact.
Many restaurateurs mistakenly rely on overhead fixtures or smartphone flash, which flatten detail and create unflattering specular highlights. The key: position, color balance and soft directionality. Throughout this article you will find actionable steps and the 7 Restaurant Lighting Tricks for Better Food Photos that work with minimal gear and during service.
How do I improve lighting when photographing food in a restaurant?
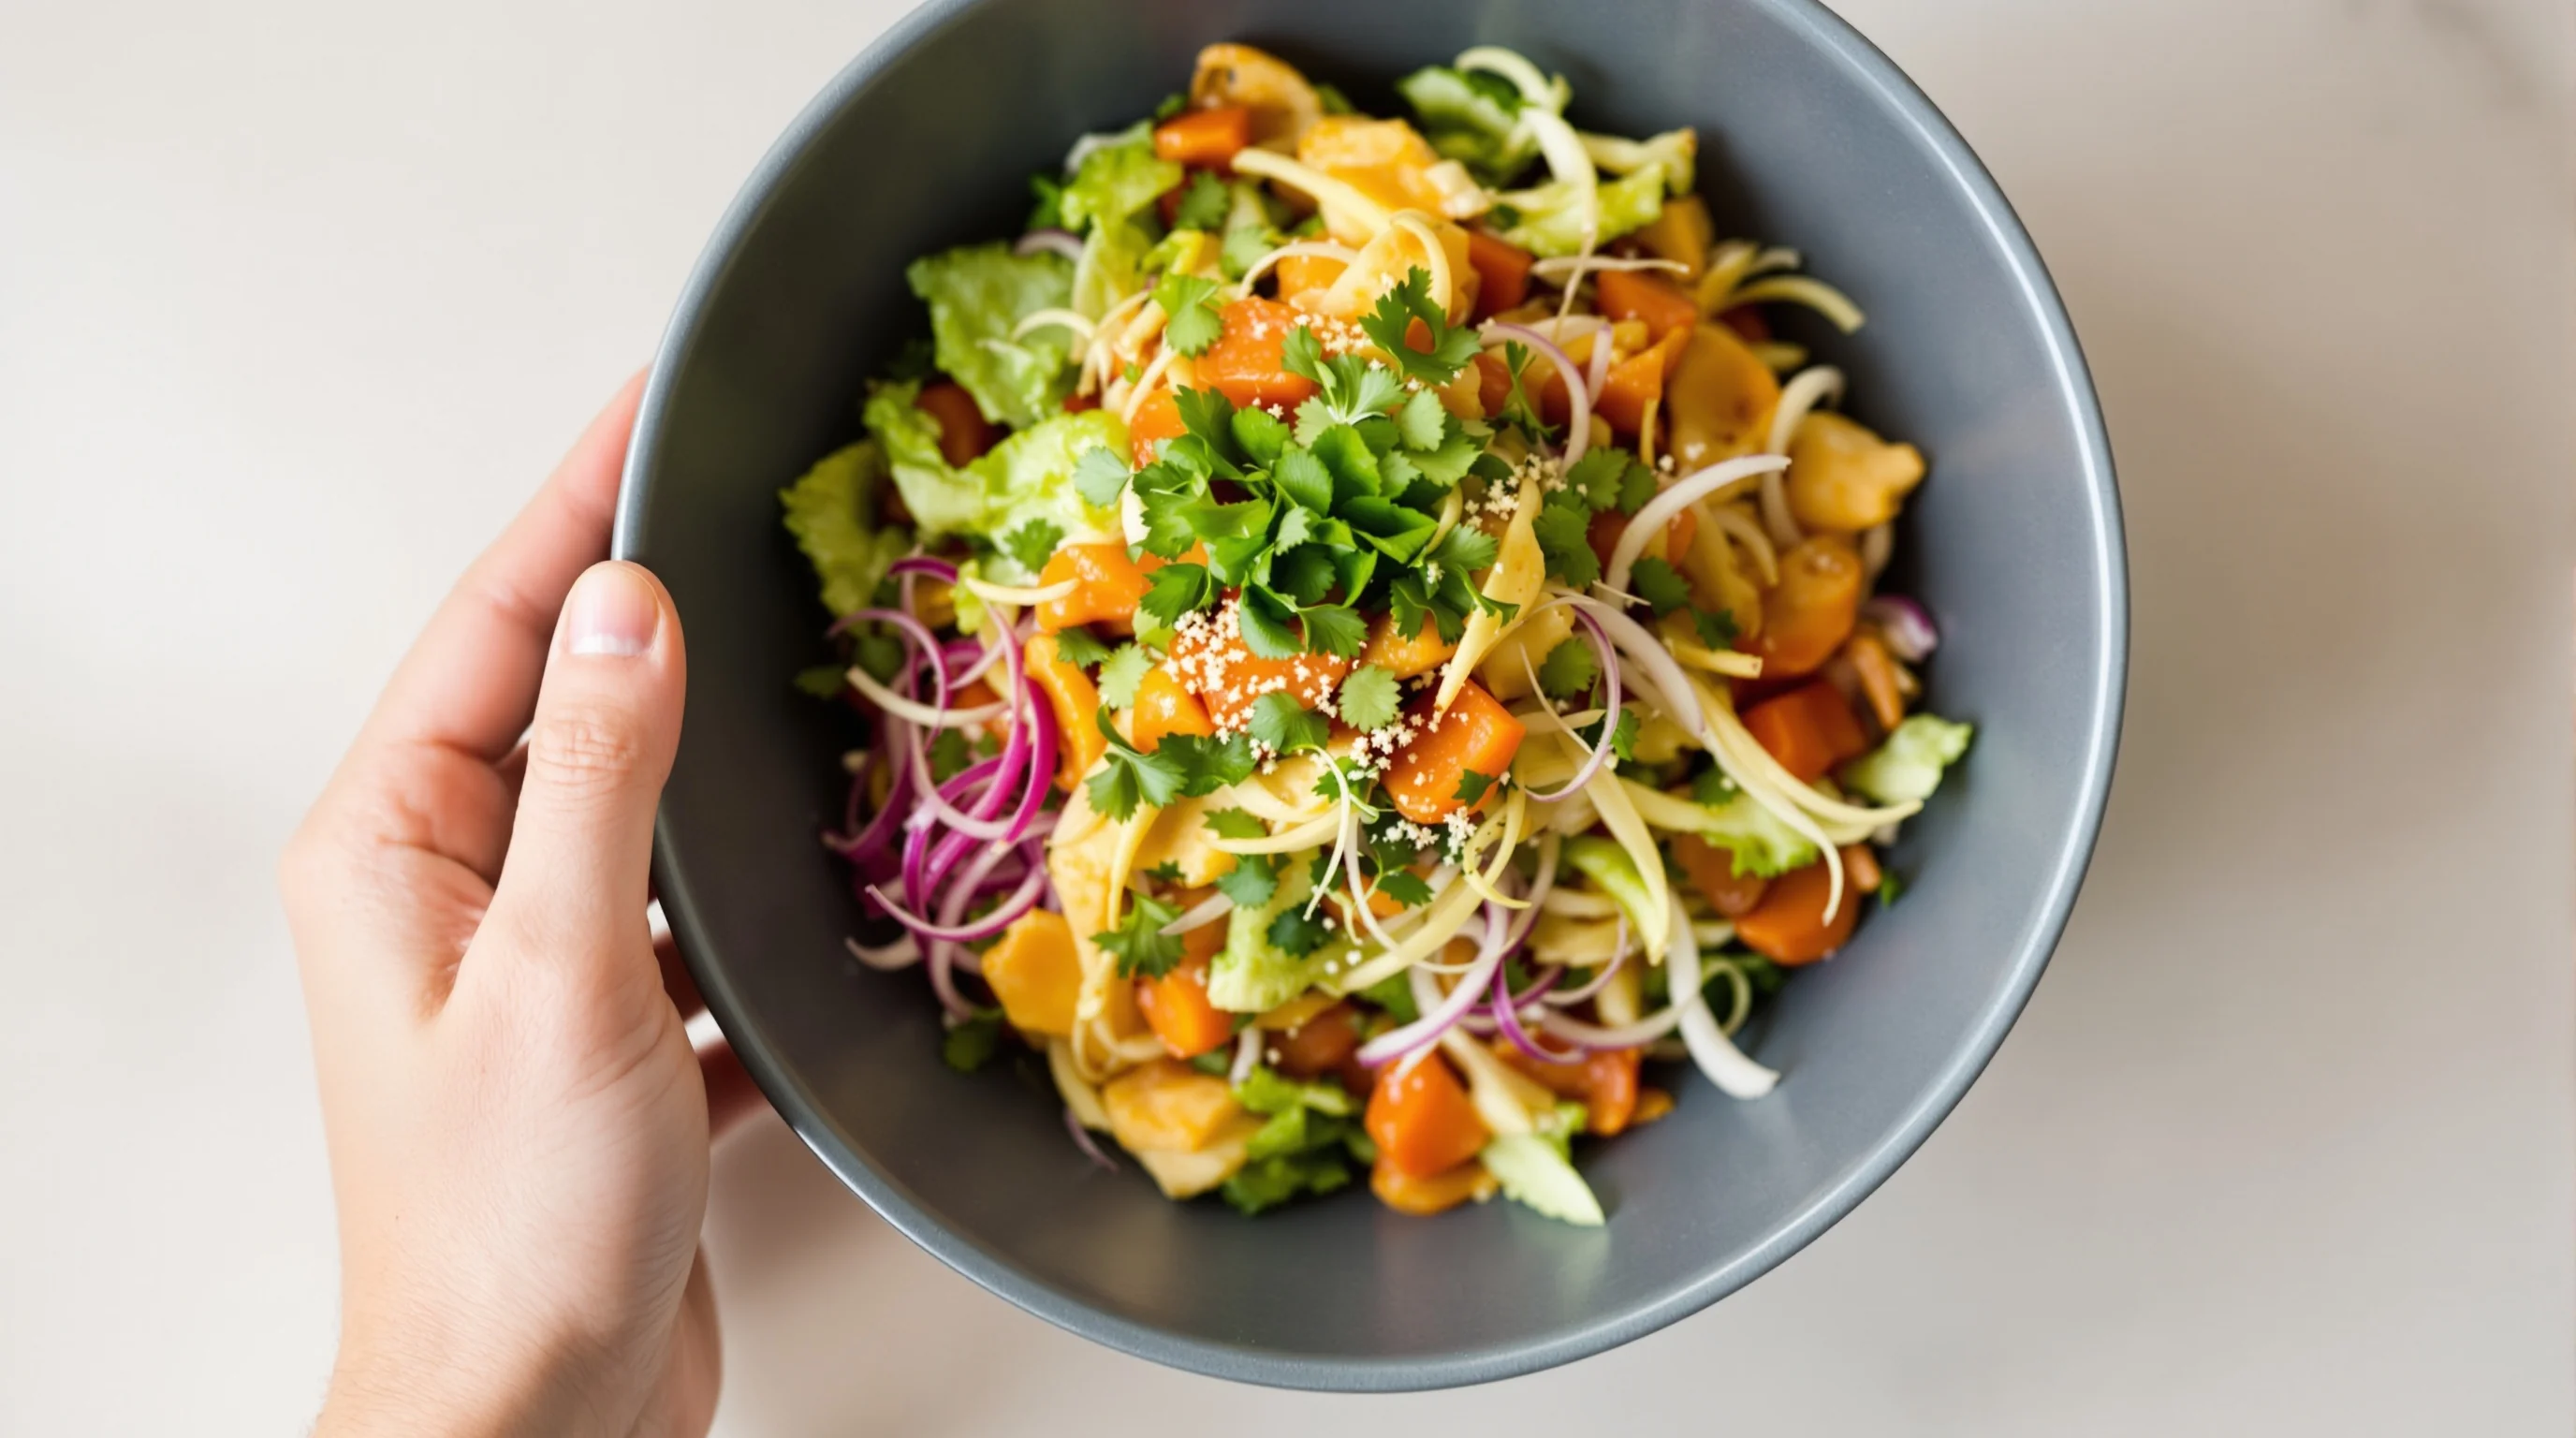
Start by scouting tables with side light. The simplest answer to 'How do I improve lighting when photographing food in a restaurant?' is to move the dish closer to natural light and shoot from the side or at a 45° angle. If windows aren’t available, choose tables with soft ceiling bounce or decorative lamps that give directional light. Use a white menu, napkin or a simple board as a reflector to bounce light into shadowed areas — Nikon recommends a white board, napkin or menu as a reflector to soften harsh shadows and improve exposure.
If you need more on composition while shooting from a window, pair this advice with perspective and angle techniques — see our guide on The 5 Best Camera Angles for Food Photography for which angles work best with side light.
Should I use natural light or flash for food photography in dim restaurants?
Avoid on-camera flash for plated food — it creates flat, harsh images. As one practical rule: prioritize natural light when possible. "The best advice I can give to someone taking pictures of food is to use natural light from a window. The closer you position yourself to a window, the better your photo will turn out..." — SevenRooms. When natural light is minimal, use continuous LED lamps with soft diffusers or clip-on LED panels aimed indirectly to avoid glare.
If you must use artificial light, choose color-stable, dimmable LEDs and adjust your white balance to eliminate yellow casts. Avoid mixing multiple color temperatures (warm tungsten and cool daylight) in the same frame. And remember the pro tip from food photographers: never fire a direct camera flash at plated food — the results look unappetizing and flat, a point reiterated by restaurant photography guides and industry pros.
7 Restaurant Lighting Tricks for Better Food Photos (the list)
Here are the seven practical tricks to apply immediately. Each tactic is designed to work with limited time and minimal equipment so your staff can produce consistent, appetizing images.
- Use side light from a window: Move the plate closer to a window and shoot from the side or 45° to reveal texture.
- Bounce light with a white reflector: A menu card, napkin or white board softens shadows and lifts dark tones as recommended by Nikon.
- Replace or diffuse harsh overheads: Use a napkin over a pendant or a translucent menu sheet as a DIY diffuser to reduce specular highlights.
- Avoid on-camera flash: Direct flash flattens food and creates glare — use continuous LEDs instead.
- Correct color casts in-camera: Manually set white balance or use an AWB lock with a neutral reference card for consistent results.
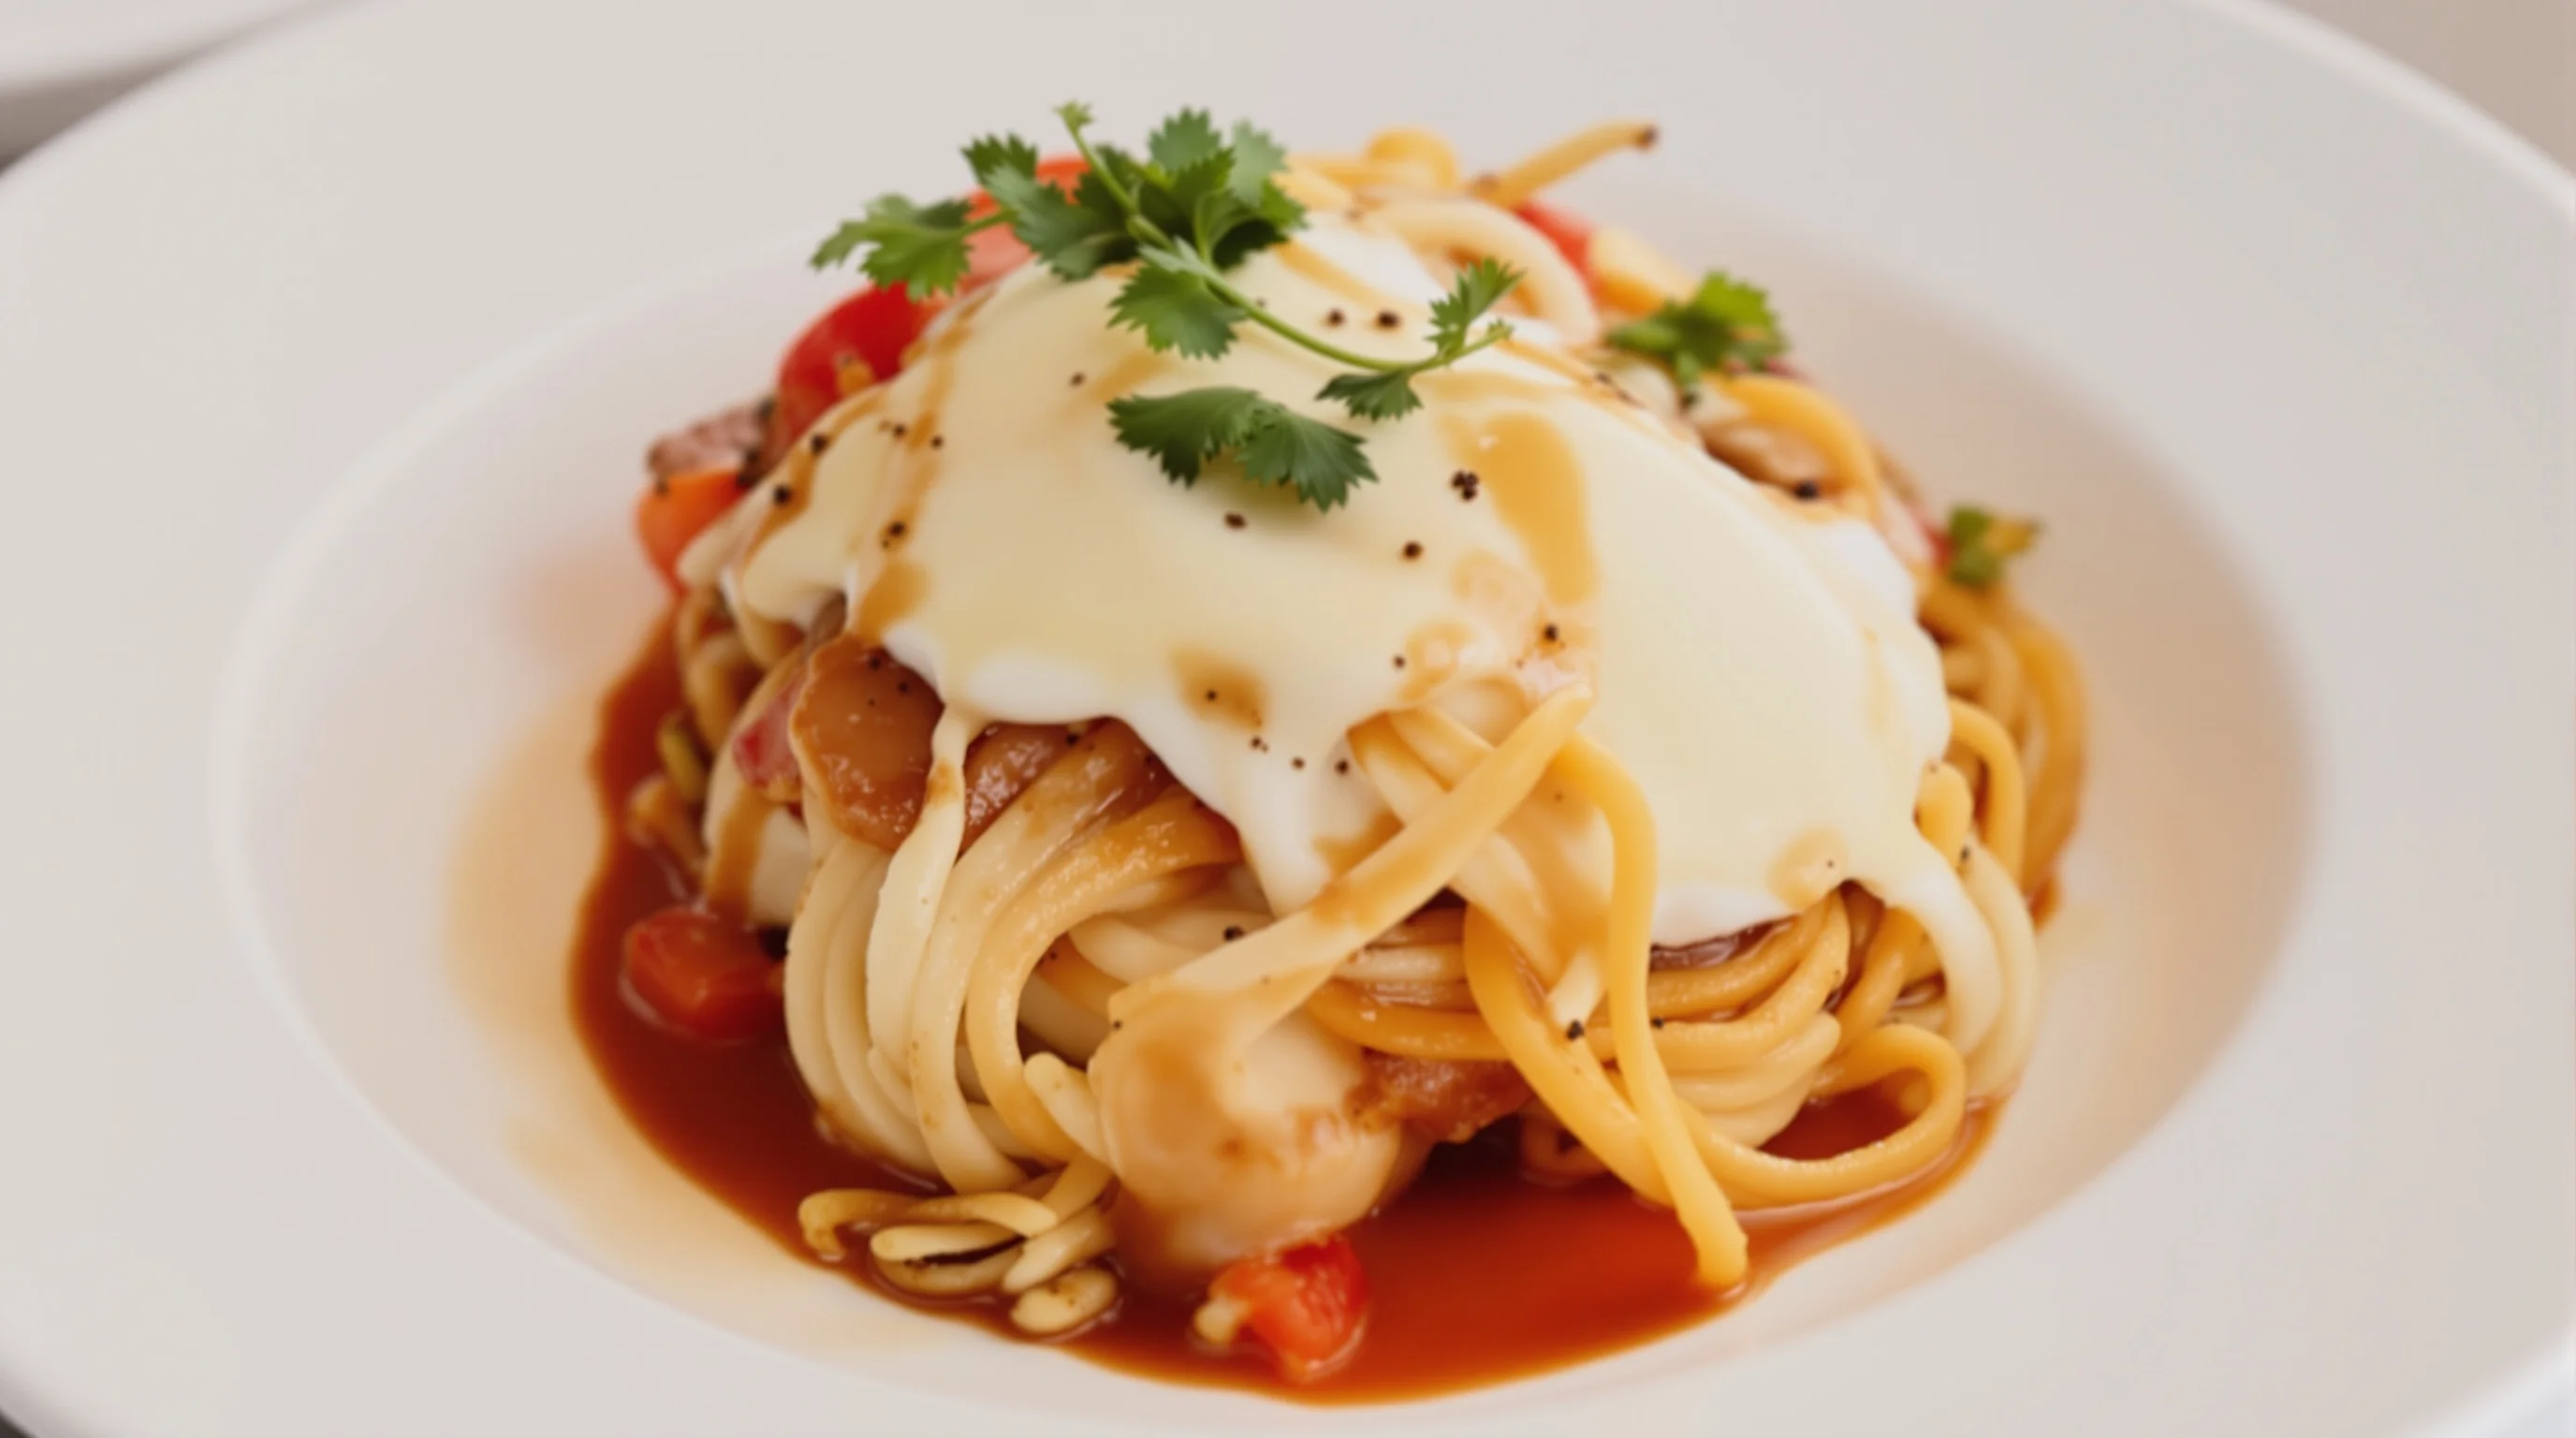
- Add a controlled rim or accent light: A small LED aimed behind a dish can create separation from the background and enhance steam or glaze.
- Use low-angle fill reflectors: For deep bowls or soups, bounce light from low angles to reveal interior texture and shine.
Applying these seven steps often produces menu-ready images without post-processing. For more on staging dishes alongside lighting, see our How to Stage Food Like a Professional Stylist guide for styling tips that pair well with lighting decisions.
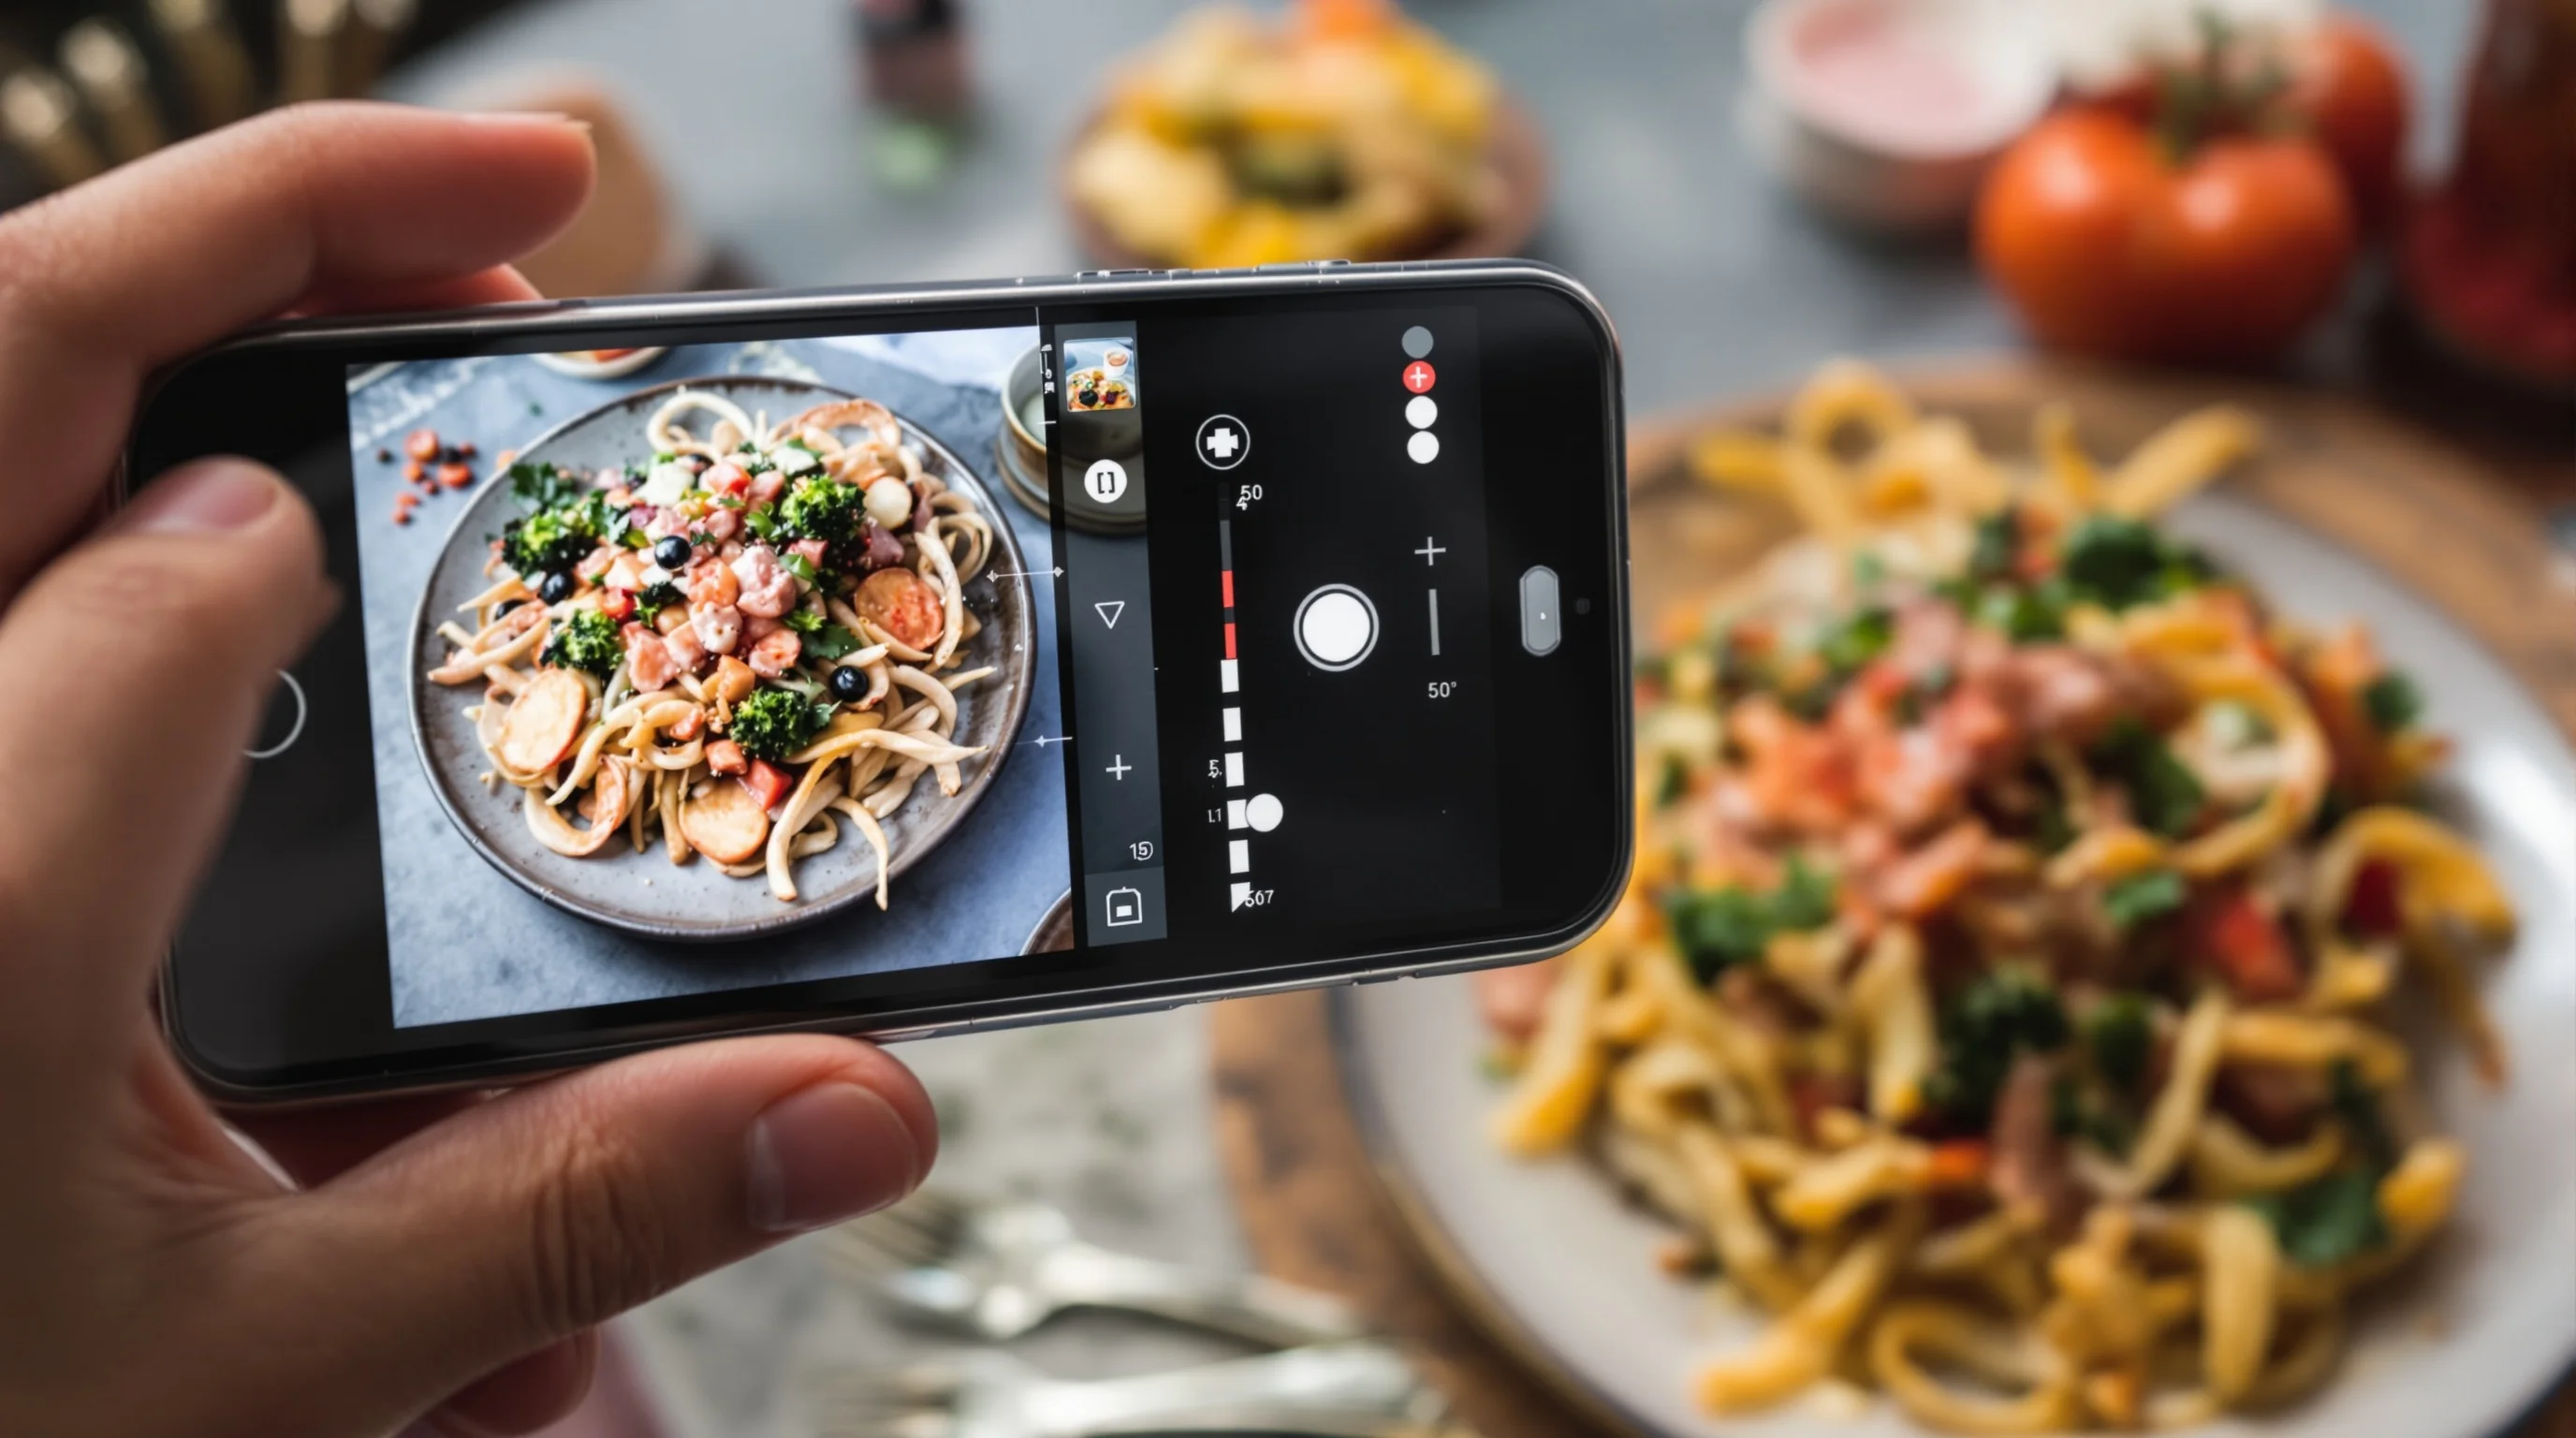
Smartphone-specific lighting hacks you can use during service
Smartphones are the most common tool for in-house photos. A few smartphone-friendly tricks close the gap to pro-level lighting. Clip-on LED rings or small puck lights provide consistent color temperature and are easy to mount on a phone or a table. Use the phone's exposure lock (tap and hold) to prevent the camera from underexposing the dish when a bright background is present. When shooting with dim ambient light, prop a small cordless LED off-camera and bounce it with a napkin for a soft, even fill.
Content gap: many guides miss simple accessories. Affordable clip-on LED lamps, phone tripods and reflectors cost less than a single pro session and dramatically improve shots. When you want a long-term workflow, pair these smartphone hacks with our article on the Best Camera for Food Photography if you plan to upgrade gear later.
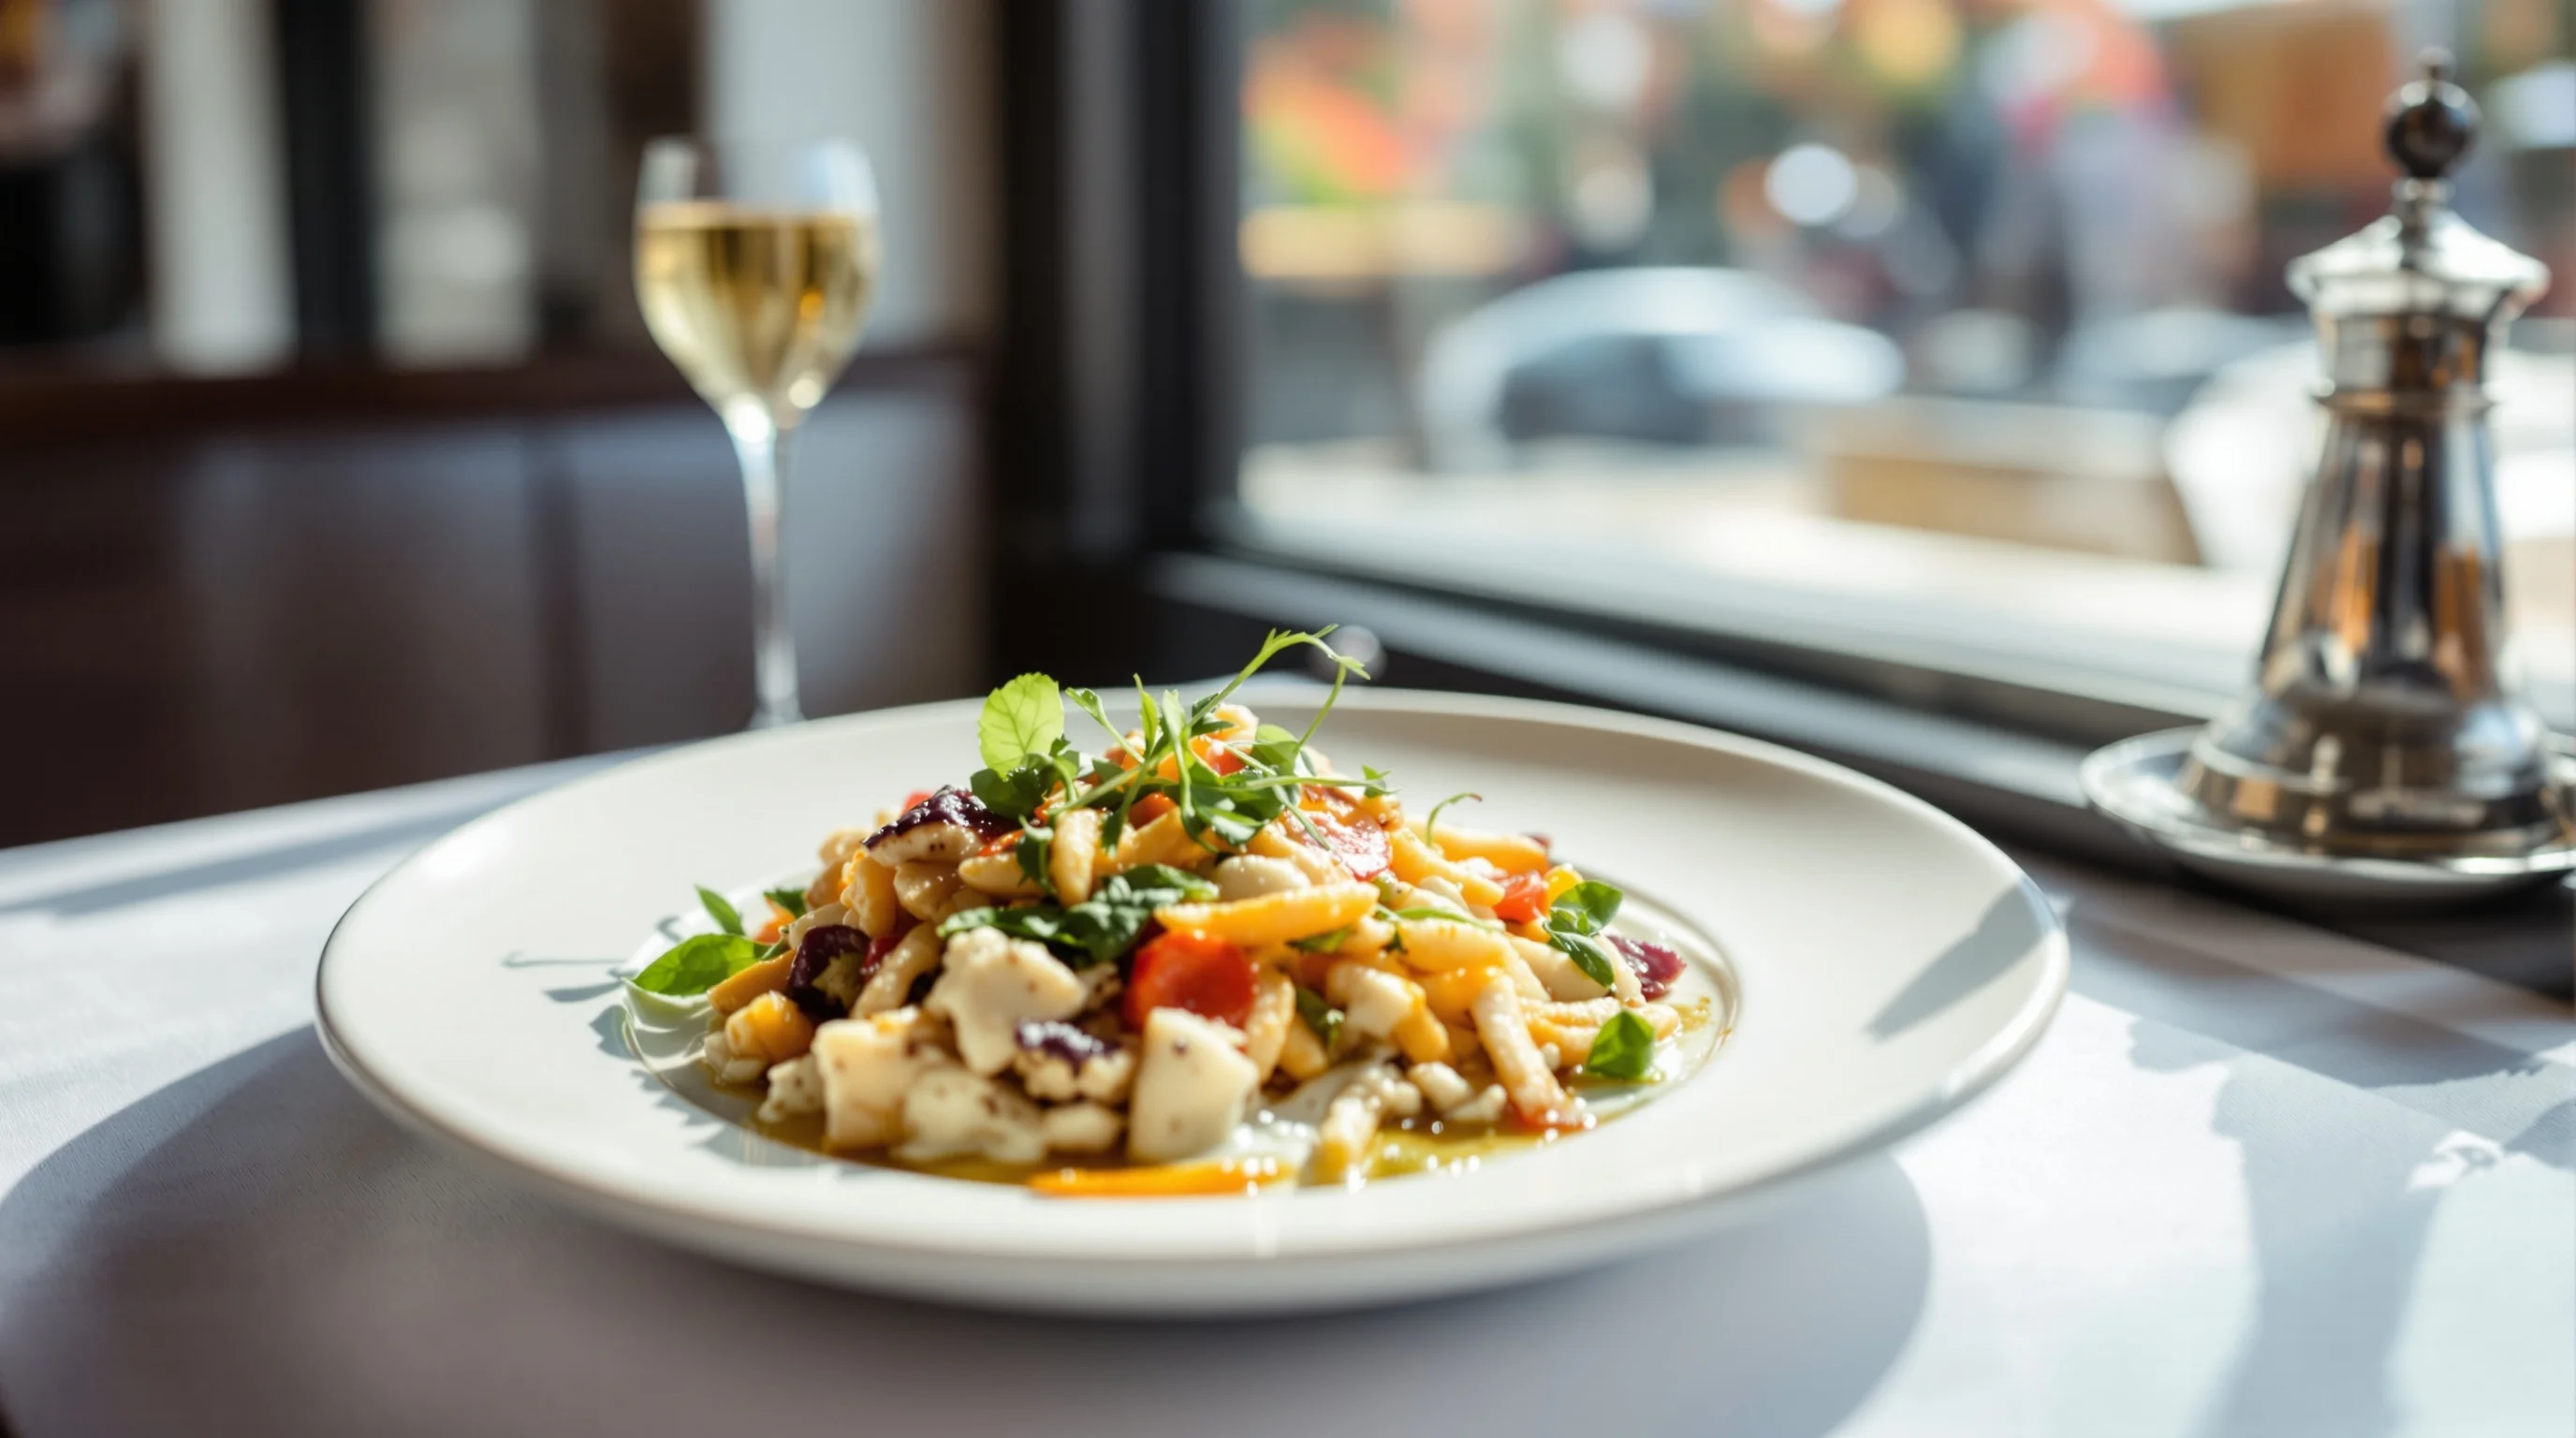
Creative ambient and decor lighting: use the room to your advantage
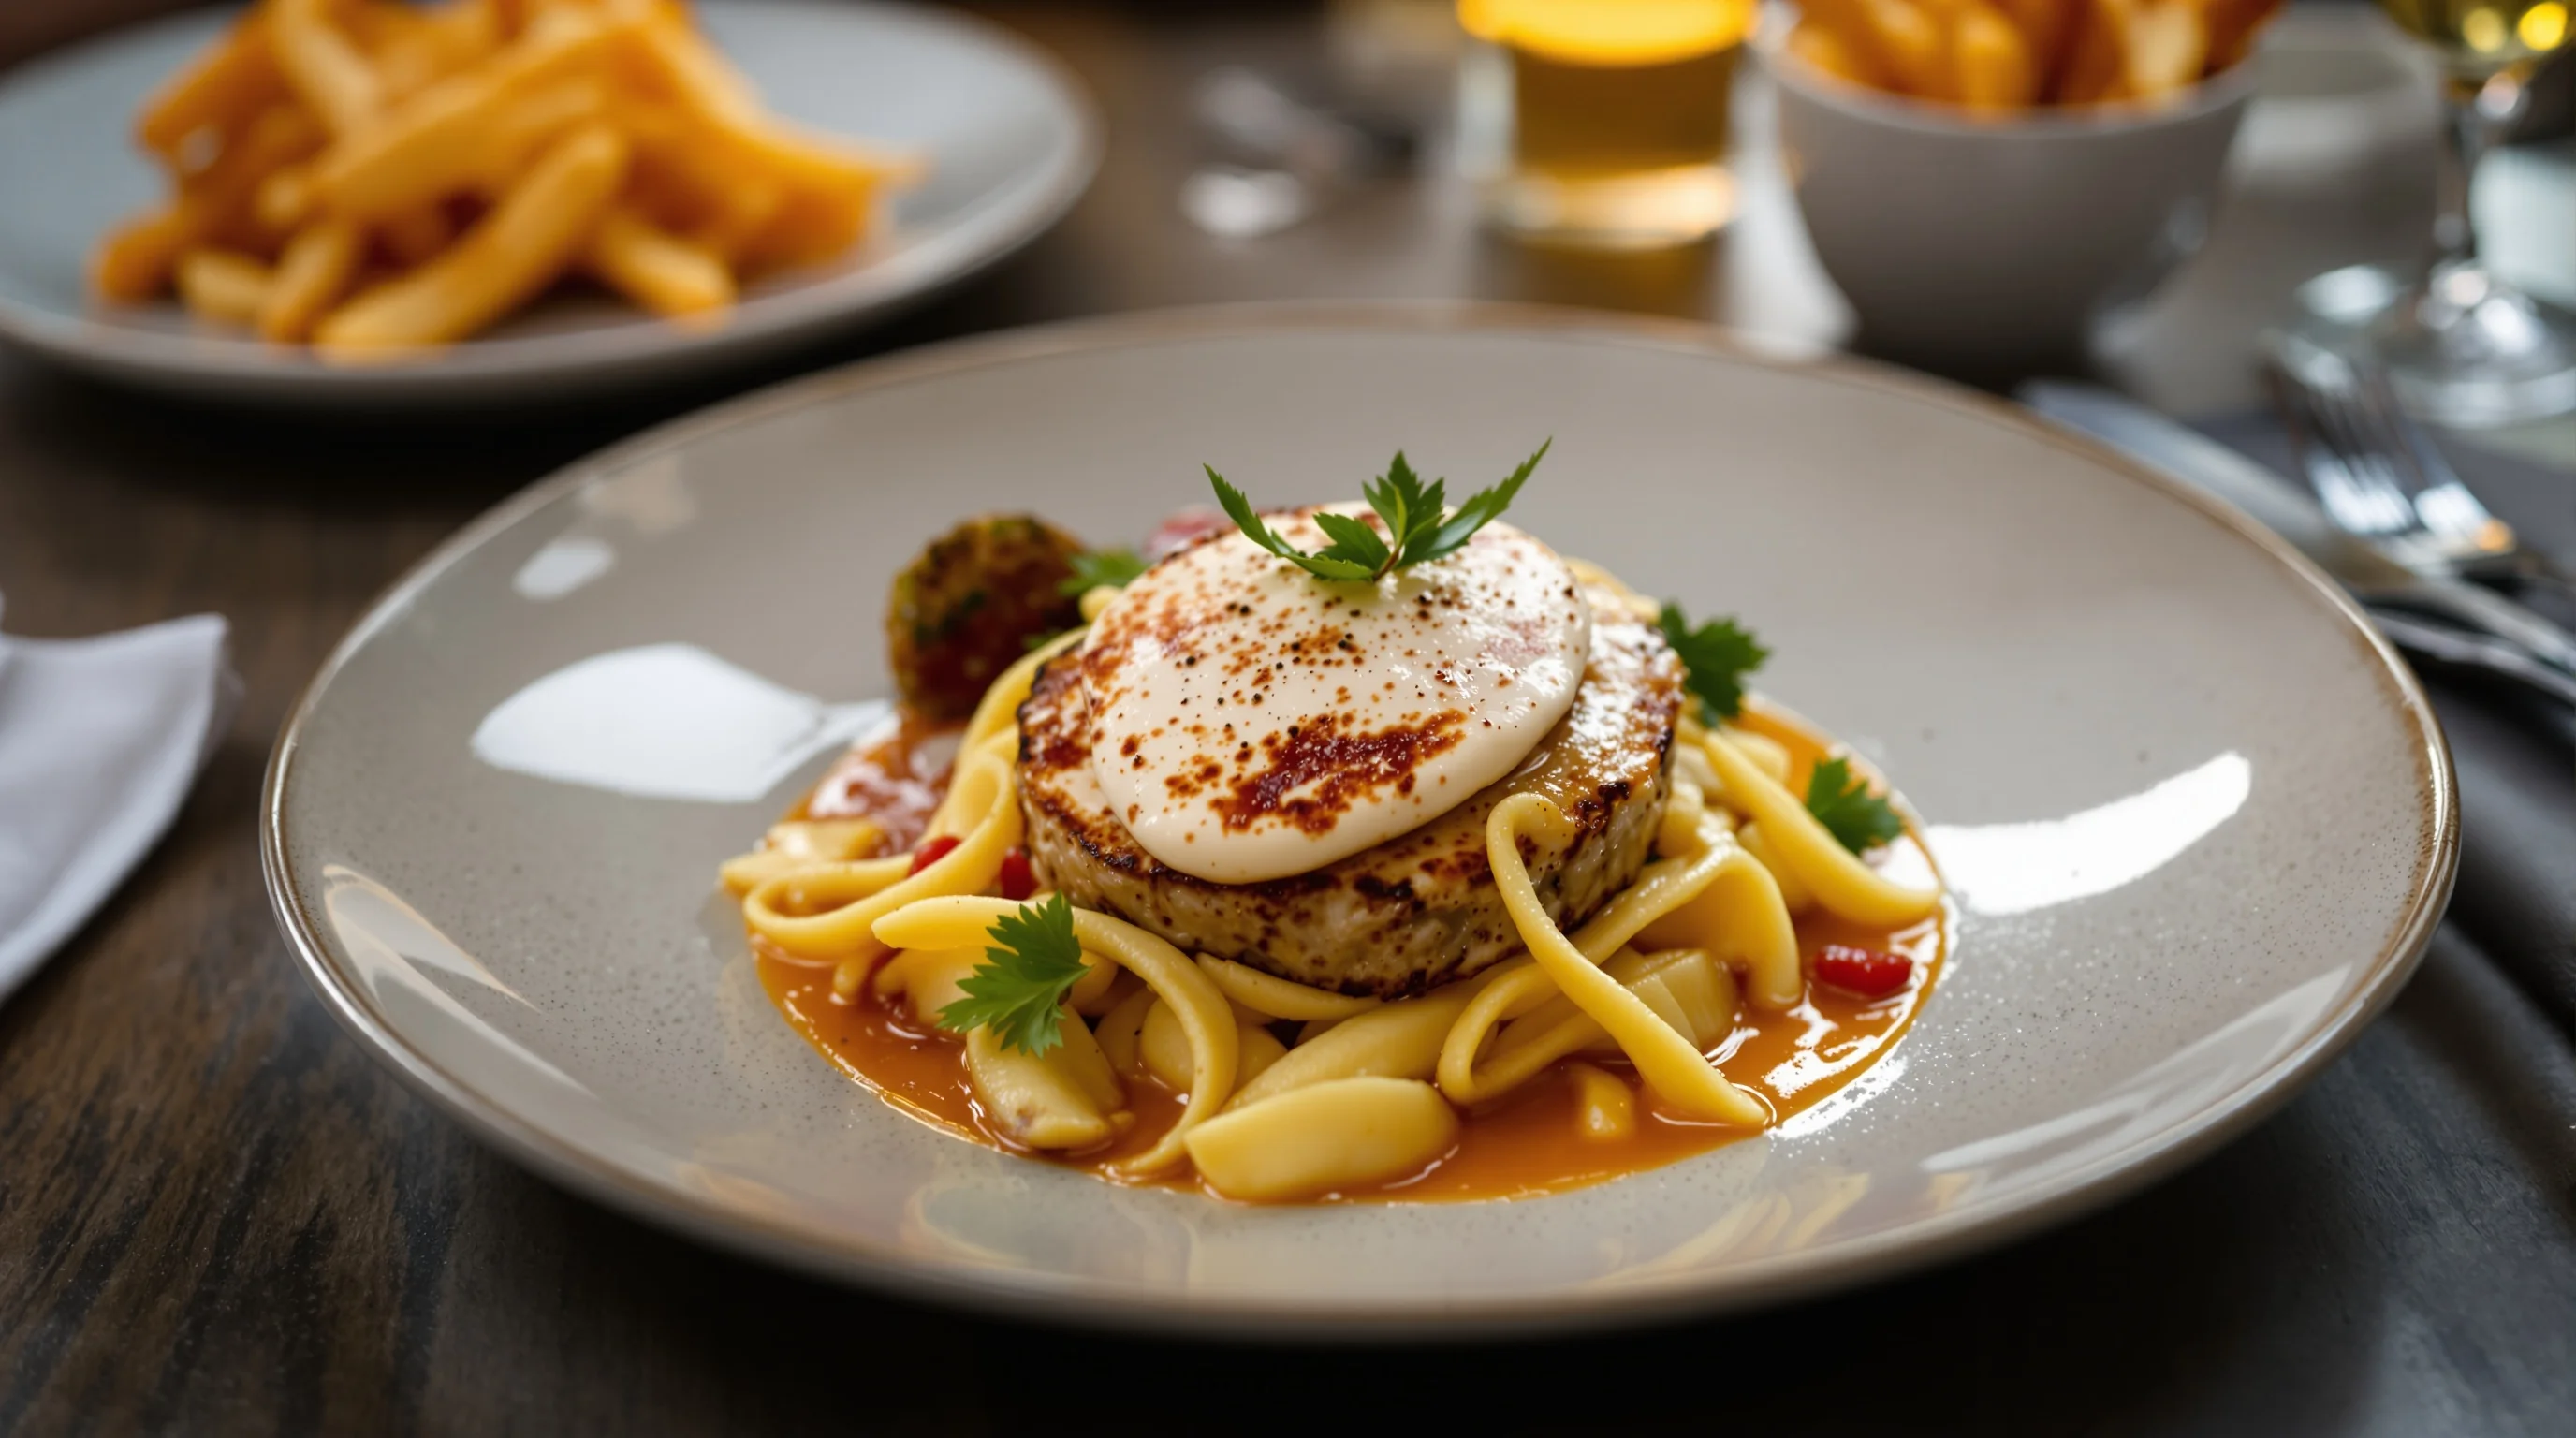
Restaurants often have interesting ambient lights — candles, filament bulbs and accent lamps. Rather than fighting them, use these fixtures as creative elements. Candles create warm, intimate highlights and can make desserts and drinks feel more inviting. Keep a soft fill light available to prevent deep shadows when using warm ambient sources, and set white balance to match the primary light. This approach addresses a common pain point: mixed color temperatures that leave photos looking yellow or muddy.
"Over my 15 years photographing food in countless restaurants, I’ve learned one thing above all else: light is everything. It’s the magic ingredient that transforms a simple dish into a mouthwatering masterpiece on camera." — Glenn Bisdee Photography. Use ambient lighting deliberately and add small controlled sources to shape the mood without washing out color.
DIY reflectors, diffusers and quick fixes that actually work
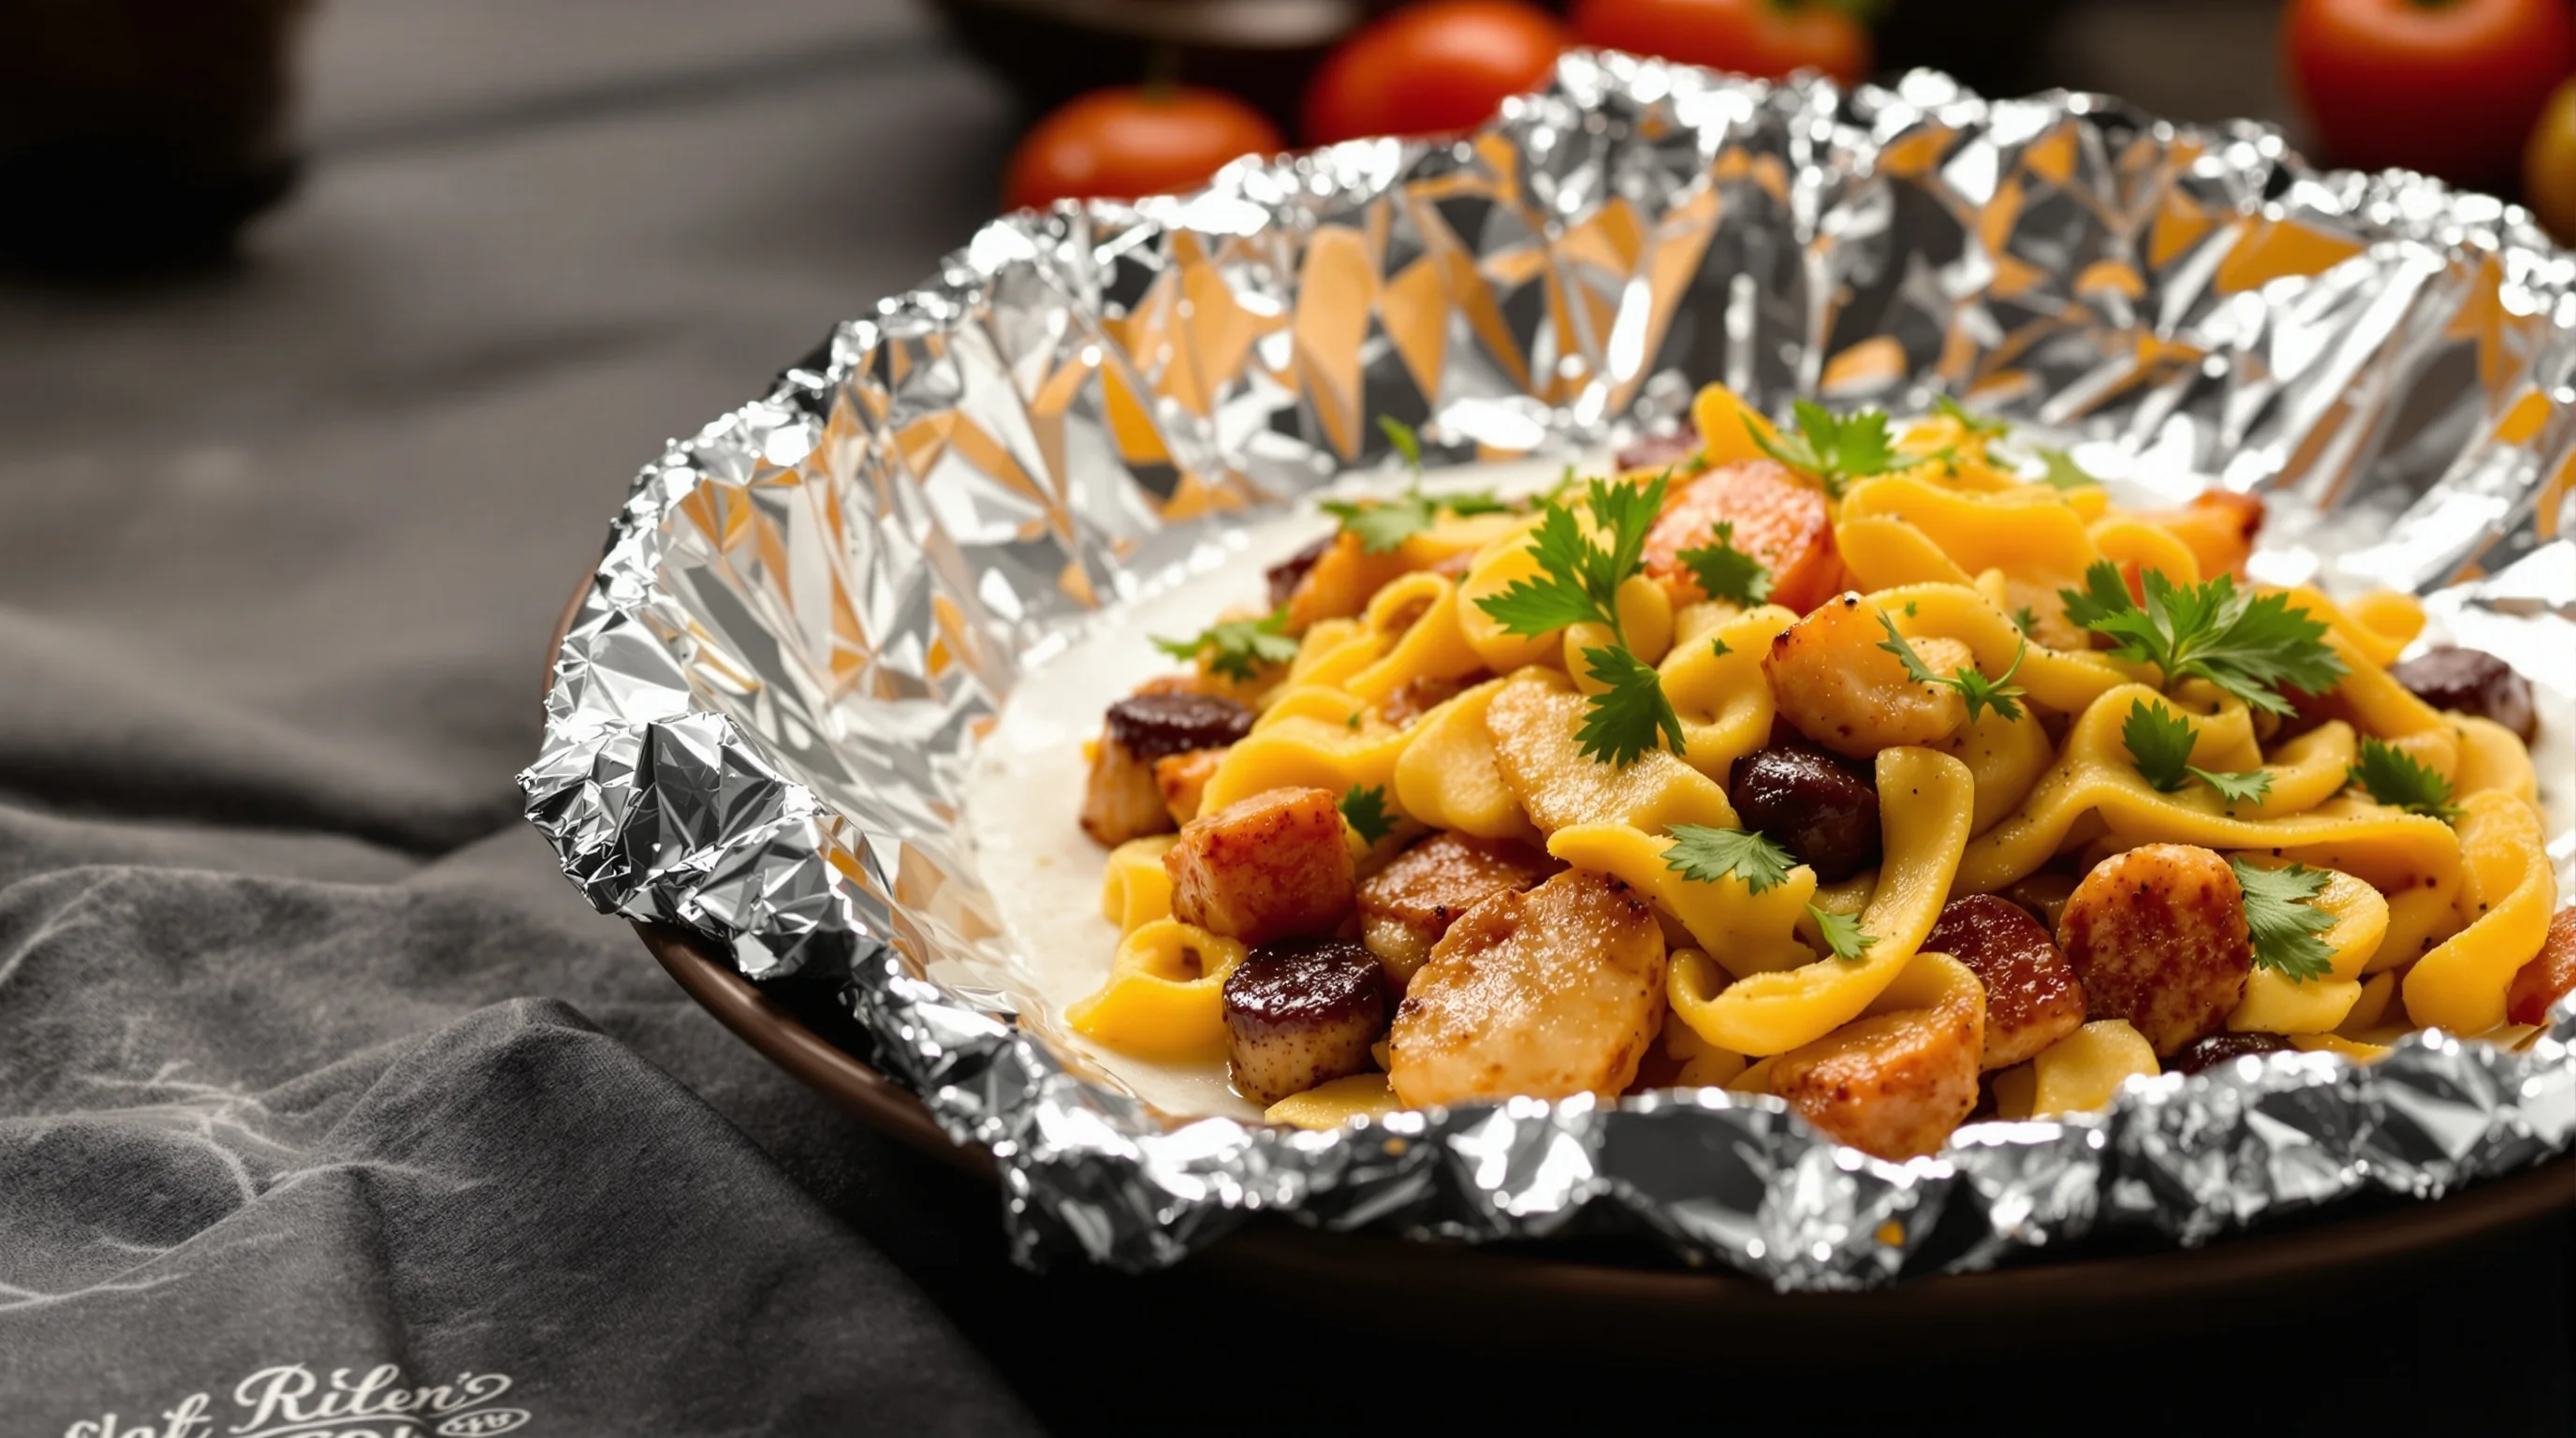
Common tools are low-cost and highly effective. A piece of baking parchment, menu paper, or a white napkin becomes a diffuser when held between a lamp and the dish. Aluminum foil, shaped into a subtle curve, provides a controlled highlight for sauces and glazes. White foam board or a folded menu works as a reflector to lift shadows. Nikon specifically recommends using simple white surfaces to bounce light and soften shadows — exactly the practical solutions staff can deploy during a busy shift.
- White napkin or menu card as a reflector
- Baking parchment as a diffuser over harsh fixtures
- Aluminum foil curved as a small accent reflector
- Clip-on LED with diffuser for smartphone use
These DIY fixes solve common pain points: dim ambient light, harsh overheads and lack of professional gear. They also save time compared with scheduling a professional shoot or learning complex lighting setups.
Post-shoot fixes: quick edits and AI enhancement for tough images
Even with the best in-service technique, some images need polish. Avoid over-editing; instead apply small adjustments to exposure, highlights and white balance. For teams without editing expertise, modern AI tools offer instant, reliable fixes. YummyPic’s AI instantly enhances lighting, color and vibrancy of any food photo, correcting flat or yellow-tinted images with one click. If staff shoot quick smartphone snaps during service, use YummyPic to transform them into professional images suitable for DoorDash, Grubhub and Instagram.
YummyPic addresses common restaurant pain points: dim ambient light, lack of equipment and limited staff time. No expensive gear or editing skills needed — smartphones plus YummyPic produce consistently appetizing food photos that can increase orders and improve online presence.
- Speed: professional photos in seconds
- Cost-effective: fraction of a photographer’s cost
- Multiple styles: bright & airy to dark & moody
Practical workflow: from plate to platform
A repeatable workflow saves time: 1) Pick a window or well-lit table, 2) Stage with minimal props and set a reflector, 3) Lock exposure on your phone and shoot multiple angles, 4) Quick-edit or run images through YummyPic, 5) Export platform-specific crops for DoorDash, Grubhub or Uber Eats. Including a photo with a menu item increases sales by about 6.5% according to Upmenu — a small process change can produce clear ROI.
For platform guidance and technical specs, check our service pages for optimized results: DoorDash Photography, Grubhub Photography, and Uber Eats Photography.
Quick checklist: seven lighting items to keep in your service kit
- Small clip-on LED or puck light
- White foam board or folded menu as reflector
- Baking parchment or translucent menu sheet as diffuser
- Neutral gray card for white balance
- Phone tripod or grip
- Spare napkins to shape highlights
- Access to an AI tool like YummyPic for instant fixes
A compact kit like this fits in the manager’s drawer and can turn a rushed snapshot into a marketable image. If you plan larger shoots or want to learn professional techniques, see our How to Plan a Restaurant Food Photoshoot checklist.
Conclusion
These 7 Restaurant Lighting Tricks for Better Food Photos are practical, low-cost and tailored for real restaurant pressure. Use side light, bounce shadows with simple reflectors, avoid direct flash, and leverage smartphone accessories. When in doubt, use AI enhancement to correct remaining exposure and color issues — YummyPic is built for restaurants that need speed, affordability and consistent quality. Good lighting plus small workflow changes can boost orders, improve menu conversions and make your dishes irresistible online.