Introduction: Professional food photography is no longer optional — it is a core part of how diners choose where to eat. According to research from Mondelez International Foodservice, 75% of diners report choosing a restaurant based on the photos they see. High-quality images elevate a brand’s perception, build trust and can directly boost orders and bookings. In fact, Soocial reports that adding professional dish images to menus and apps can increase sales by around 30%. This guide explains how to plan a restaurant food photoshoot end-to-end: defining objectives, creating a shot list, scheduling around service, choosing lighting and props, and capturing platform-ready images. Whether you are hiring a pro or doing a DIY smartphone shoot, these steps will help you get appetizing, on-brand images that convert.
Start with clear objectives and brand concept
Before you touch props or call a photographer, define the shoot’s purpose. Are the images for a menu update, delivery platforms, social media campaigns or a seasonal promotion? Your concept should reflect the restaurant’s personality—bright and airy for a cafe, moody and dramatic for a steakhouse. A clear brief helps create a consistent set of photos that work across platforms (web, Instagram, DoorDash, Grubhub, Uber Eats). Include target formats, aspect ratios and where the images will live; that makes on-the-day decisions faster and reduces costly re-shoots.
“Start by defining the goal of the photoshoot (menu update, social media, etc.) and then build your shot list around that concept.” — Source: LALA Communications. Use that goal to select a small set of hero dishes, secondary items, and ambiance shots. For restaurant menu photography, prioritise top-sellers and visually compelling dishes that represent your menu’s diversity.
Build a practical shot list and schedule
A detailed shot list is the backbone of any successful restaurant food photoshoot. Group shots by lighting and location to minimise setup time: for example, do all natural-light window shots together, then move to moody tabletop images. Each entry should include the dish name, angle (three-quarter, overhead, macro), props, intended crops (square, 4:3, 16:9), and platform destination. This reduces decision fatigue and speeds the shoot.
- Prioritise 6–10 hero dishes that will appear on menus and delivery platforms.
- Specify angle and crop for each dish (e.g., overhead for bowls, 45° for plated mains).
- Add timing and prep notes — e.g., “garnish just before shot; steam prop ready.”
- Assign a time window per shot and buffer for re-styling (10–20 minutes per hero).
- Schedule the shoot during off-peak hours or a closed day to avoid service disruption.
Scheduling around service is essential. Aim for early morning, late afternoon or a private day when the kitchen can focus on plating for photos. If a daytime shoot is required, block tables and coordinate with front-of-house so the photoshoot doesn’t affect paying customers. For quick delivery-photo updates, batch smartphone images during a slow window and enhance later in post-production.

Choose equipment, lighting and camera settings
Lighting is the single most important technical decision. Natural light is ideal for food photography; supplement with soft artificial light when you need more consistency or control. “Natural light is ideal for food photography; supplement with soft lighting if needed to control highlights and shadows.” — Source: LALA Communications. Use diffusers to soften window light and small reflectors to fill shadows. A 50mm or 35mm prime (or the mobile equivalent) gives natural perspective with pleasing depth of field.
Key gear essentials: tripod, fast prime lens or steady smartphone mount, small LED panel with softbox, reflectors, and small spray bottles for sheen. If you need lens guidance, see our What Lens for Food Photography guide. For compact support options, our tripod guide recommends stable but portable stands for restaurants.
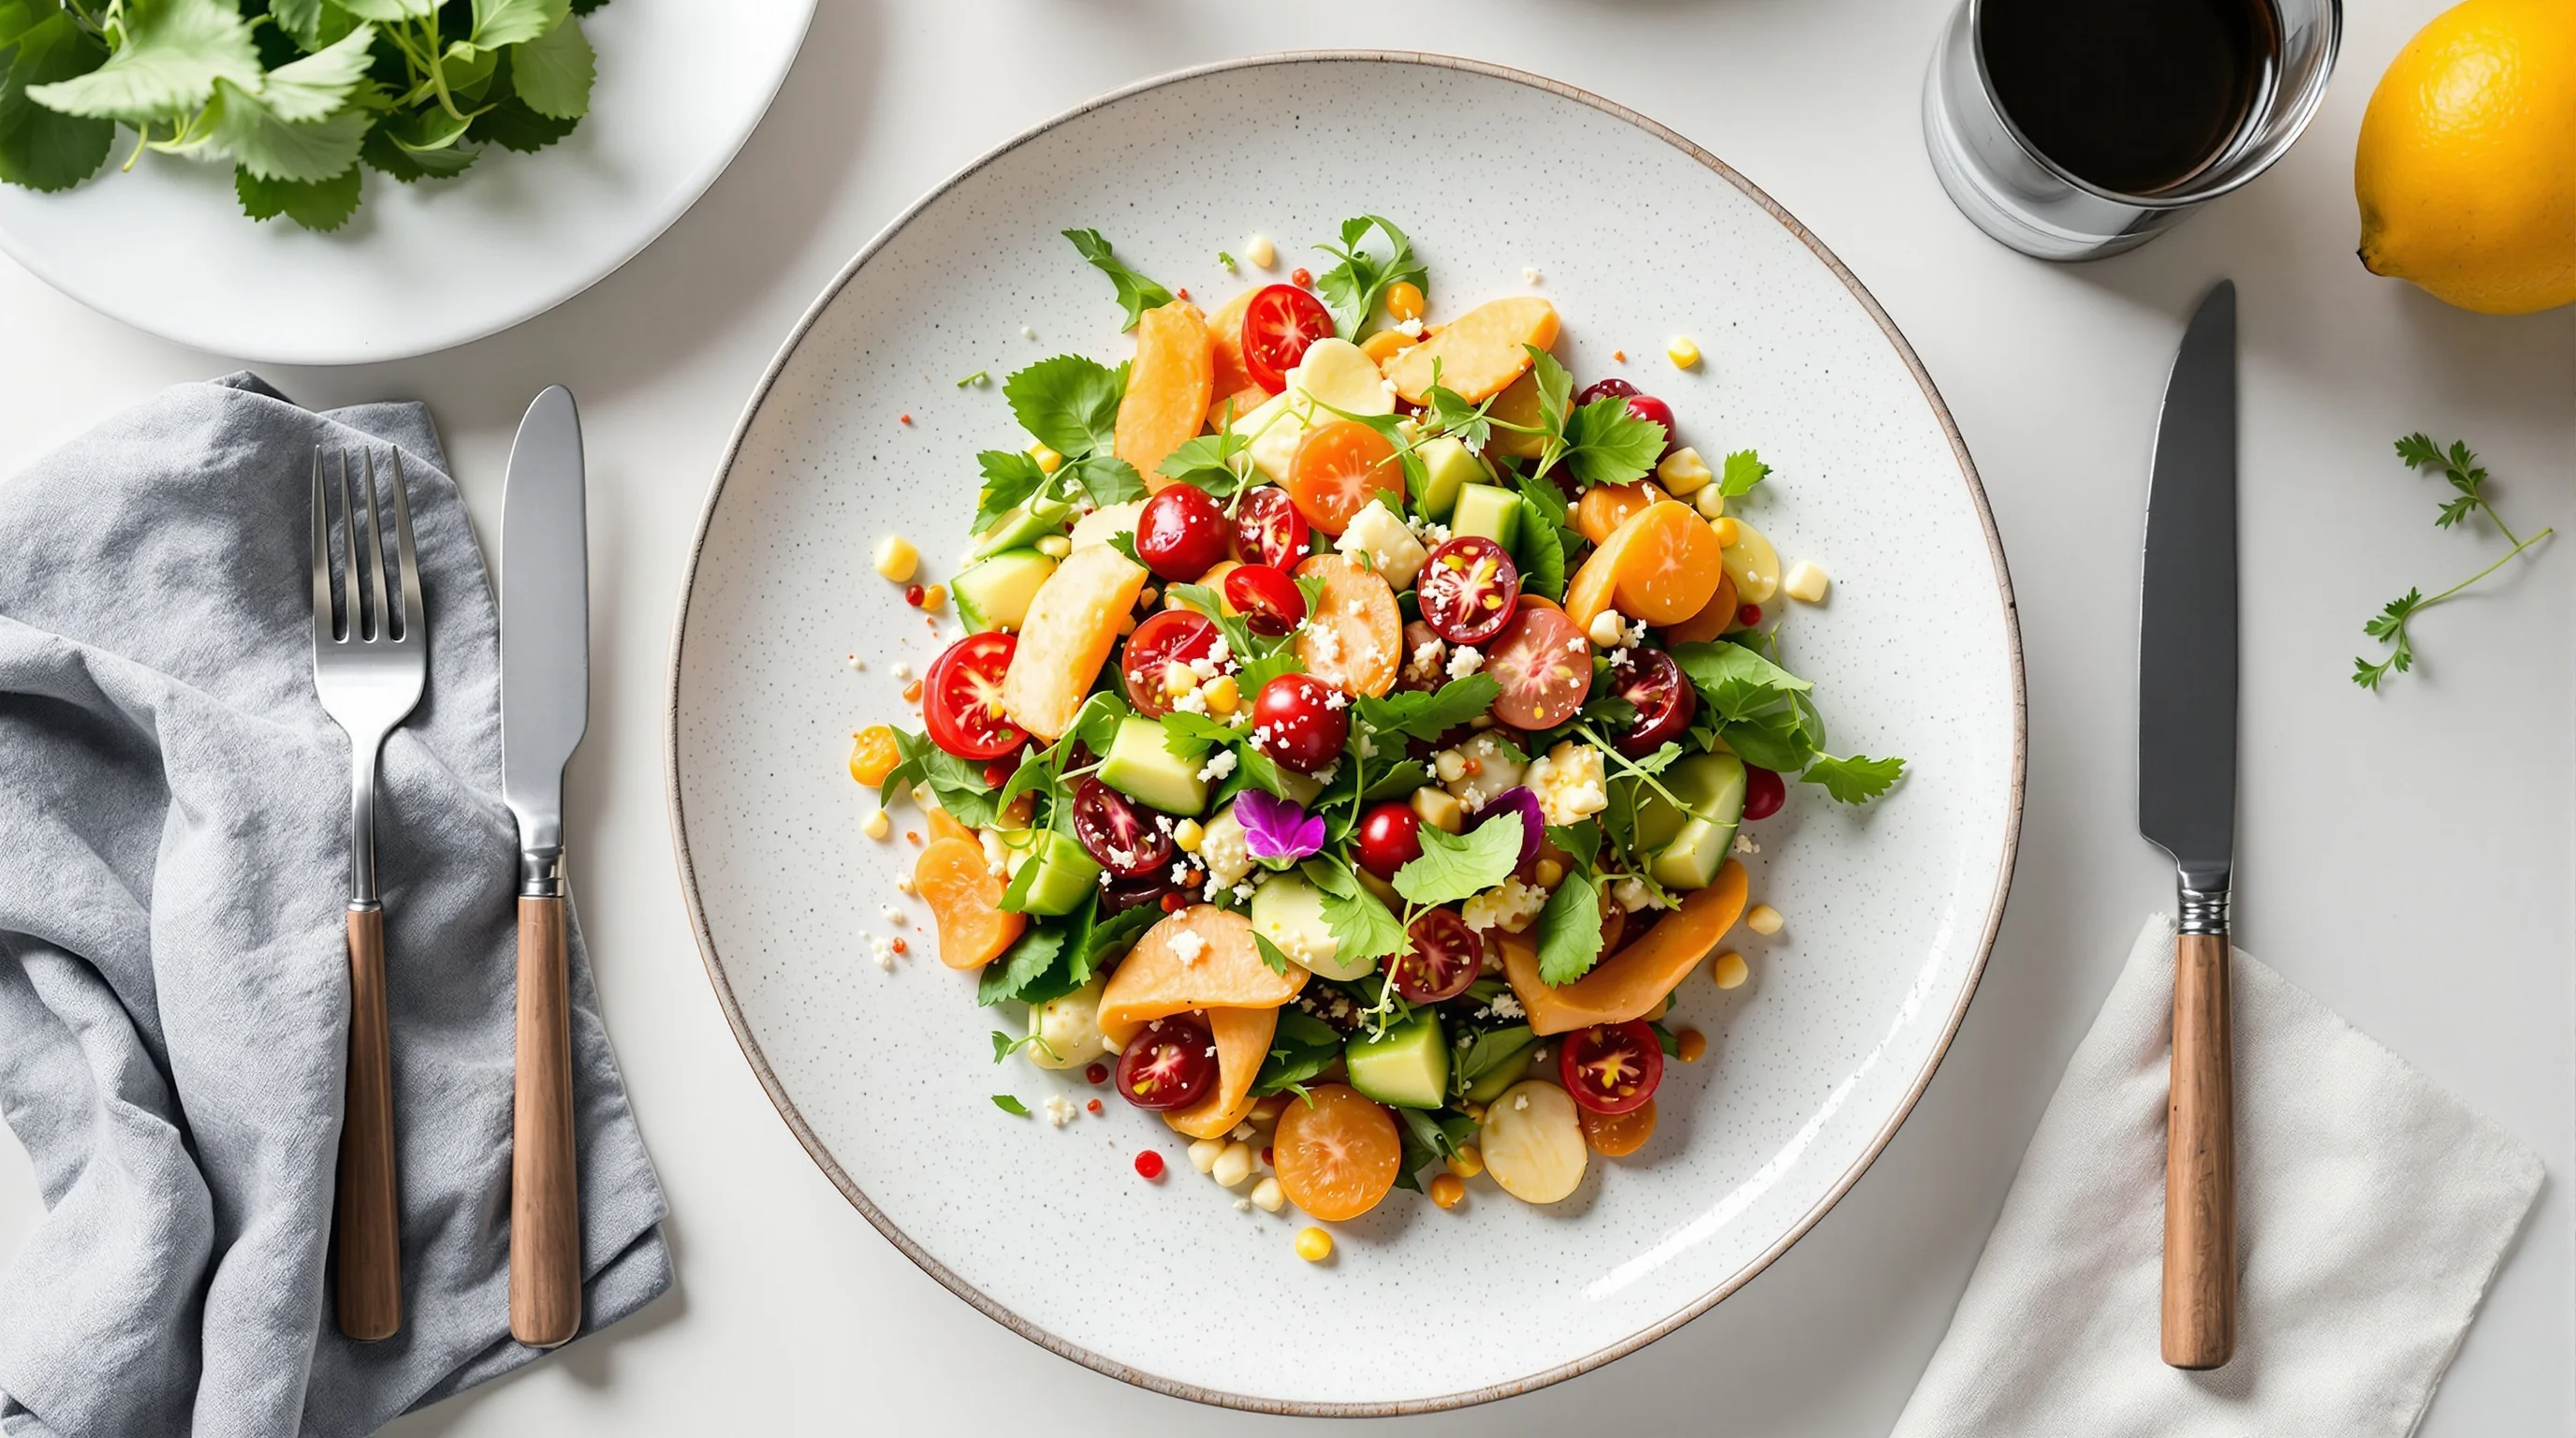
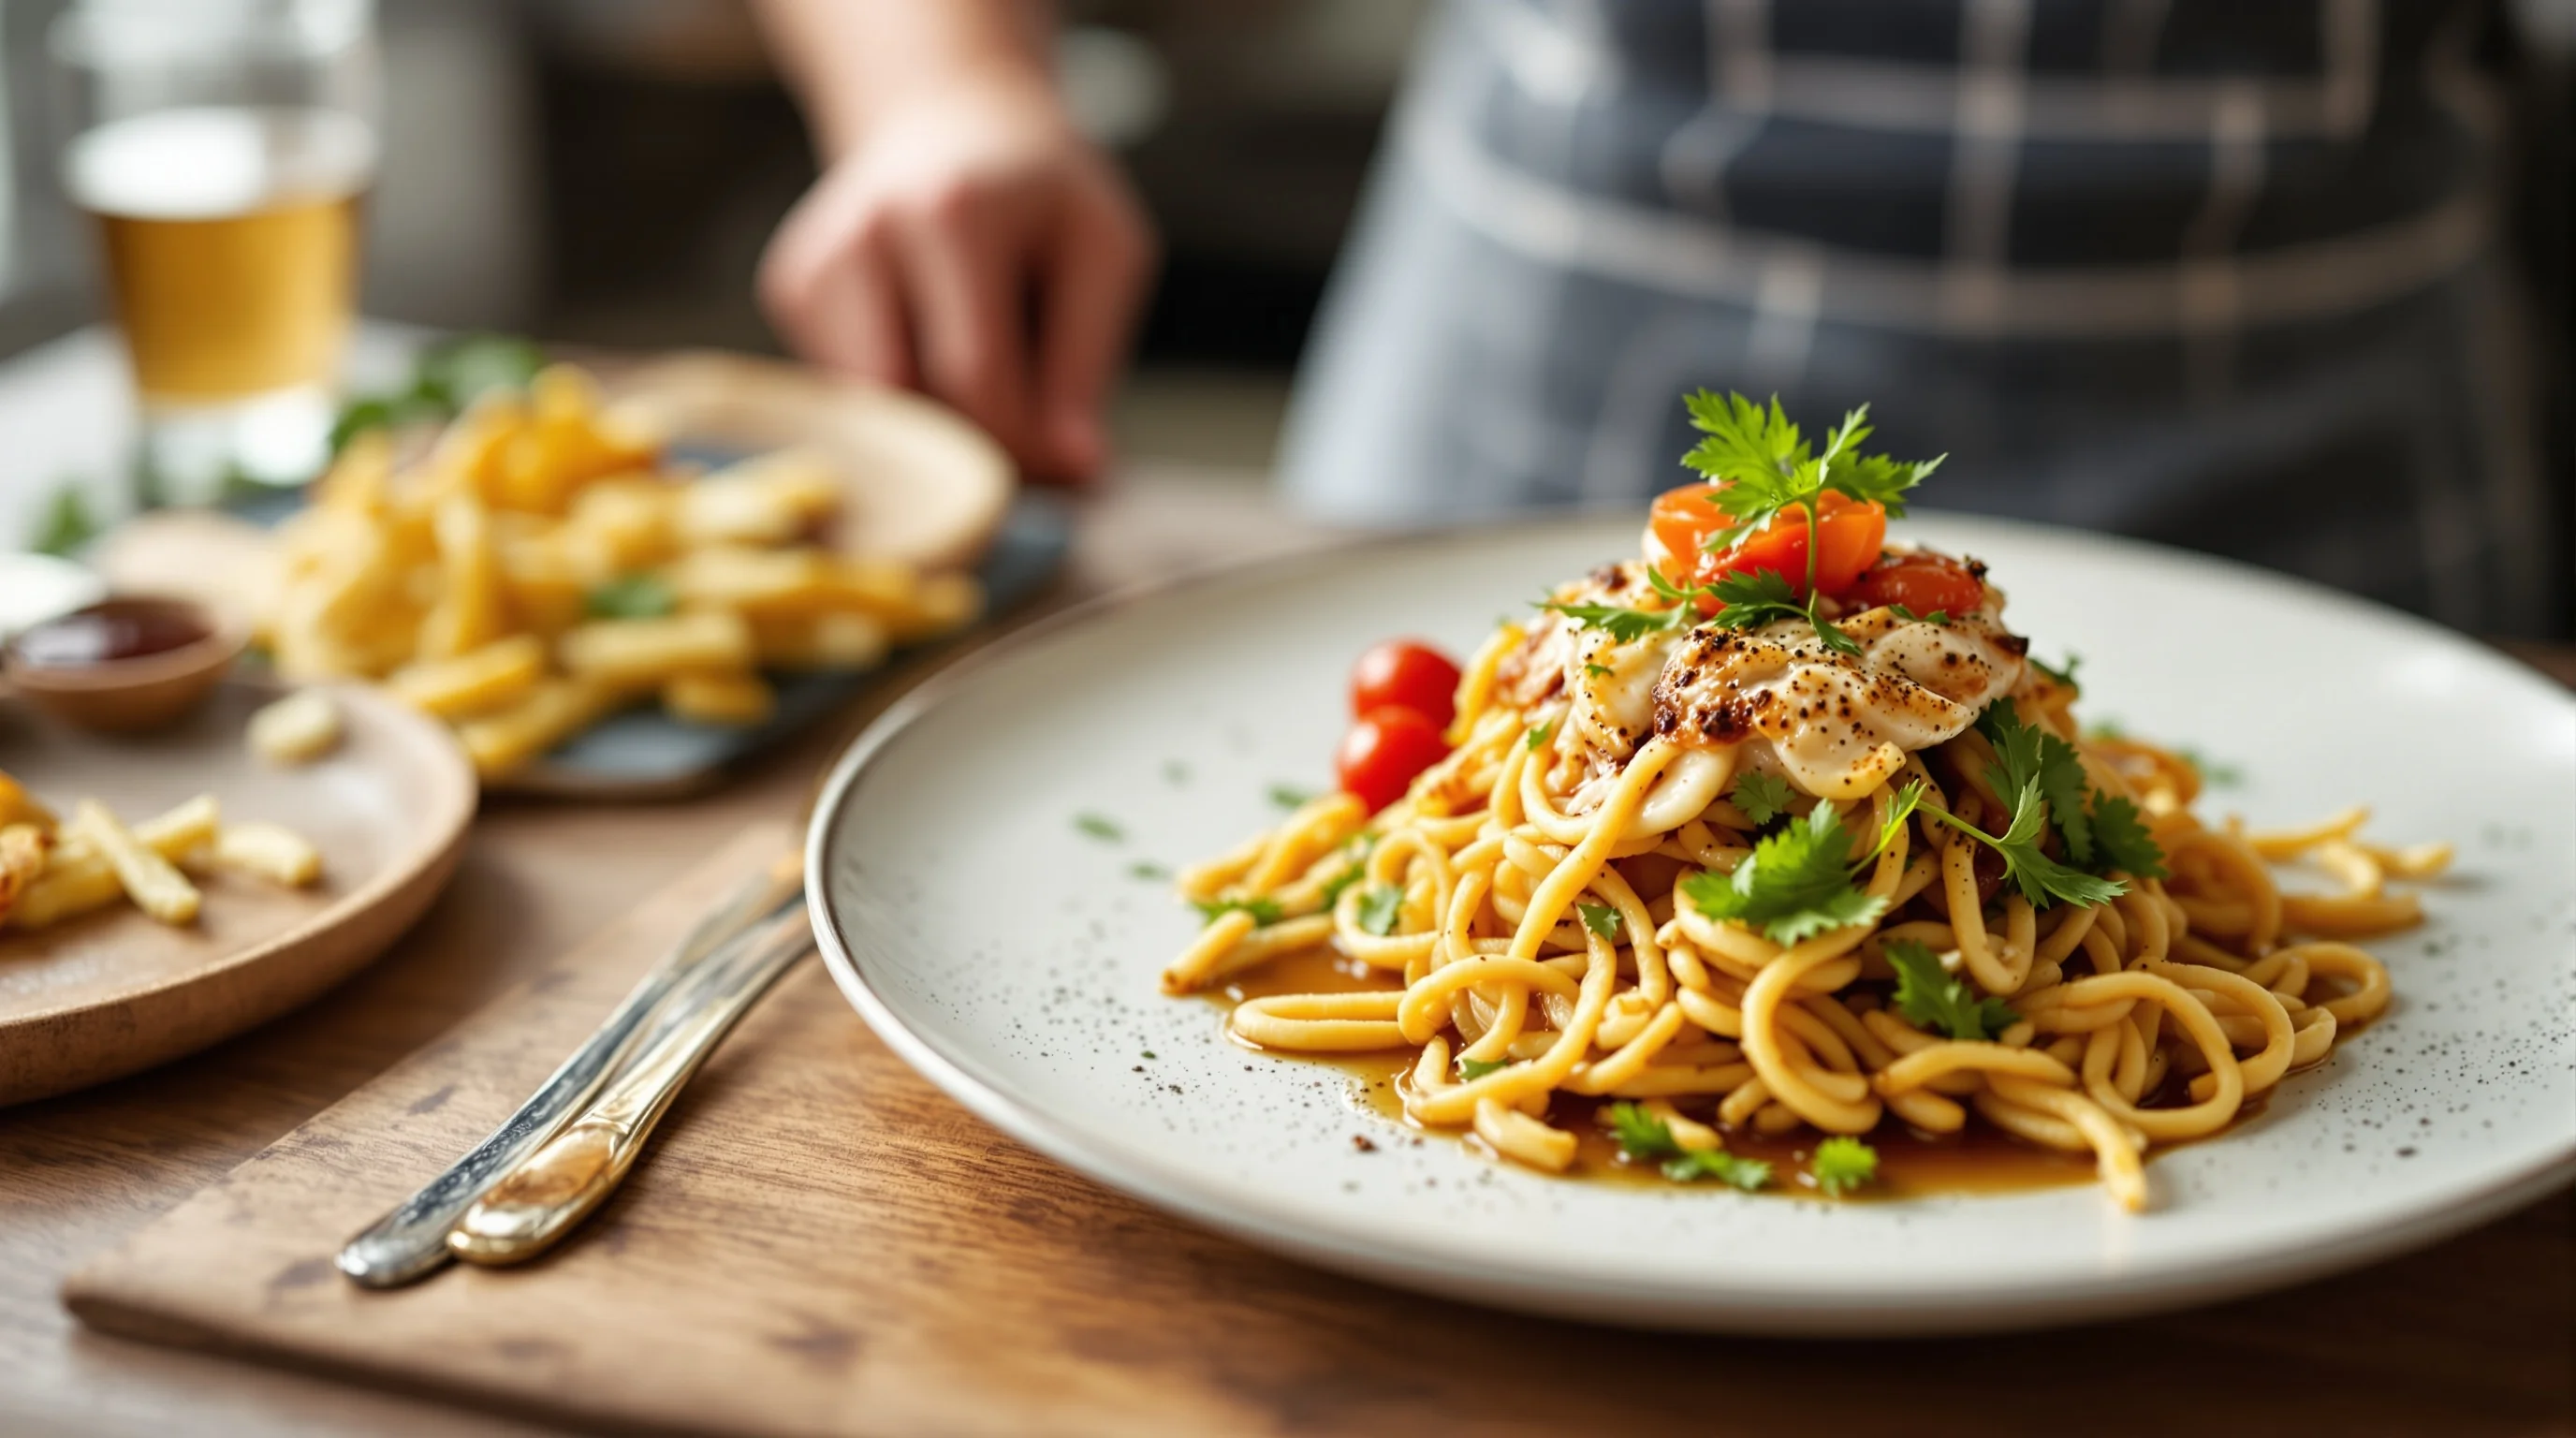
Food styling, props and composition that sell
Styling is where plates become photographs that make mouths water. Use fresh garnishes, wipe rims, and build layers (base, protein, sauce, garnish) to create depth. Composition rules like the rule of thirds, leading lines, and negative space help direct attention to the hero element. Rotate plates or props slightly rather than forcing symmetry; small asymmetries feel natural and appetising.
Source props that match your brand: rustic boards for casual concepts, clean linens for fine dining. Our food photography props guide explains affordable, reusable options and DIY alternatives perfect for restaurant shoots.
💡 Pro Tip
For menu and delivery photos, minimal, clear composition often outperforms busy, styled shots. Keep one hero element per frame for thumbnail clarity on apps.
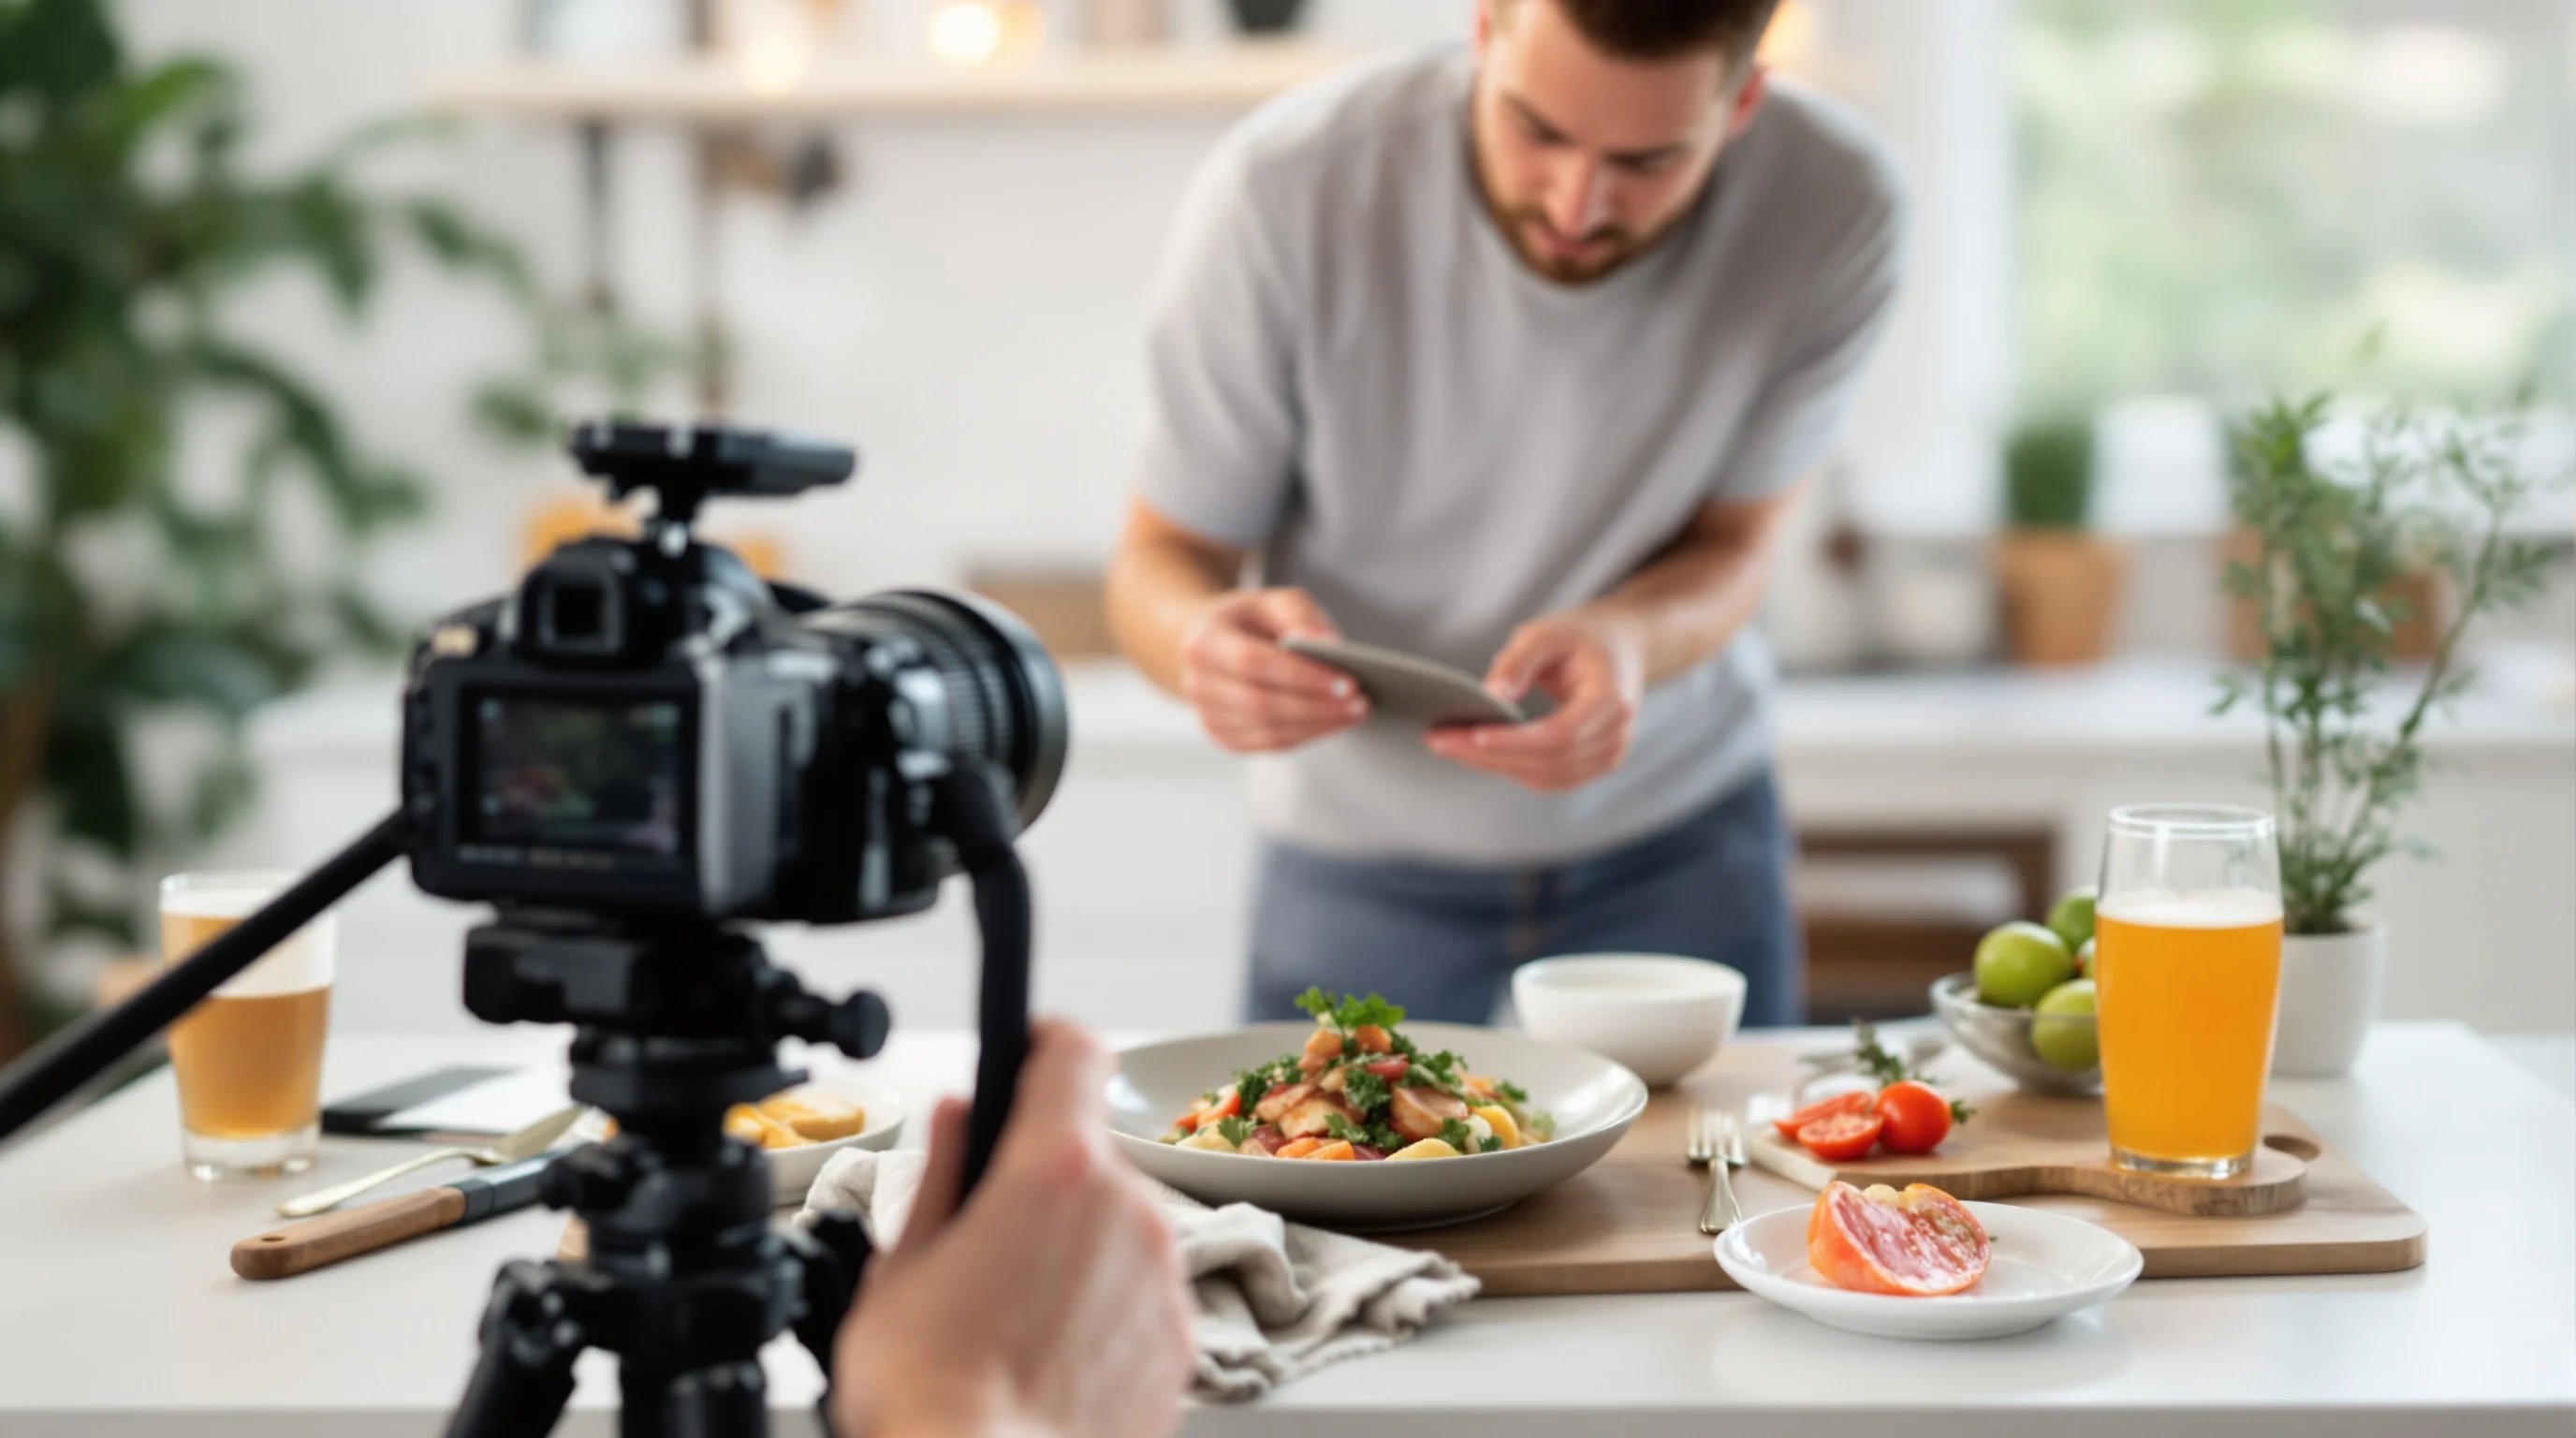
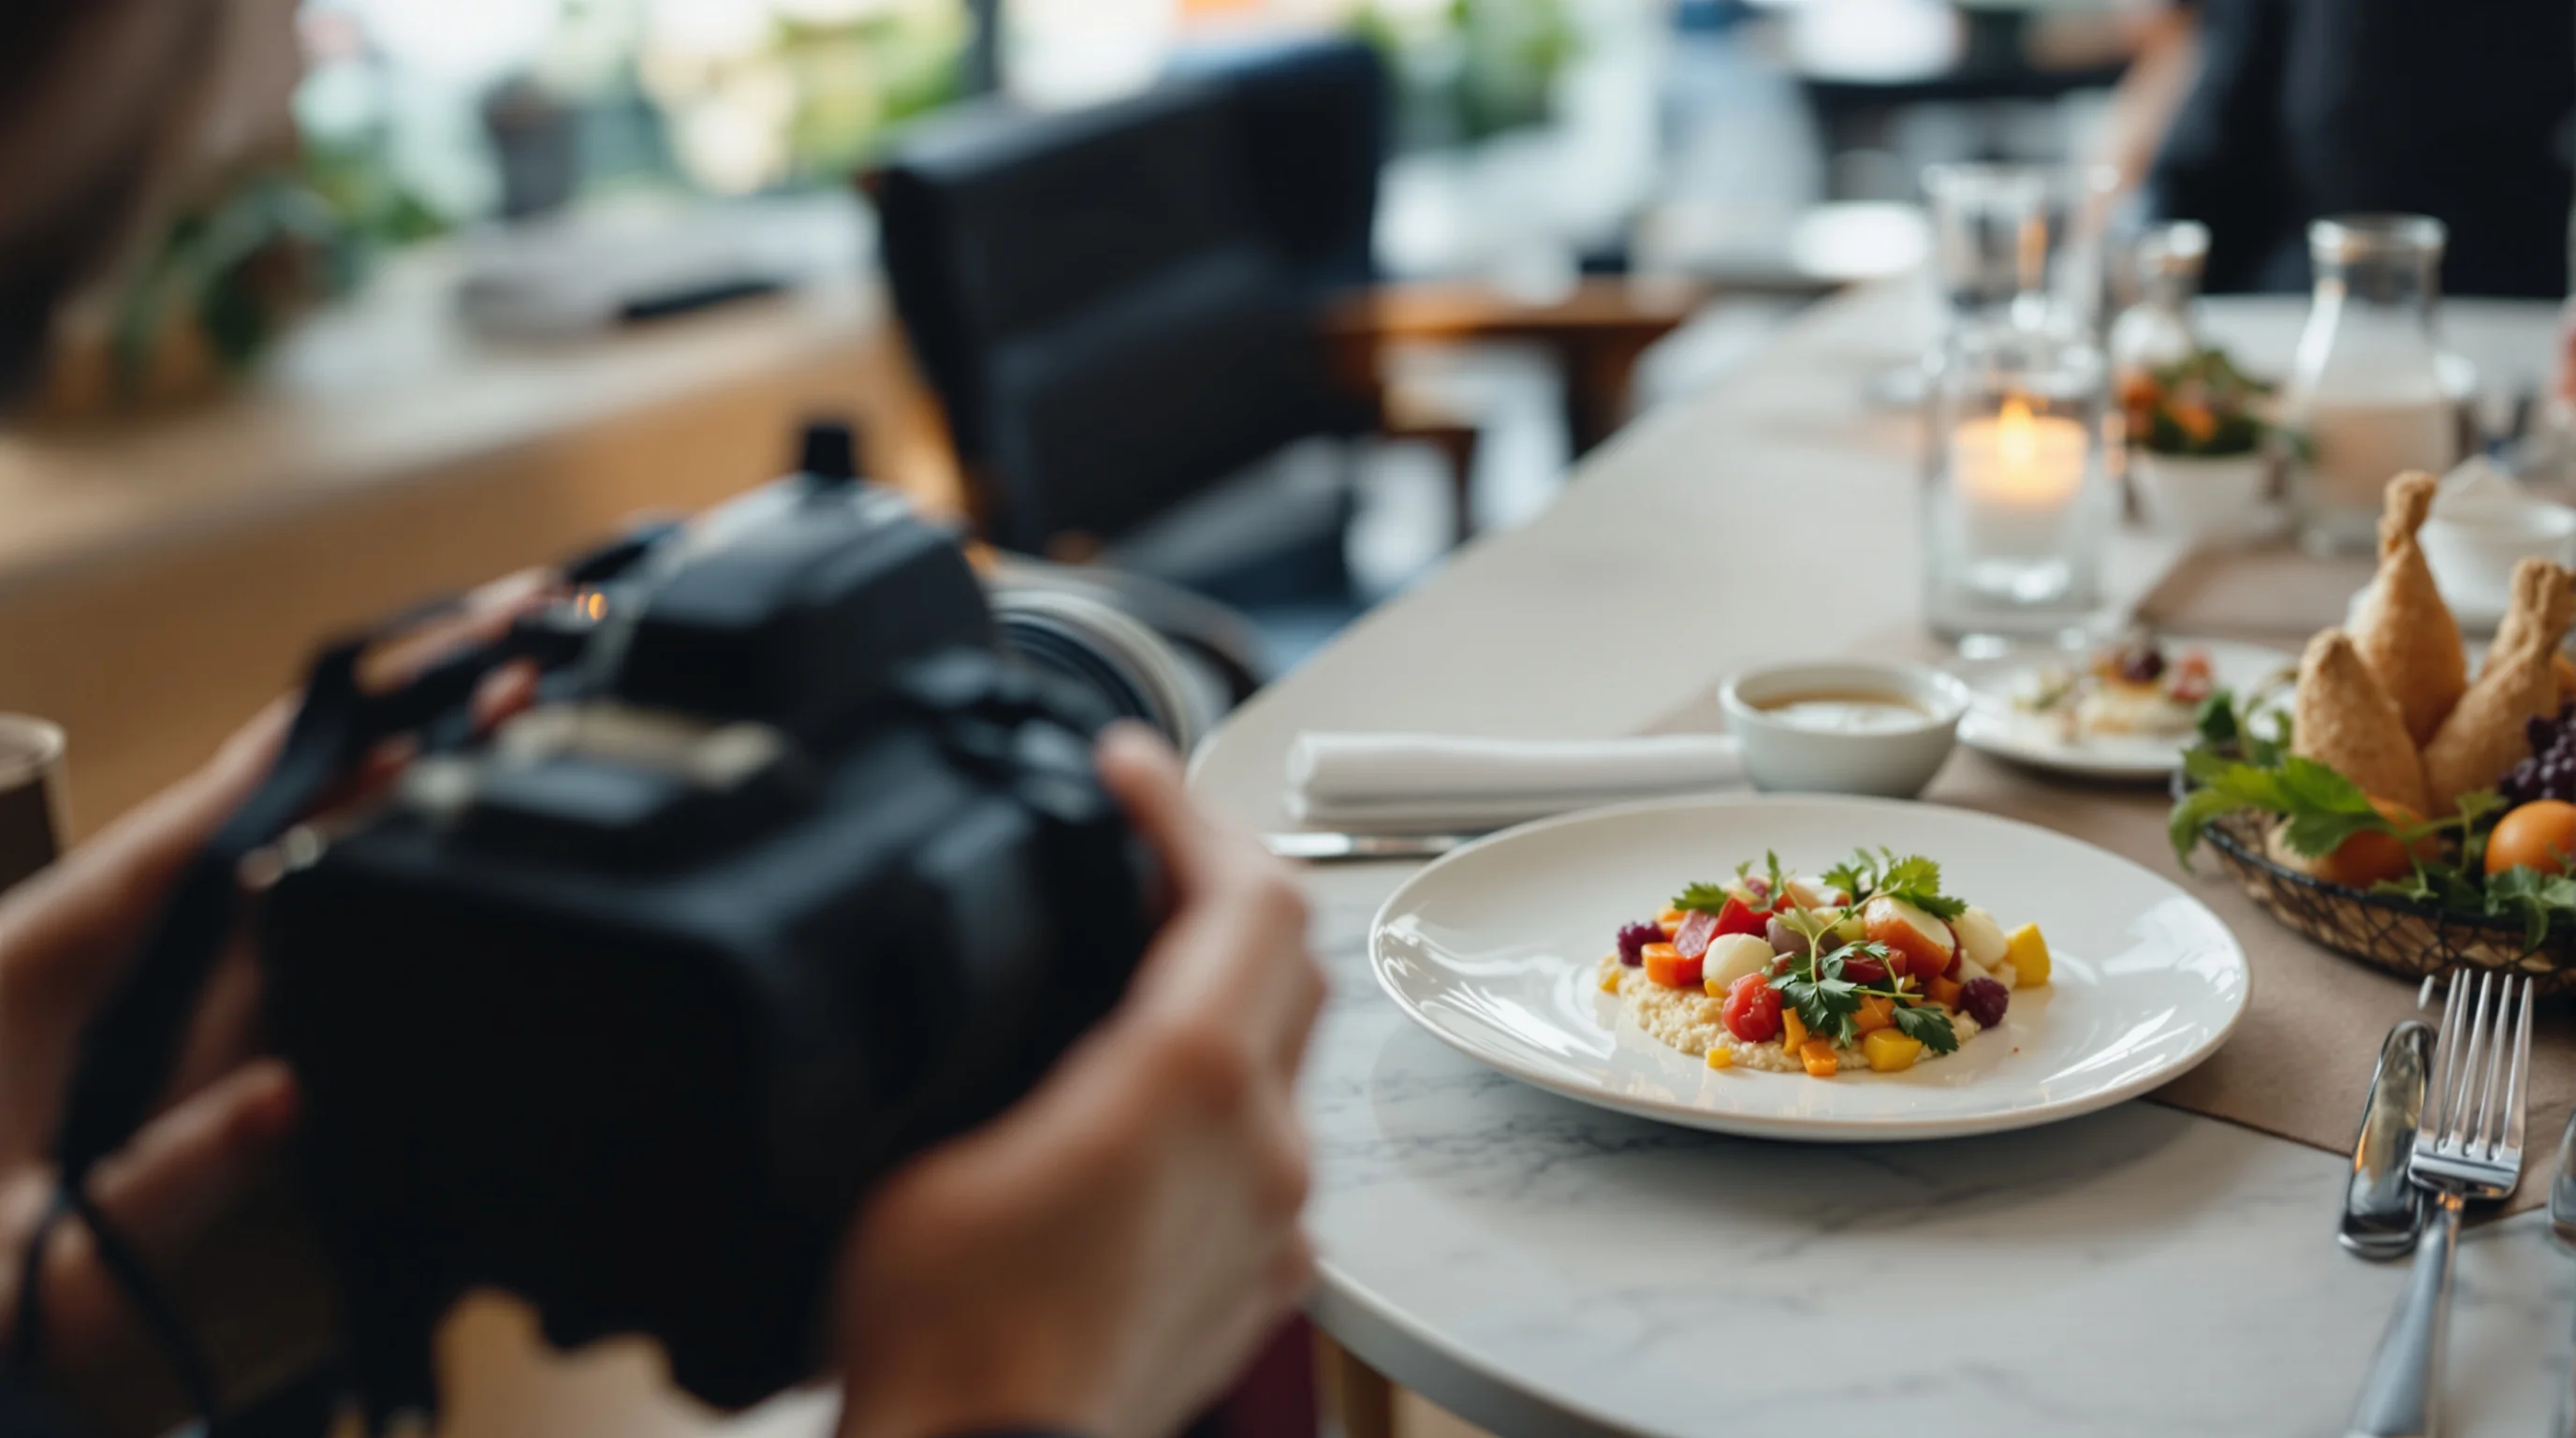
On-set workflow: how to minimise disruption and speed the shoot
An efficient on-site workflow balances quality with the realities of a working kitchen. Assign a single kitchen liaison who will prepare plates to spec, and have a stylist or server handle plating and last-minute touches. Prepare mise-en-place for each shot to avoid re-cooking. Use a staging table near the shoot area so dishes move from pass to camera in under two minutes.
Communicate clear timing with staff: confirm when the kitchen will prioritise photos, what dishes are being produced, and when service resumes. Consider taking ambiance shots (interior, staff-at-work) before service for authentic lifestyle images that support your brand story.
Budgeting, pricing and measuring ROI
One common gap in online guides is concrete budgeting and ROI. Photography costs vary: a pro half-day shoot with stylist can range from modest to premium depending on market and deliverables. Consider the outputs you truly need—hero menu photos, several social crops, and platform-specific crops—and price per finished image rather than per hour. Remember: Soocial data shows professional dish images can increase sales by approximately 30%, making well-scoped shoots an investment rather than a cost.
If budgets are tight, use hybrid approaches: capture good raw shots on-site and outsource editing, or enhance smartphone images with AI. YummyPic offers a cost-effective alternative: AI-powered restaurant photography that transforms simple images into high-quality, platform-ready photos instantly. This can reduce shoot costs and deliver quick returns while maintaining visual consistency across DoorDash, Grubhub and Uber Eats.
- Full pro shoot: best for rebranding and complete menu updates.
- Hybrid: on-site capture + AI or professional editing — lower cost, fast turnaround.
- AI-only: quick, inexpensive way to refresh delivery and social images with instant variations.
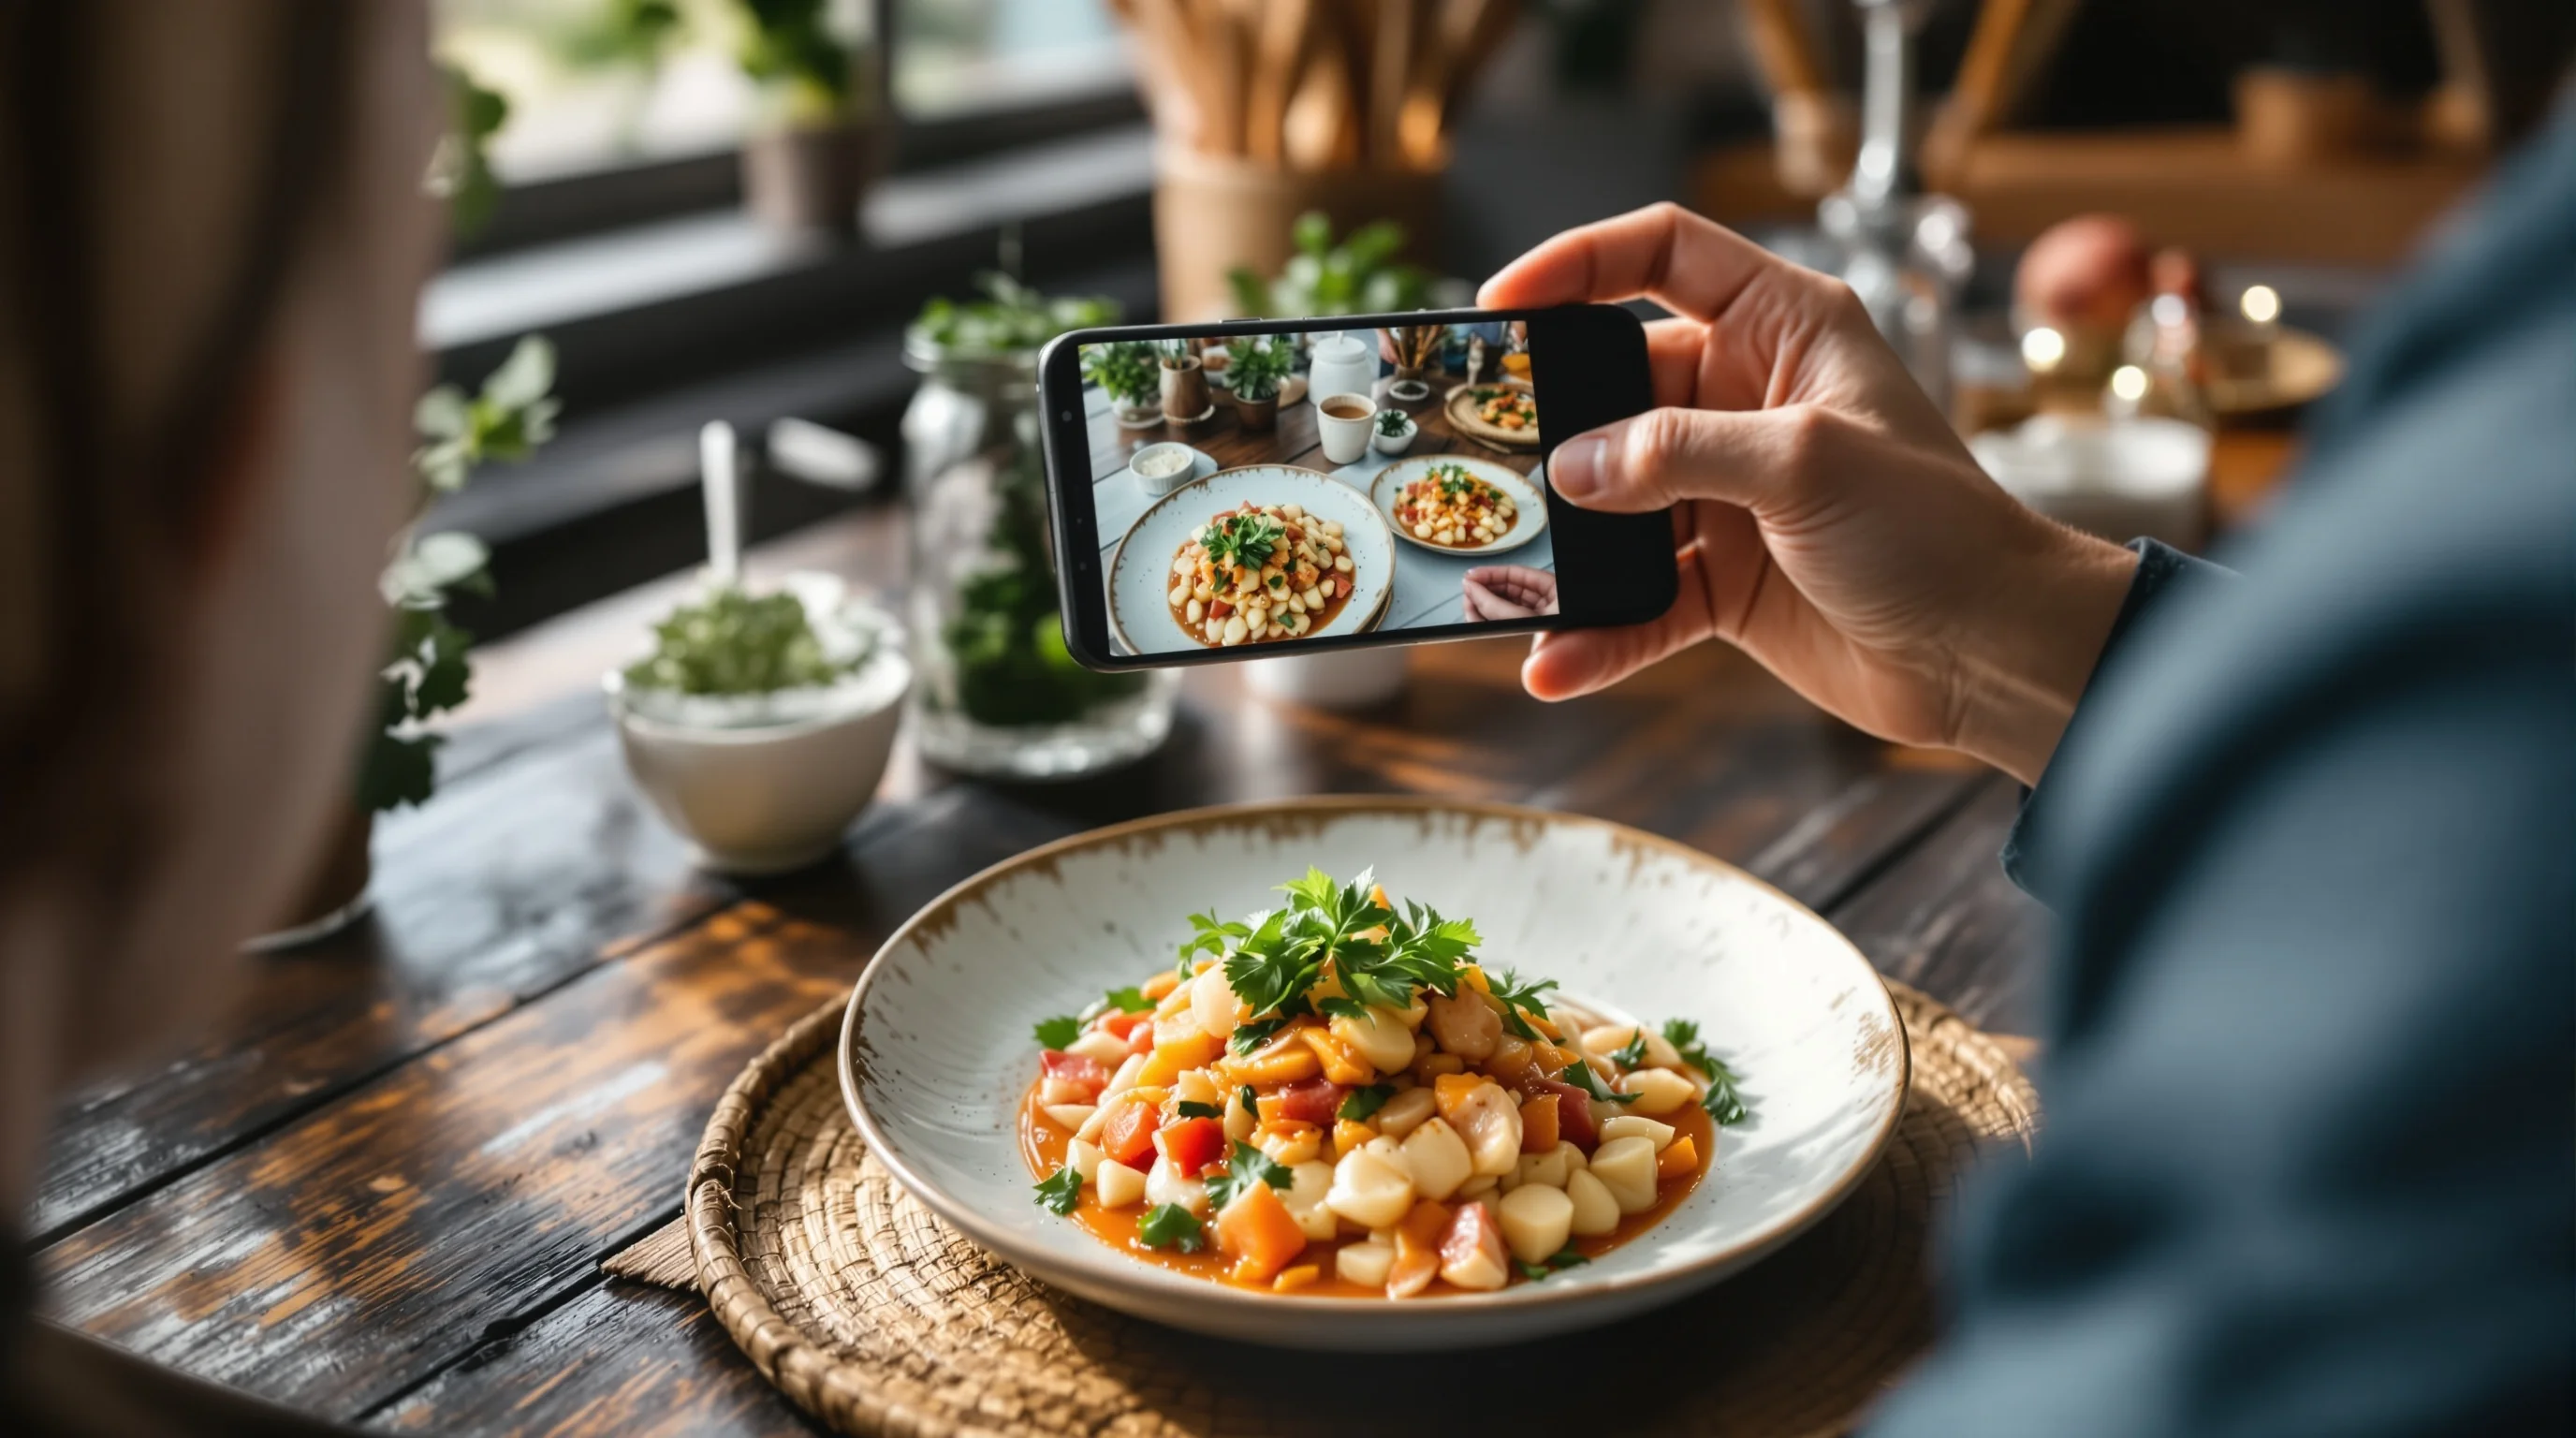
Quick DIY smartphone workflow and editing
Mobile phones today capture excellent base images — the key is workflow. Use a small tripod, shoot in natural light near a window, lock exposure and focus, and shoot multiple frames at different angles. Keep props minimal for delivery thumbnails and make sure the background contrasts with the dish. For beginners, our Food Photography Tips for Beginners article covers foundational camera settings and composition tips.
Once you have the raw files, accelerate post-production with AI tools like YummyPic to create multiple styles and crops instantly. This fills one of the content gaps many restaurants face: producing high volumes of consistent images without expensive on-site shoots.
Post-production, delivery specs and platform optimisation
Final delivery matters: crop, compress and name files for their intended platform. Delivery apps and social channels display thumbnails differently; prepare square, 4:3 and vertical crops based on each platform’s best practices. Research shows food images get roughly 30% higher engagement than non-food images, so optimising each crop pays off. For platform-specific guidance, review our DoorDash, Grubhub and Uber Eats photography pages for exact specs: DoorDash Photography, Grubhub Photography, Uber Eats Photography.
Keep an organised deliverables list: high-res masters (TIFF or max-quality JPEG), web-optimised JPEGs, and social-sized versions. Tag files with dish name, date and style and store them on a shared drive so marketing teams can quickly find and rotate assets.
How YummyPic fits into your photoshoot strategy
YummyPic is an AI-powered food photography platform designed to complement both pro shoots and DIY workflows. It transforms simple captures into polished, high-converting images in seconds — ideal for restaurants, cafes, food trucks and catering services that need speed and consistency. Use YummyPic to create multiple styles (bright & airy, dark & moody), generate platform-specific crops instantly and refresh menu or delivery images between scheduled pro shoots.
- Speed: Professional photos in seconds without a full shoot.
- Cost-effective: Fraction of the cost of hiring a full team.
- Variety & flexibility: Multiple styles and crops from a single upload.
- Convenience: No lighting equipment or props required; instant downloads.
If you are evaluating options, consider a mixed approach: do a pro shoot for hero dishes and use YummyPic for ongoing seasonal updates, daily specials and rapid delivery app refreshes. See pricing and packages on our Pricing page and learn more about AI workflows on our AI Food Photography overview.
Conclusion: Plan for quality, speed and measurable impact
Good restaurant food photography is a strategic asset that drives bookings, delivery orders and social engagement. Start by defining goals, create a focused shot list, schedule to minimise service disruption, and choose the right mix of pro, hybrid and AI tools to match your budget. Remember the numbers: according to Mondelez International Foodservice, 75% of diners choose restaurants based on photos they see, and Soocial reports that professional dish images can raise sales by roughly 30%. Whether you hire a photographer, stage a DIY shoot, or use YummyPic to scale images quickly, the key is consistent, high-quality visuals that reflect your brand and make dishes irresistible.