Introduction: Preparing for a food photoshoot can feel overwhelming — equipment, props, timing, food freshness and styling all matter. This guide, 10 Steps to Prepare for a Food Photoshoot, walks Sie through a reliable workflow so final images look professional and appetizing. Visual content matters: visual elements are processed about 60,000 times faster than text, according to Gary Nealon, and optimized visuals can boost website traffic by up to 400%, also noted by Gary Nealon. For restaurants and brands, food photography drives engagement and sales: food photos generate roughly 30% more engagement than non-food images, and including professional food images on menus or apps can increase sales by approximately 30%, according to Soocial. Use this checklist to remove uncertainty, manage timing, and ensure the food looks its best on DoorDash, Grubhub, Uber Eats and social media.
1. Start with a clear concept and shot list
Every successful shoot begins with a concept. Establish the mood (bright & airy, dark & moody, rustic), the target platform (Instagram, delivery apps, website) and the primary objective (menu accuracy, hero hero shots for promotions, or social storytelling). Create a shot list that prioritizes hero dishes and required angles: flat-lay, three-quarter, close-up texture and overhead. The phrasing 10 Steps to Prepare for a Food Photoshoot is a checklist concept — make the shot list one of the first steps so nothing is forgotten on shoot day.
Build a mood board with reference photos and note required props, garnishes and plate choices next to each shot. When planning menus or delivery images, consult platform specs — for example, refer to our Uber Eats Image Requirements (and How to Nail Them) and our DoorDash Photography page to save time during post-production.
- Define mood and purpose for each photo
- Create a prioritized shot list with angles
- Attach props and plating notes to each shot
2. Organize ingredients, garnishes and food-safety plans
Food freshness is non-negotiable. For the 10 Steps to Prepare for a Food Photoshoot, plan ingredient prep and replacement windows: which items must be photographed immediately (steam, melty cheese, crispy elements) and which can wait. Prepare duplicates of key components so you can swap in fresh items between frames. Add a food-safety checklist: proper refrigeration, safe handling, and clear labeling for allergens. This reduces waste and avoids last-minute scrambles.
Include quick-replace kits (extra herbs, lemon wedges, oil spritz) and anti-melt tools (icing, chilled plates) for fragile items. For desserts, our Dessert Photography Tips has practical anti-melt and styling approaches that pair well with shoot planning.
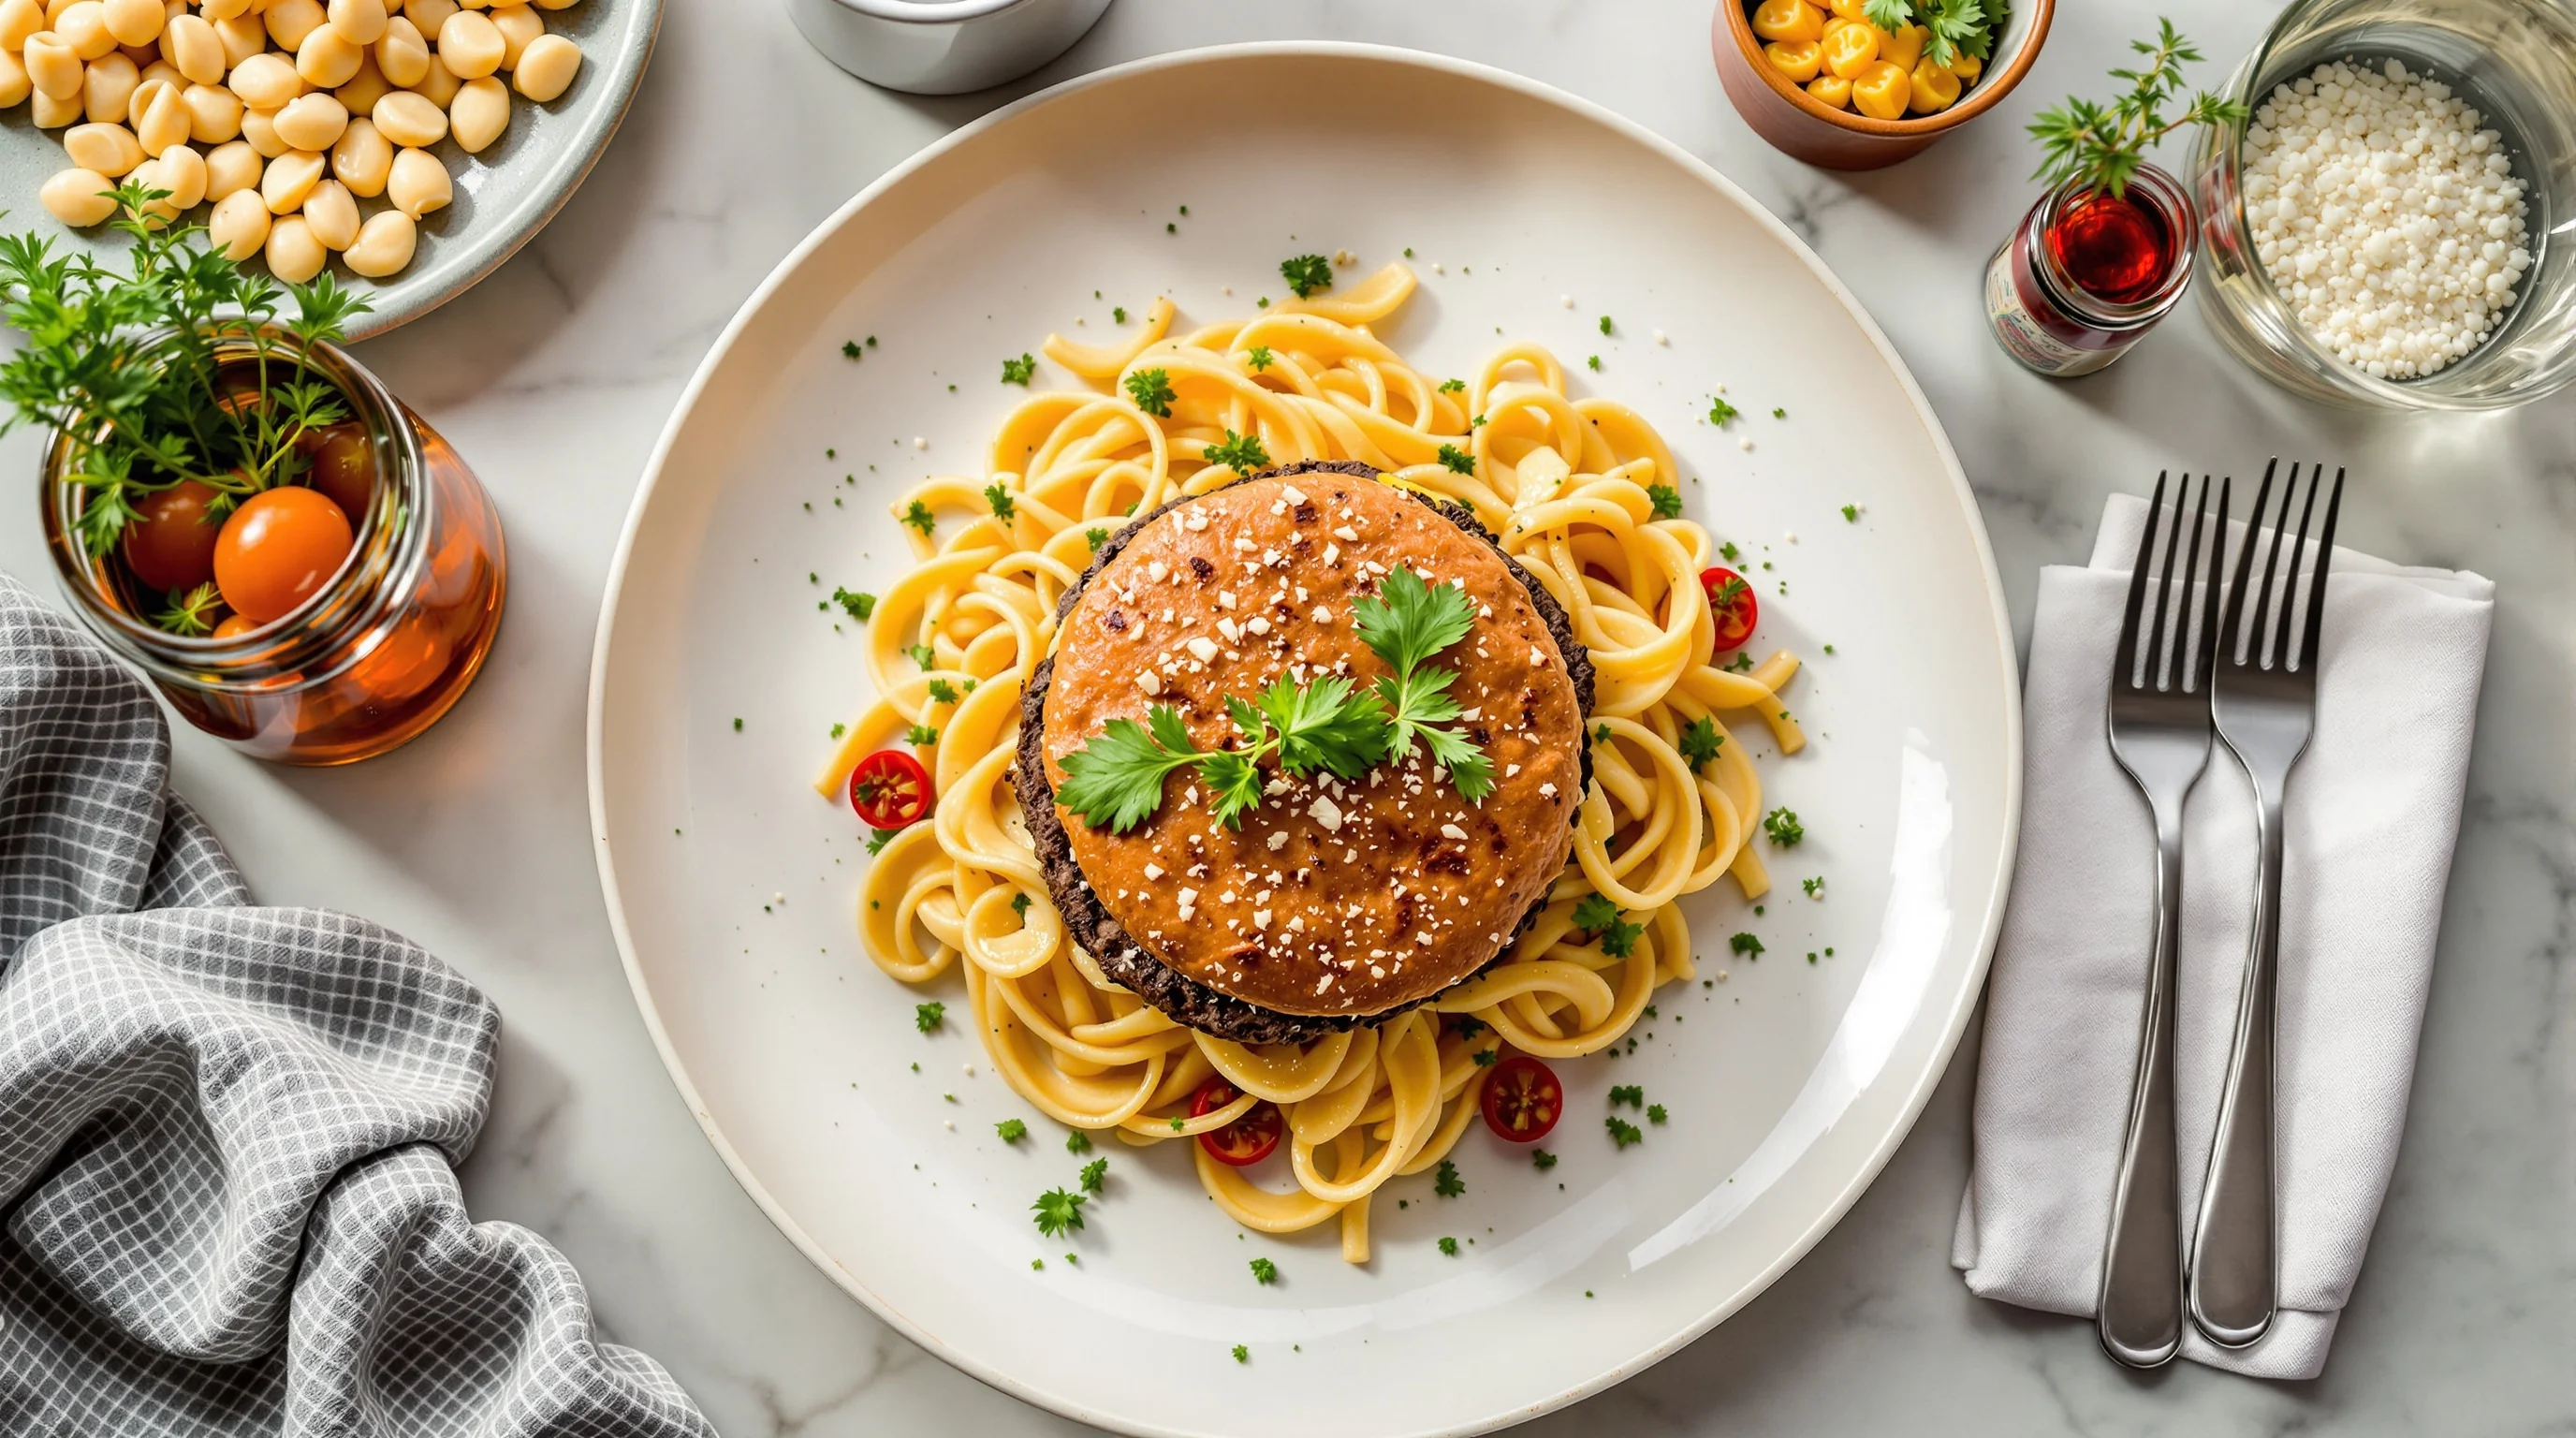
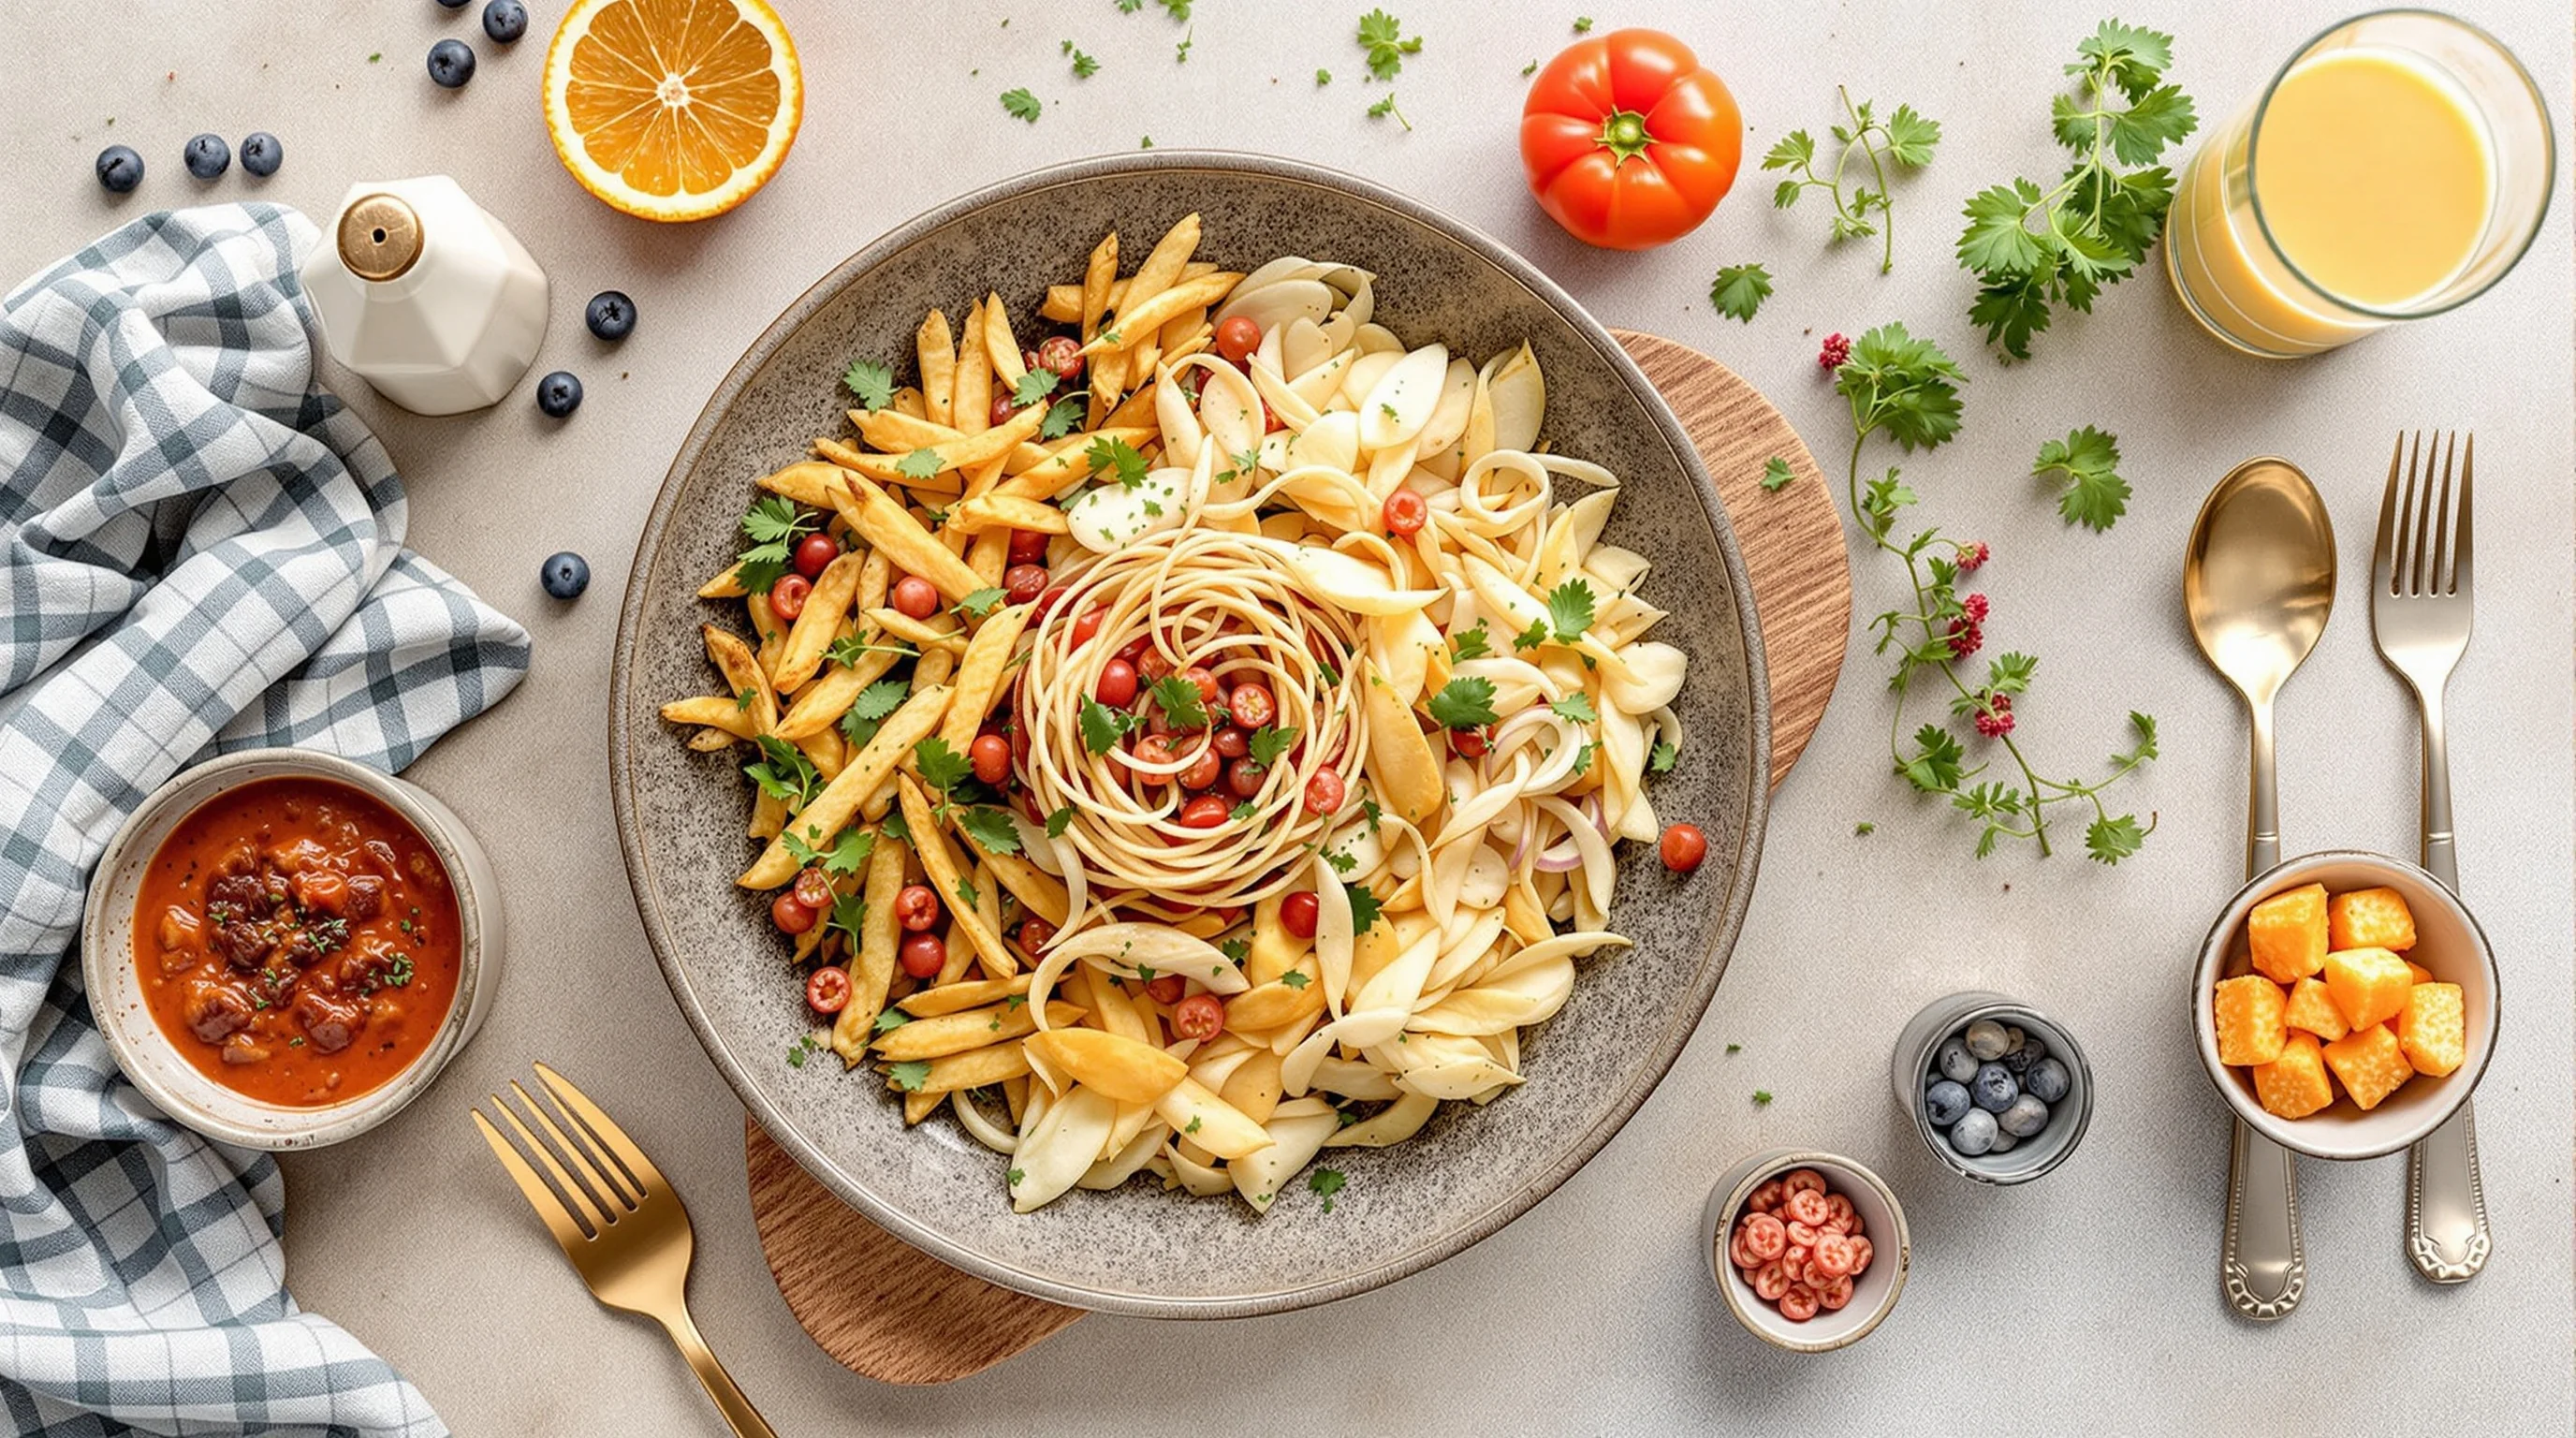
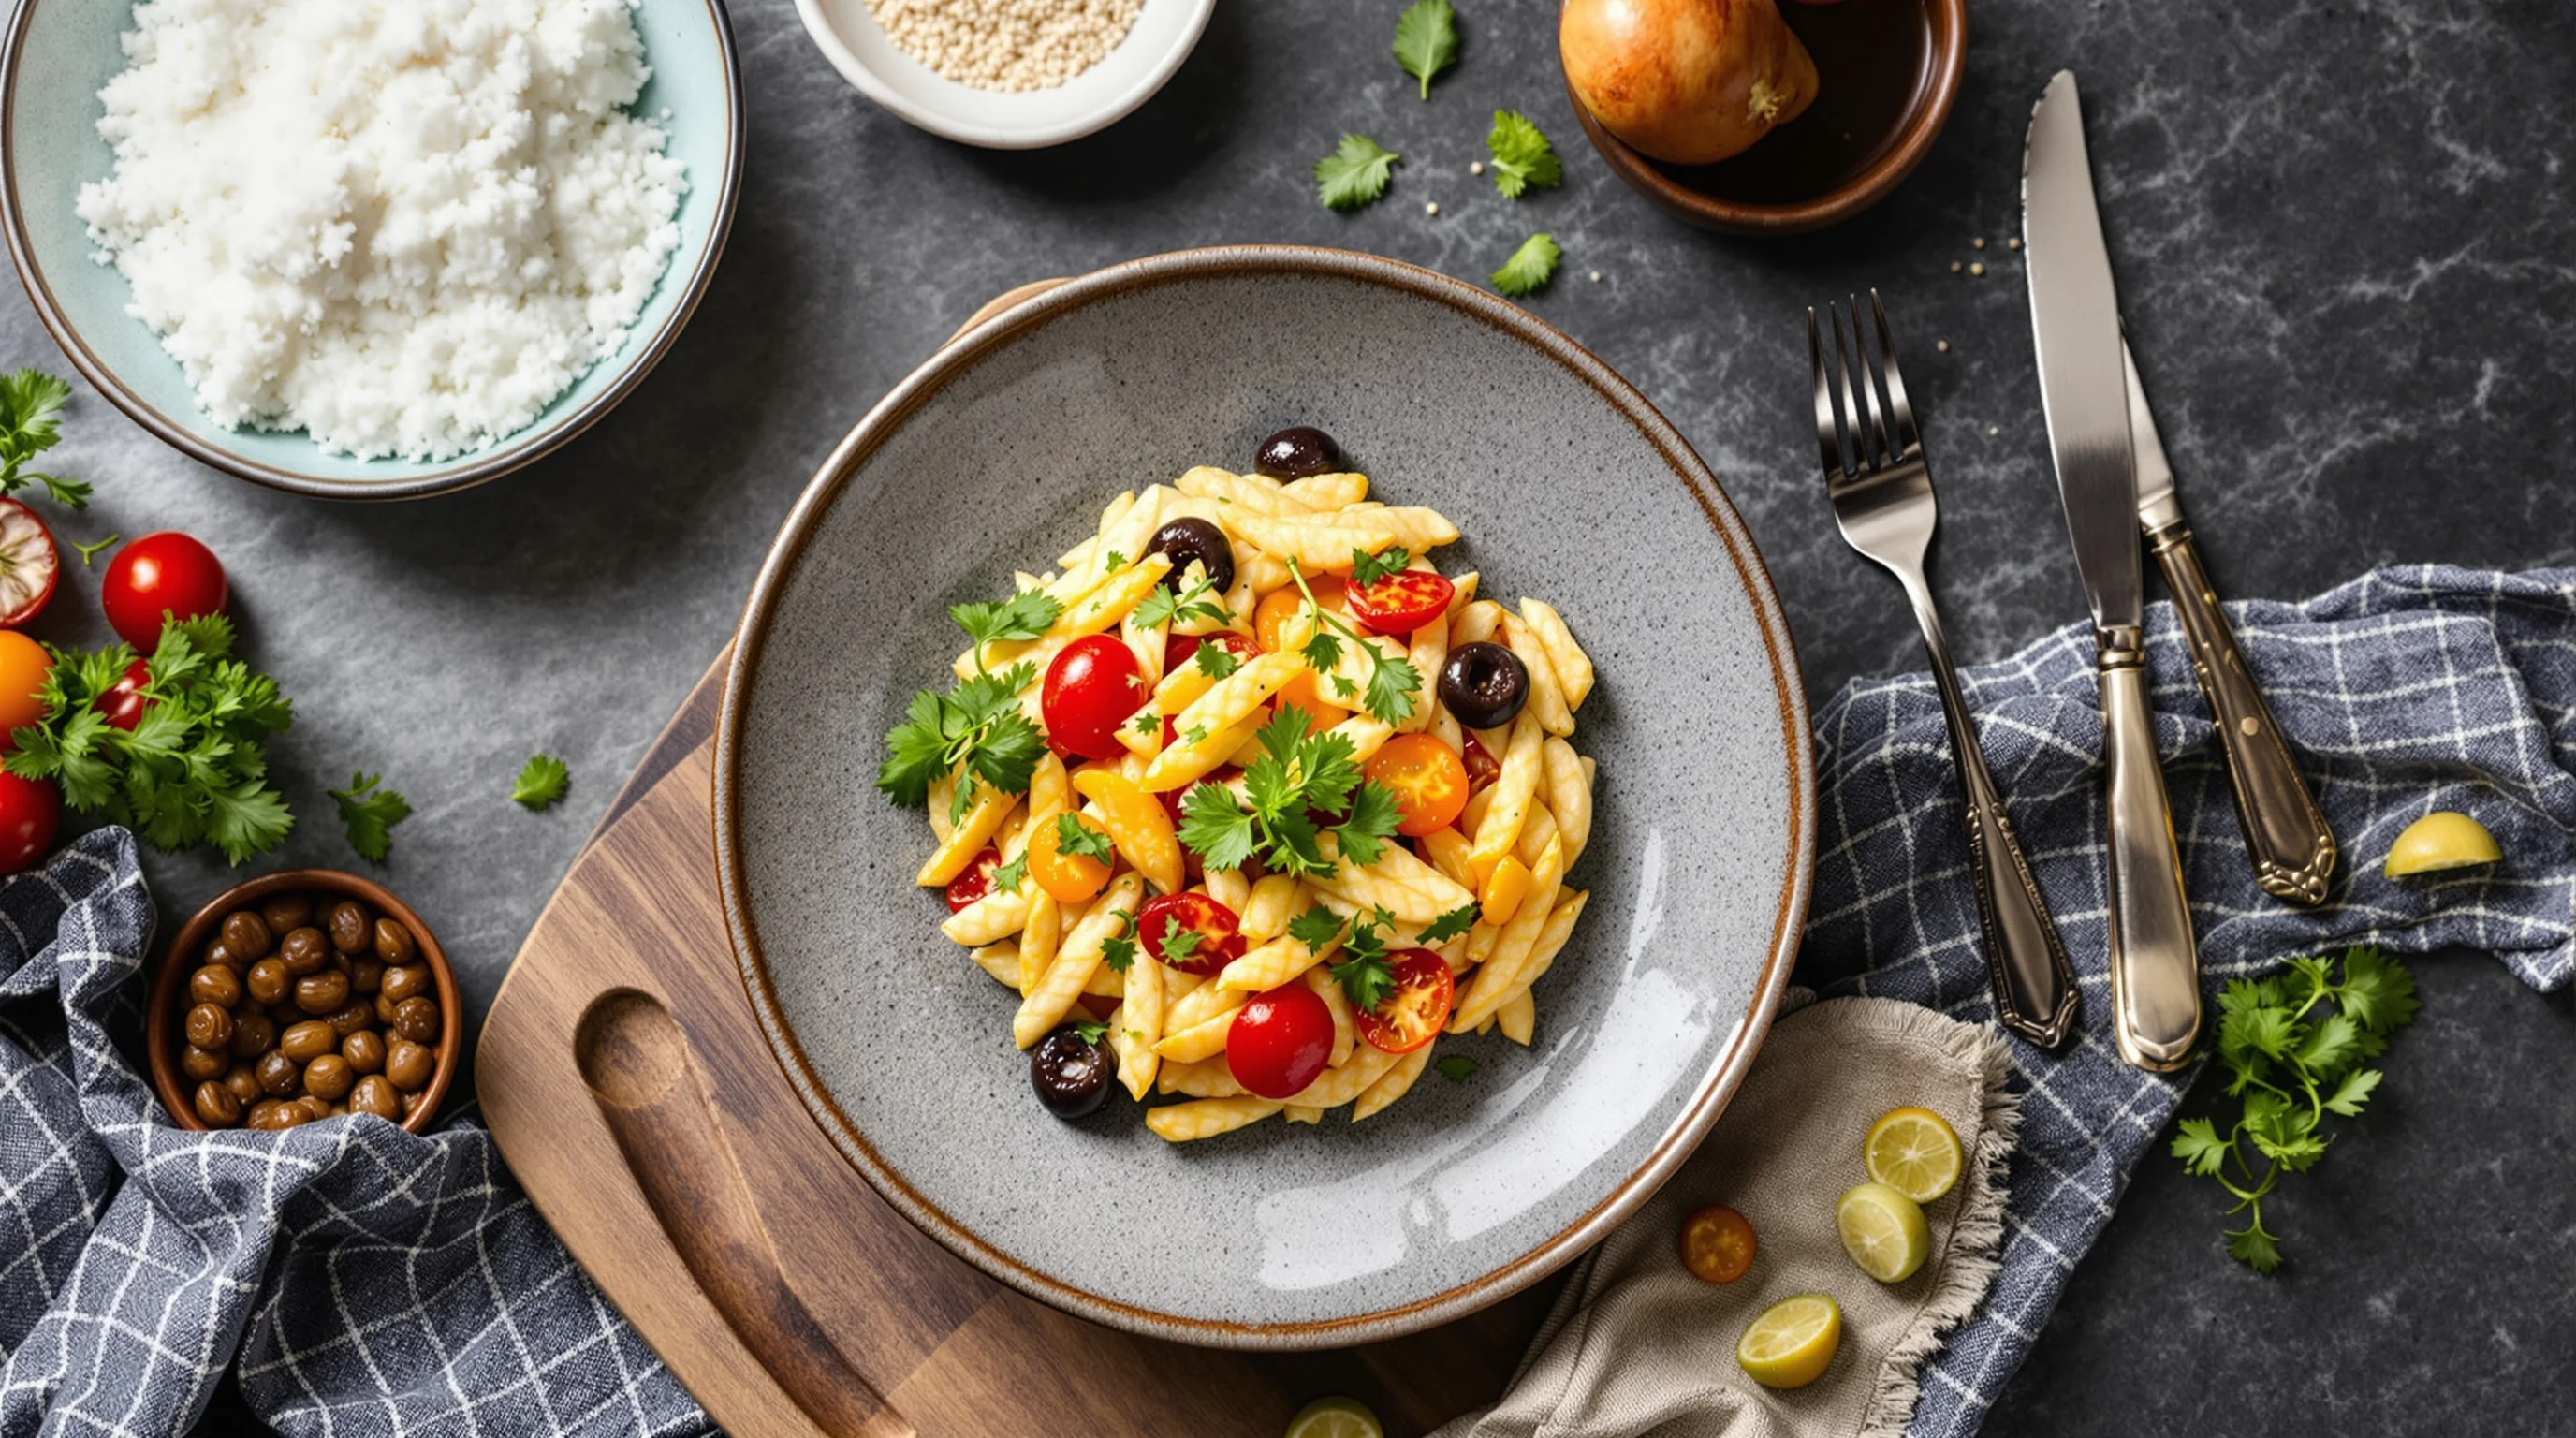
3. Gather props, backdrops and styling tools
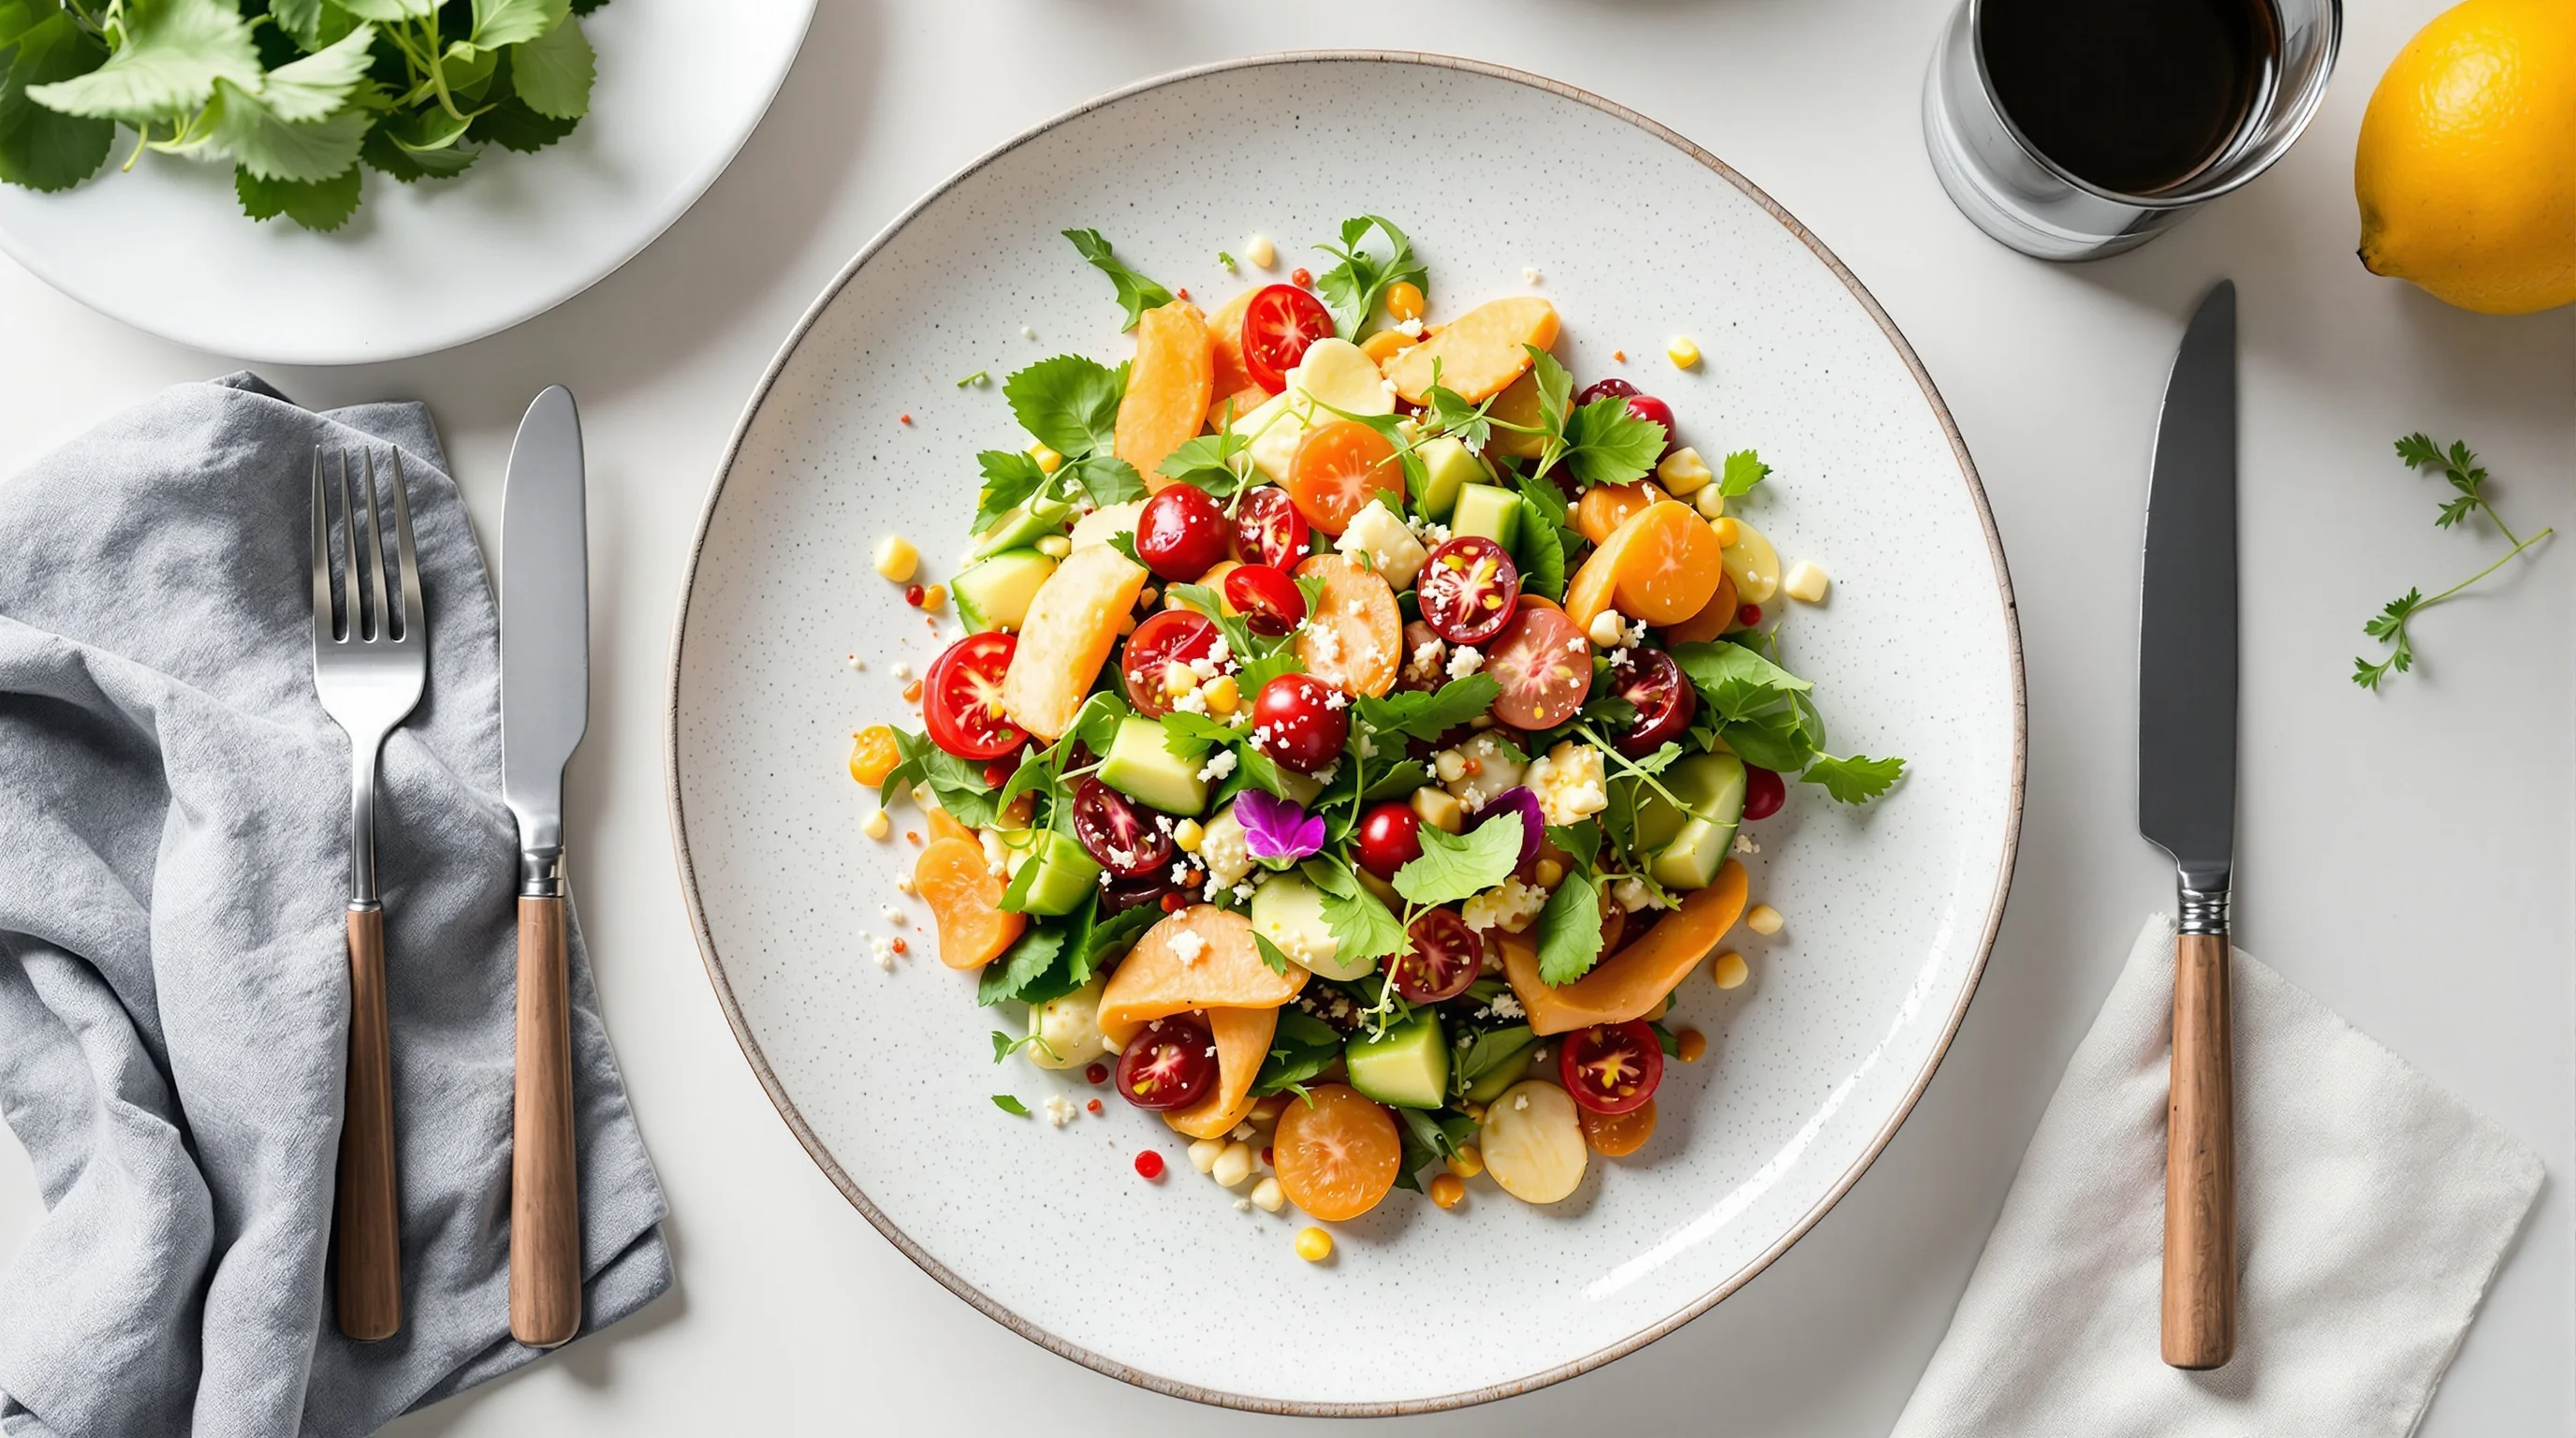
Props and backdrops define the visual story. For these 10 Steps to Prepare for a Food Photoshoot, select a small, cohesive set of plates, napkins and utensils that match the chosen mood. Use raw textures (wood, stone) or clean surfaces (marble, white) deliberately; consistency across a campaign improves brand recognition. Our guide to Food Photography Backdrops explains practical sourcing and maintenance.
Pack a styling kit: tweezers, offset spatula, spray bottle, small brushes, clamps, tissue and absorbent cloths. Create a labeled props box so nothing is left behind at the location. As one of the 10 Steps to Prepare for a Food Photoshoot, packing props ahead of time eliminates stress on shoot day.
- Choose 3–4 plates/styles per look
- Pick 2 backdrops that complement the menu
- Pack a styling kit and a spare prop set
4. Choose camera gear and lighting
Selecting the right gear is a practical step in the 10 Steps to Prepare for a Food Photoshoot. For consistent results, use a sturdy tripod and a lens appropriate for the shot: 50–100mm primes for close-ups and 24–35mm for overheads if needed. If you want an equipment deep-dive, see our What Lens for Food Photography and The Best Tripods for Food Photography guides.
Natural light is often preferable: "I’ll be honest, I don’t use artificial lights most of the time... I’ll schedule all my cooking so I can photograph everything in the daytime," as noted by a practicing photographer. Source: whatgreatgrandmaate.com. However, for restaurants or night shoots, arrange continuous LED panels and soft diffusion to control color and shadow. Add spare batteries, memory cards, and a tethering cable if you plan to review images on a laptop.
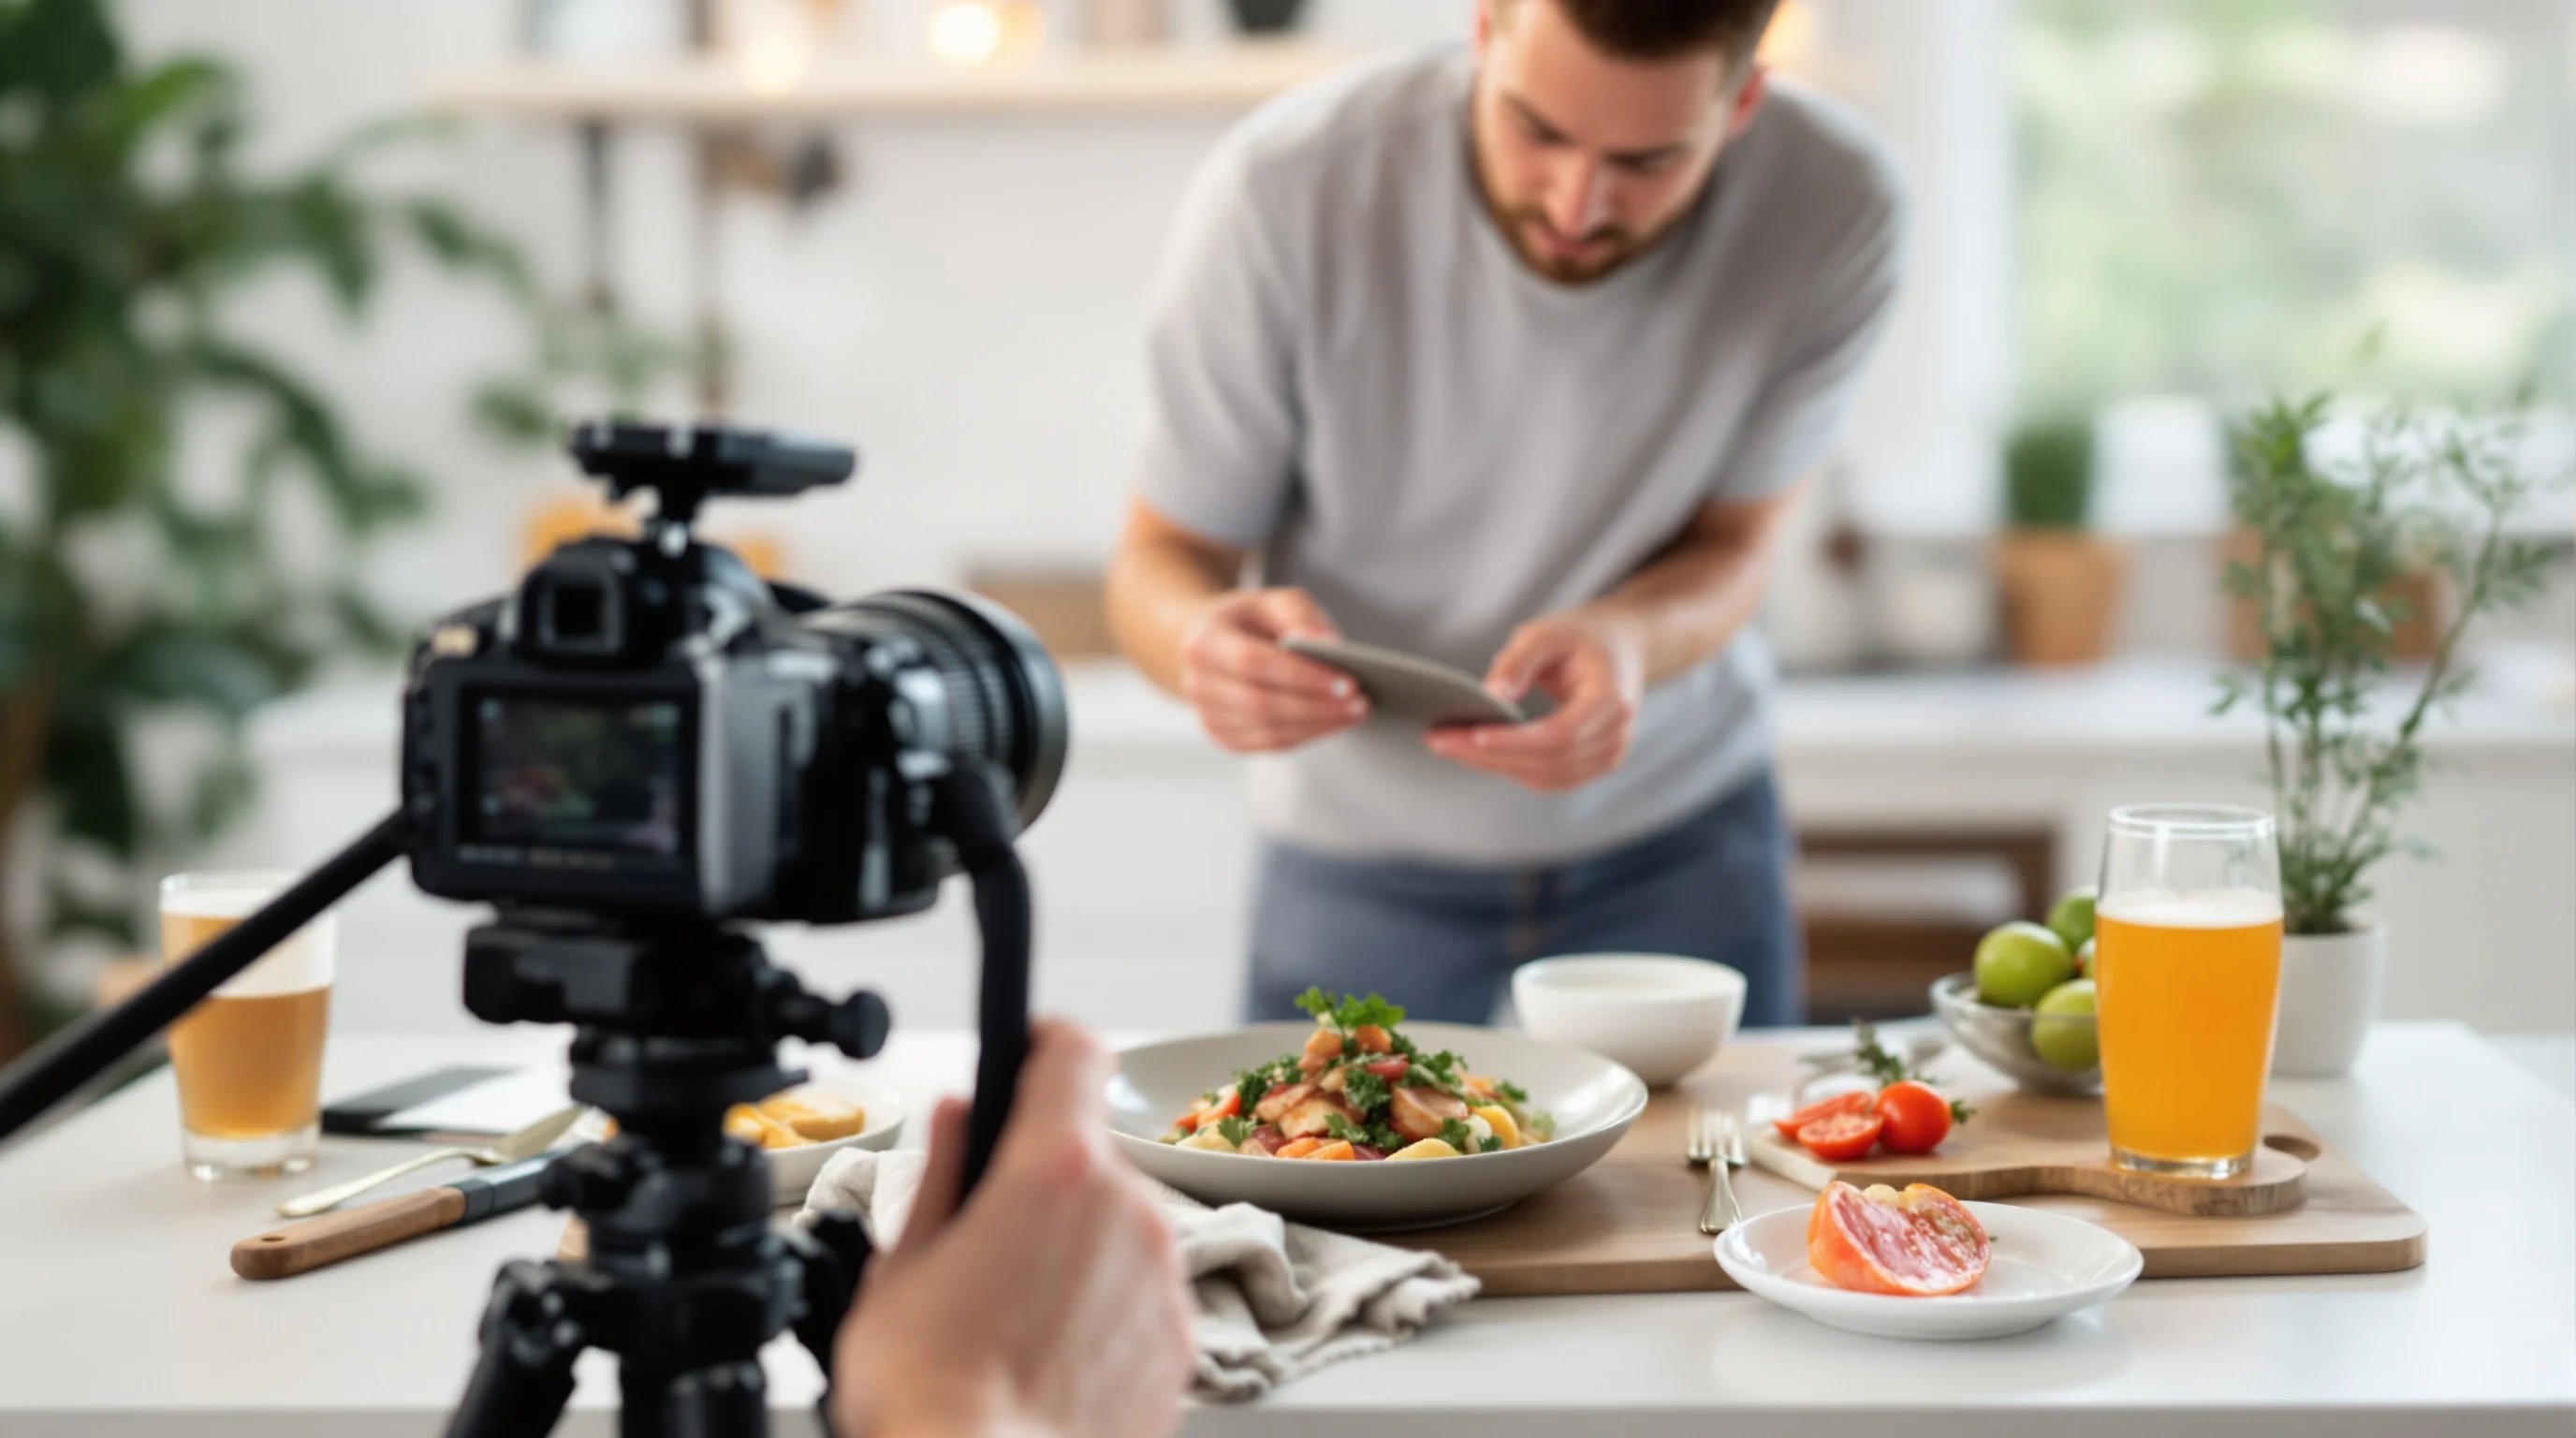
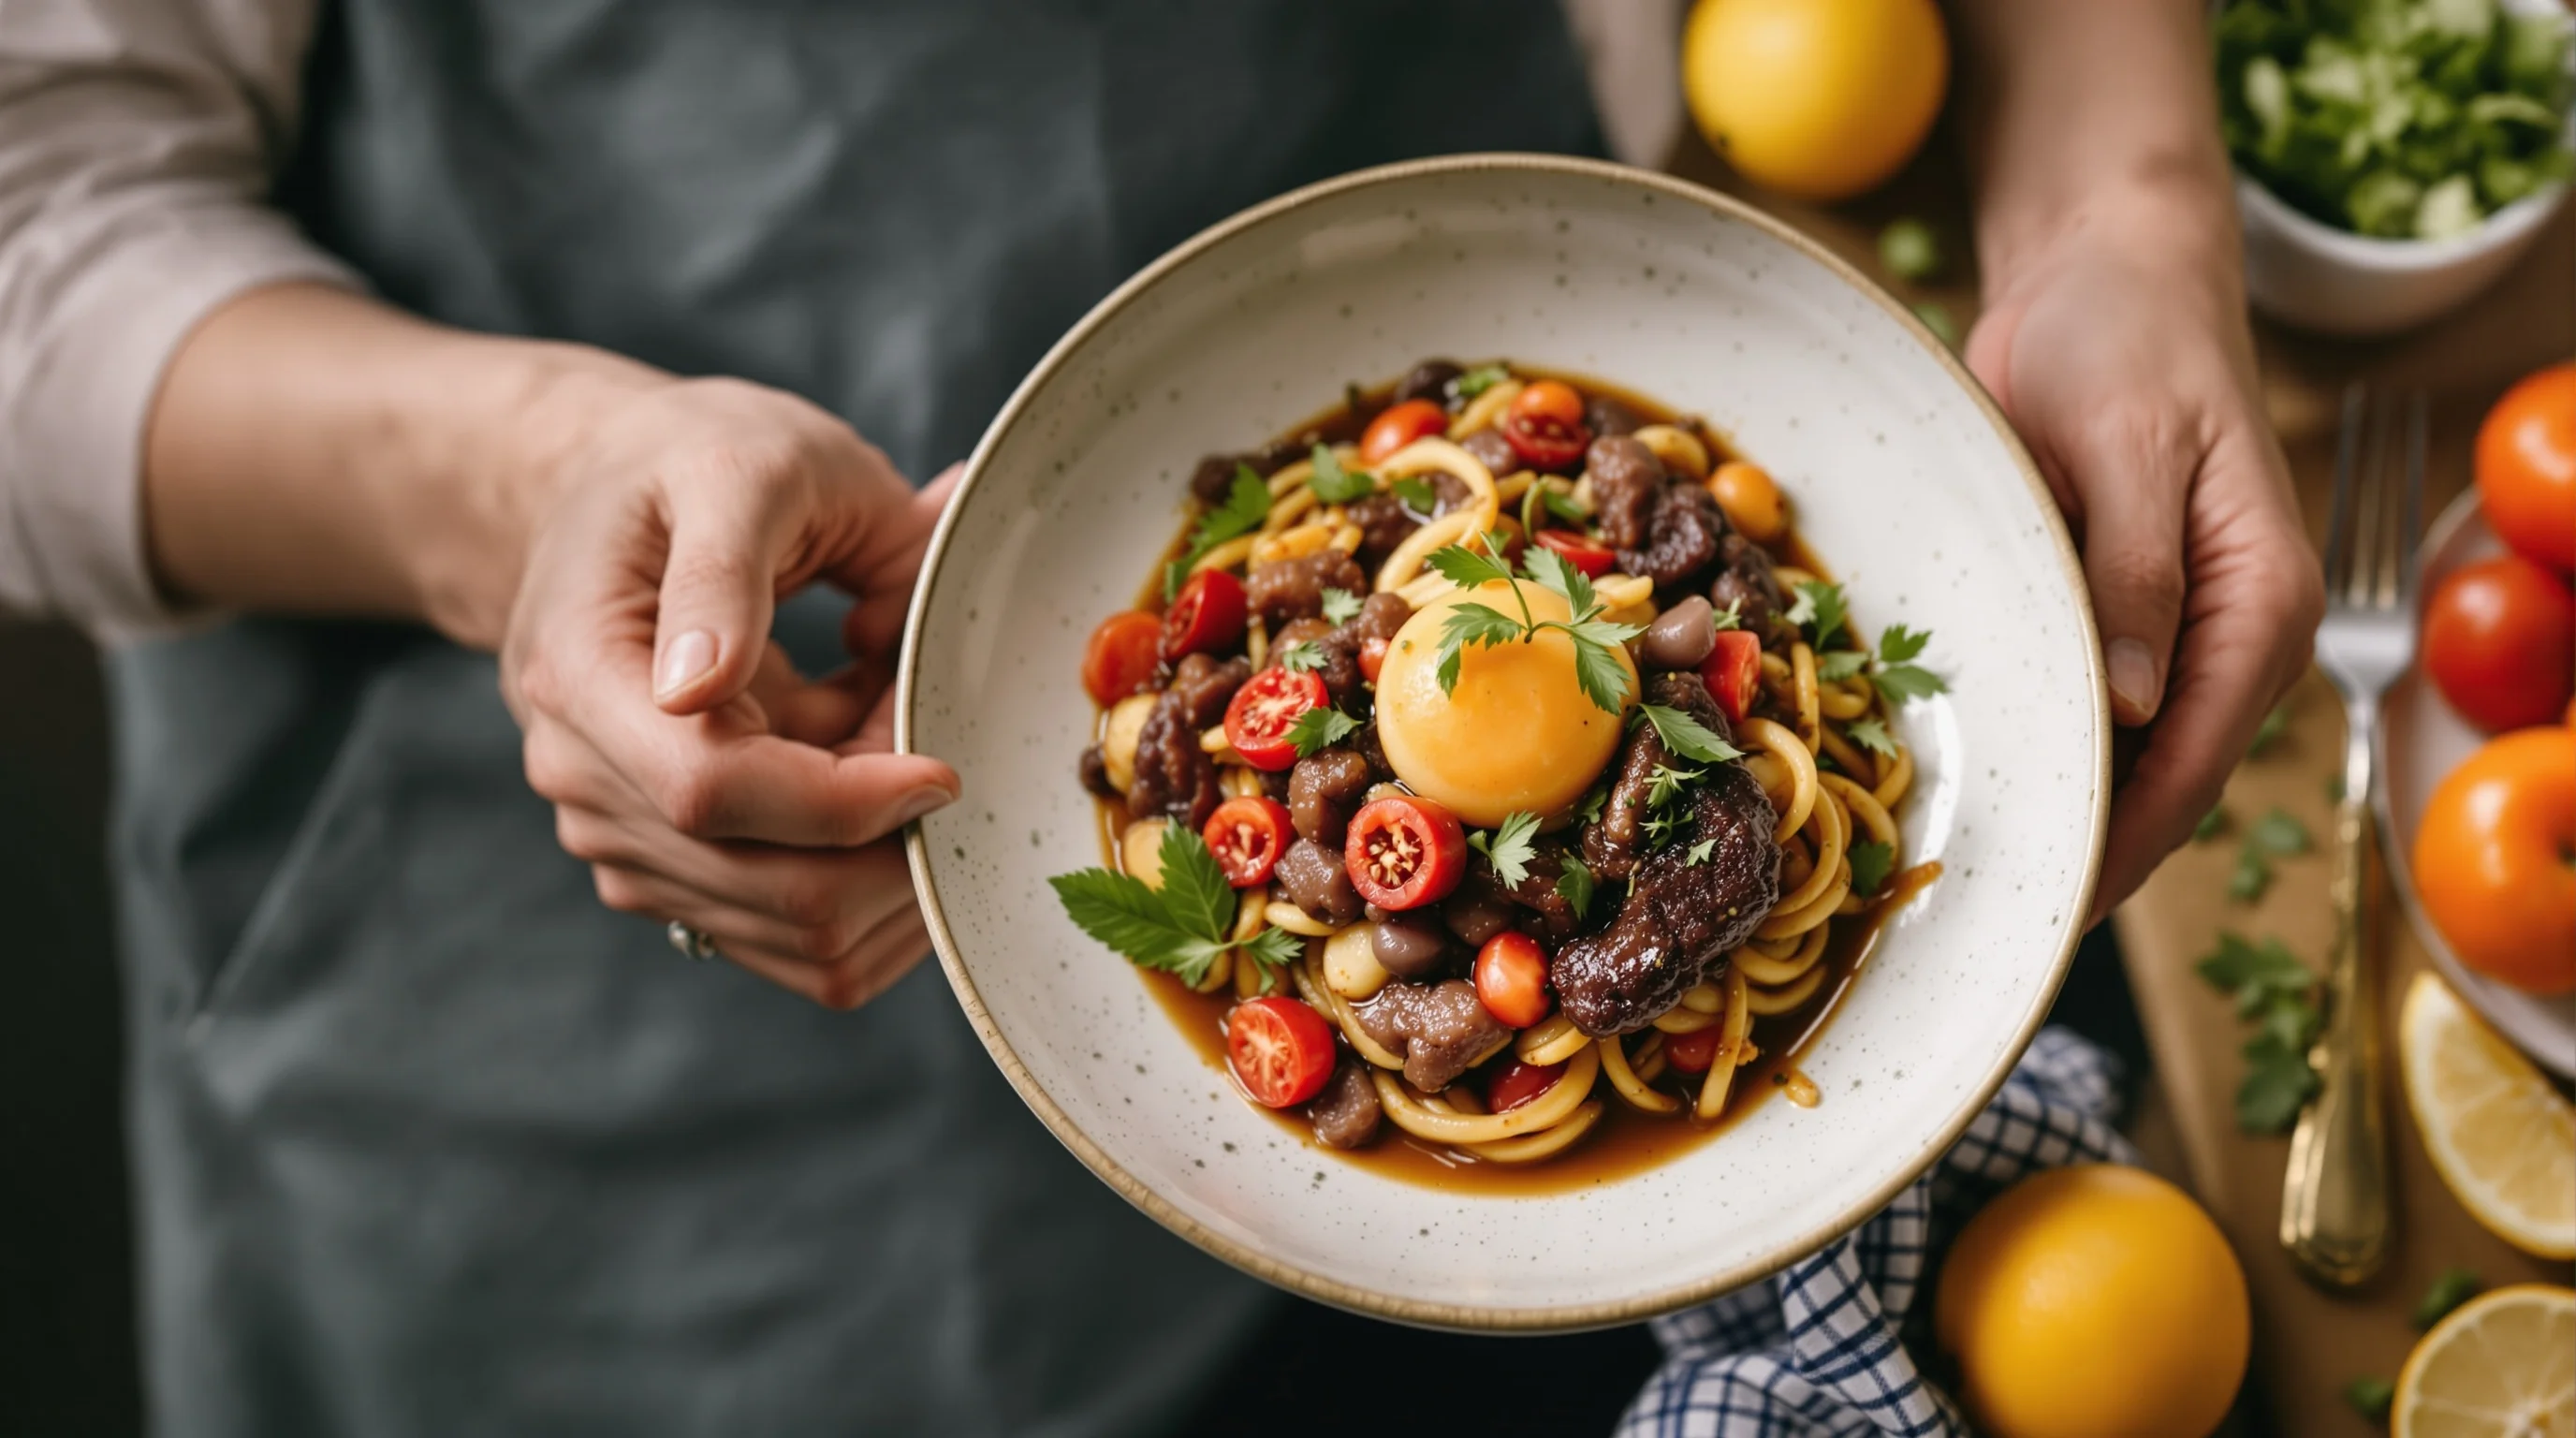
5. Build a practical schedule and team roles
Effective time management is one of the content gaps many guides miss — and it’s crucial. Create a minute-by-minute schedule for the shoot day, noting cook times, staging windows and buffer periods for replacements. Assign roles: photographer, food stylist, chef/line cook, assistant. That way, when a dish needs a quick refresh, responsibilities are clear and the team moves fast.
Include call times, travel buffer and post-shoot wrap-up time in the plan. If you are photographing for delivery platforms, reserve time for capturing multiple crops for specific aspect ratios — see our platform guides for specs, including Uber Eats, Grubhub, and DoorDash.
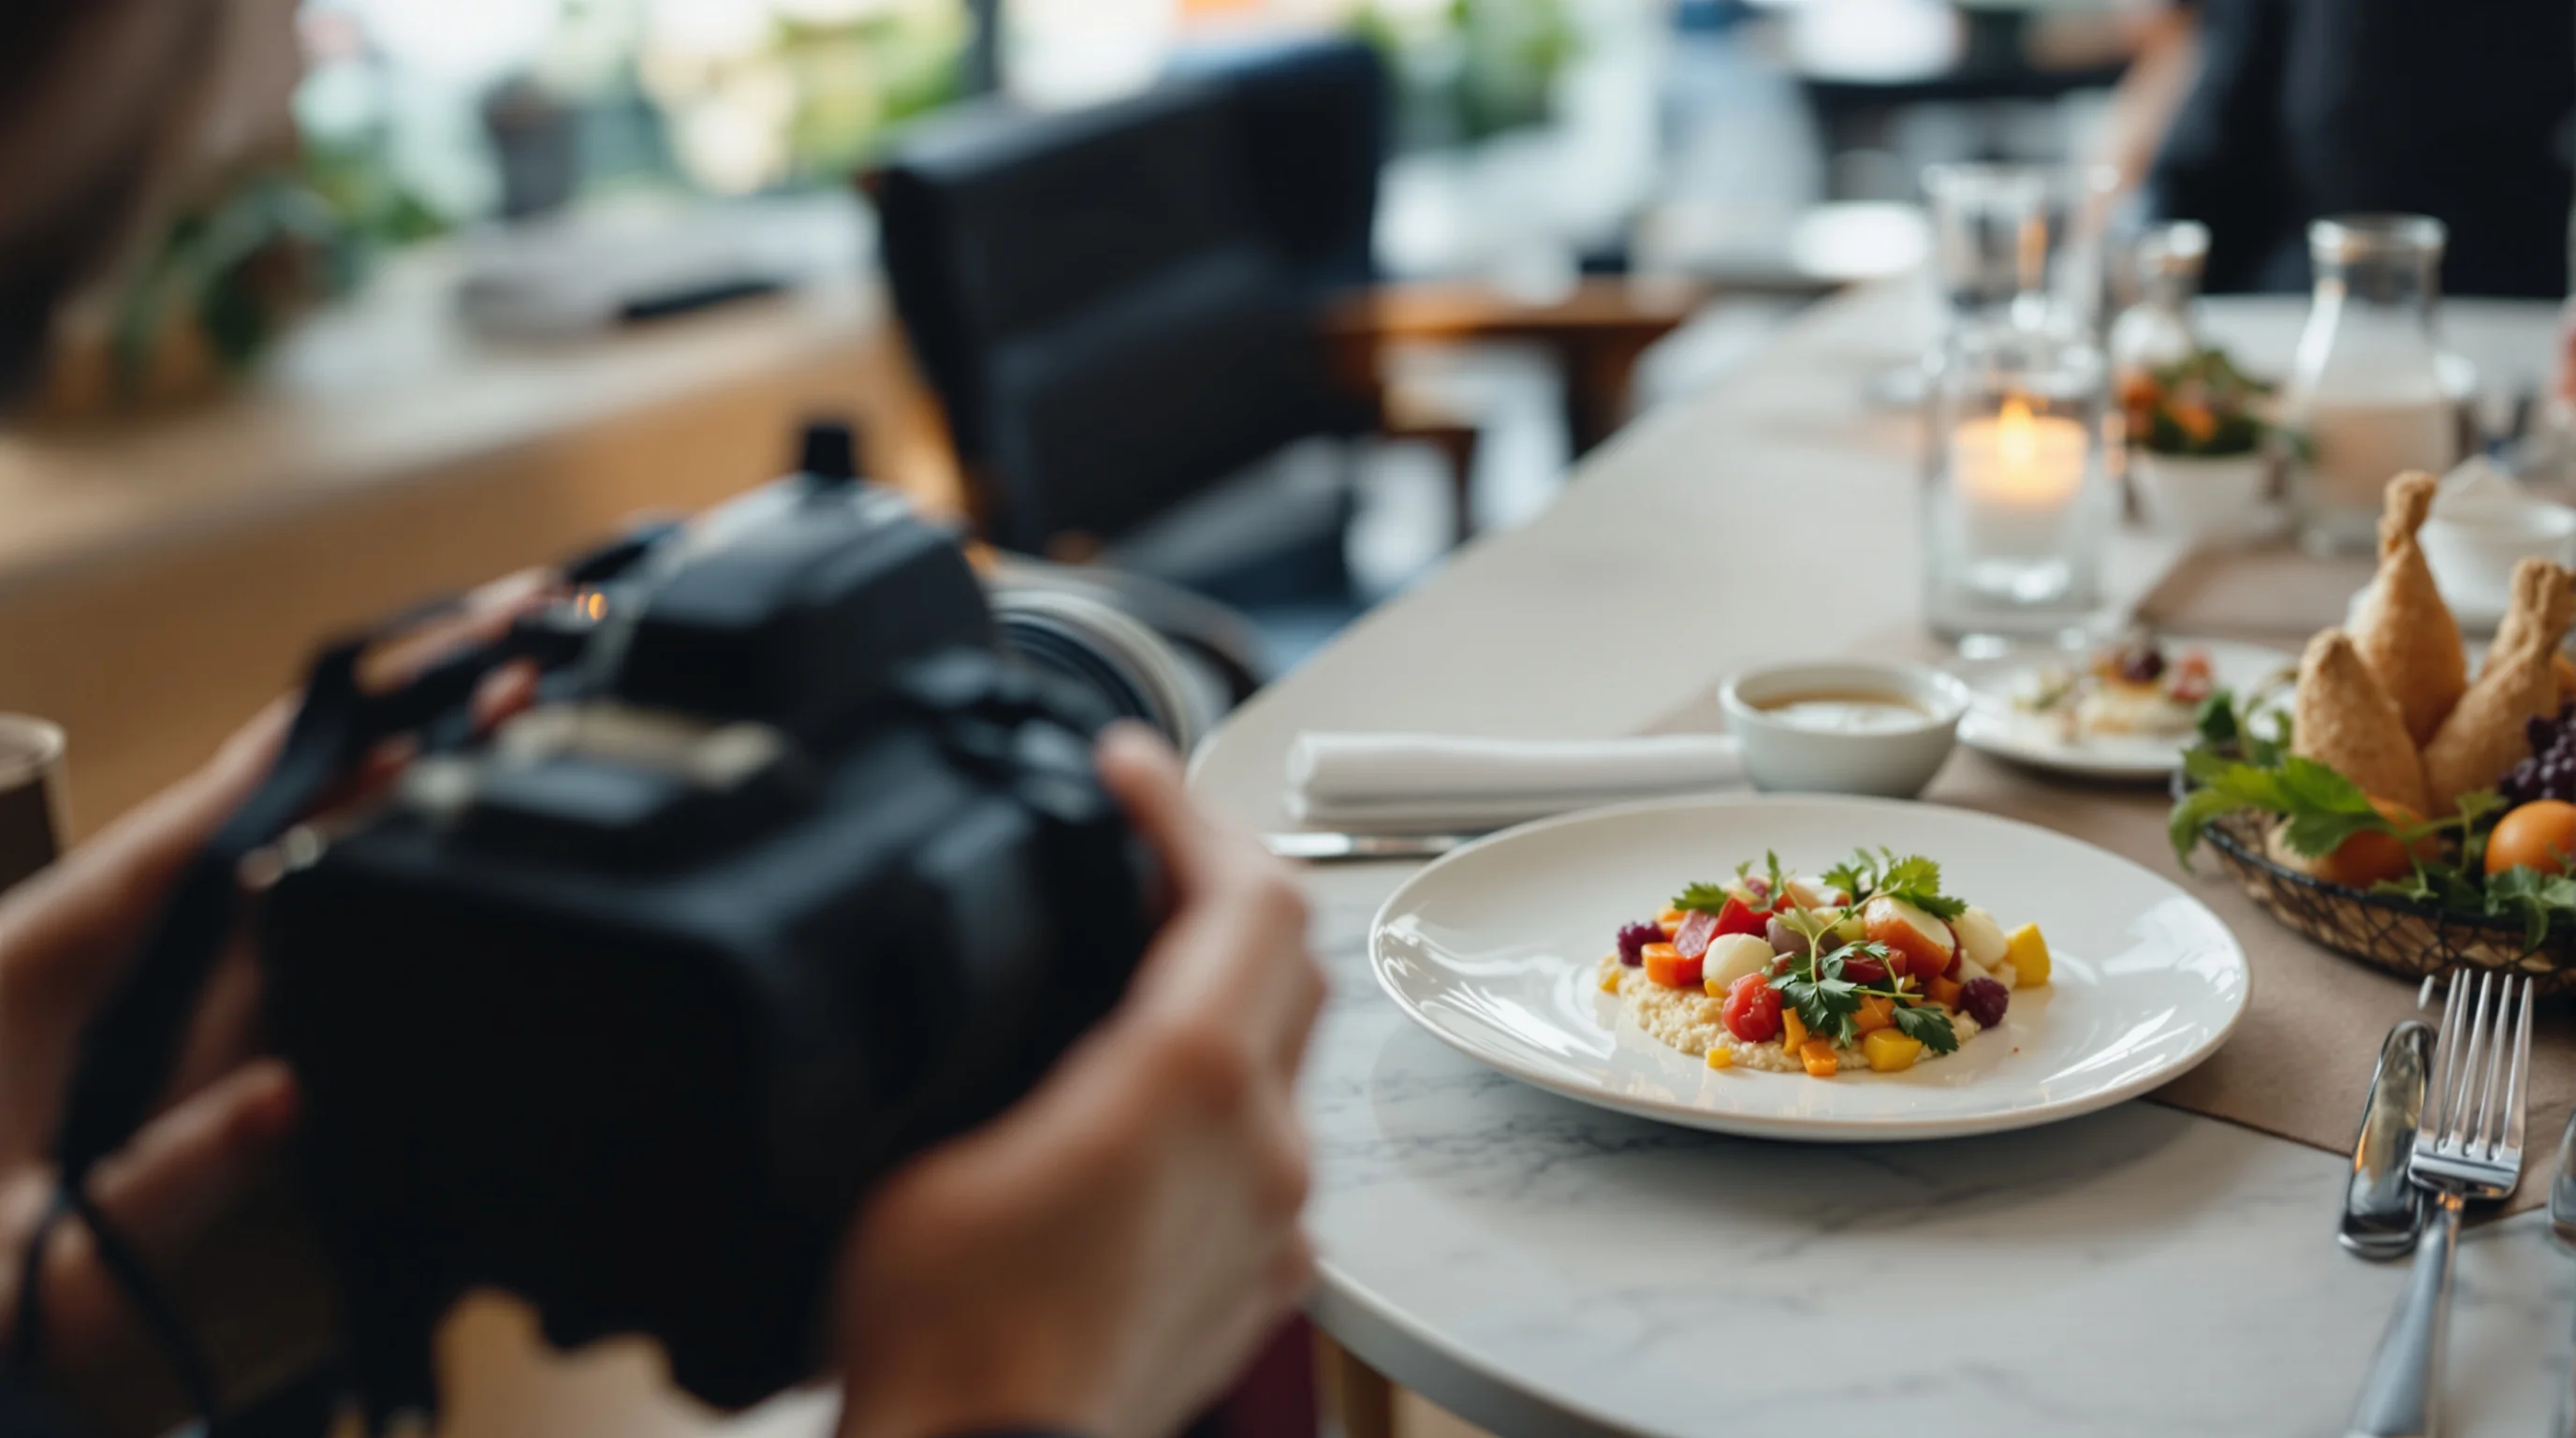
6. On-the-day workflow: set, test, iterate
Begin with a quick technical test shot: verify white balance, exposure and framing with the actual plates and props. Then run through the prioritized shot list. Keep styling minimal for the first pass to ensure accurate representation for menus; create more styled hero shots after basic captures are complete. Efficient workflows reduce wasted food and time — central goals of the 10 Steps to Prepare for a Food Photoshoot.
Use tethering or instant transfers to review images on a larger screen. That helps spot micro-adjustments in composition, focus and styling. If a plate needs a fresh garnish between frames, rotate a fresh element rather than overworking one serving.
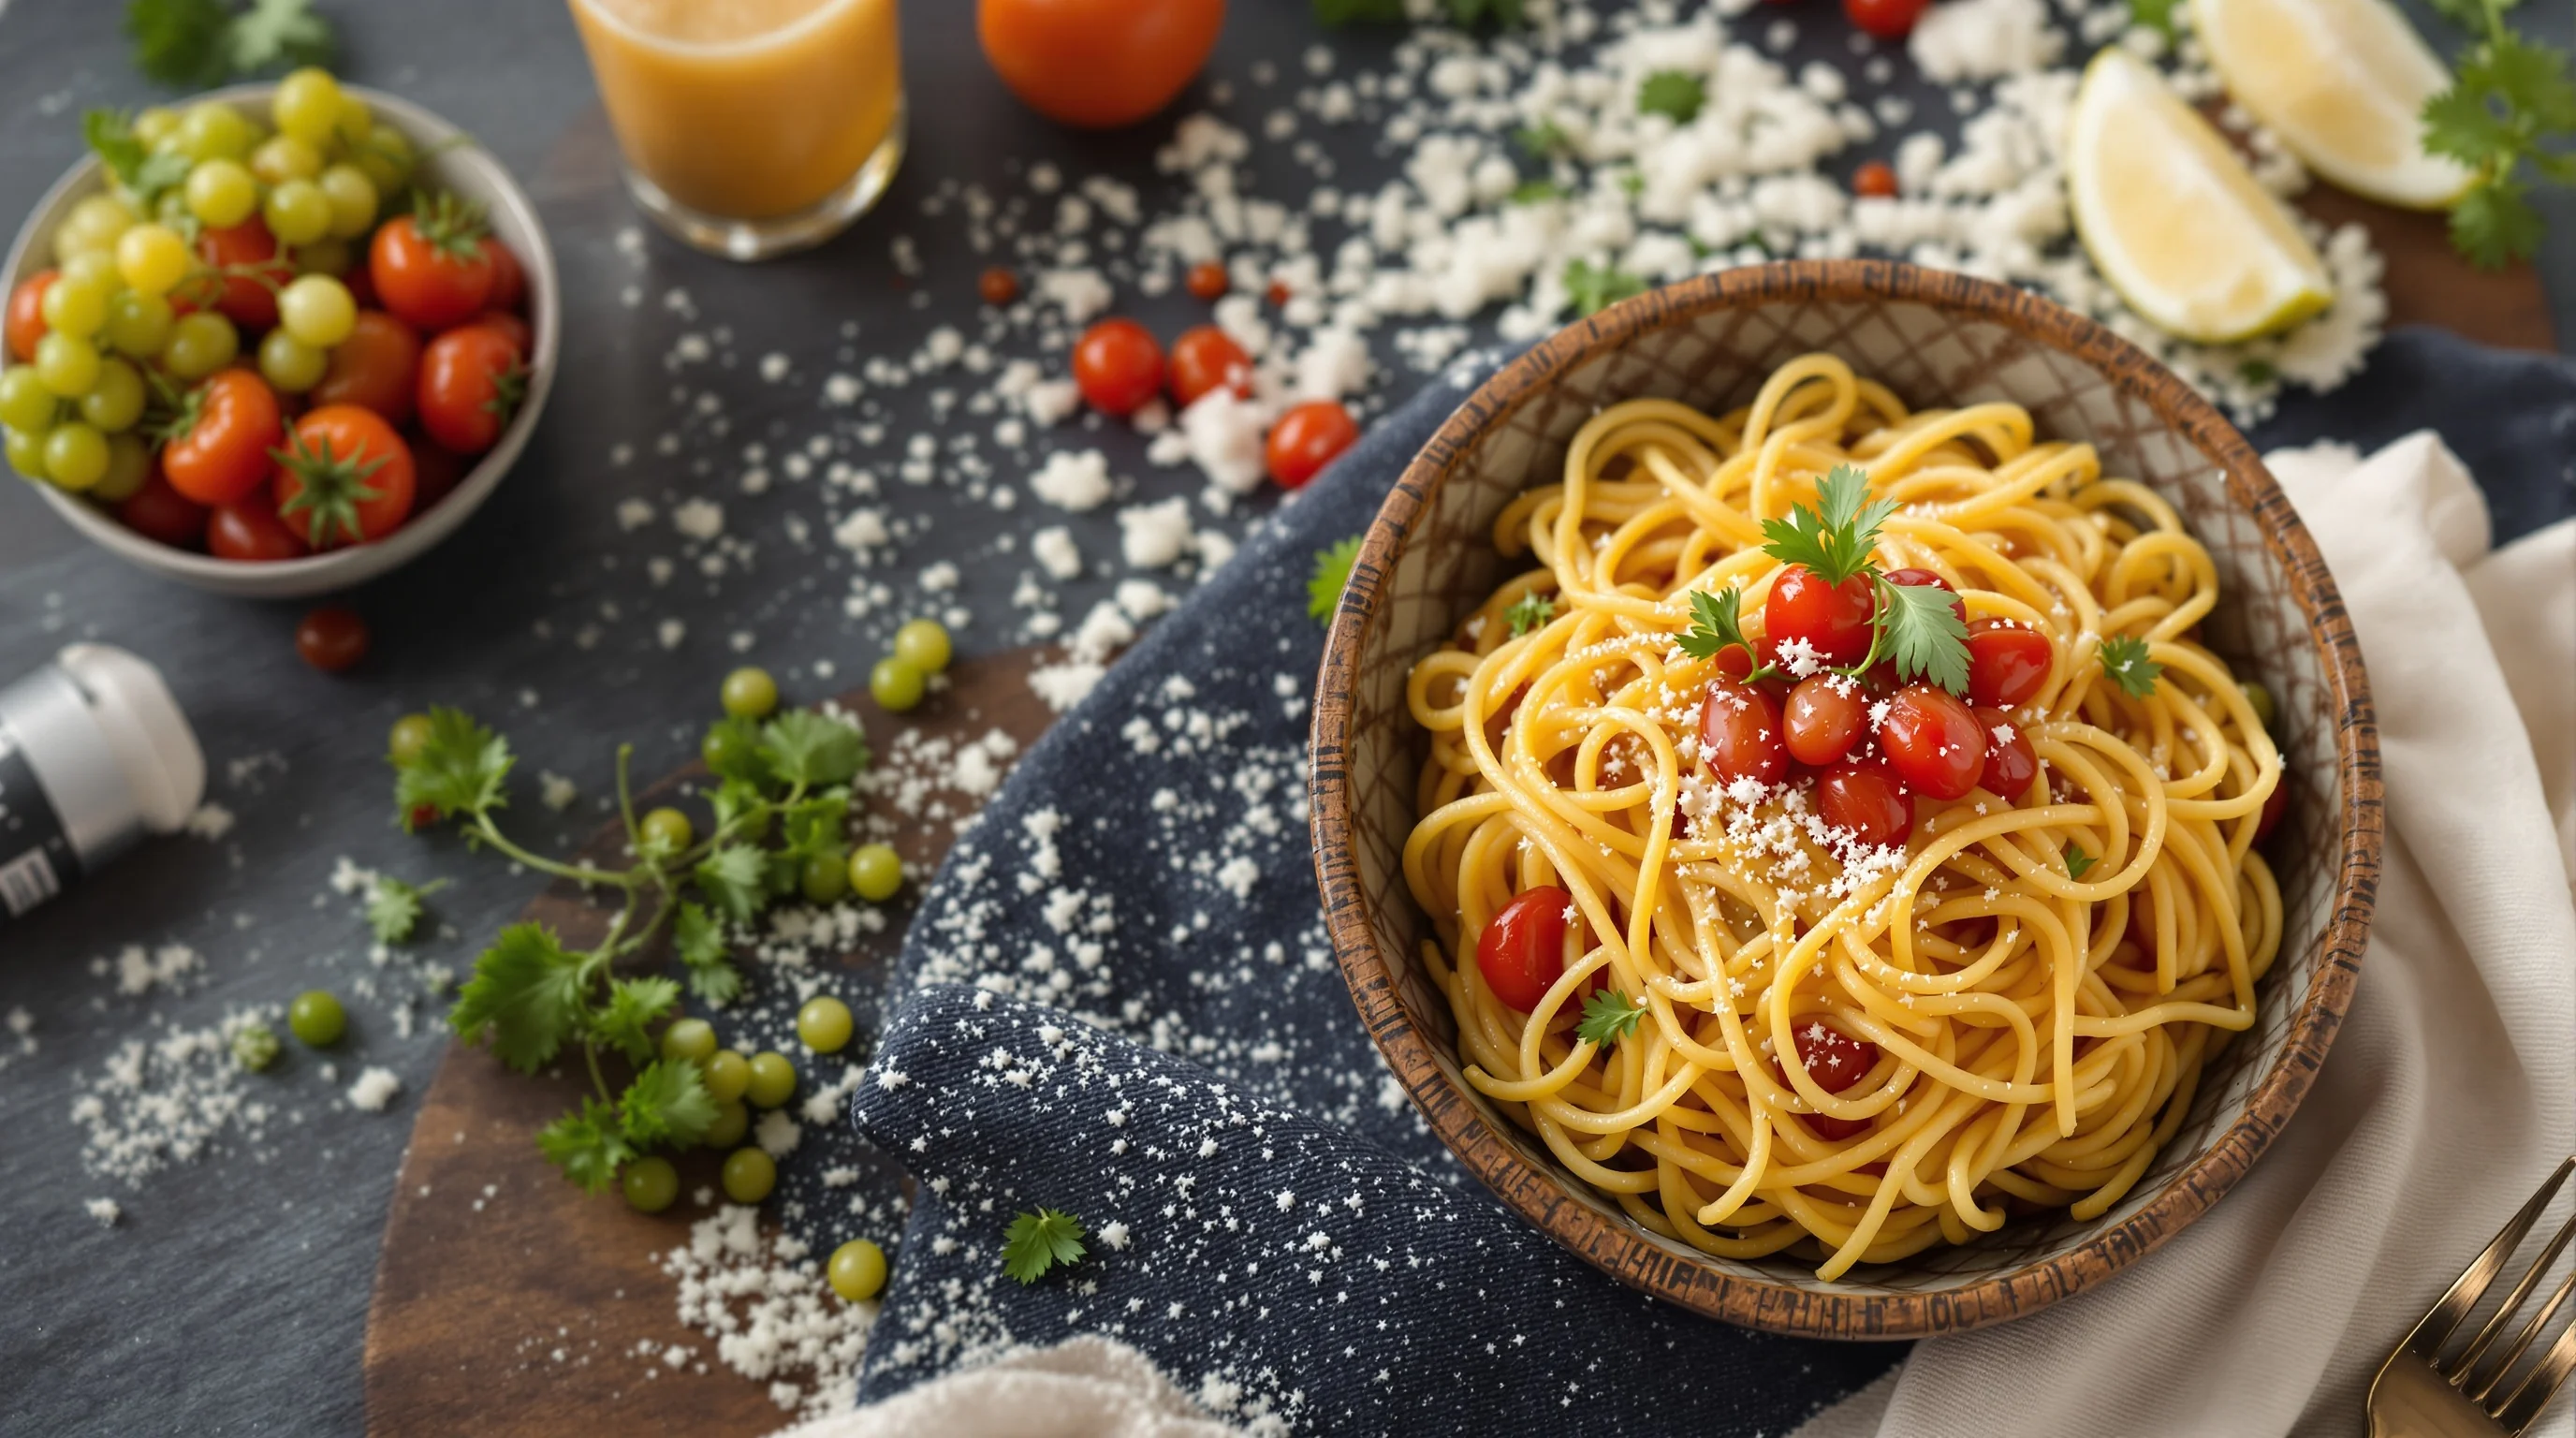
7. Styling, composition and quick fixes
Styling often makes or breaks a photo. Keep garnishes purposeful and avoid over-crowding the frame. For texture, introduce a small reflective element like an oil sheen or a strategic sprinkle of salt. When things go wrong — soggy herbs, collapsed meringue, or over-melted cheese — rely on quick fixes: chill the plate, replace the component, or photograph the less-affected area and crop tighter.
"Come prepared – make a list of the props and gear you’ll need for the photoshoot and pack it all up ahead of time."
suzannajjarphotography.com
This practical guidance should be one of the 10 Steps to Prepare for a Food Photoshoot: pack and label everything beforehand. Quick fixes and spare parts save shoots; build a kit of backups for fragile elements such as herbs, citrus slices and microgreens.
8. Post-production: a clear editing and delivery plan
Post-production often gets cursory treatment in guides, but it is essential. Define your editing workflow: RAW conversion settings, color profile, cropping sizes for different platforms and naming conventions. For delivery-app images, export multiple sizes and crops to match platform specifications. This fills the content gap of limited post-production discussion that competitor articles often leave out.
Advanced editing may include texture dodge/burn, localized sharpening, and highlight control for glossy items. If Sie need to scale quickly across multiple dishes and platforms, consider AI solutions that streamline color correction and cropping.
9. Delivery, platform optimization and metadata
Finalize file names, add descriptive alt text and tag images with metadata for SEO and internal organization. Proper metadata improves discoverability and keeps asset managers efficient. Ensure each image meets the specs for the target platform: our guides on DoorDash, Grubhub and Uber Eats contain recommended sizes and composition tips that align with most delivery apps.
Also plan for quick turnaround marketing assets: create social-friendly crops and short behind-the-scenes clips to maximize the value of the shoot while the food story is fresh.
10. When to use YummyPic (speed, scale and consistency)
After following the 10 Steps to Prepare for a Food Photoshoot, many operators find they still need faster, cheaper ways to produce consistent images at scale. YummyPic is an AI-powered solution that transforms simple photos into professional, restaurant-quality images in seconds. For busy restaurants and chains with limited time or styling expertise, YummyPic delivers polished visuals without a full shoot: instant results, multiple photography styles, and images optimized for DoorDash, Grubhub and Uber Eats.
Use YummyPic when Sie need high-quality menu photos quickly, want a variety of looks from the same dish, or must meet tight platform specs without staging a full shoot. The value propositions are clear: speed, cost-effectiveness and consistent quality across menus and social channels.
- Speed: professional photos in seconds
- Cost-effective: fraction of a traditional shoot
- Variety: multiple styles from one image
- Convenience: no props, no lighting setup
- Platform-ready: optimized for delivery apps
Conclusion
The 10 Steps to Prepare for a Food Photoshoot give Sie a repeatable framework: concept and shot list, ingredient prep, props, gear, schedule, on-the-day workflow, styling fixes, editing, platform delivery and smart use of AI. Remember the numbers: optimized visuals can increase web traffic dramatically and food photos drive roughly 30% more engagement, according to Soocial and Gary Nealon, making this preparation time worthwhile. Whether Sie stage a full professional shoot or use an AI service like YummyPic to scale quickly, planning prevents costly mistakes and produces images that sell.