Introduction: If you sell food online, your images are your storefront. This guide explains Uber Eats image requirements (and how to nail them) so your menu photos load, get approved, and convince customers to order. We'll cover official specs, allowed file types, composition rules, common rejection reasons and practical, low-cost ways to shoot and edit compliant photos. You will also learn modern shortcuts — including AI tools — that save time and lift conversions.
Why accurate menu images matter for delivery sales
High-quality menu photos are not decorative: they directly influence customer behavior. According to research from MenuPhotoAI, professional menu photos can boost orders by 20–35% and increase average order value by 15–25%. Deliveroo data referenced by industry analysts also shows restaurants with menu photos can see about 24% more orders. Separately, studies indicate 73% of diners want to see a food photo before ordering. With Uber Eats serving millions of users across thousands of cities, compliant, appetizing images give your listing a significant competitive advantage.
Beyond conversion lifts, correct images reduce friction. Photos that meet Uber Eats image requirements are less likely to be rejected, publish faster, and display optimally across apps — meaning fewer wasted reshoots and faster time-to-live for new menu items.
What are the current Uber Eats image requirements?
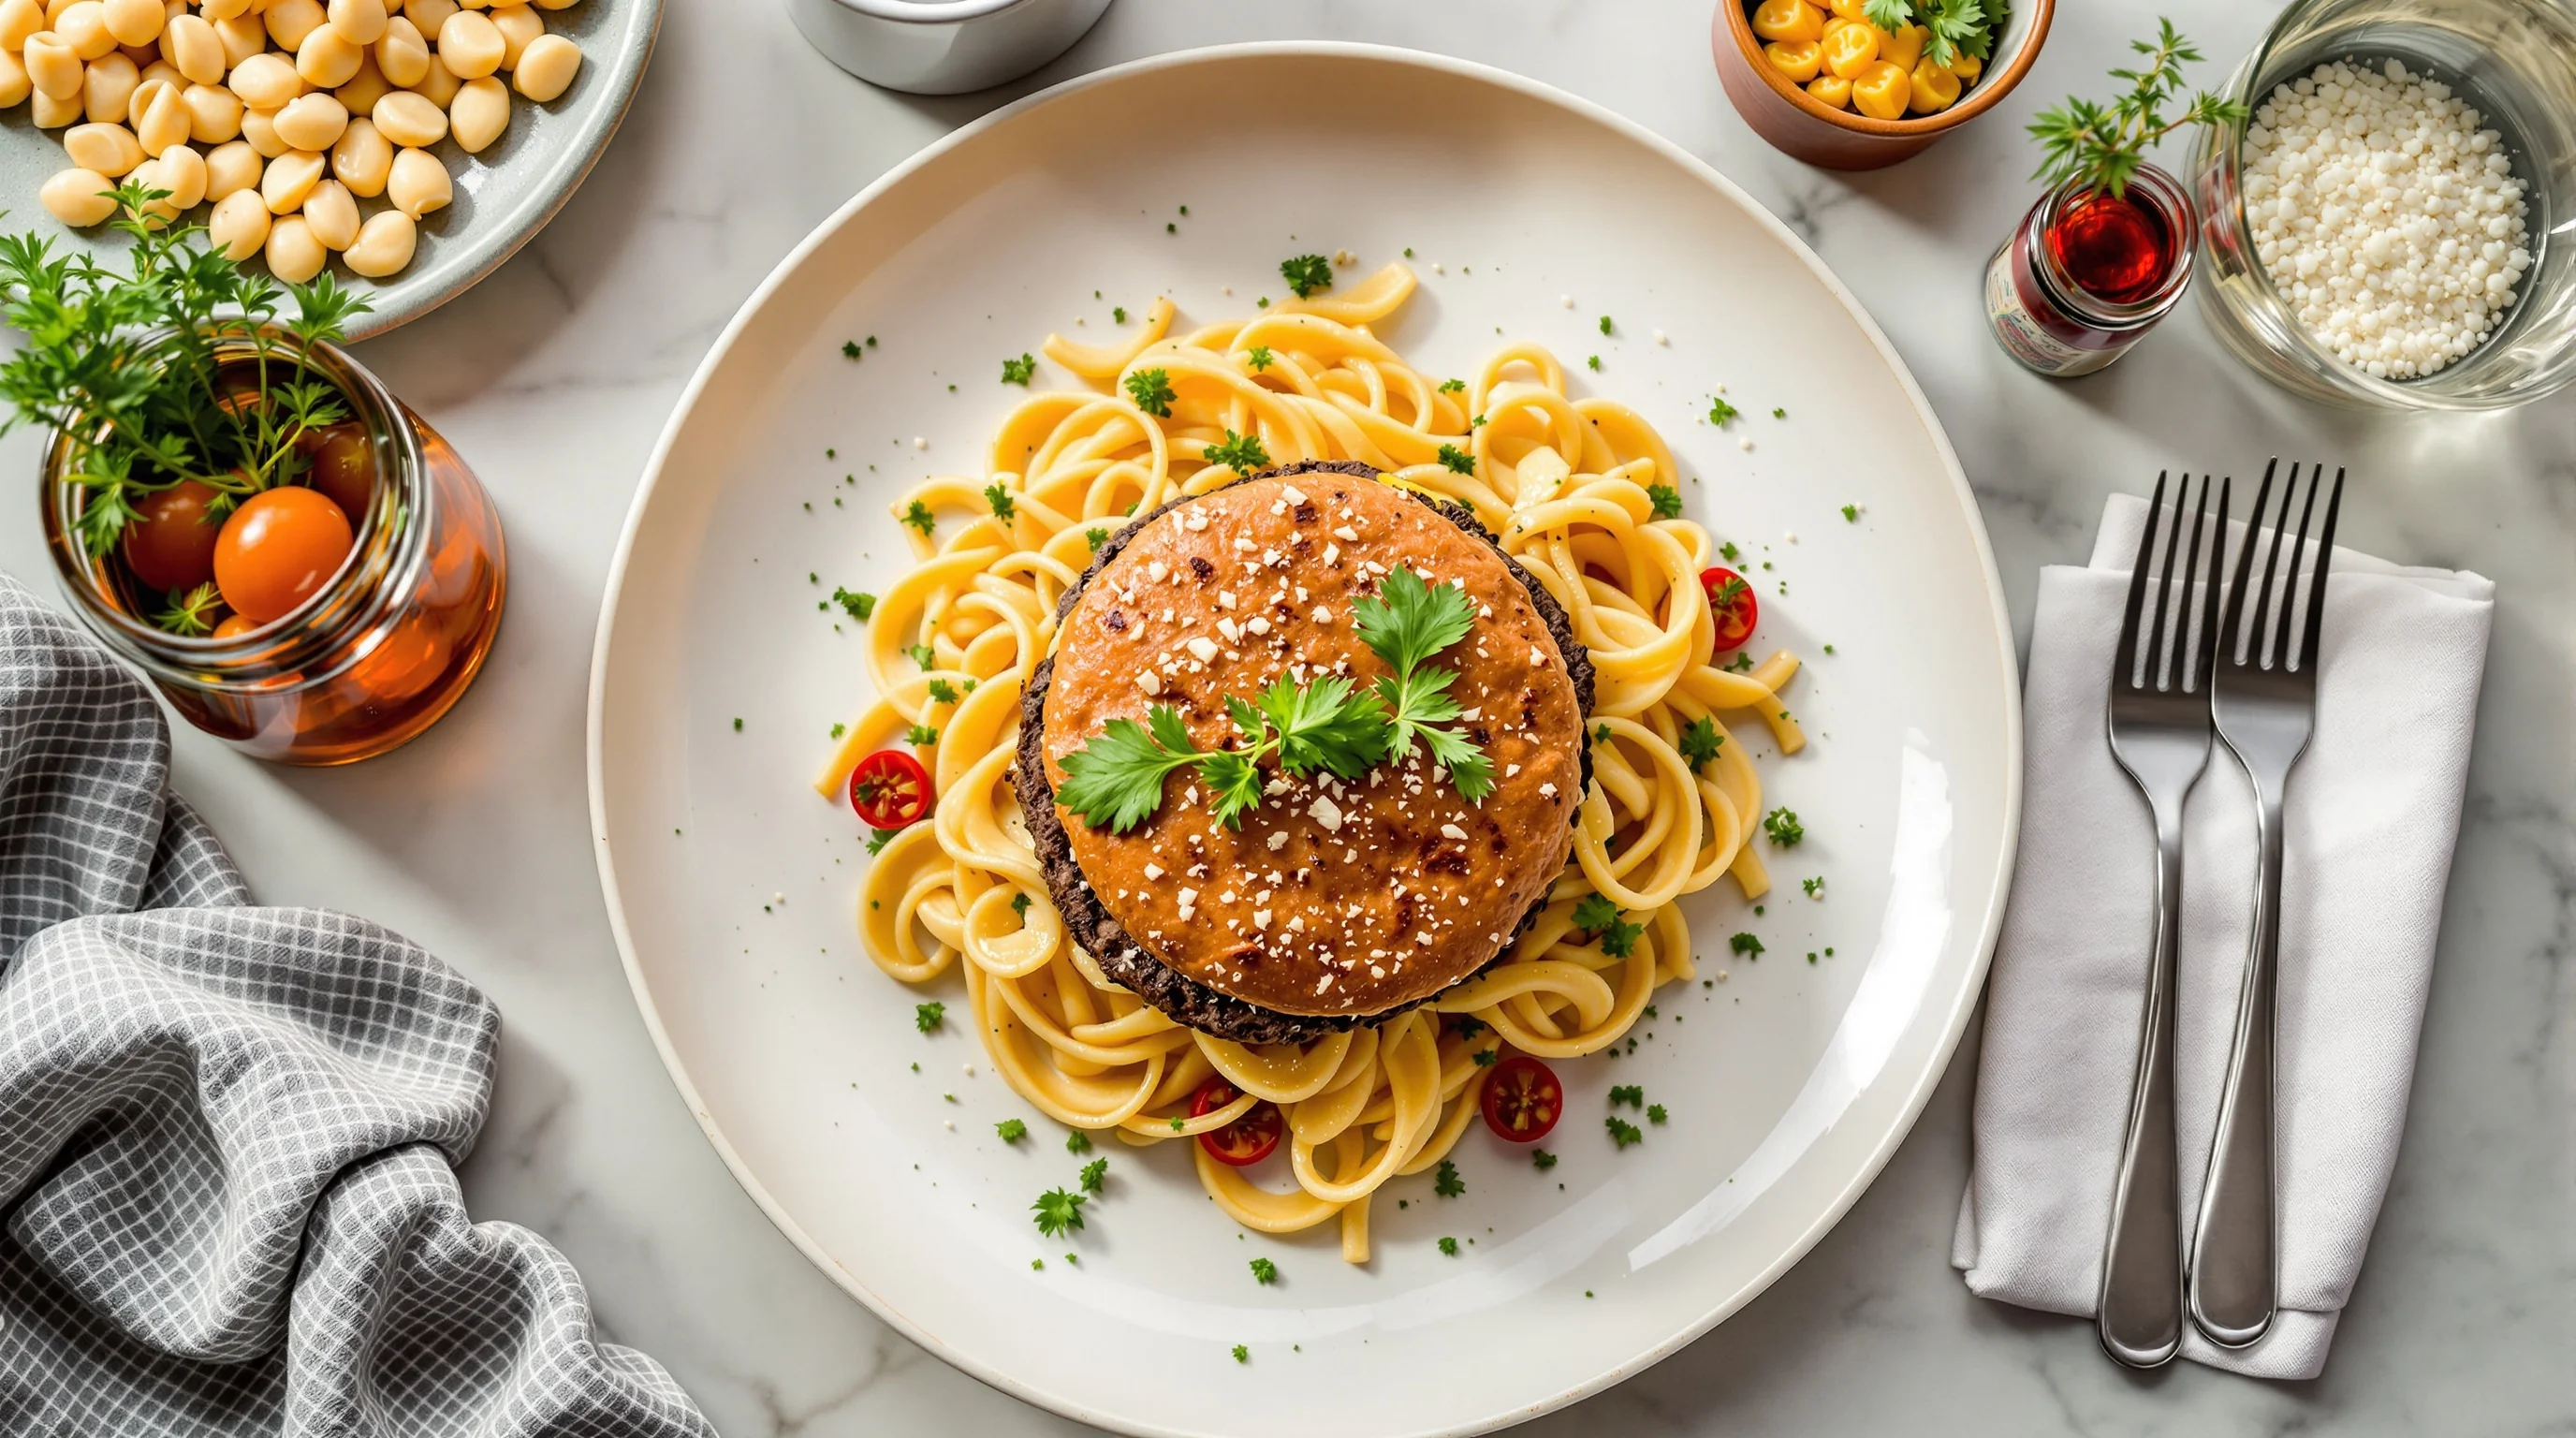
Uber Eats sets clear specs for storefront and menu item photos. Cover or storefront images should be 2880 × 2304 pixels (a 5:4 aspect ratio) and saved as JPEG. Menu item photos should show a single dish centered in-frame; Uber recommends a ratio close to 5:4–6:4 so the item fills most of the frame while leaving a small margin.
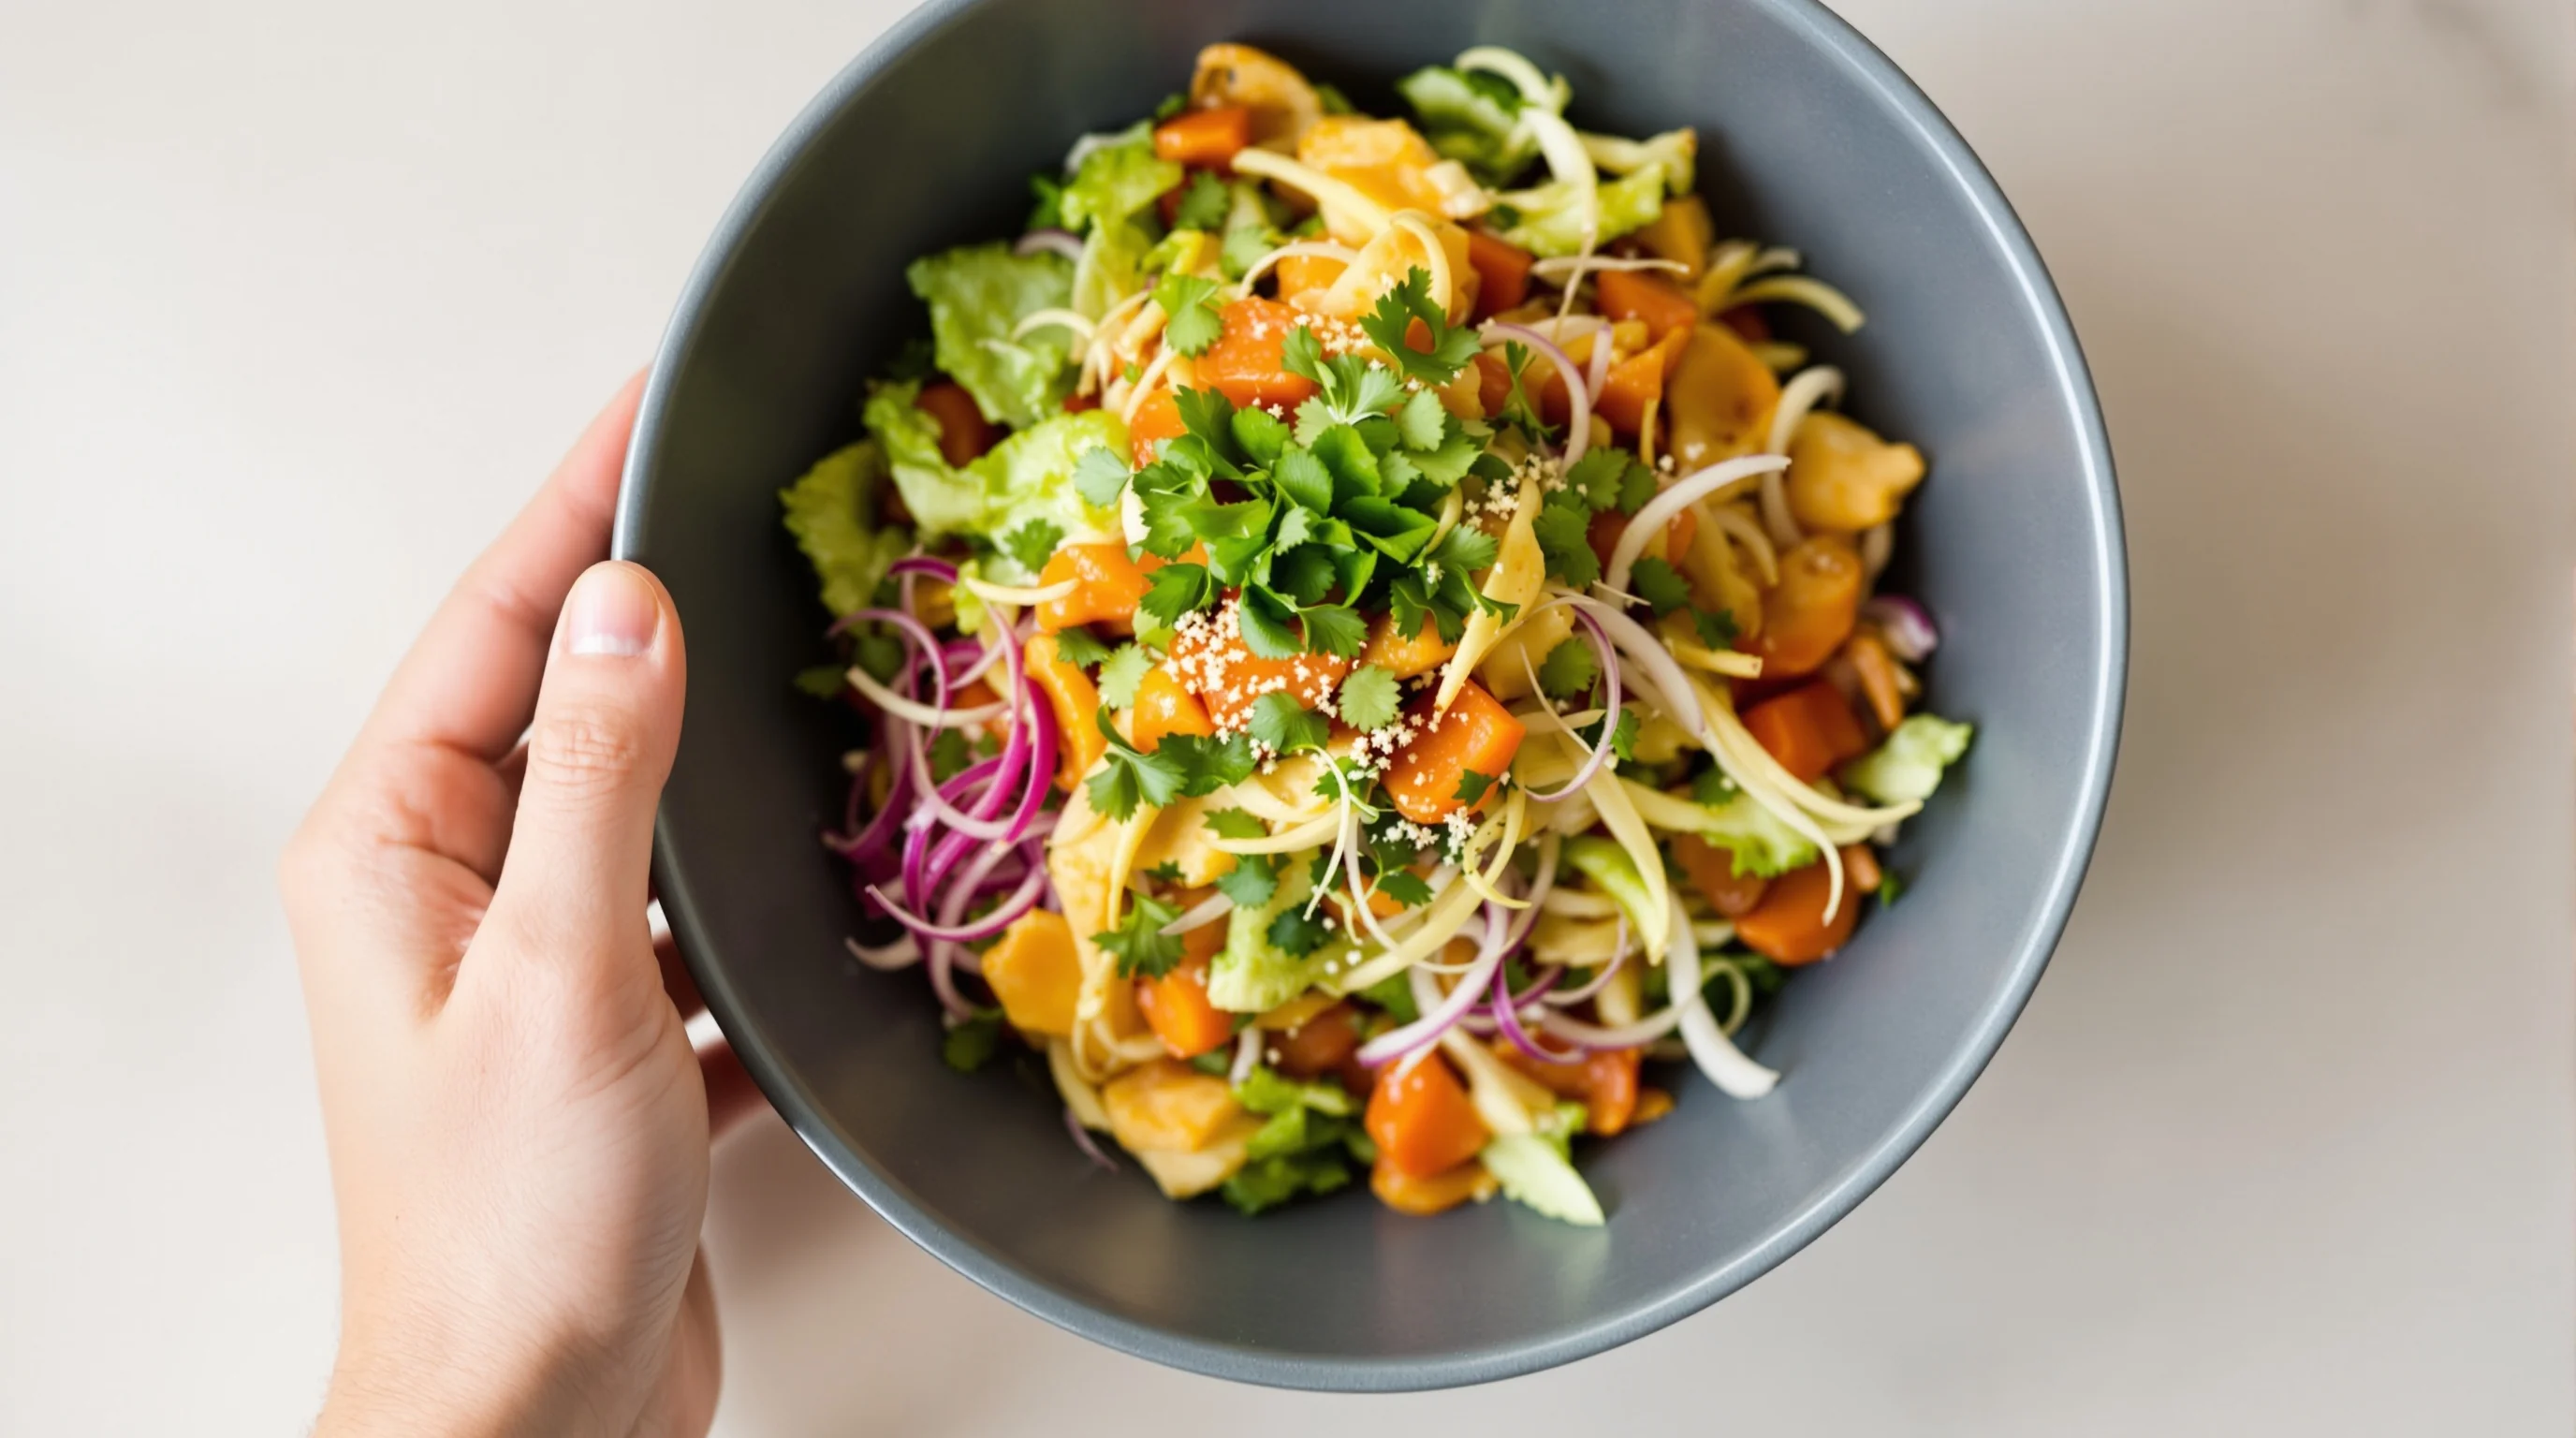
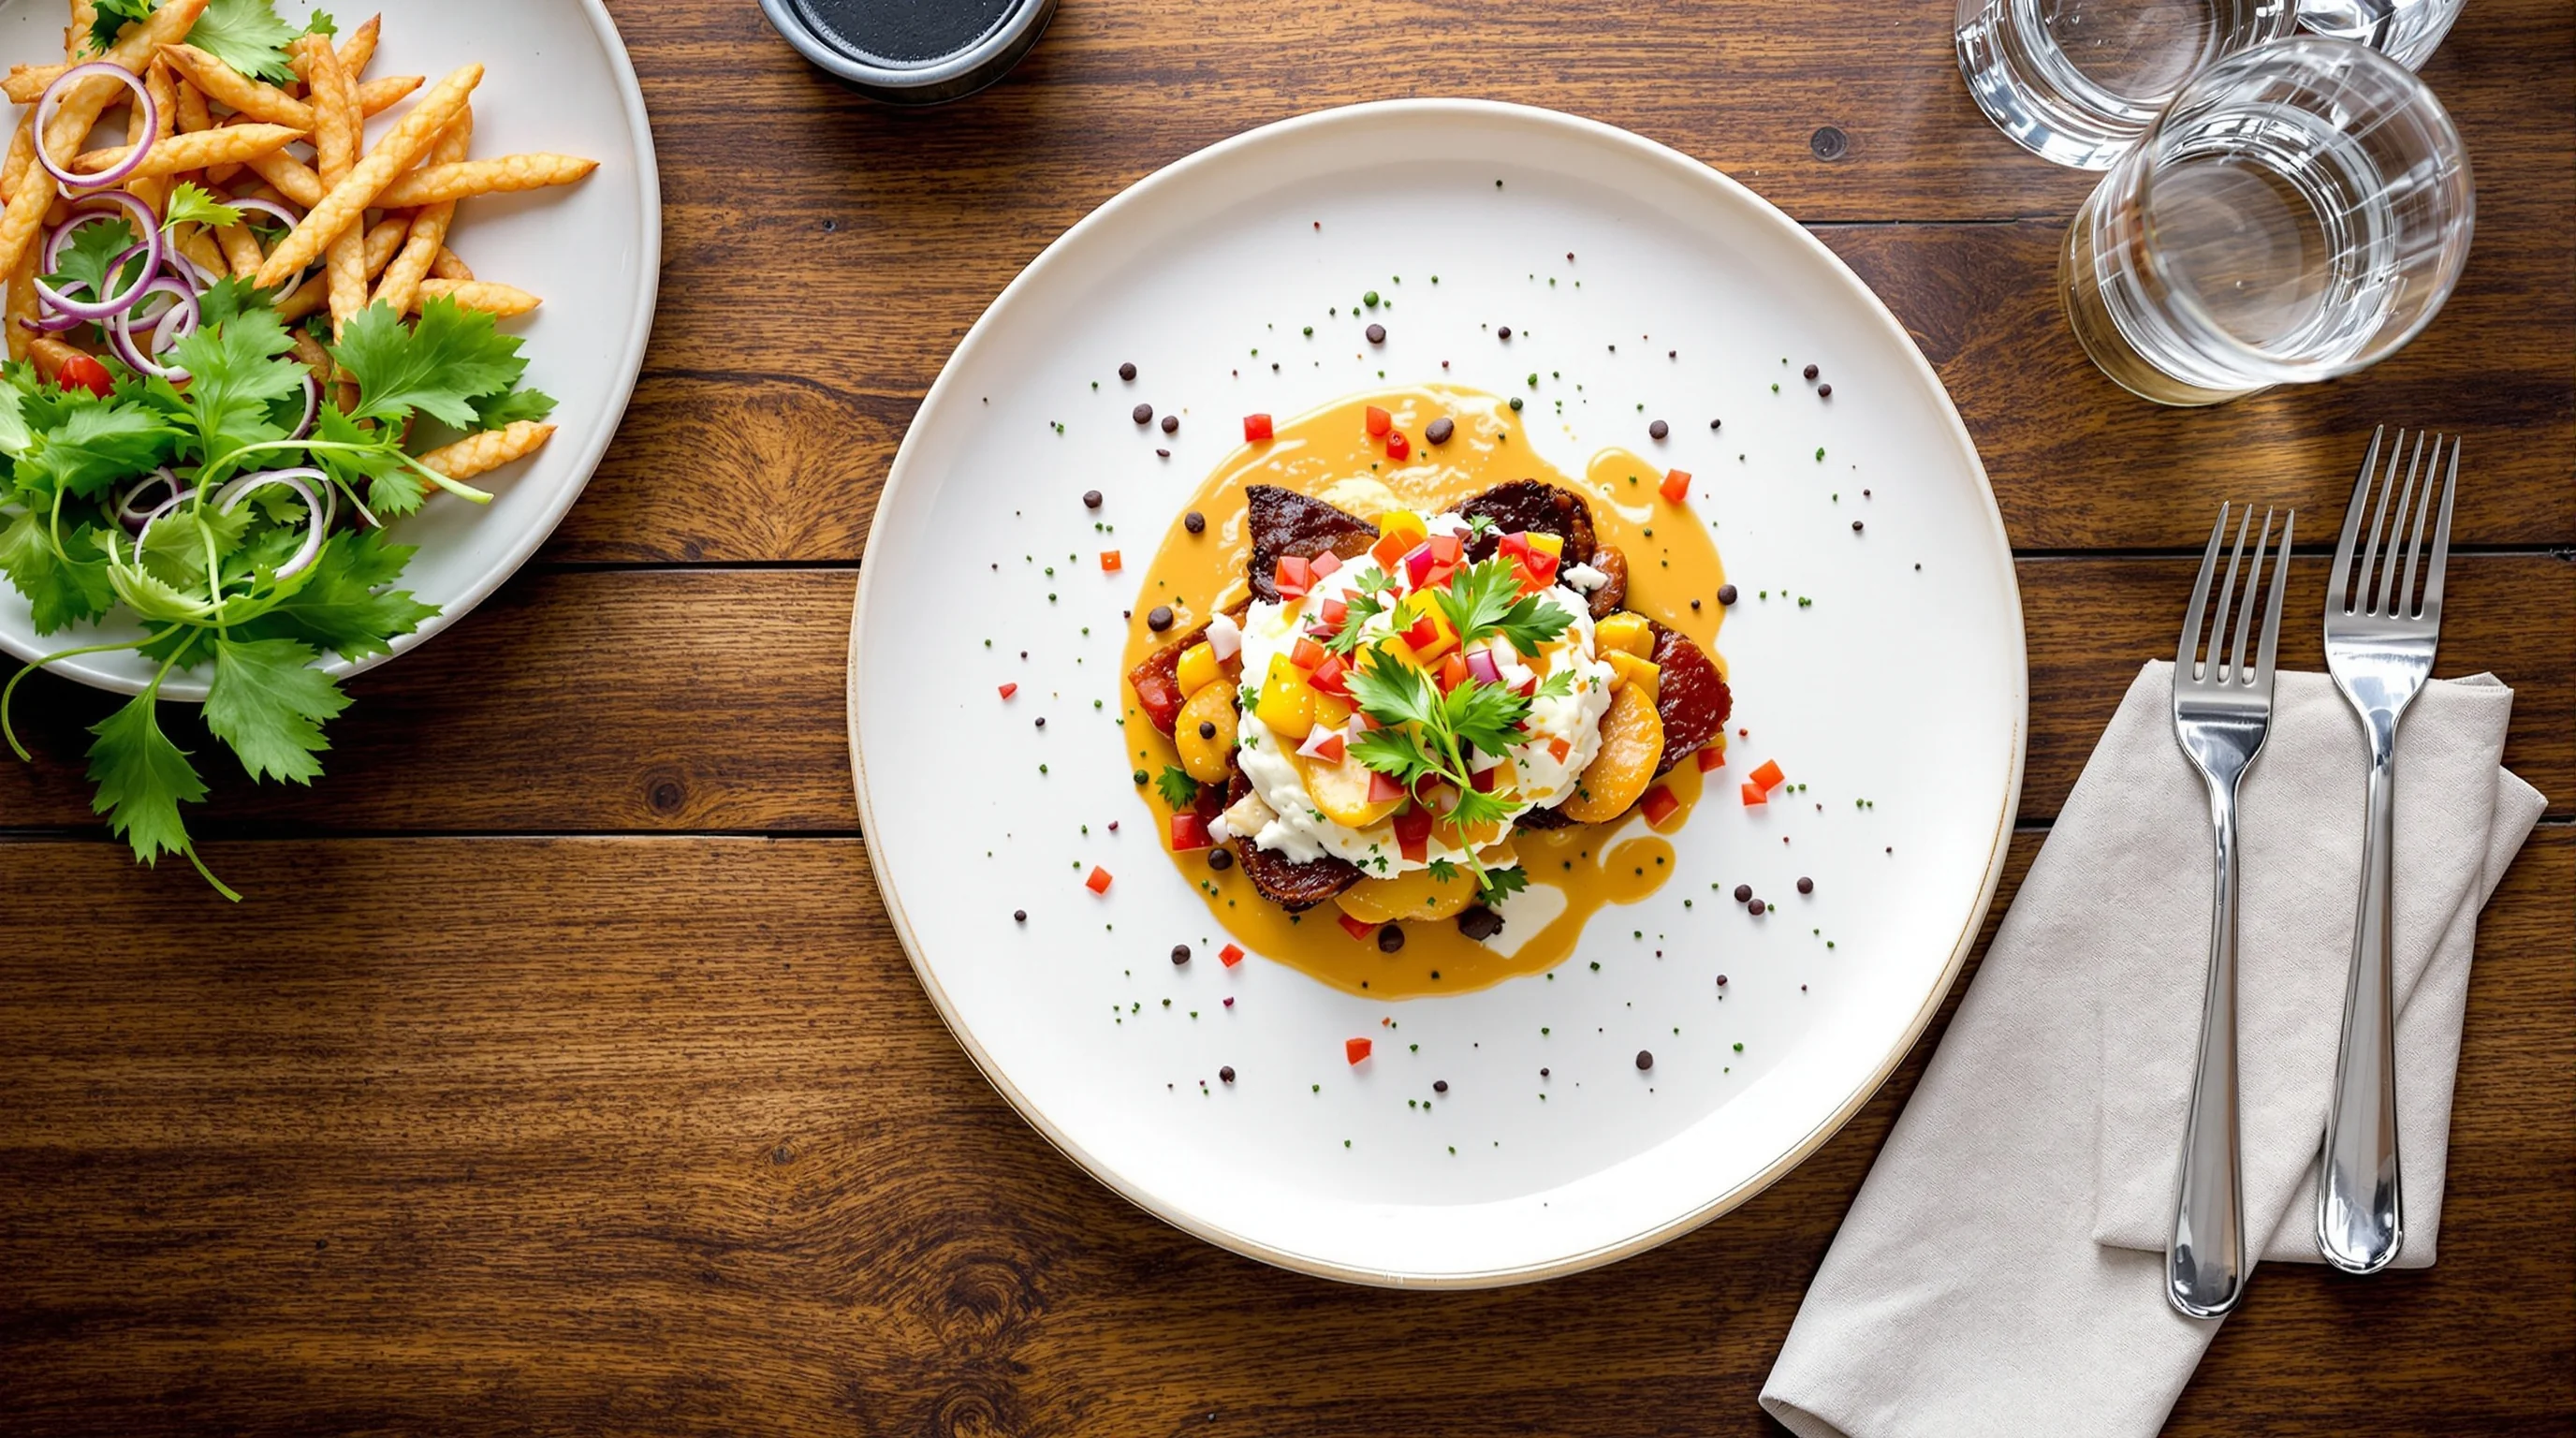
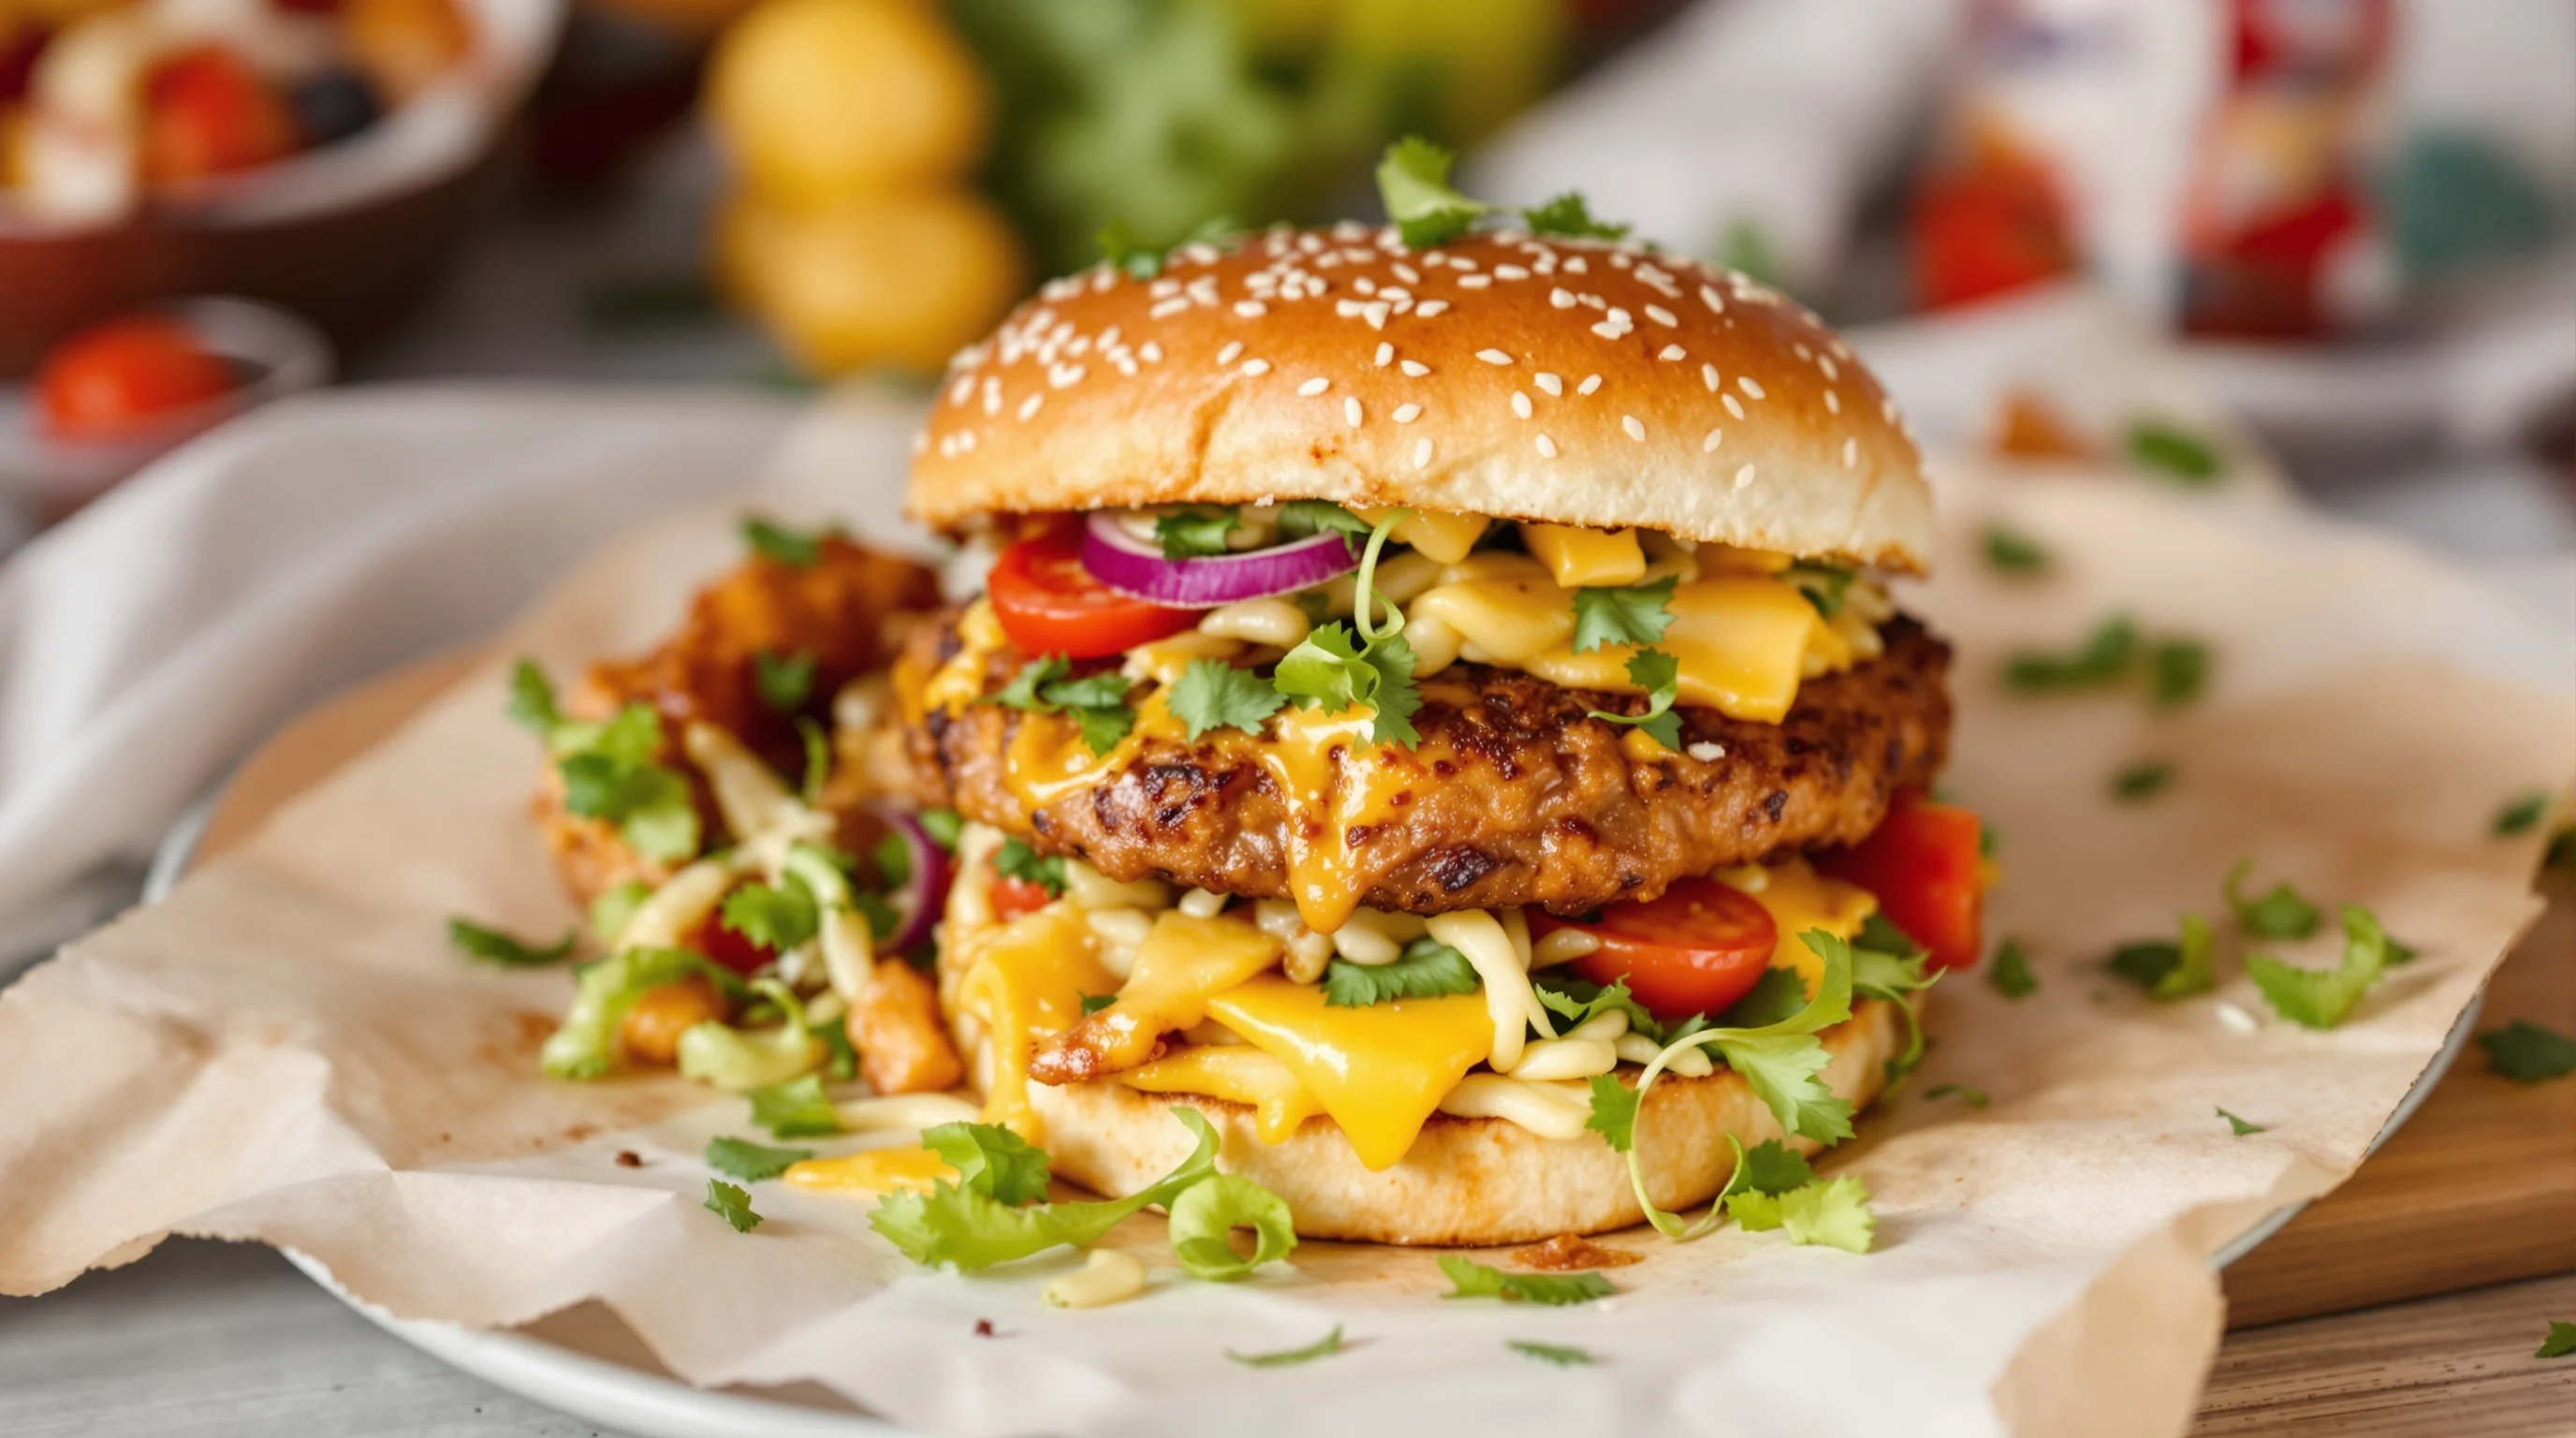
Allowed file types include JPG, PNG and GIF. Files can be up to 10MB and dimensions can range from roughly 550 × 440 up to 10,000 × 10,000 pixels. Important content rules: one item per image, no visible logos or promotional text on the photo, no people (hands holding a dish are usually acceptable), and no clutter or poor focus. These rules are summarized in Uber's merchant guidelines and are essential to avoid rejections.
- Cover/storefront: 2880×2304px, 5:4 aspect ratio, JPEG
- Menu items: single dish centered; recommended ~5:4–6:4 ratio
- File types: JPG/PNG/GIF; max 10MB; dimensions 550×440 to 10,000×10,000px
- Disallowed: multiple items, people (except hands), logos or text, blurry or cluttered images
How do I ensure my photos meet Uber Eats guidelines?
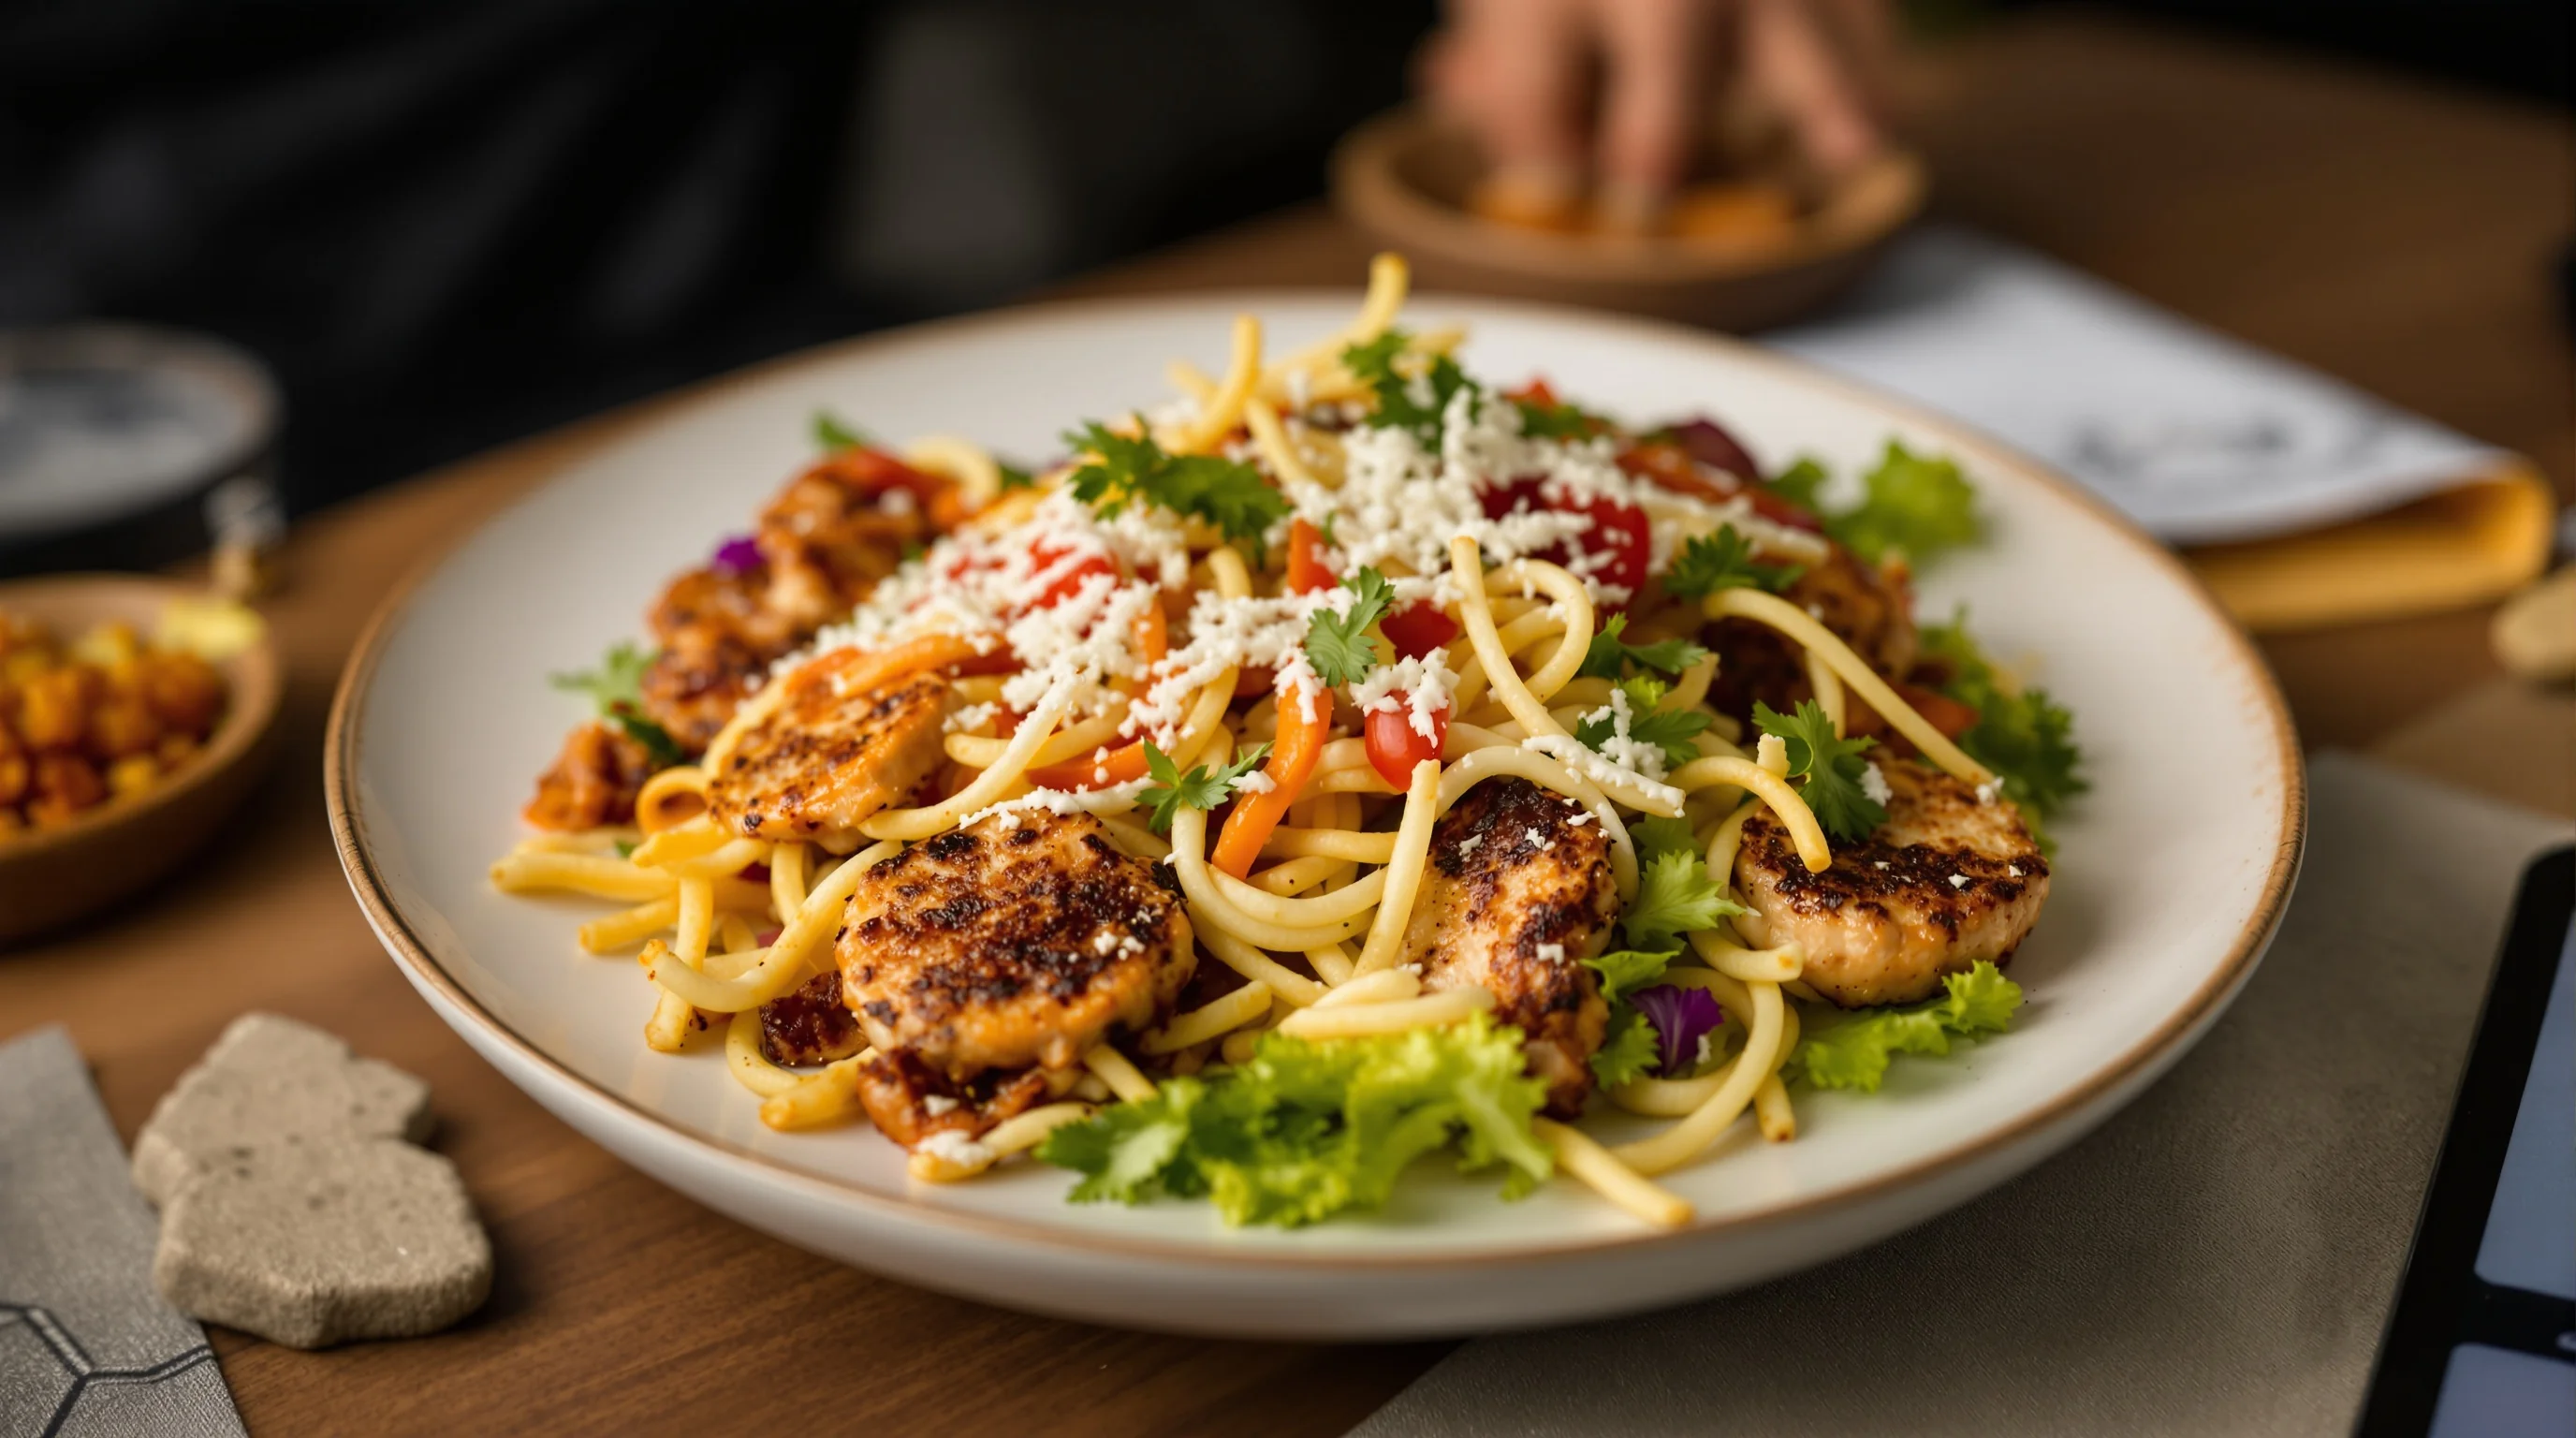
Start with one clear rule: photograph a single, finished dish that looks like the customer will receive it. Frame the dish in the center, use a simple background and natural light where possible. Keep the camera level and avoid extreme angles that crop parts of the plate. If you use props, keep them minimal and neutral so they don't become the focal point.
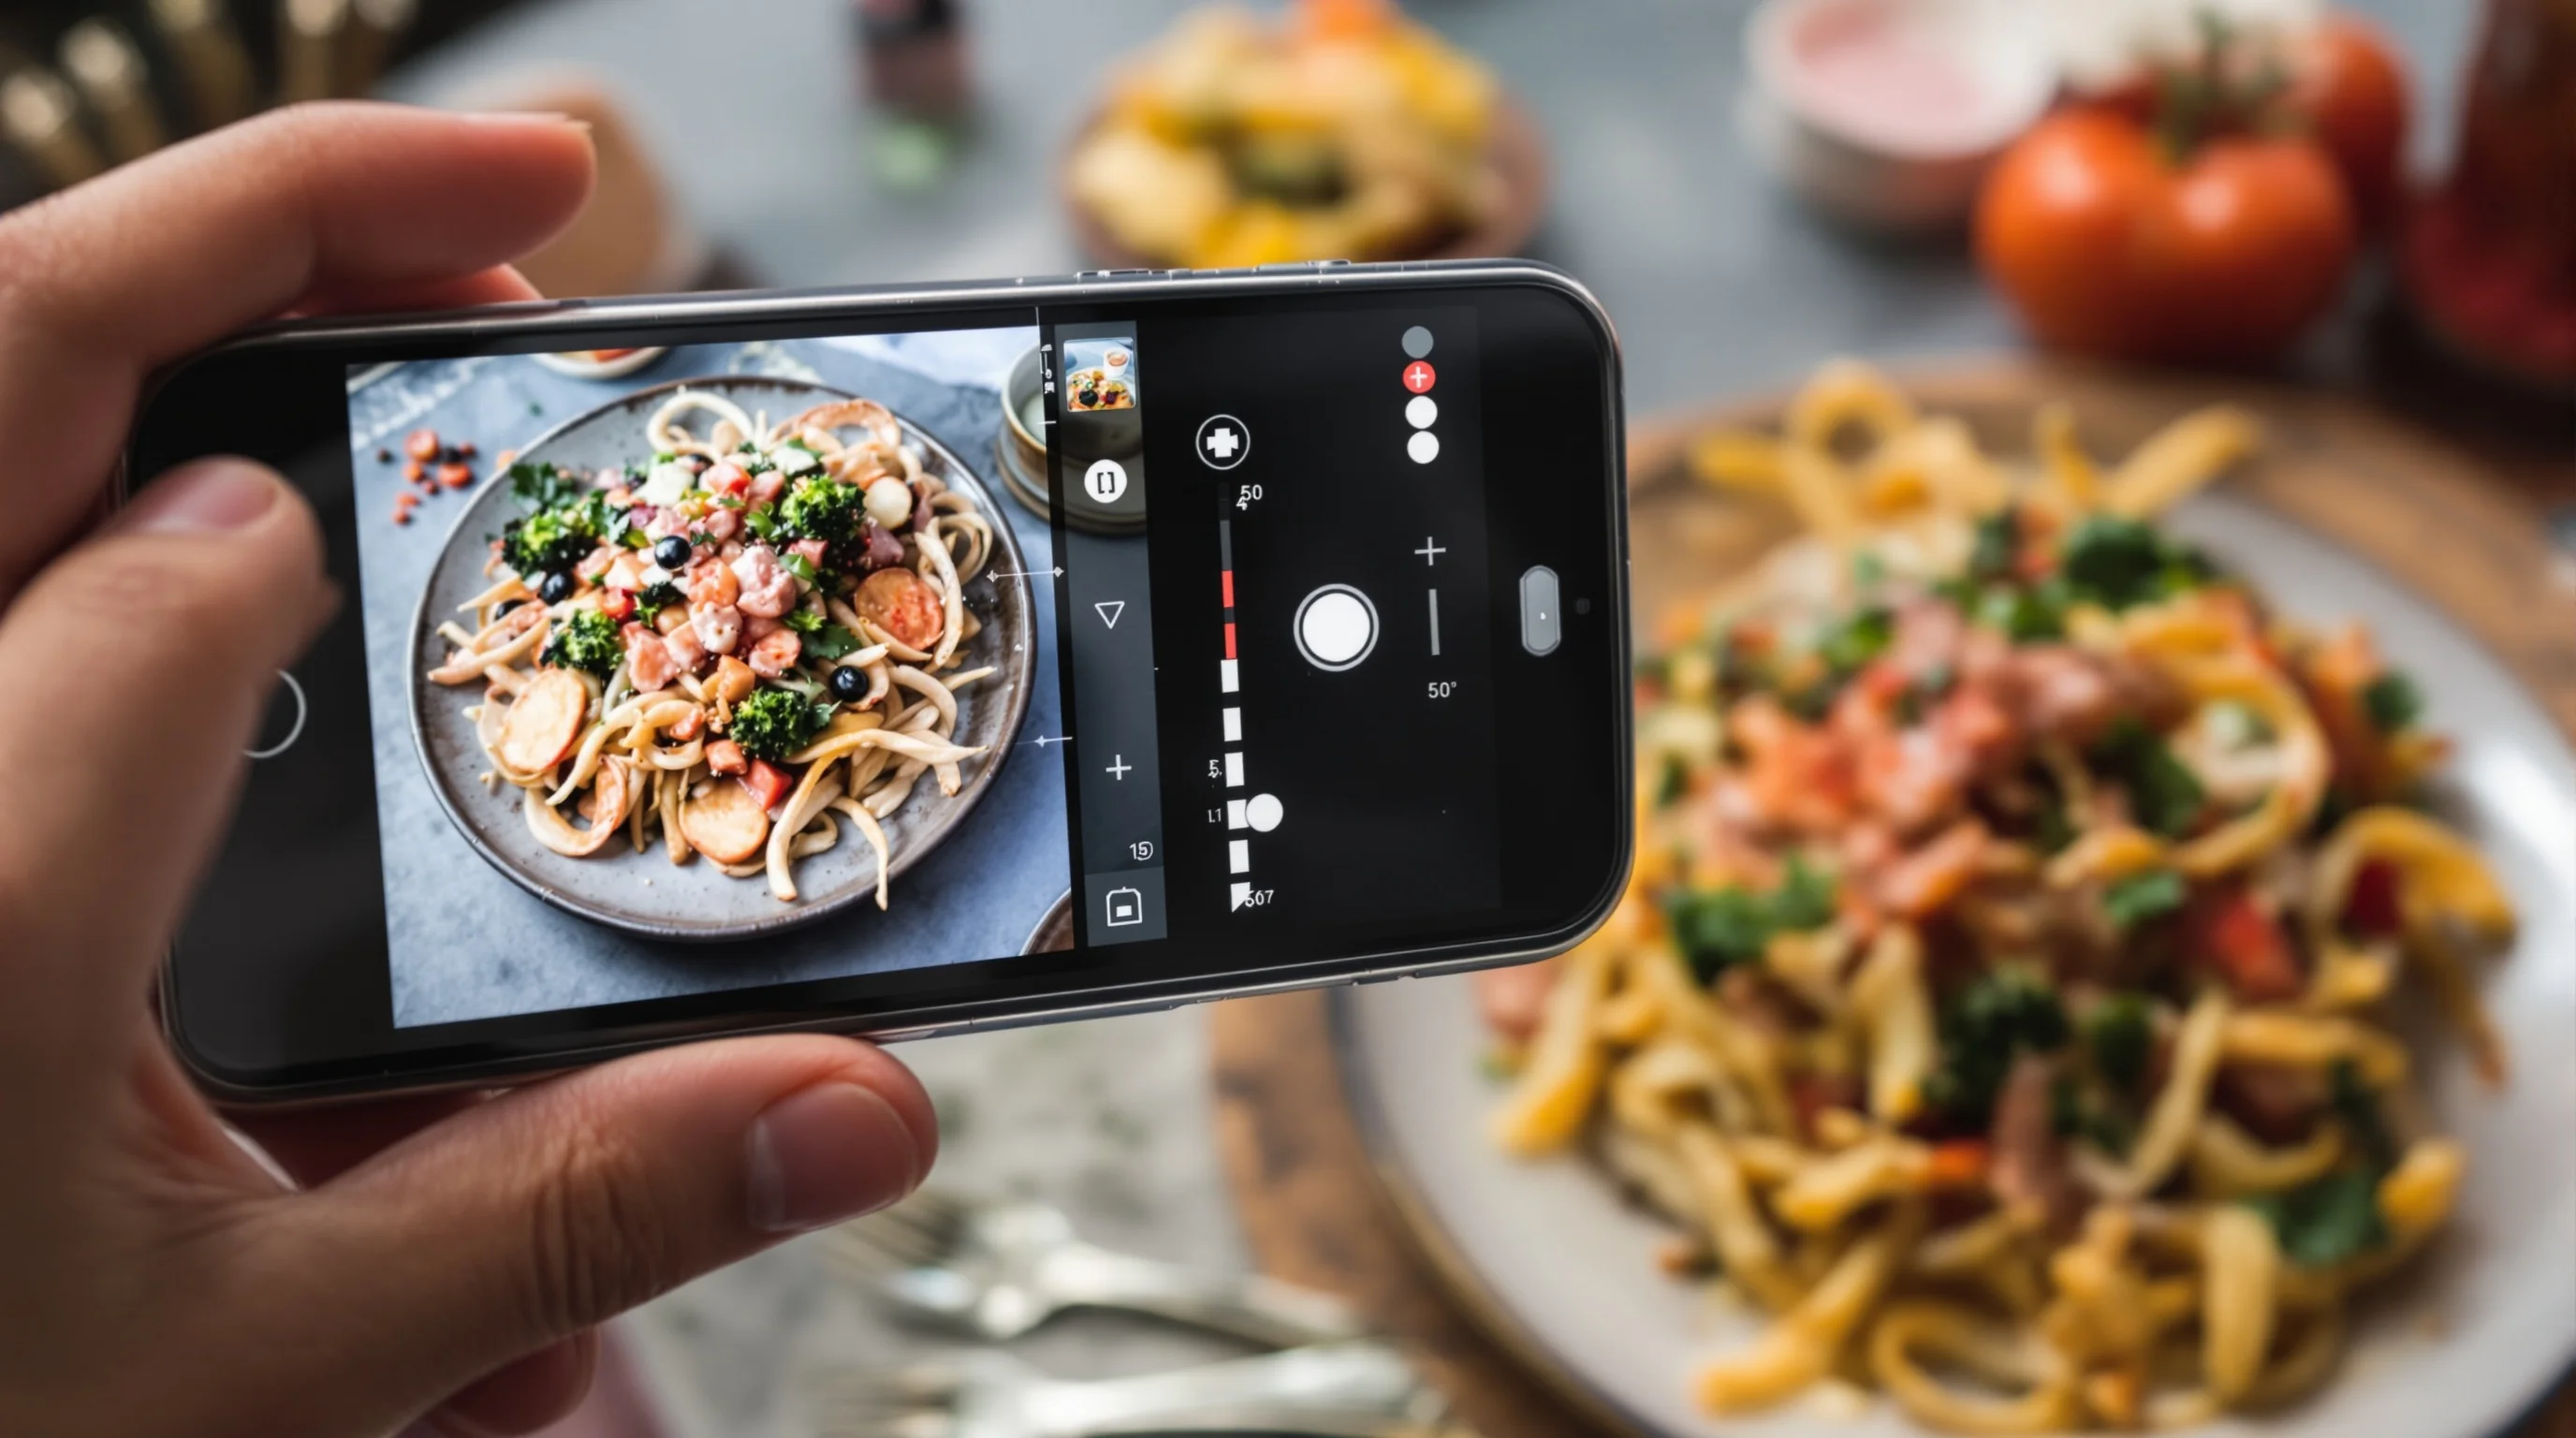
Technical checklist to follow before uploading: crop to a 5:4 ratio for cover images, save a menu-item crop that fills the frame without cutting edges, export as high-quality JPEG (progressive if available), and keep file size under 10MB. For exact camera settings and gear recommendations, consult our guide to Best Camera for Food Photography.
"Food images are no longer decorative—they are the first point of interaction... A well-composed, vibrant image can mean the difference between a click and a scroll-past."
Ewadirect
That quote highlights why the details matter. Small improvements in lighting, color saturation and composition can create measurable lifts in conversions. If you have limited time or in-house skill, consider standardizing a simple shooting workflow (same plate, same background, same window) so you can batch-produce images that are consistent and approval-ready.
Common mistakes that cause rejections (and how to fix them)
Uber Eats rejects photos for obvious reasons — but some causes are less obvious. Typical problems include multiple dishes in one photo, cropping that cuts part of the plate, low resolution or compression artifacts, visible logos or branded packaging, and images that misrepresent the item (e.g., raw ingredients or step-by-step photos instead of the finished dish).
- Multiple items: take one photo per menu item.
- Text or logos: remove any on-image text or packaging labels.
- Blurry/low-detail images: use a tripod or higher shutter speed.
- Wrong aspect ratio: crop to 5:4 for covers and similar ratios for item photos.
- Distracting backgrounds: choose plain wood, slate or neutral boards.
Fixes are often simple. Use your phone’s grid to keep the plate centered, shoot near a large window for soft natural light, and export at high quality. If you struggle with editing, tools and automation can auto-crop and enhance batches of photos to the correct specs.
Shooting and editing best practices for fast, high-converting images
Lighting: natural, diffused daylight is ideal. Avoid harsh overhead fluorescent lights that create green/blue casts. If shooting indoors at night, use a soft LED panel and bounce cards to soften shadows. Composition: use a shallow depth of field for plated items (f/2.8–f/5.6) to separate the dish from the background, but ensure the focal point is entirely sharp. Angles: 3/4 angle works for bowls and layered dishes; flat-lay is best for pizzas, salads and items arranged on a board.
Editing: correct white balance first, then adjust exposure, contrast and saturation conservatively. Over-saturation or extreme contrast can hurt perceived authenticity and conversion—research from Ewadirect suggests textured, saturated images boost sales, while extremely high contrast can be counterproductive. Save a high-resolution master and export an Uber Eats-optimized JPEG copy.
Tools and automation to speed production (including AI)
Manual editing works, but it’s time-consuming. Modern AI platforms can auto-crop to Uber Eats image requirements, enhance lighting and color, and generate multiple stylistic variations. As Uber has noted: "We're using AI to detect and enhance low-quality food images – improving lighting, resolution, framing, and plating – to help restaurants showcase their dishes more accurately" (Uber).
YummyPic is an AI-powered option built for restaurants: upload a simple photo and get restaurant-quality menu images in seconds that are optimized for delivery platforms. YummyPic automates aspect-ratio correction, lighting fixes and styling consistency so you avoid manual resizing and repeated re-uploads.
- Automated cropping and resizing to Uber Eats specs
- AI-powered enhancement for lighting and color
- Consistent styling and multiple photography styles for platform testing

How to upload and manage menu images on Uber Eats
Use the merchant dashboard to upload cover and menu item photos. Label each image clearly so it maps to the correct menu item. Keep a folder structure for originals and platform-optimized exports (Uber Eats, DoorDash, Grubhub). For efficiency, batch export images in the correct filename convention and upload them in one session.
If a photo is rejected, check the reason in the dashboard and address it immediately. Common fixes include recropping, removing text, or uploading a higher-resolution file. If you manage multiple platforms, consider a central workflow using AI tools to create platform-specific exports—this minimizes rework and keeps branding consistent across channels such as DoorDash and Grubhub. See our service pages for platform-specific help: DoorDash Photography, Grubhub Photography, and Uber Eats Photography.
Practical shoot checklist you can follow in 10 minutes
Make this a repeatable routine for every menu item to save time and ensure compliance. Use consistent plates, backgrounds and styling to create a cohesive menu look.
- Clean and plate the dish as it will be delivered.
- Position near a window; use a reflector to fill shadows.
- Set camera/phone on a tripod; use gridlines to center the plate.
- Shoot multiple angles (flat-lay, 3/4, close-up for texture).
- Select the best shot, correct white balance and exposure, crop to 5:4 or similar, export high-quality JPEG under 10MB.
If you need more in-depth help with lighting or composition, our Food Photography Tips for Beginners and composition guide offer step-by-step instructions.
Real examples and solving the content gaps
Competitor guides sometimes conflict on exact aspect ratios (4:3 vs 5:4). Follow Uber’s official cover spec of 2880 × 2304 (5:4) for your storefront image and aim for a 5:4–6:4 window for individual menu items — this resolves ambiguity and aligns with platform rendering. Another common gap is lack of concrete before/after examples; you can create quick A/B tests by uploading two variants (bright & airy versus moody) and tracking click-throughs.
Automated tools also bridge gaps around batch editing and platform-specific crops. For teams that repeatedly waste time on manual resizing or face rejections for simple issues, AI solutions like YummyPic reduce manual work and produce consistent results.
Brand workflow: scale menu photography without a studio
Small kitchens and multi-location restaurants need a repeatable system. Standardize one plate, choose neutral backdrops, assign a consistent light source and save presets for your editing. For scale, adopt an AI-assisted pipeline: capture on a smartphone, upload raw images to an AI service, then download platform-optimized files. This approach preserves authenticity while ensuring every image meets Uber Eats image requirements.
💡 Pro Tip
If you sell similar items across platforms, keep a master file and export platform-specific crops. Use YummyPic to automate aspect-ratio correction and get multiple style variants for testing.
Conclusion
Uber Eats image requirements are precise but straightforward: use correct dimensions (cover: 2880×2304, menu items: centered single dish with ~5:4–6:4 ratio), allowed files (JPG/PNG/GIF under 10MB), and content rules (no logos/text, one item per photo). Good photos boost orders and average order value; poor or non-compliant photos delay publishing and reduce conversions. If you want speed and consistent quality without a studio, AI tools such as YummyPic provide fast, cost-effective image enhancement and automated compliance so you can focus on food and service.