Introduction — This Uber Eats Image Optimization Guide (2025 Update) explains exactly how restaurants can prepare and publish menu photos that pass platform checks, load quickly on mobile, and convert viewers into customers. With more than 1.5 million merchants and roughly 50 million monthly active users on Uber Eats, images are the first sales driver for many kitchens, and poor photos cost real revenue. This guide pulls together Uber’s new AI enhancements, platform specs, photography best practices and a pragmatic, low-cost workflow so busy operators can get results without a studio. Read on for the technical checklist, shooting recipes, compression tricks and quick fixes any team can apply today.
Why menu photos matter (and what the data says)
High-quality menu images influence discovery, clicks and orders more than most restaurateurs realize. According to Uber, dish images in ads boosted clicks by 20% and increased orders by 32% in internal tests. Other industry research shows restaurants using professional menu photography see roughly 20–35% higher order volumes and 15–25% higher average order value, and menus with photos can convert around three times more than text-only listings according to MenuPhotoAI. Perhaps most important for decision-making: 73% of customers say they won’t order without a photo. That makes this Uber Eats Image Optimization Guide (2025 Update) not just nice-to-read but mission-critical for menu performance.
Good images do two jobs: they must meet Uber Eats technical requirements and they must win the tap. This Uber Eats Image Optimization Guide (2025 Update) balances both: clear specs to avoid rejections and visual techniques—color, texture, saturation—that lift conversion. Visual studies note that accurate color saturation and visible texture increase purchase intent, while overly aggressive contrast or unnatural colors can reduce conversions. Use this guide to make photos that are both compliant and appetizing.
What are the photo requirements for menu images on Uber Eats?
Uber Eats maintains specific image rules to ensure consistent presentation. For most menu item photos Uber prefers a clean, centered dish composition with a neutral background. The platform accepts common formats (JPEG/PNG) and asks for high-resolution images while enforcing file size limits for fast delivery. As of this 2025 update, Uber also offers AI-powered photo enhancements to help restaurants meet lighting, framing and quality checks automatically. This Uber Eats Image Optimization Guide (2025 Update) includes an exact technical checklist you can follow when preparing files for upload.
- Preferred formats: JPEG (sRGB) or PNG when necessary
- Recommended aspect ratio for menu items: 5:4 (square-ish crop works for app tiles)
- Minimum resolution: upload at least 1200 px on the shortest side where possible
- Keep file size under 500 KB for faster mobile loading when possible (use compression)
- Center a single dish, avoid logos/watermarks and ensure no distracting hands or staff
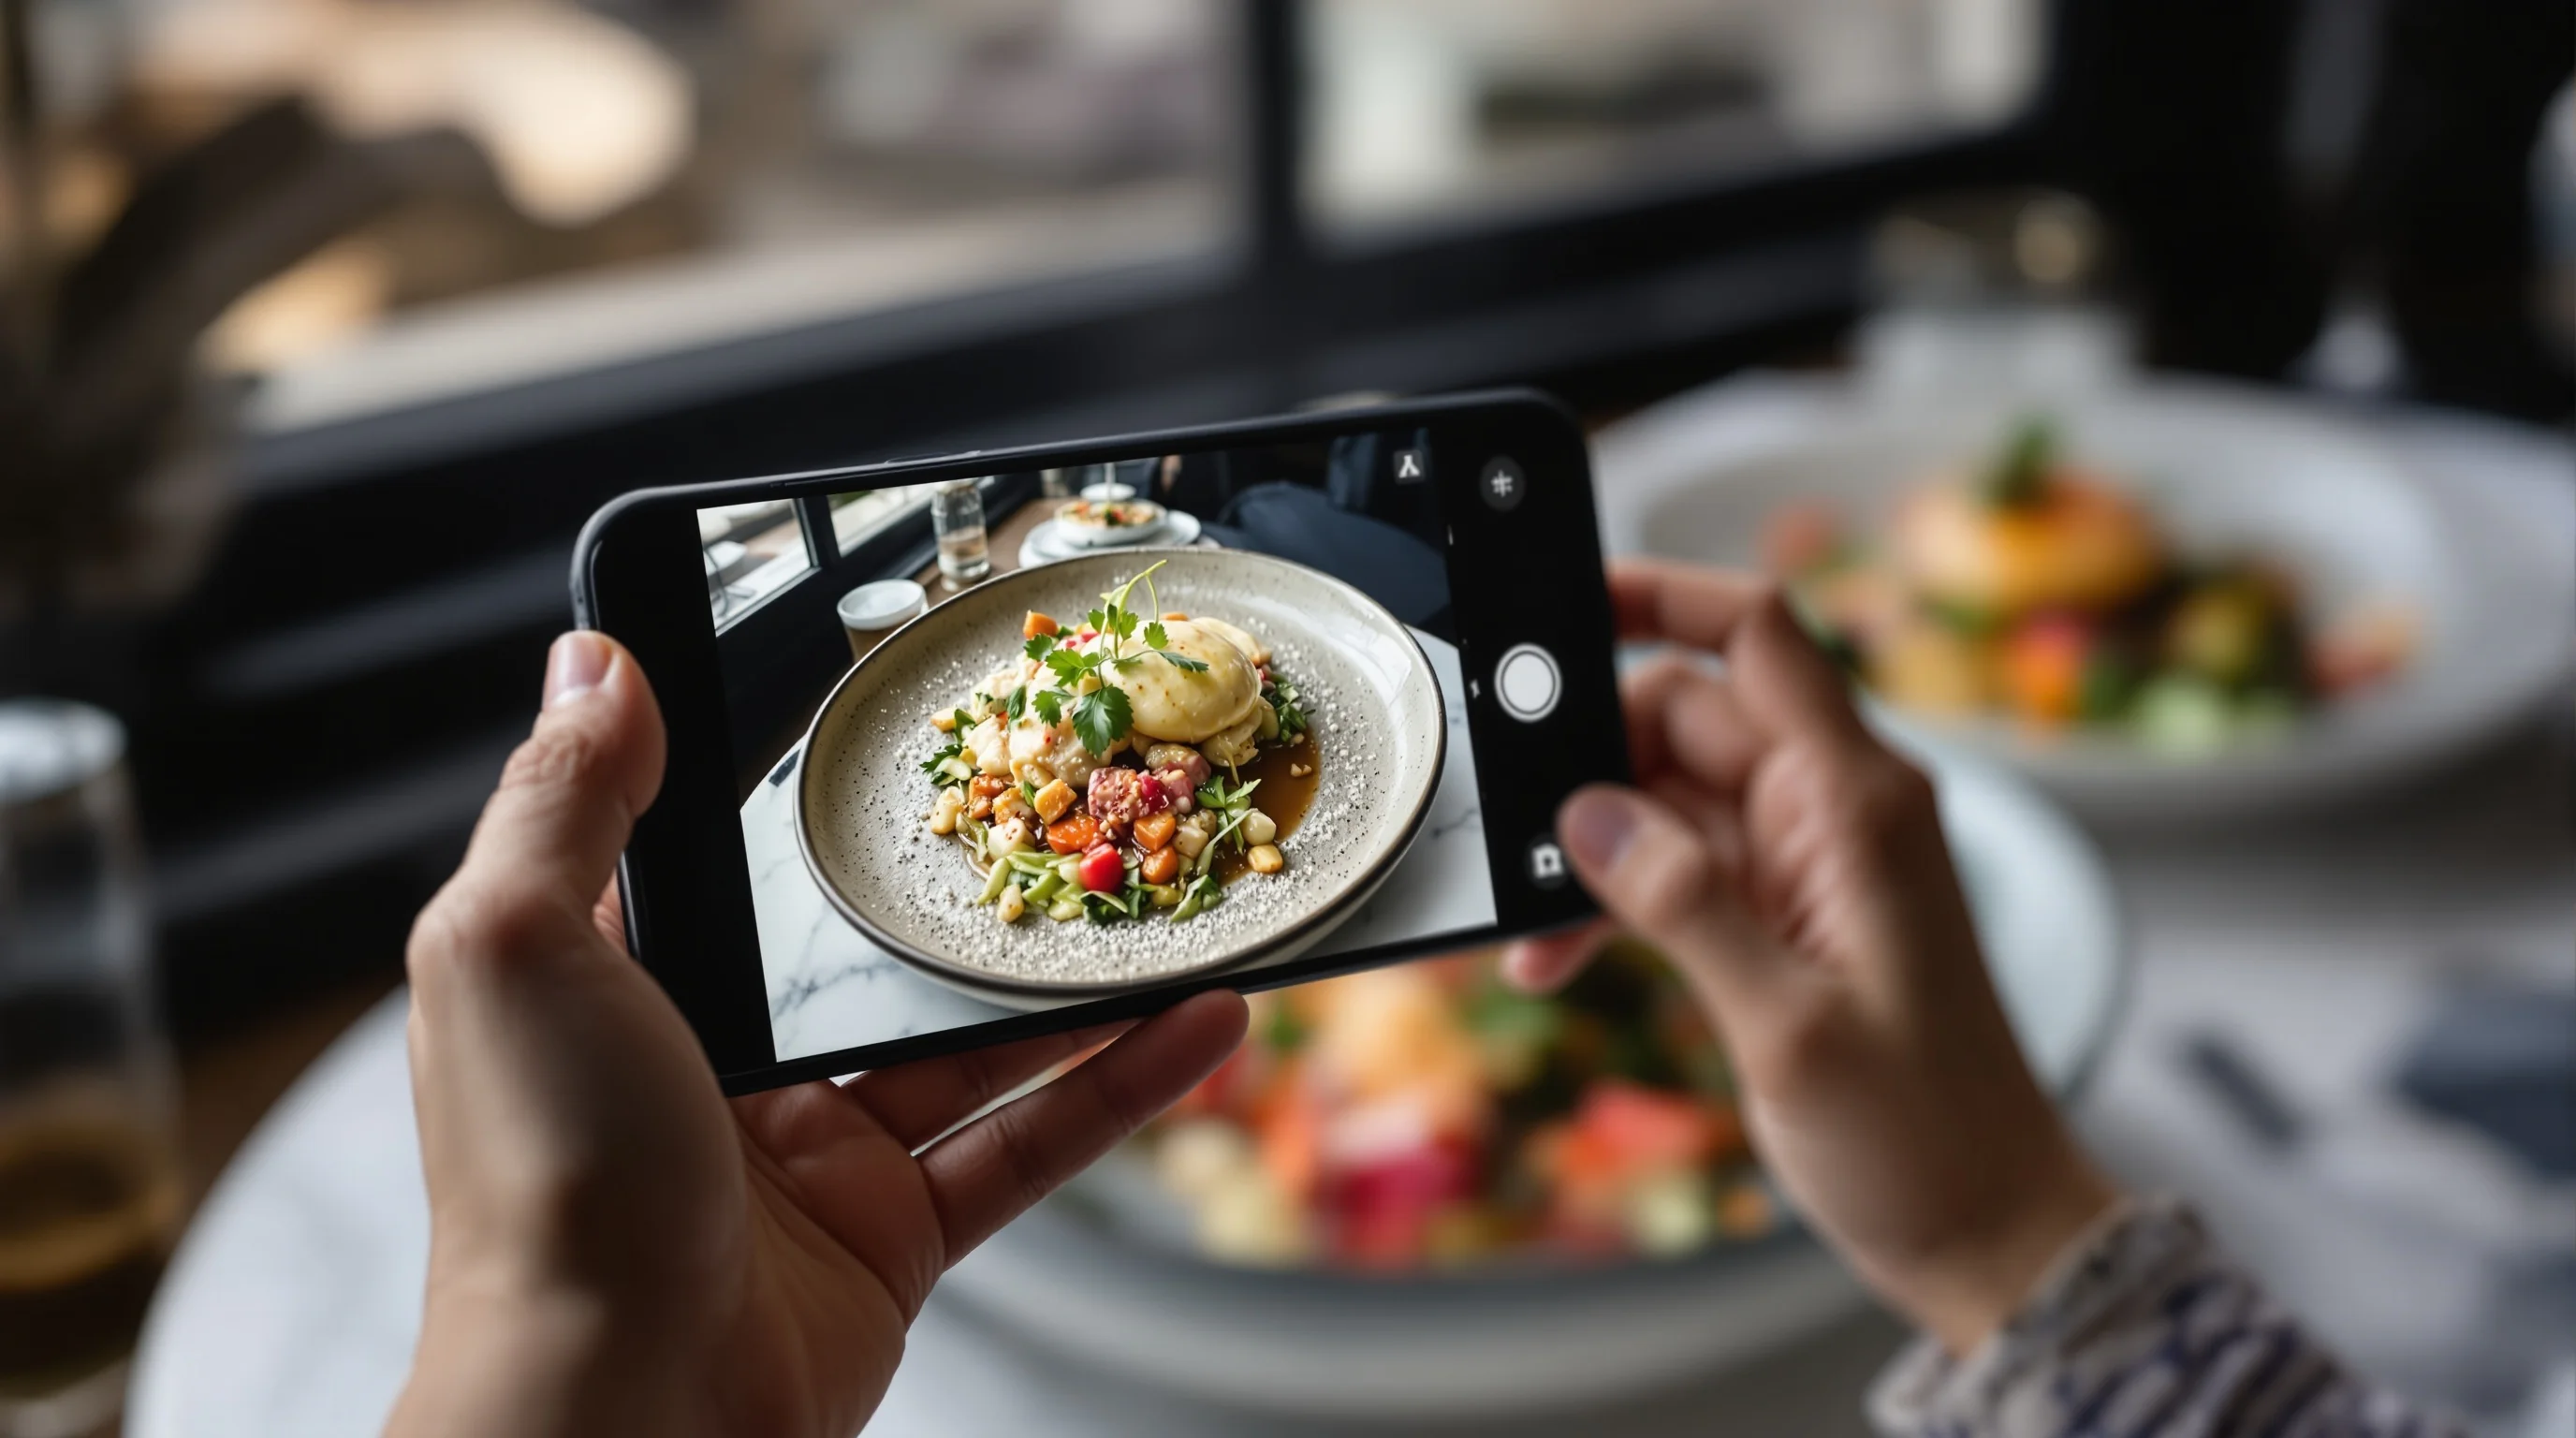
How can I improve my Uber Eats menu photos to increase orders?
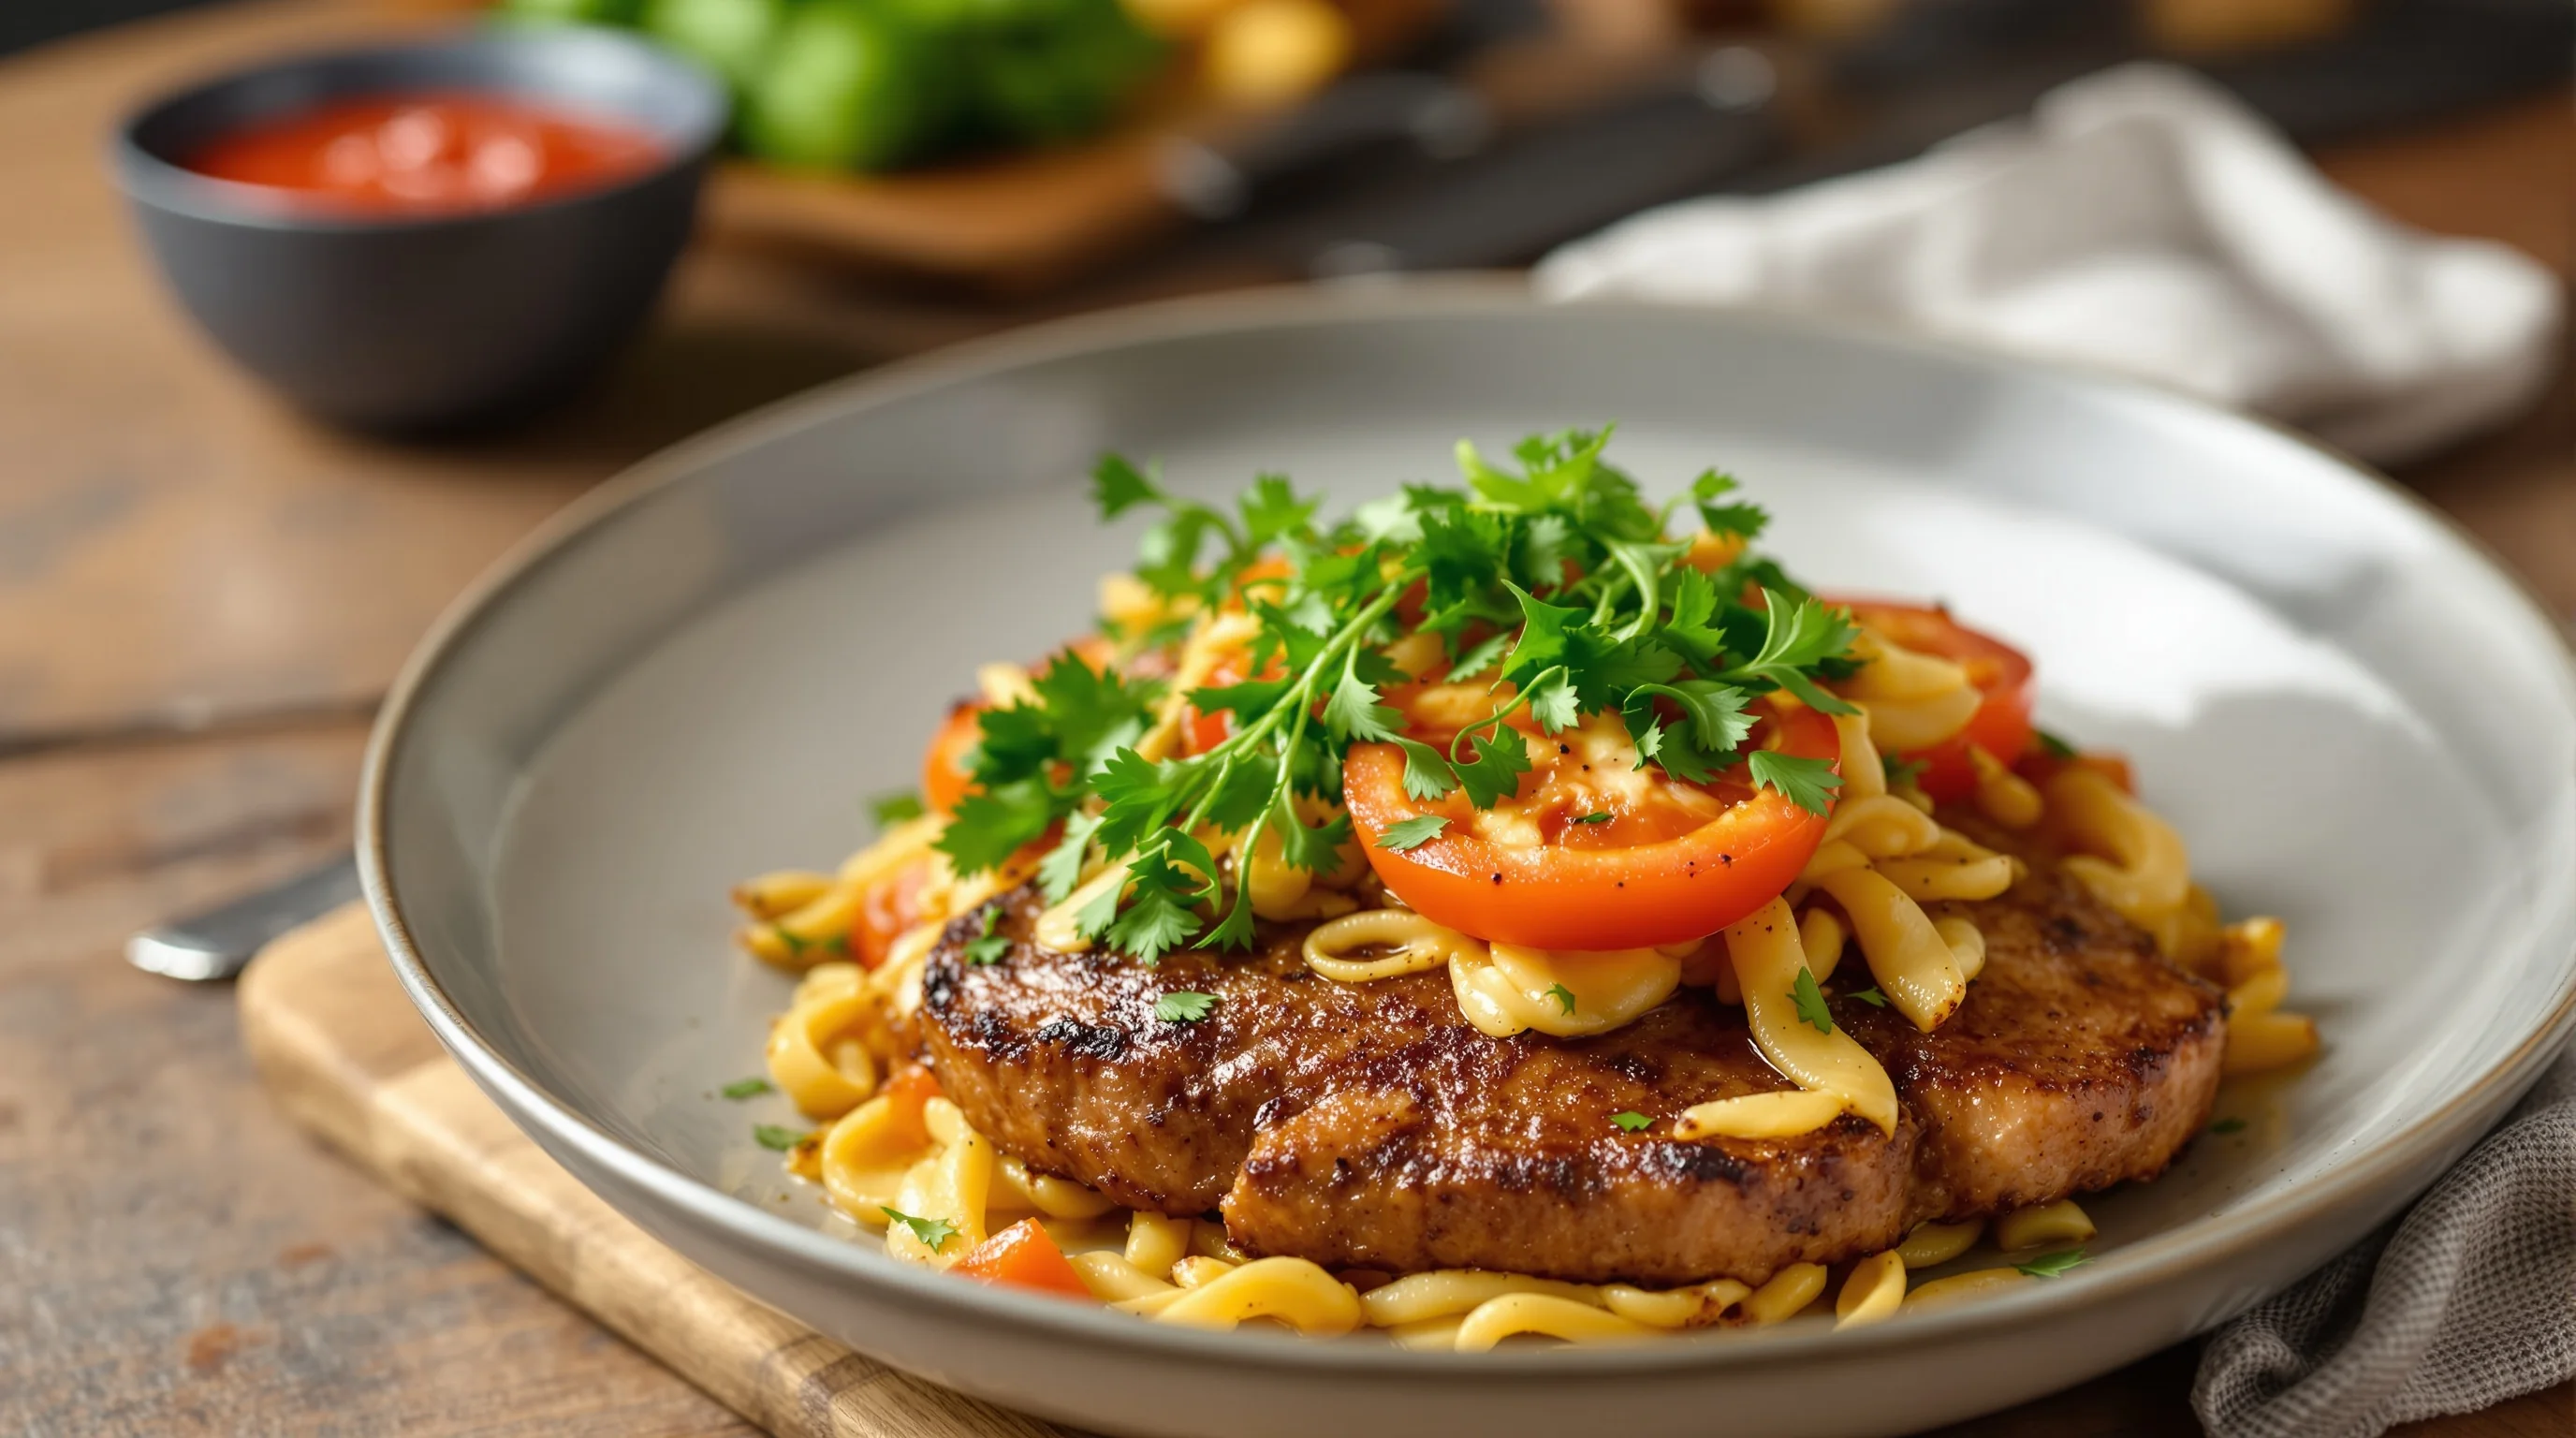
Start with three priorities: lighting, composition and authenticity. Natural side or angled window light is the fastest way to show texture and depth. For composition, one centered dish on a neutral surface with shallow depth-of-field usually outperforms busy scenes. Authenticity matters — customers expect the delivered dish to look like the photo. This Uber Eats Image Optimization Guide (2025 Update) recommends taking multiple variations of the same dish (top-down, 45° and close-up) and testing which converts best in your market.
"People eat with their eyes. Showcase your menu photos to thousands of hungry customers... your menu photos can be the clincher that attracts new customers"
Uber
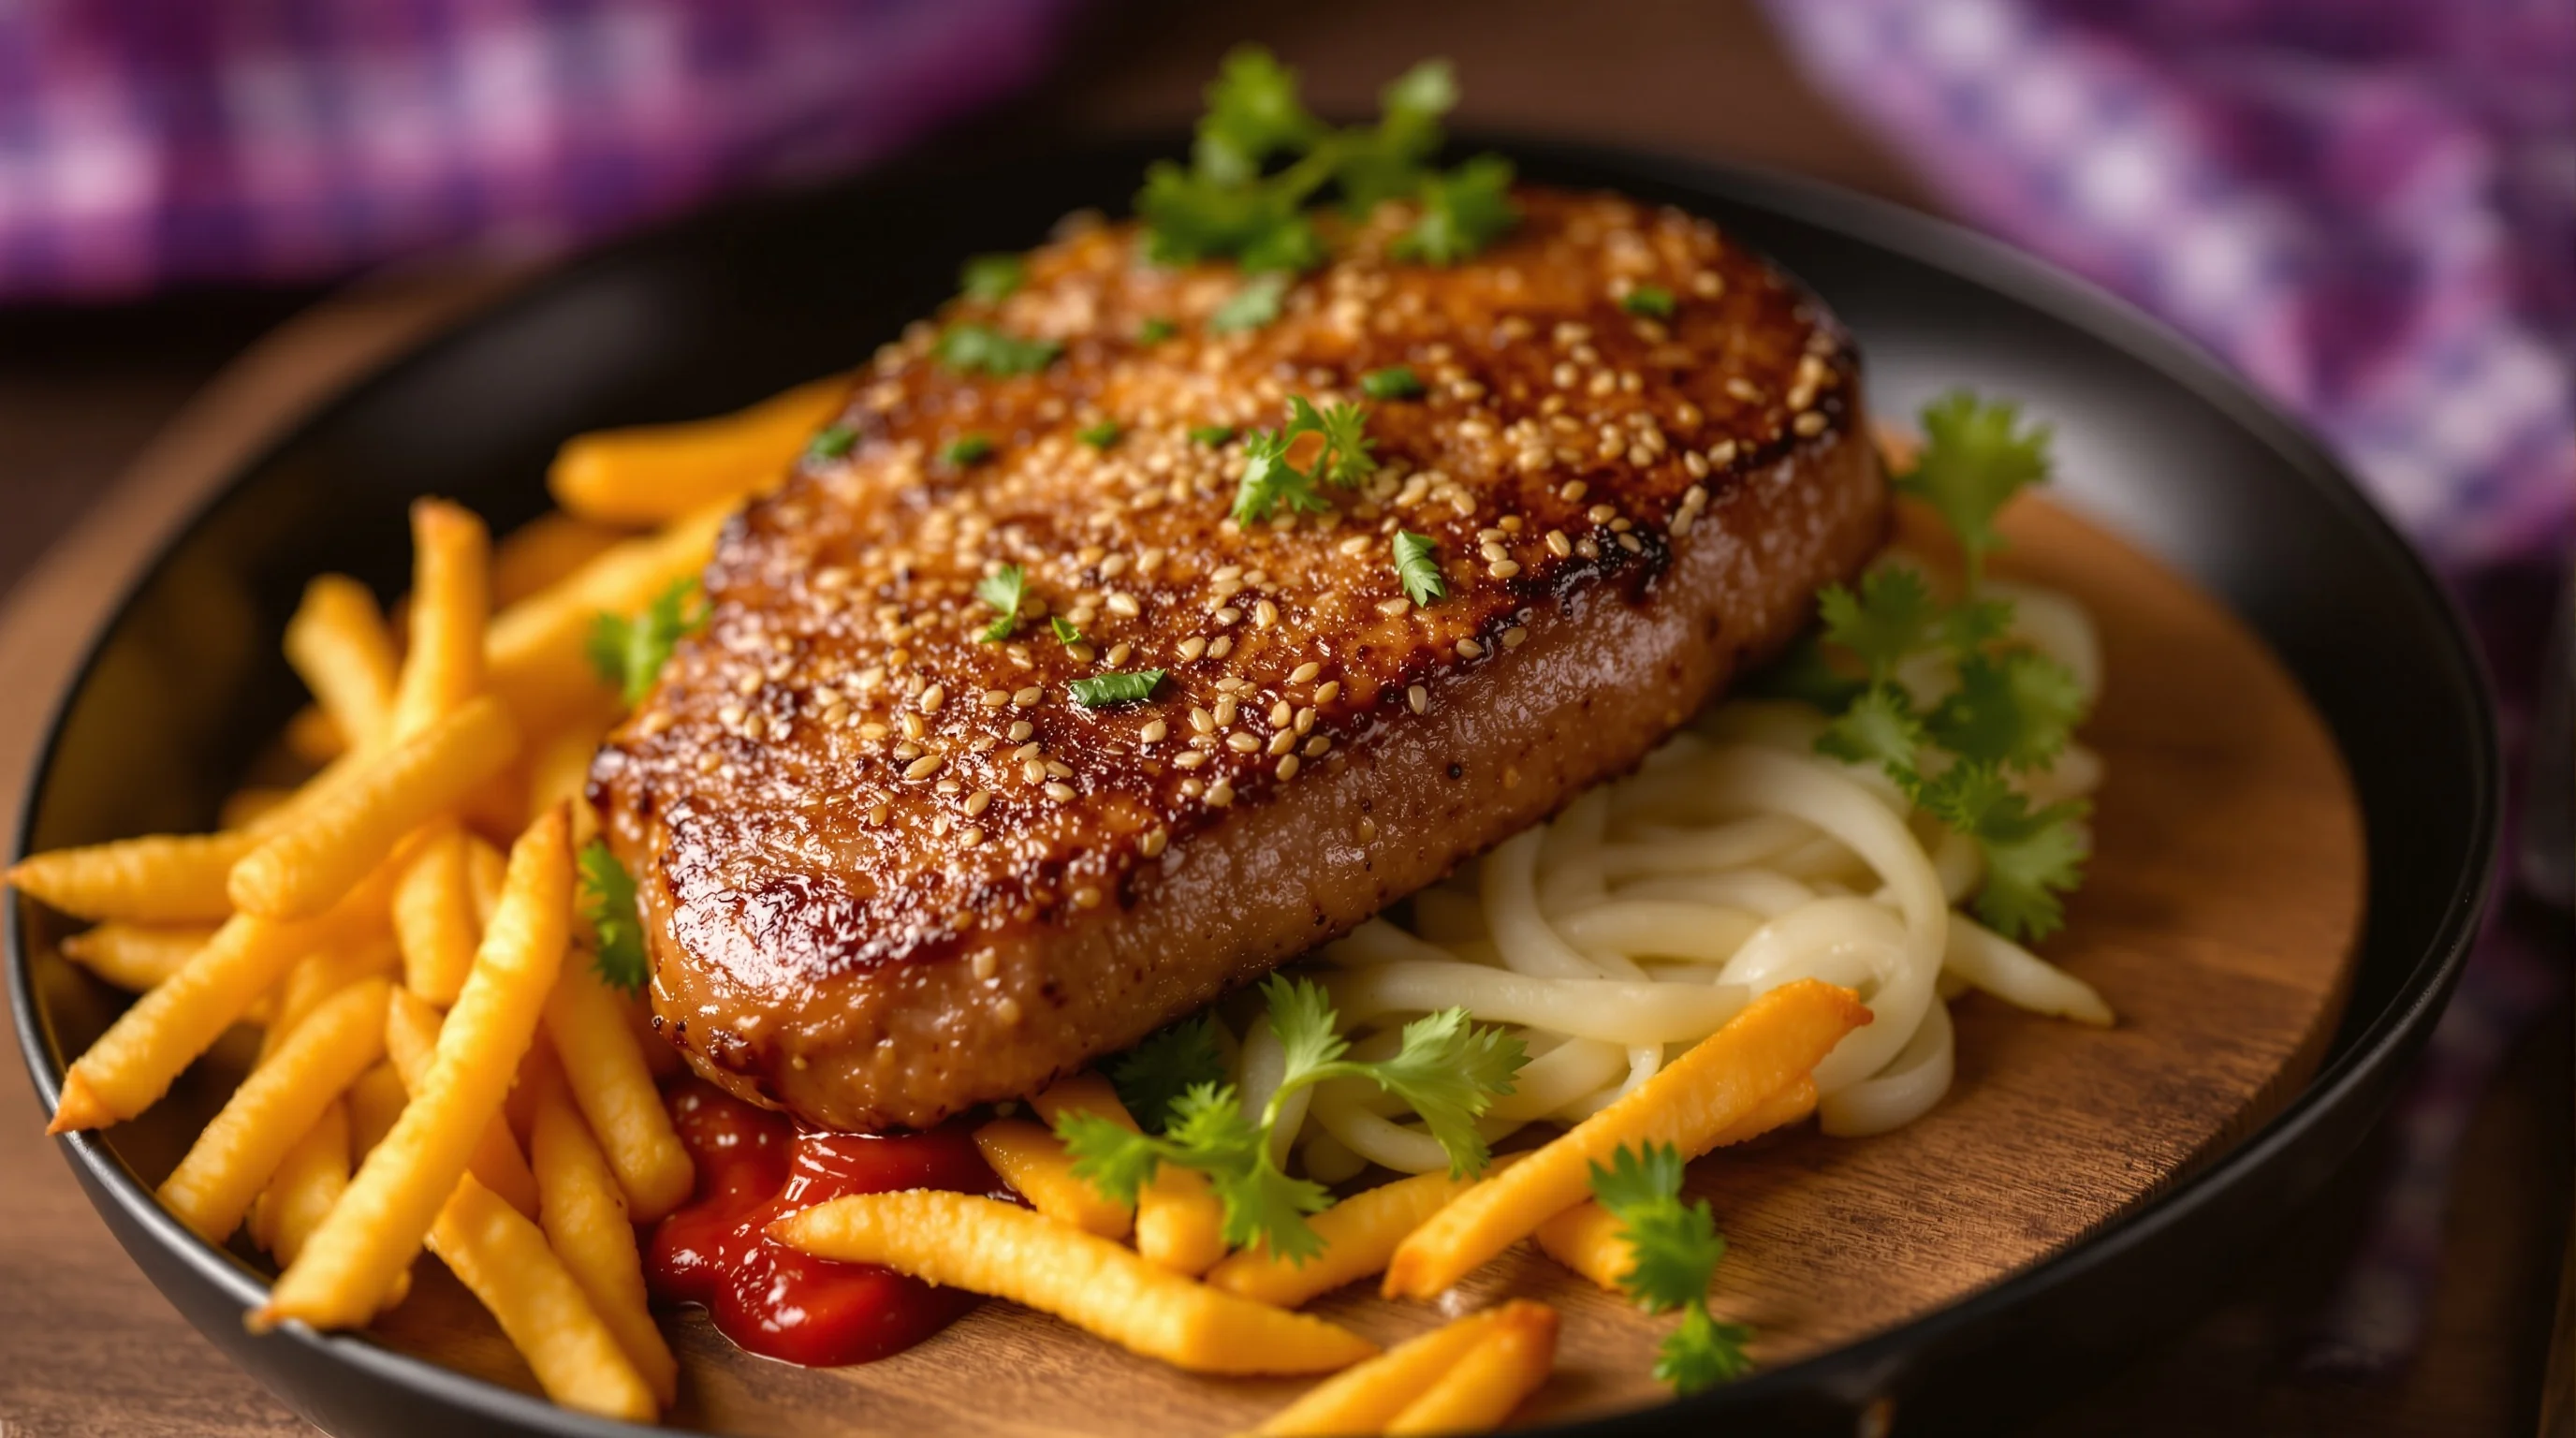
Practical edits that lift conversion: increase color saturation moderately to make ingredients pop, sharpen textures (crispy edges, melted cheese), and crop to remove empty space. Avoid heavy stylized filters that change dish color. Remember the platform tests: images that communicate freshness and texture win more taps. If you need quick, scalable fixes, modern AI tools can process dozens of images in seconds—useful when staff time is limited.
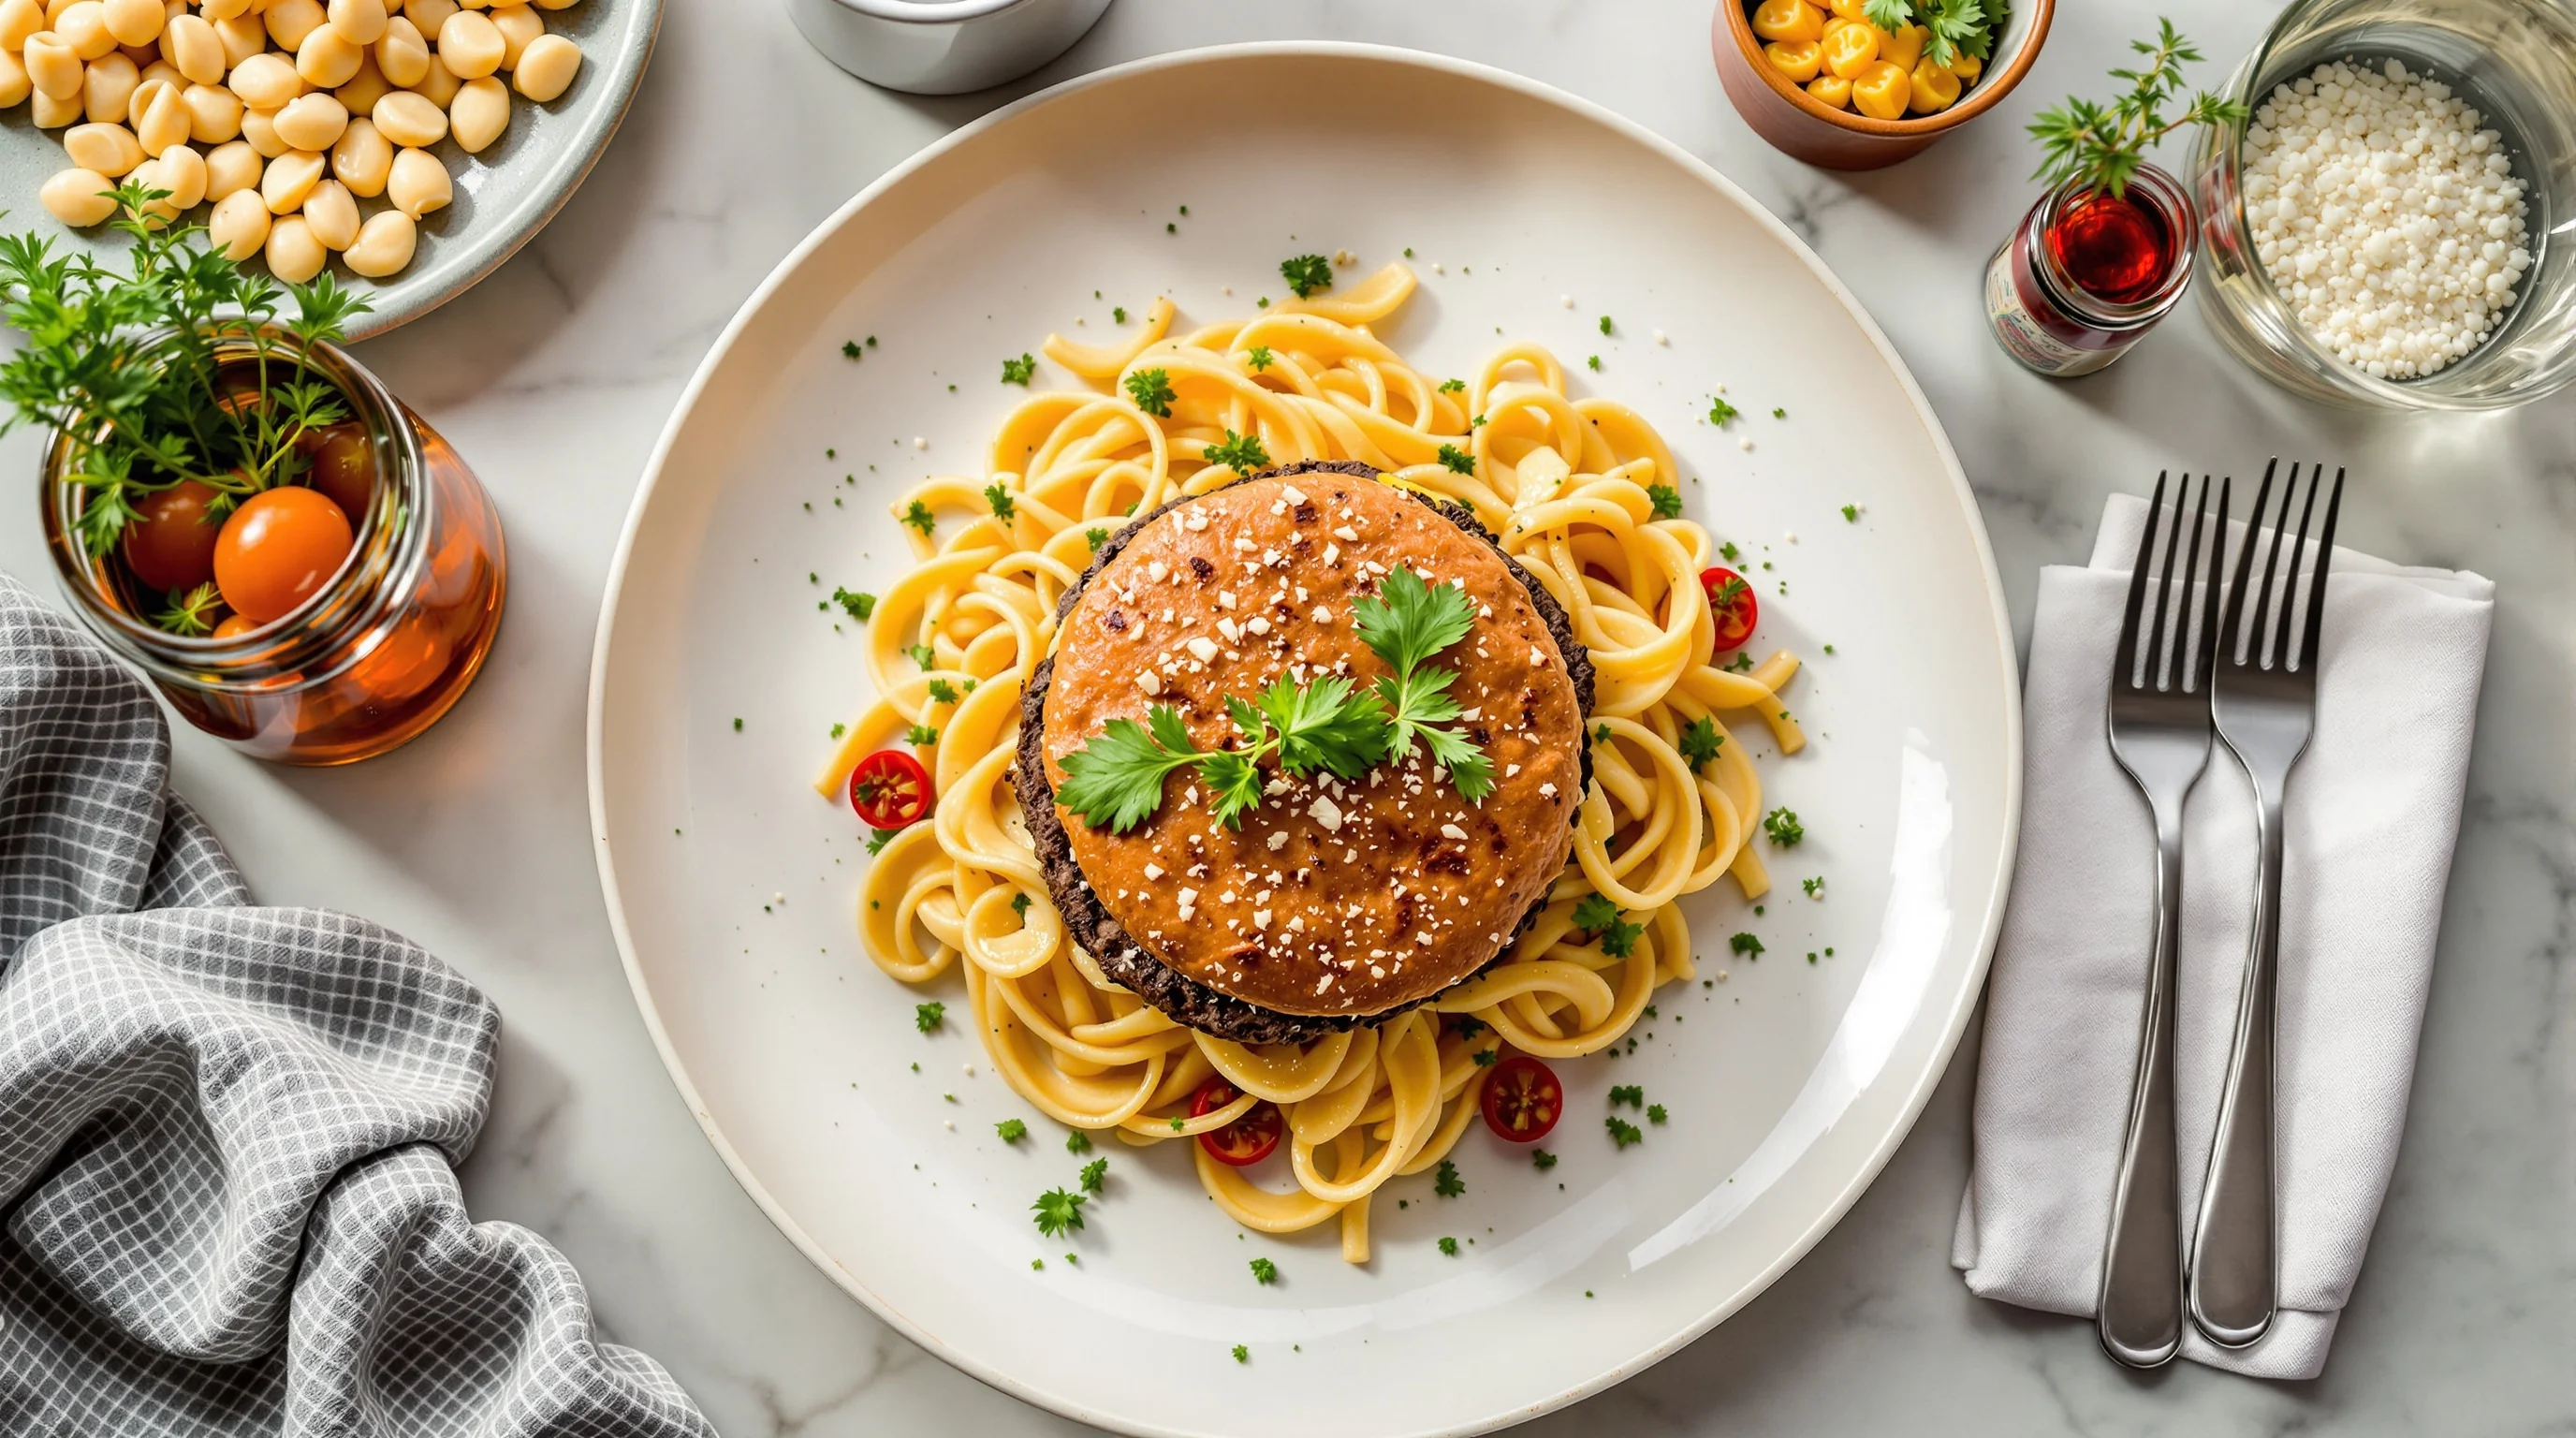
Food photography best practices for Uber Eats: lighting, angles and composition
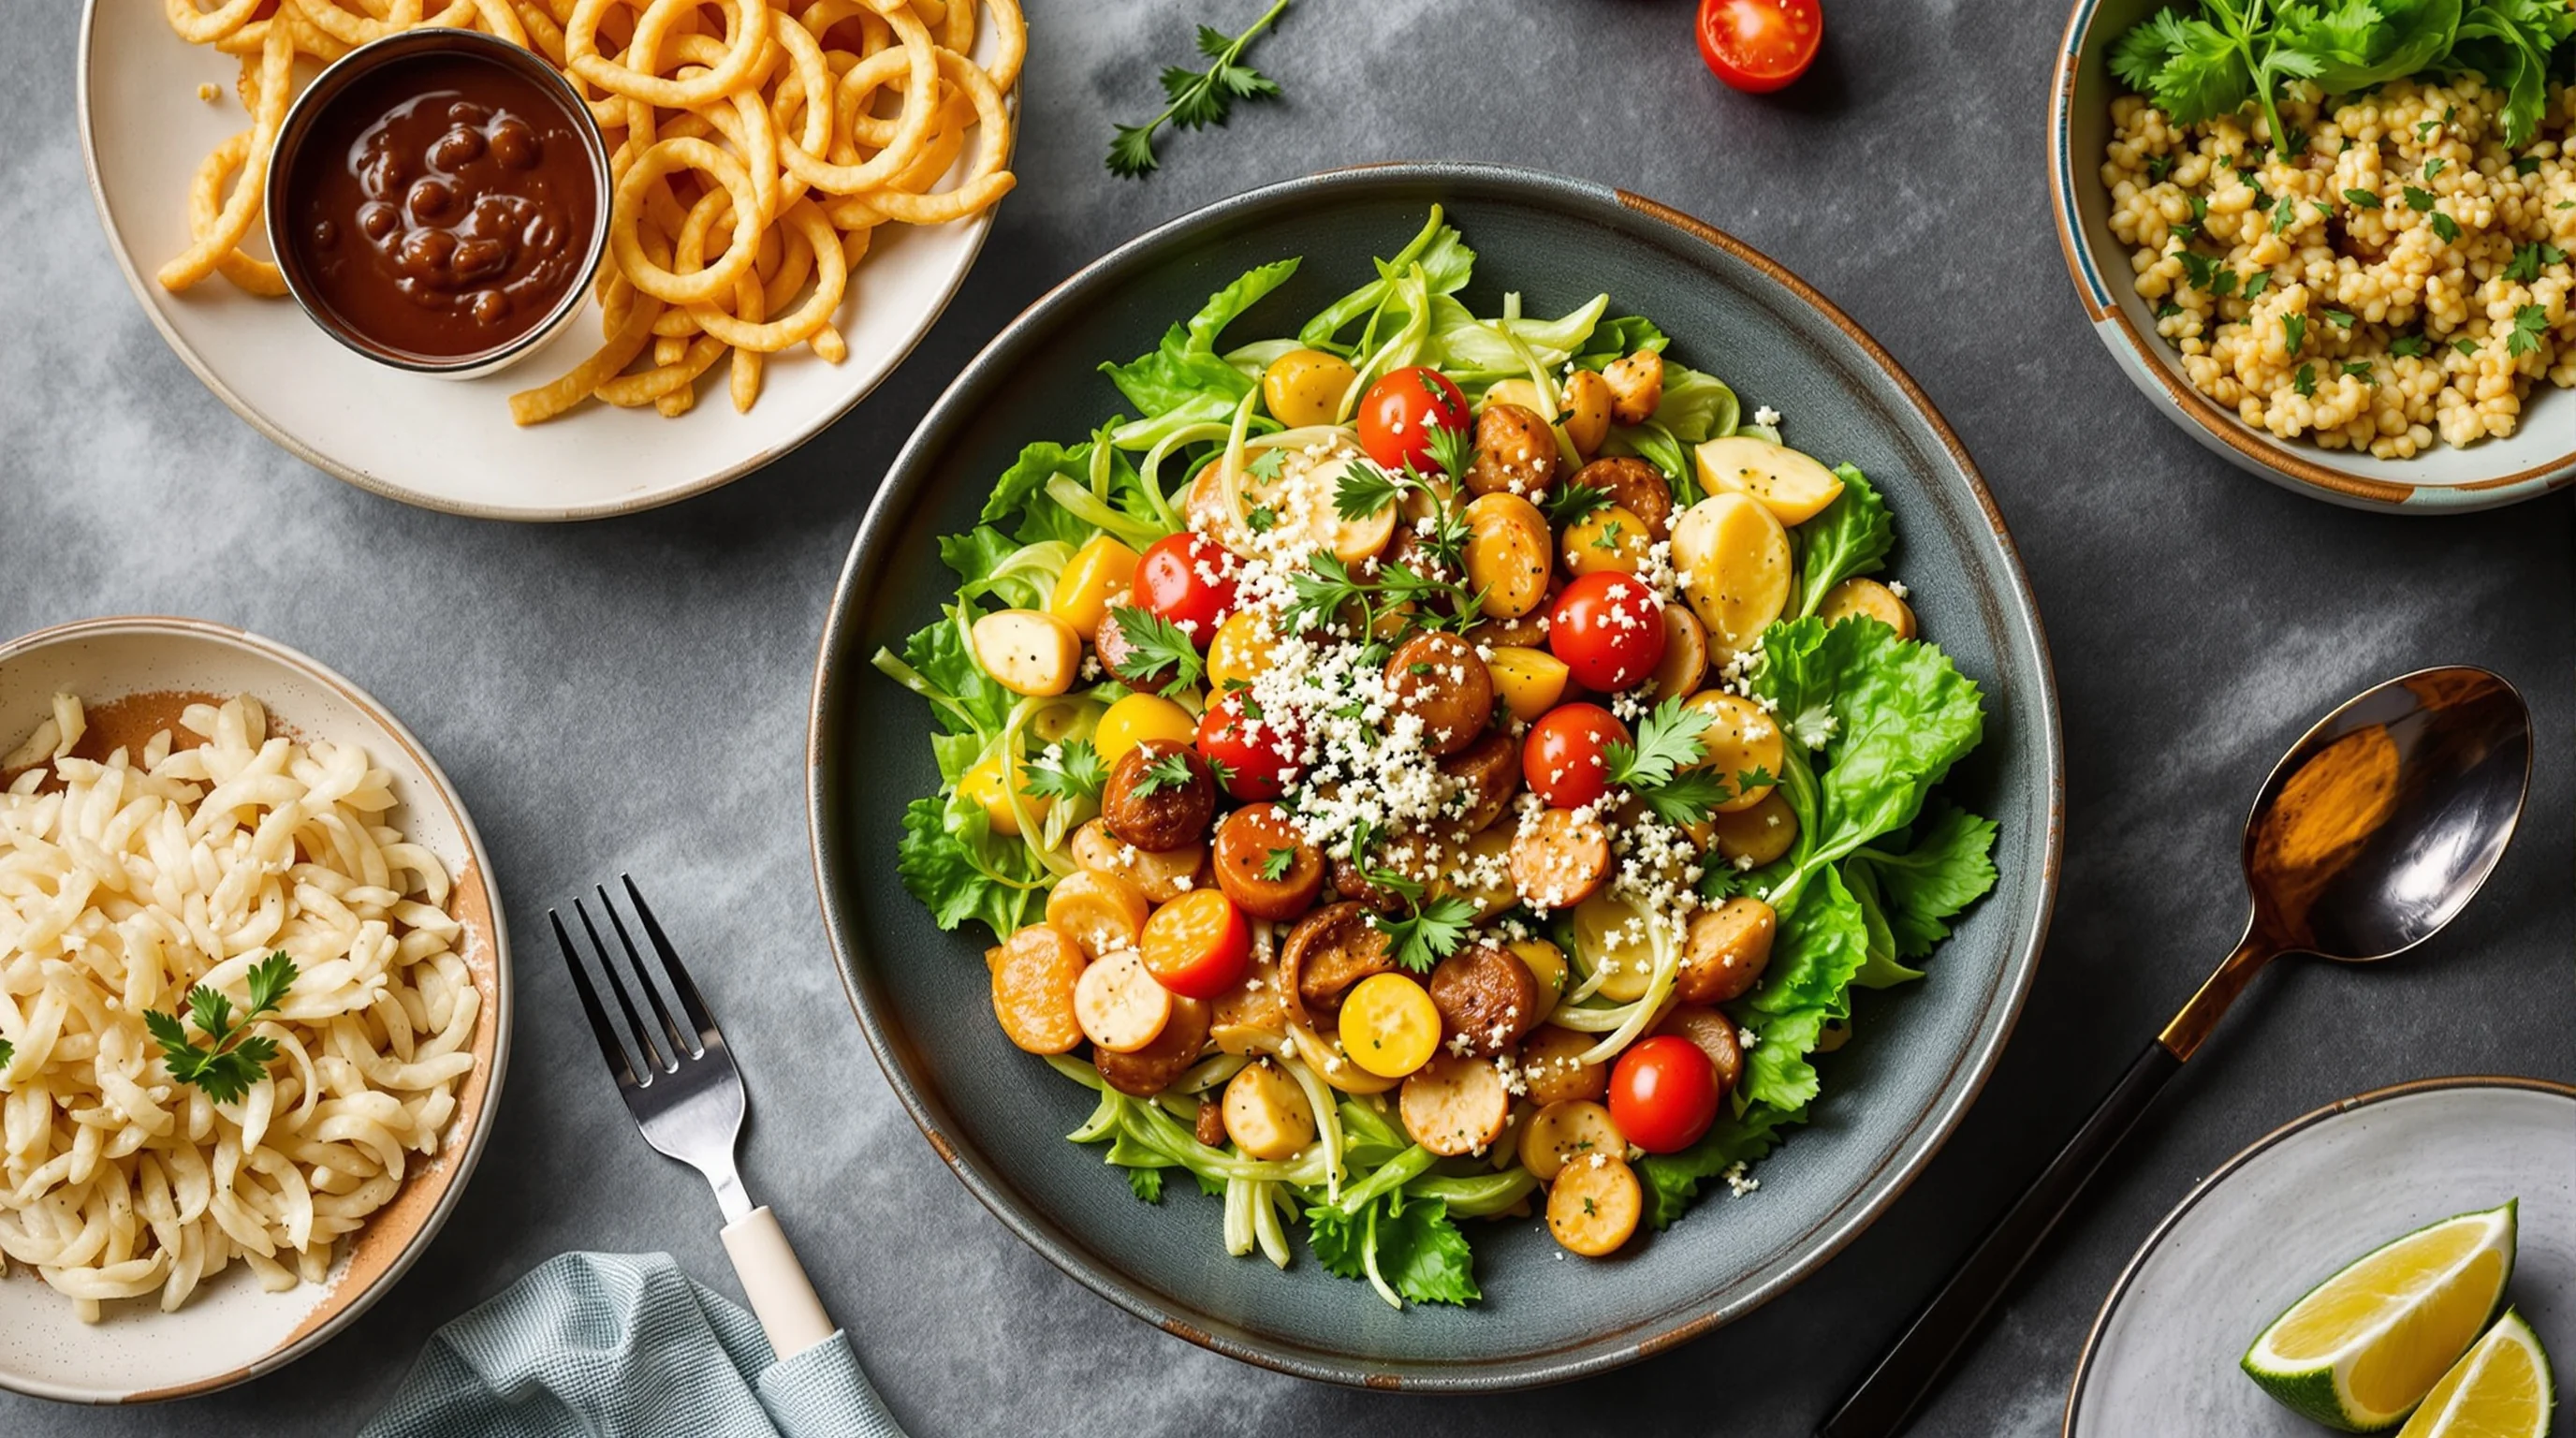
The basics of professional food photography apply to delivery images: use soft side light, avoid overhead fluorescent glare, and keep props minimal. Choose the angle that best communicates the dish—overhead for bowls and flat-lays, 45° for burgers and plated entrees, close-up detail shots for textures like crust or glaze. This Uber Eats Image Optimization Guide (2025 Update) also recommends maintaining consistent style across your menu so customers recognize your brand visually.
- Choose natural side light or a diffused LED source
- Use a neutral background and a single complementary prop
- Shoot multiple angles: top-down, 45°, and a tight detail
- Stabilize the camera (tripod or a steady hand) and use a low ISO
- Keep plating consistent — messy food looks inconsistent on repeat orders
If you want targeted help on camera setup, our Best Camera for Food Photography guide breaks down lenses, phone camera settings and mounting options. For fast restaurant-specific lighting hacks, see 7 Restaurant Lighting Tricks for Better Food Photos. These internal resources pair well with the step-by-step workflow in this Uber Eats Image Optimization Guide (2025 Update).
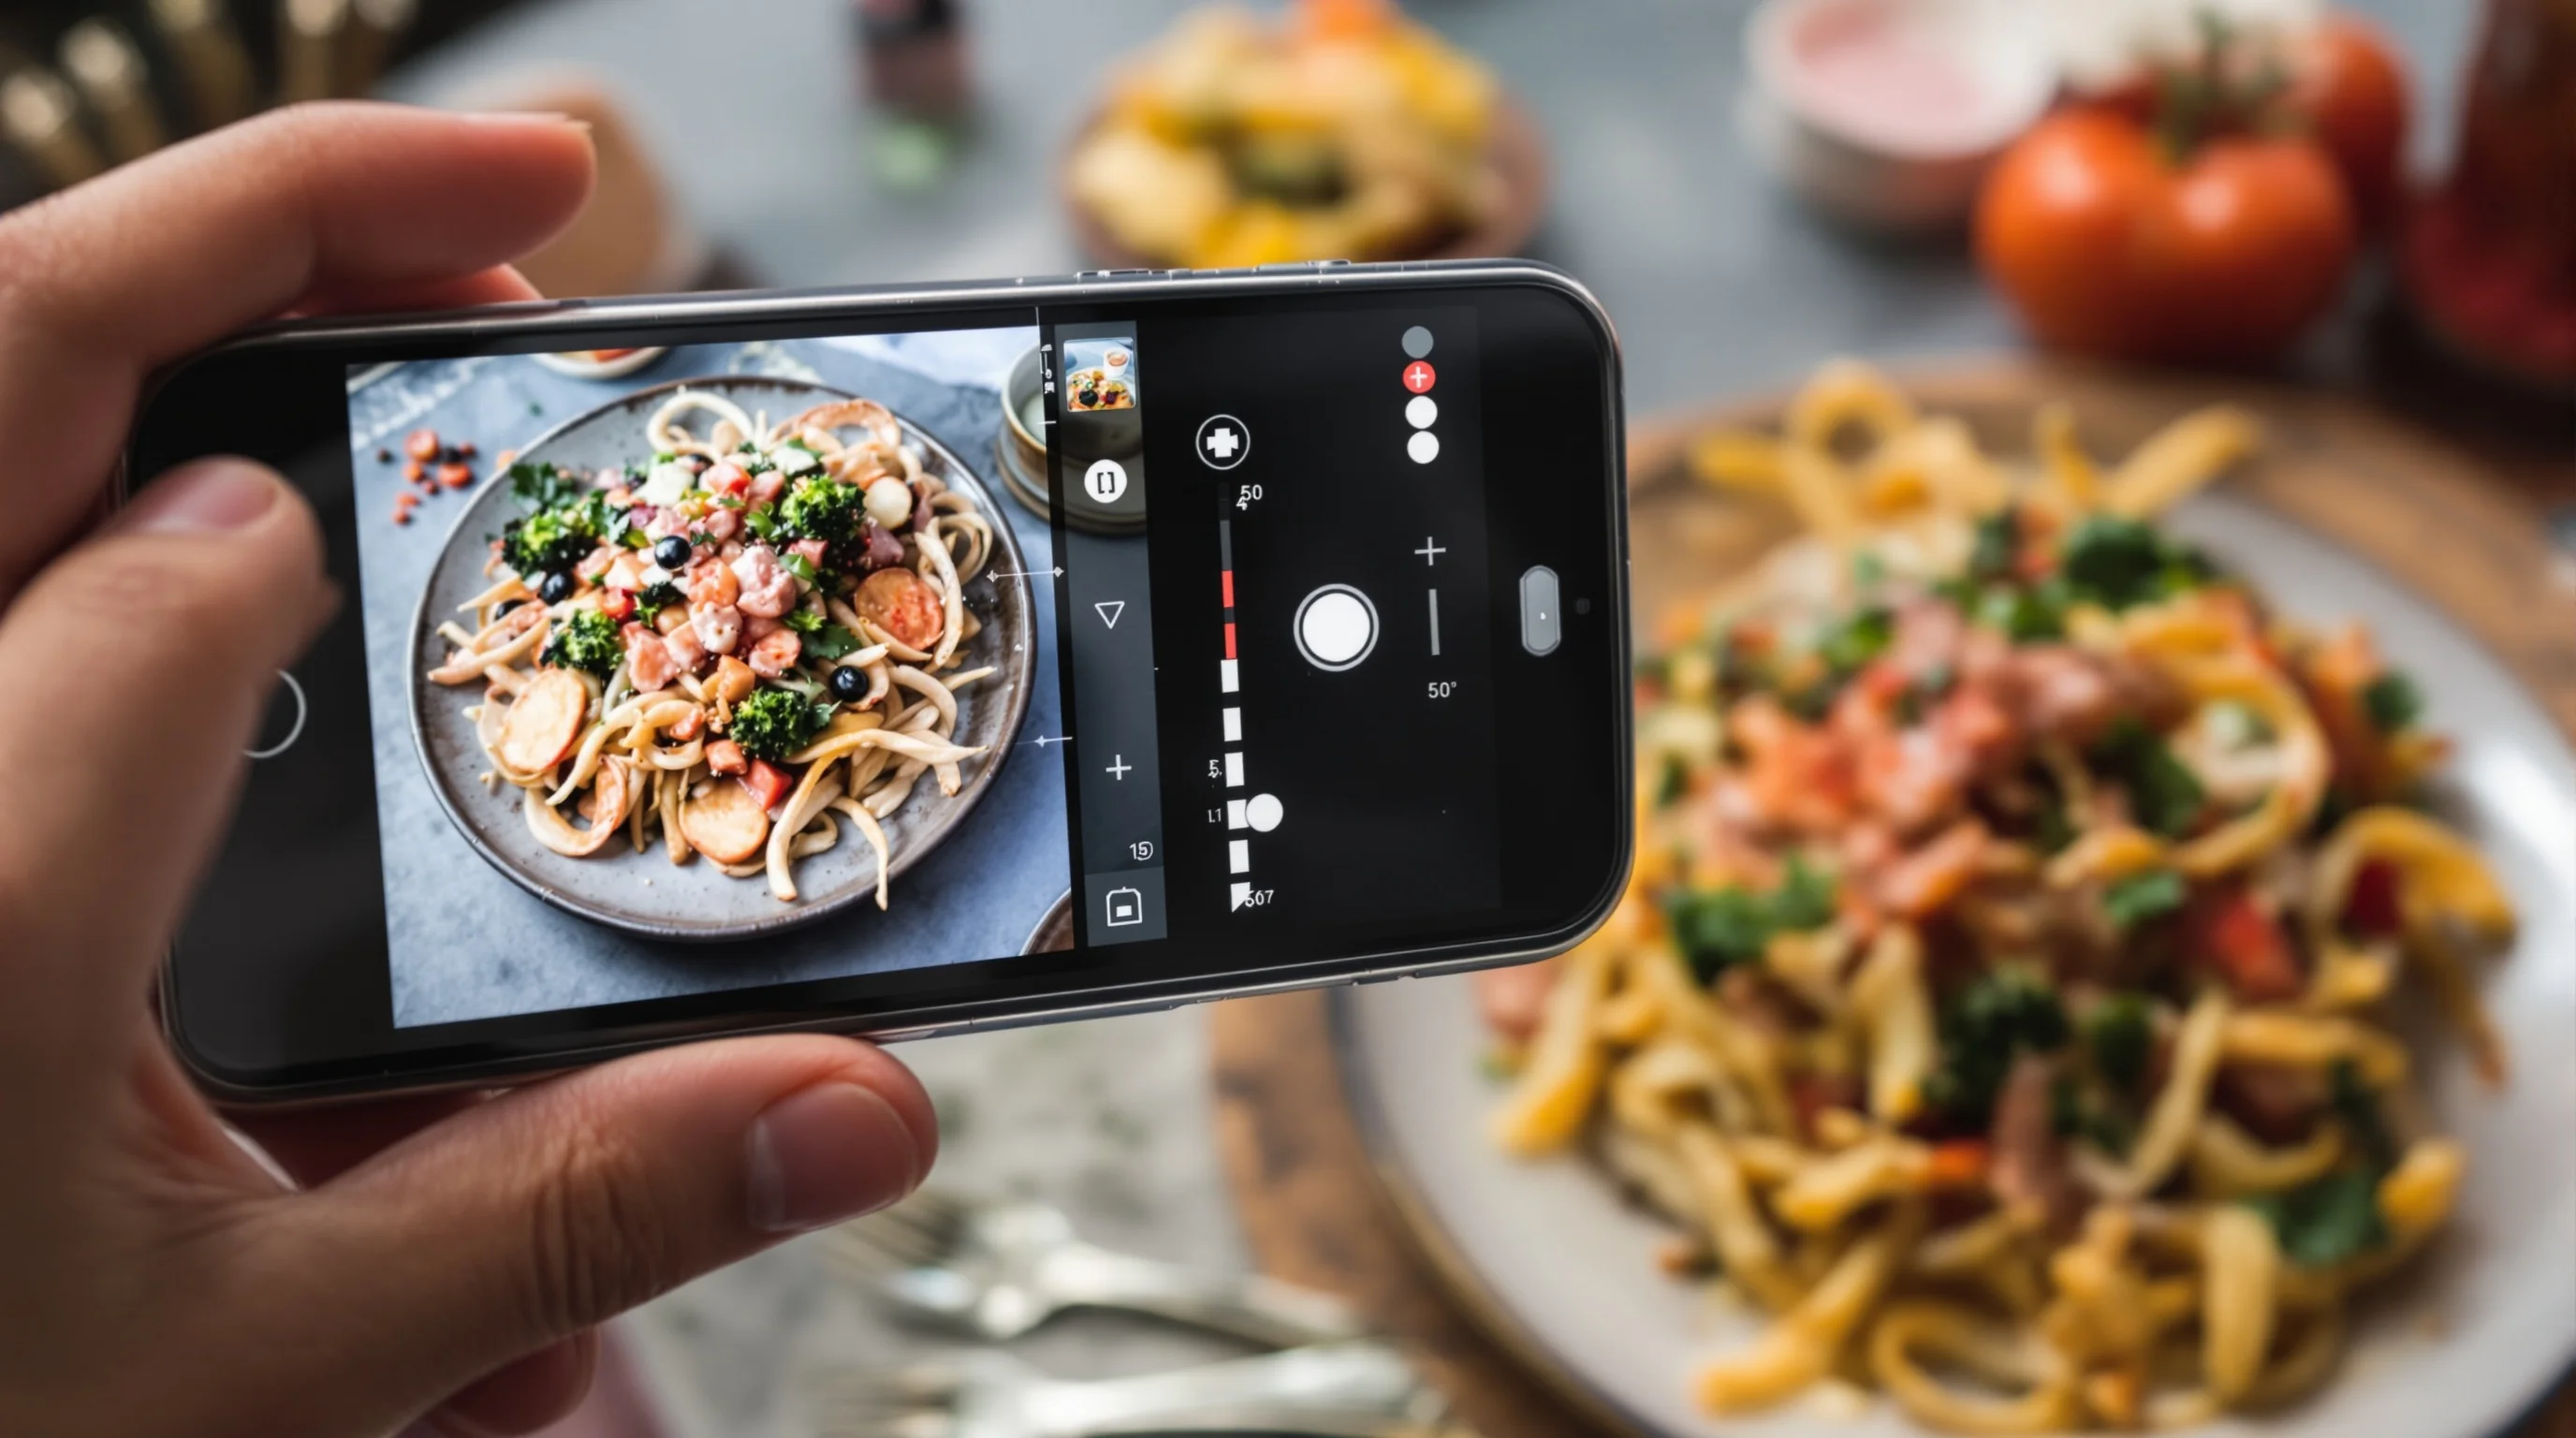
Optimize images for mobile: compression, formats and speed
Mobile loading speed is a conversion factor. Compressing images correctly keeps visuals sharp while reducing file size. This Uber Eats Image Optimization Guide (2025 Update) recommends exporting to sRGB JPEG with quality around 75–85% and using lossless PNG only when transparency or text overlays are required. Use a two-step approach: export a high-resolution master for archiving, then create compressed versions for upload. Also ensure filenames are descriptive and consistent so your team can manage updates quickly.
- Export masters at 2048 px on the long side for reuse
- Create compressed upload files near 1200 px on the short side
- Use JPEG (sRGB) with 75–85% quality for balance of size and detail
- Automate compression in batches with a tool or script
- Name files with clear conventions (see checklist below)
Compressing without degrading color or texture is a skill; if this is a pain point, consider an automated app to generate platform-ready files in bulk. Many restaurants save hours by using an AI workflow that scales compression and formatting to each platform's specs in seconds.
Uber Eats’ AI enhancements and how to use them
One of the important content gaps in earlier guides is now filled: Uber Eats supports AI-powered photo enhancements that improve poor-quality images by adjusting lighting, resolution and framing automatically. This Uber Eats Image Optimization Guide (2025 Update) explains when to rely on Uber’s AI and when you should pre-process images. If a phone photo has wrong exposure or poor framing, the platform’s enhancement can rescue it, but starting with a decent shot yields the best final result.
"We’re using AI to detect and enhance low-quality food images – improving lighting, resolution, framing, and plating – to help restaurants showcase their dishes more accurately"
Uber
Despite platform AI, many merchants benefit more from third-party AI tools that let you preview multiple styles and export to required ratios before upload. YummyPic, for example, transforms simple phone photos into professional images in seconds, automates size and background fixes, and offers style variations from bright & airy to dark & moody. That can be faster and more cost-effective than scheduling a professional shoot, especially for high-volume menus.
Step-by-step workflow & image naming conventions
Create a repeatable process so new dishes can be uploaded quickly and correctly. This Uber Eats Image Optimization Guide (2025 Update) includes a compact 7-step workflow that fits most kitchens and small marketing teams. Use descriptive filenames and a version system to avoid confusion during updates.
- Step 1: Shoot 3 angles (top, 45°, detail) on a neutral background
- Step 2: Select the best frame and make minor edits (crop, exposure)
- Step 3: Export a high-res master (archive) and a compressed upload file
- Step 4: Run platform-specific AI or batch compression to match Uber Eats specs
- Step 5: Name files using: itemcode_dishname_angle_v01.jpg
- Step 6: Upload to Uber Eats and check preview on mobile
- Step 7: Monitor performance and iterate (A/B test if possible)
For more detailed pre-shoot planning, our 10 Steps to Prepare for a Food Photoshoot and How to Stage Food Like a Professional Stylist are helpful companion reads. If you’re short on time, try the fast route in our Improve Your Uber Eats Photos Fast post.
Common mistakes to avoid when optimizing Uber Eats photos
Avoid these frequent errors that undermine conversion: using low-resolution phone crops, heavy filters that change natural color, inconsistent plate styling across the menu, and uploading files too large for mobile. This Uber Eats Image Optimization Guide (2025 Update) emphasizes consistent styling and honest presentation — images should reflect what the customer will receive to prevent disappointment and negative reviews.
- Over-editing color and contrast
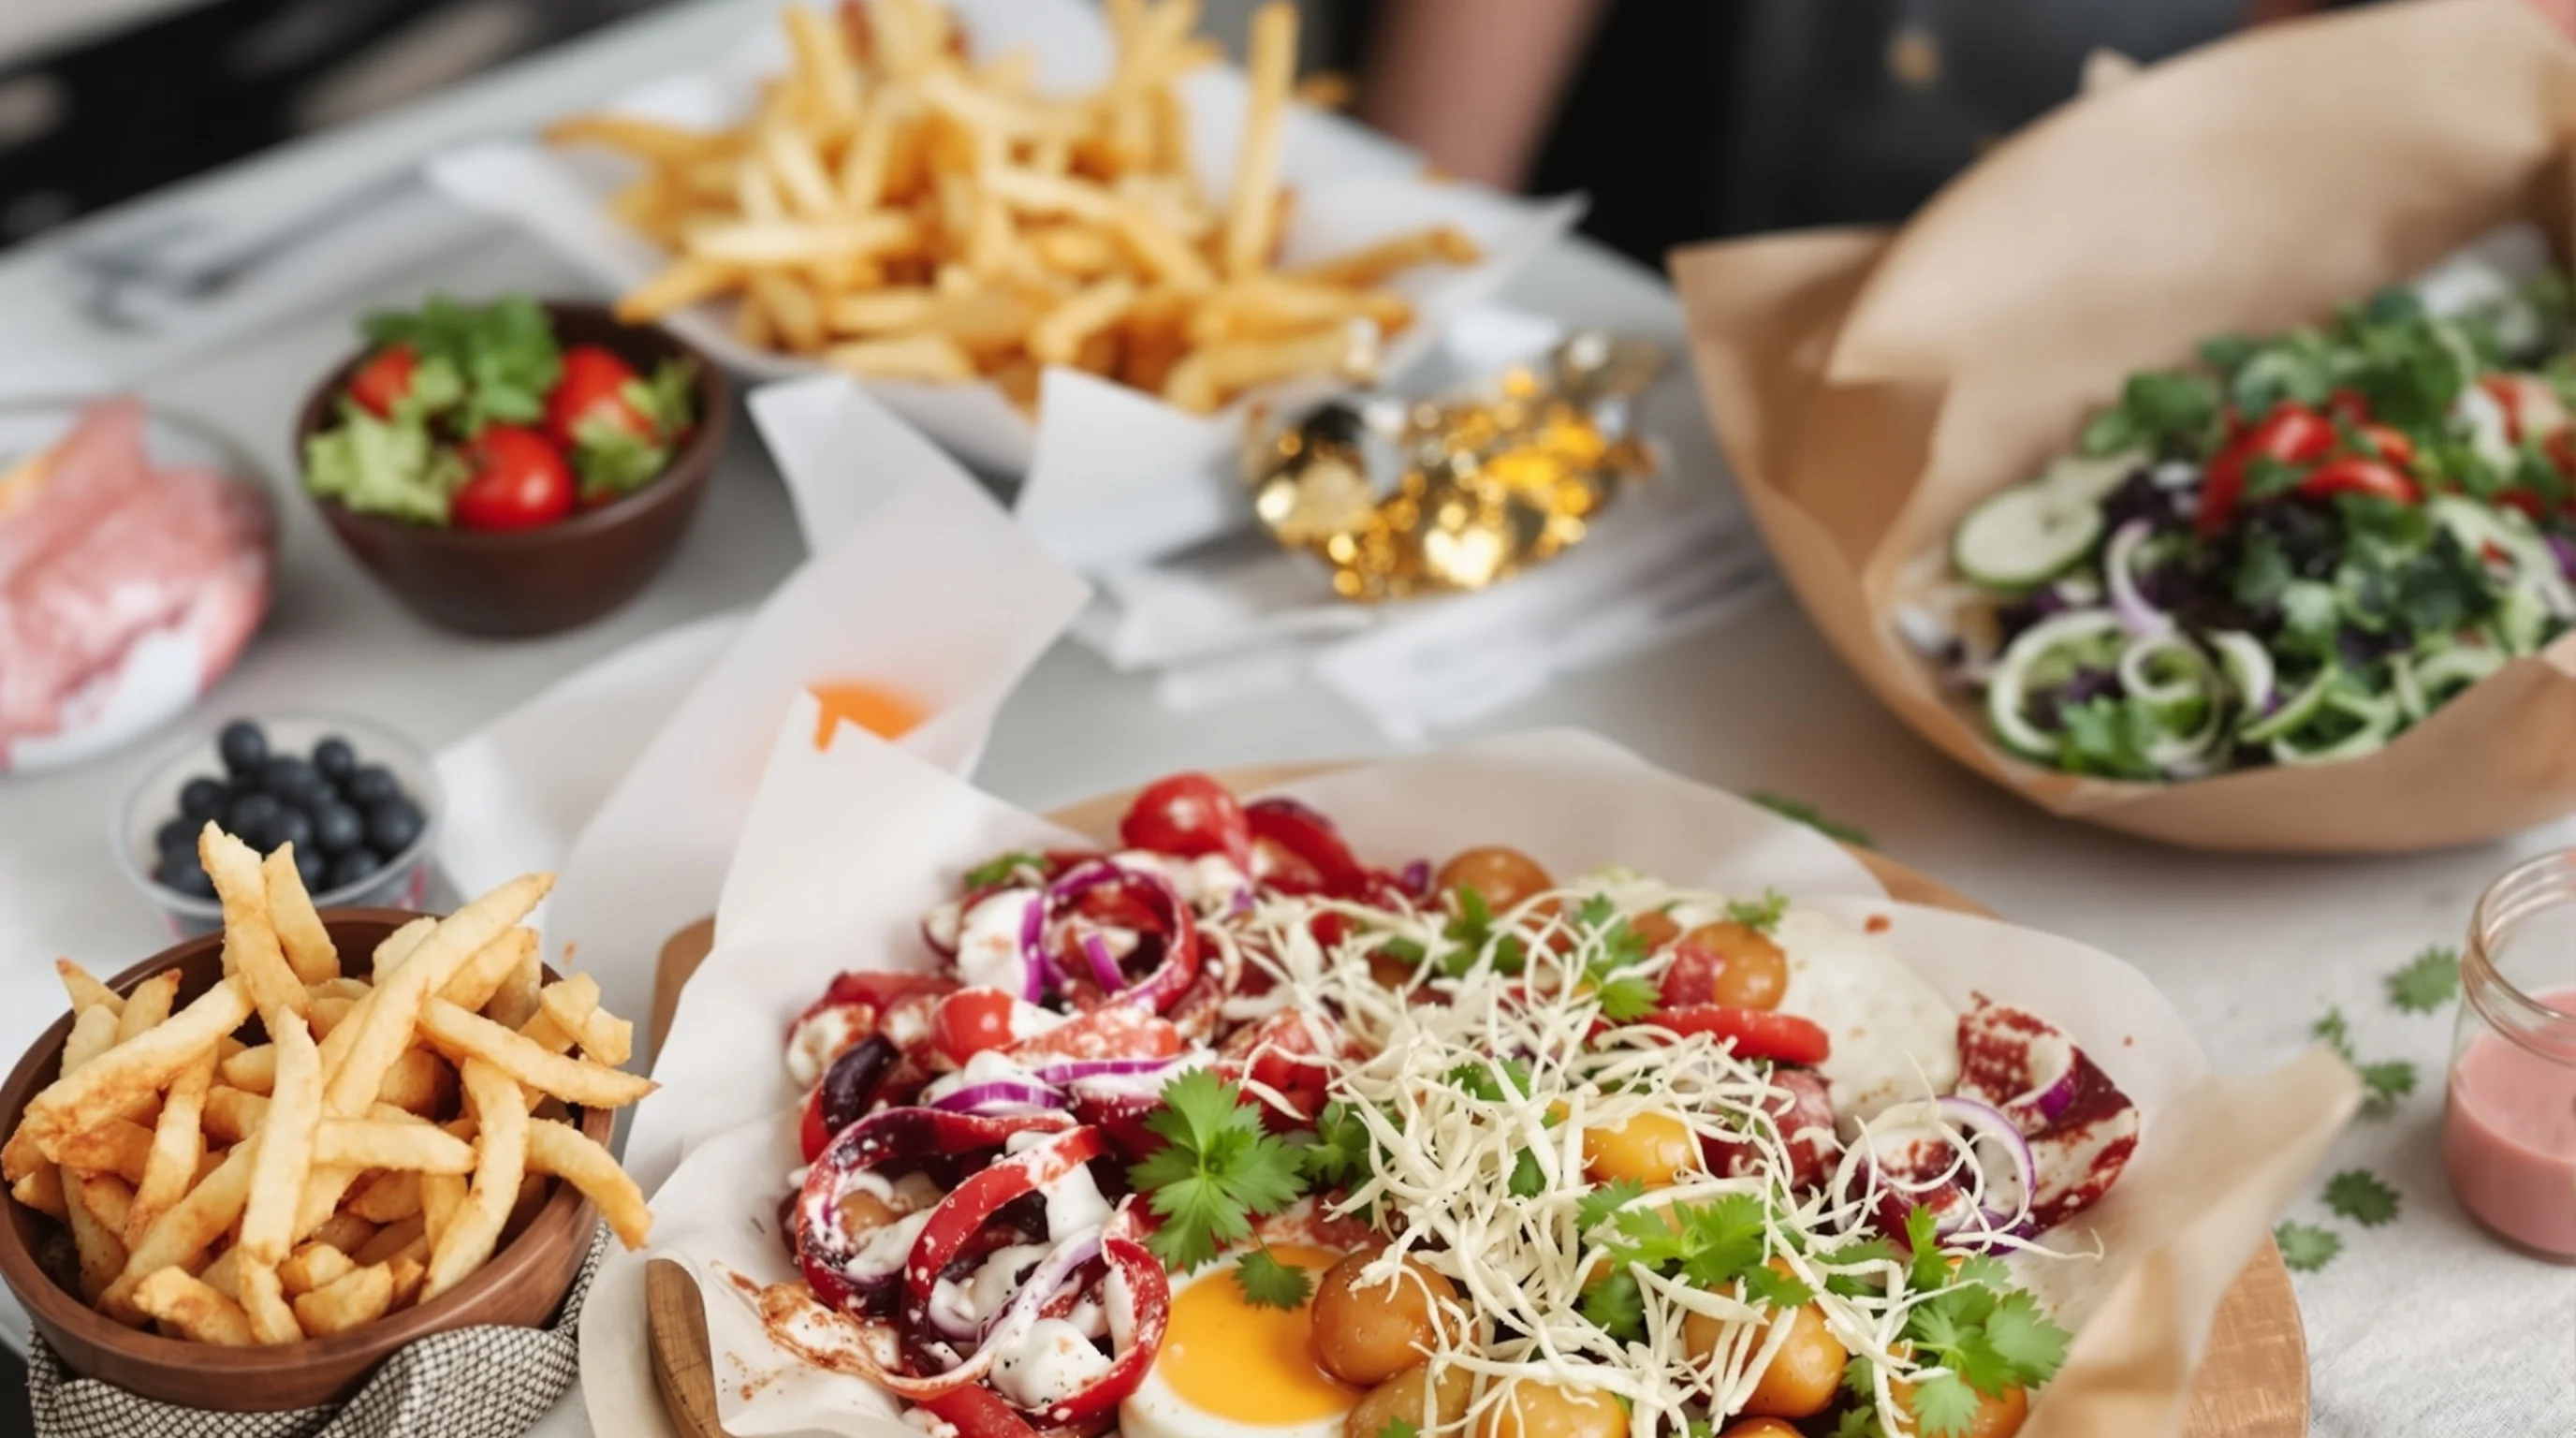
- Using busy backgrounds or too many props
- Uploading inconsistent aspect ratios for the same menu section
- Not testing images on a real phone preview
- Skipping file compression and slow-loading images
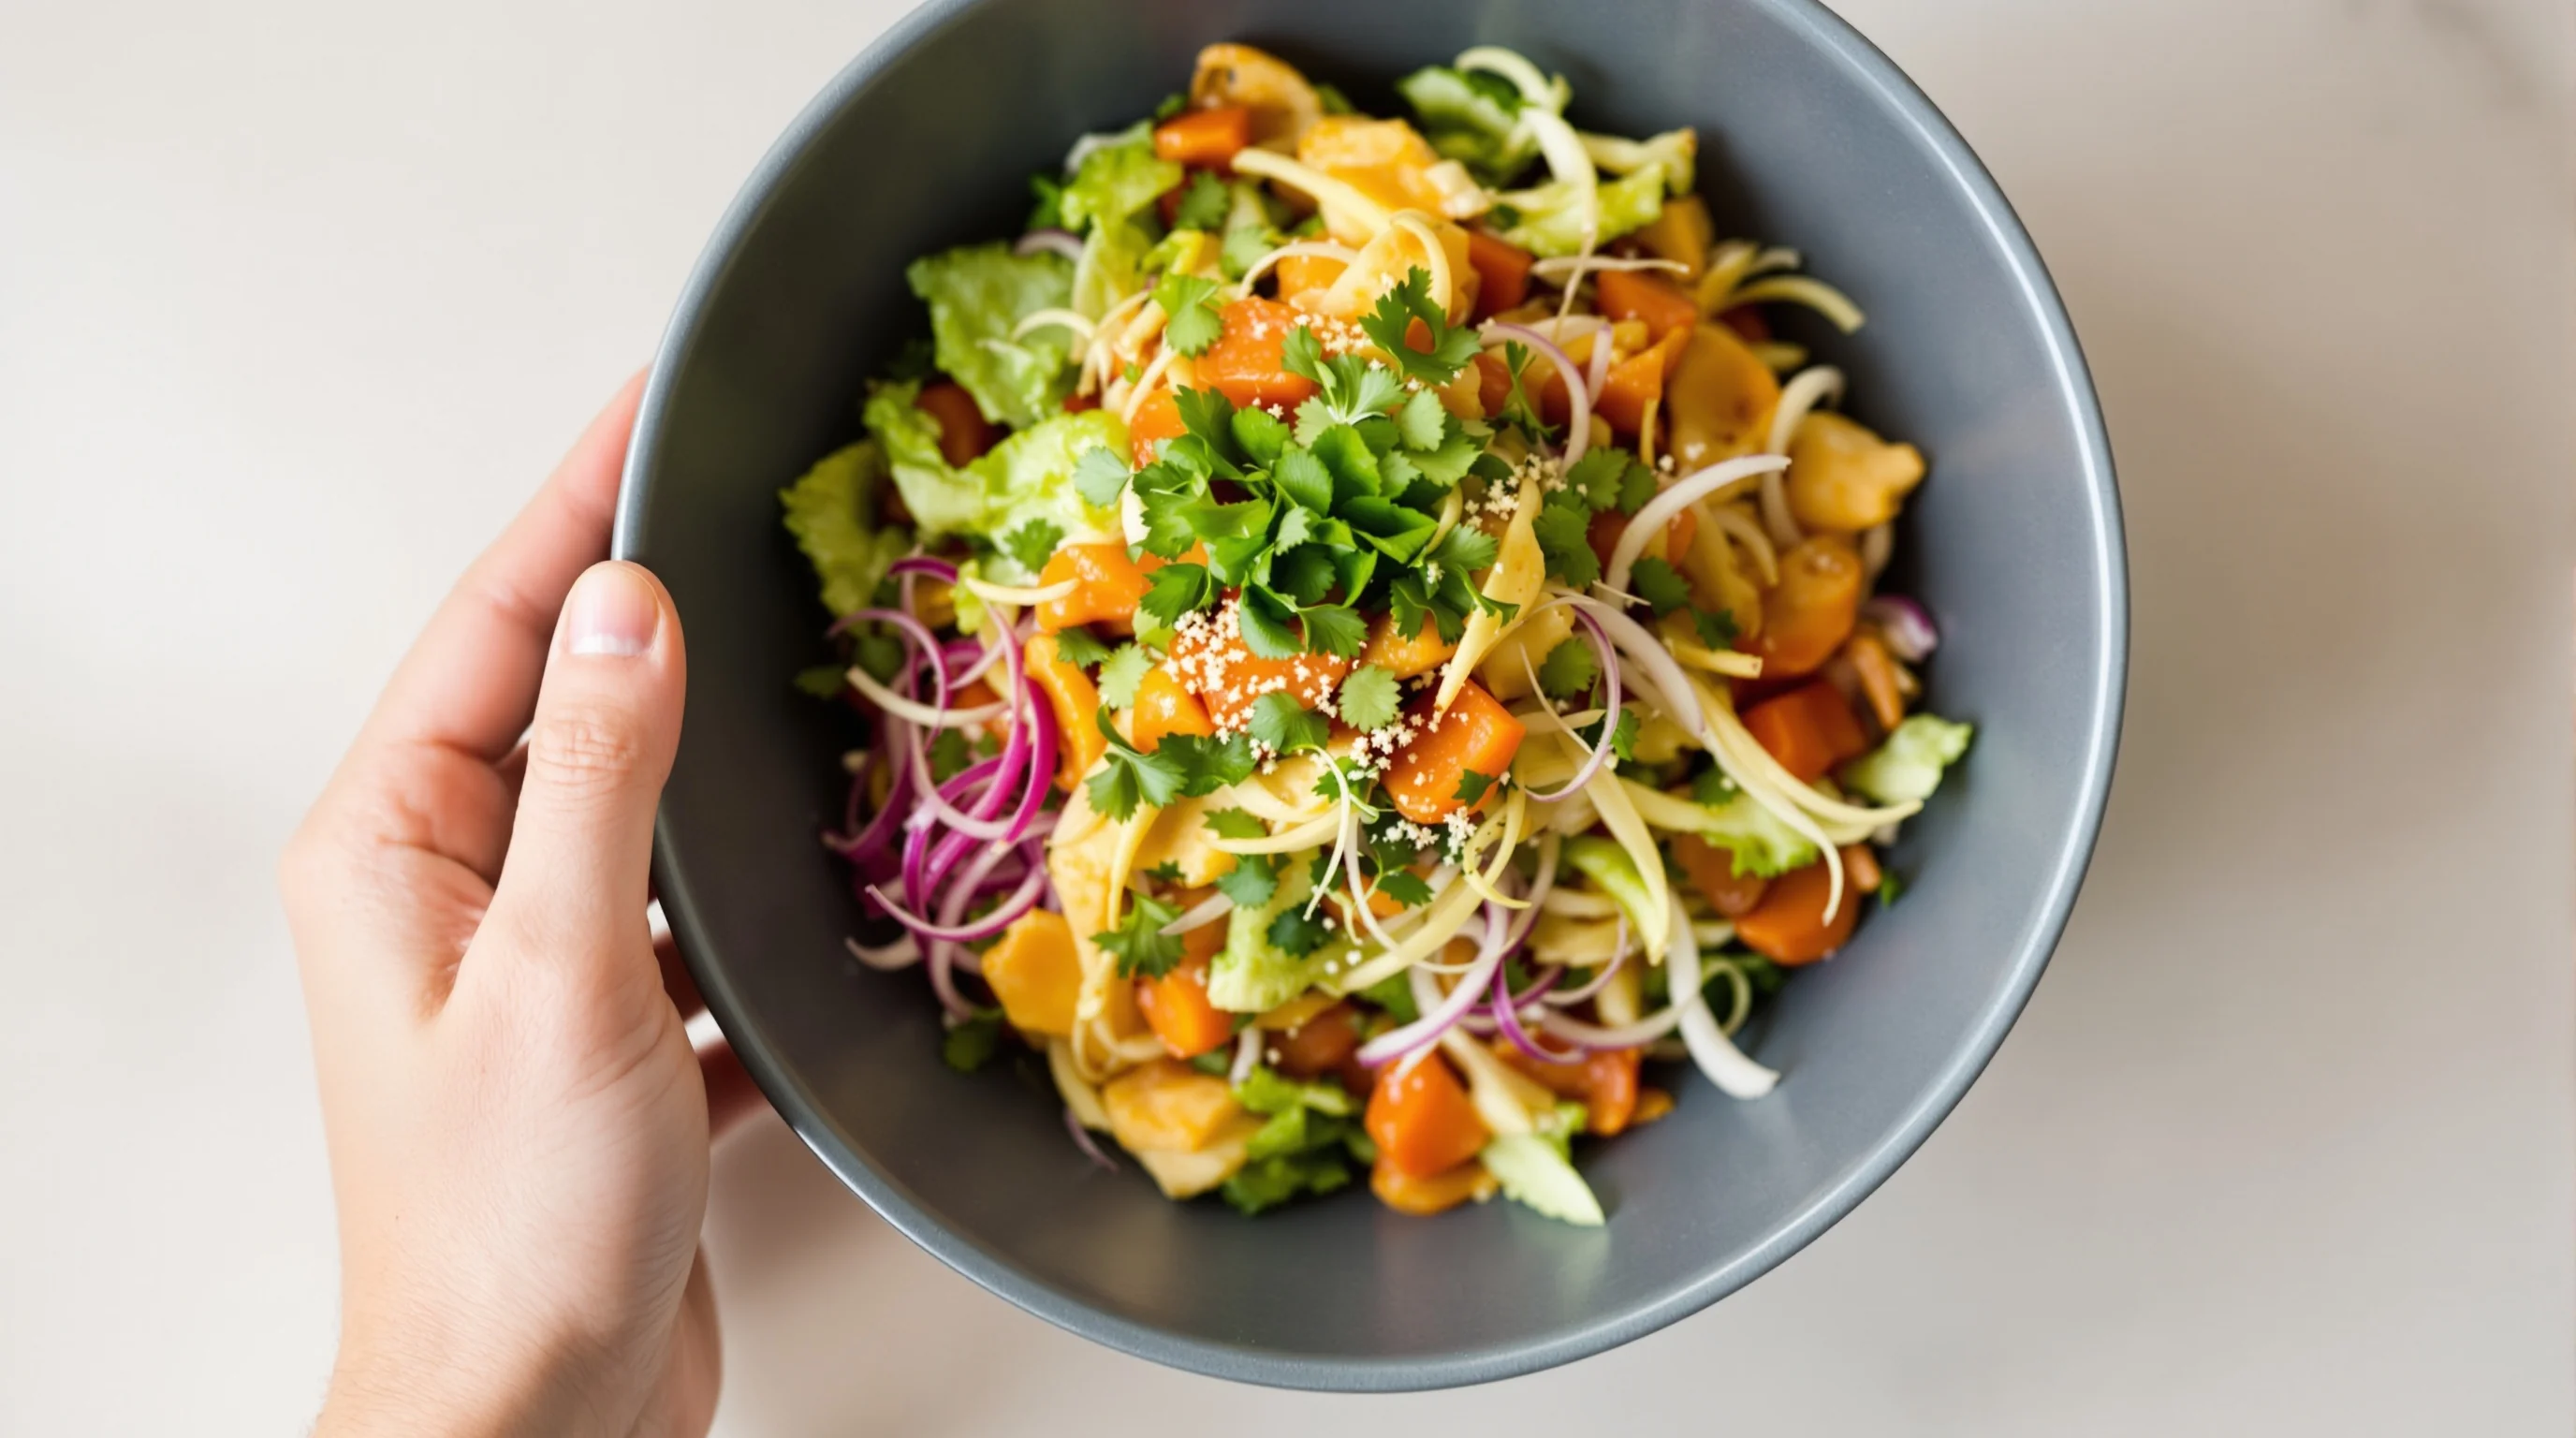
When to shoot in-house and when to use AI or a pro
If you have a small menu and time, shooting in-house is cost-effective; if you manage hundreds of SKUs, AI or professional services scale better. According to MenuPhotoAI research, restaurants using professional photography see significant uplift, but AI services like YummyPic deliver near-professional results instantly and at a fraction of the cost. Use this Uber Eats Image Optimization Guide (2025 Update) to decide: shoot in-house for signature dishes, use AI to polish phone shots, and hire a pro for hero images or brand refreshes.
💡 Pro Tip
If you lack time or skills, YummyPic automates lighting, background and sizing to match Uber Eats requirements. It’s a fast, budget-friendly way to convert phone photos into menu-ready images and test multiple styles.
Practical checklist: upload-ready image specs
Use this compact checklist from the Uber Eats Image Optimization Guide (2025 Update) before uploading: ensure aspect ratio 5:4, file format JPEG in sRGB, maximum file size under 500 KB after compression where possible, centered dish, no logos, clear texture and accurate color, and filename following your convention. Preview on a phone before publishing and use platform AI only as a last touch if your pre-processed file meets specs.
- Aspect ratio: 5:4 (use cropping templates)
- Format: JPEG, sRGB
- Resolution: master at 2048 px, upload around 1200 px
- File size: aim < 500 KB
- Naming: itemcode_dishname_angle_v01.jpg
- Preview: always check in-app mobile preview
Brand tools and quick fixes: YummyPic and other AI solutions
This Uber Eats Image Optimization Guide (2025 Update) recognizes that many restaurants lack time, budget or skills for professional photography. YummyPic is an AI-driven app designed for this exact challenge: it turns phone photos into professional, restaurant-quality images in seconds. The platform automates size, background removal, lighting correction and exports optimized for DoorDash, Grubhub and Uber Eats. For busy operators, this is a high-ROI shortcut to platform-ready images without a full photoshoot.
- Speed: professional photos in seconds
- Cost-effective: cheaper than hiring a pro
- Variety: multiple styles (bright, moody, editorial)
- Convenience: no studio gear needed
- Quality: exported to platform-specific specs
Conclusion
This Uber Eats Image Optimization Guide (2025 Update) is a practical roadmap: prioritize clear, honest photos; follow platform specs; compress for mobile; and use AI tools where they save time. Remember the numbers—images can lift clicks by 20% and orders by 32% according to Uber—and consistent, appetizing visuals help you win the tap. Whether you choose in-house shoots, a pro or an AI-first workflow like YummyPic, the key is repeatability: a short, documented process that your team follows for every new menu item.