Introduction: Desserts are among the most shared food images online, and great dessert photos do more than look pretty — they sell. This guide bundles practical dessert photography tips to help restaurant owners, cafe managers and food creators capture sweets that look irresistible. You will learn how to use lighting and composition to highlight texture, how to prevent ice cream and whipped creams from collapsing mid-shoot, and which affordable gear and smartphone hacks deliver pro-level results without a full studio. Throughout, we reference industry facts and offer actionable steps you can apply today.
Why dessert photography matters
High-quality dessert images boost discovery and orders. Instagram alone has about 1.35 billion users worldwide, and research from Mondelez shows that 70% of shoppers use Instagram to discover new products. Visual appeal matters: food and drink content is the top interest for 43% of Instagram users, according to Soocial, and sweets are the most common subject in online food photos. For restaurants and delivery platforms, a mouthwatering dessert image can be the difference between a browse and a sale.
“Instagram remains the leading platform for brands to share engaging visual content among the widest cross-section of consumers… Foodies flock to Instagram seeking inspiration and stick with brands that can deliver consistently high-quality, beautiful food imagery.” Source: Mondelez Foodservice Insights
Best lighting for dessert photography
Lighting defines texture, color and mood. Soft, directional light (window light with a diffuser) is the go-to for most desserts: it sculpts details without harsh shadows and preserves color. Use a white reflector opposite the light to fill shadows and keep shapes readable. For dramatic, moody dessert shots, position a single light source behind or to the side and underexpose slightly. Avoid direct on-camera flash — it flattens and kills subtle texture.
If you need consistent output for menus or delivery platforms, controlled artificial lighting with softboxes or continuous LED panels helps you reproduce the same look every time. For quick guidance on lighting setups and safety, see our tips on lighting drinks safely, which includes practical notes on directional light and highlights you can adapt for desserts.
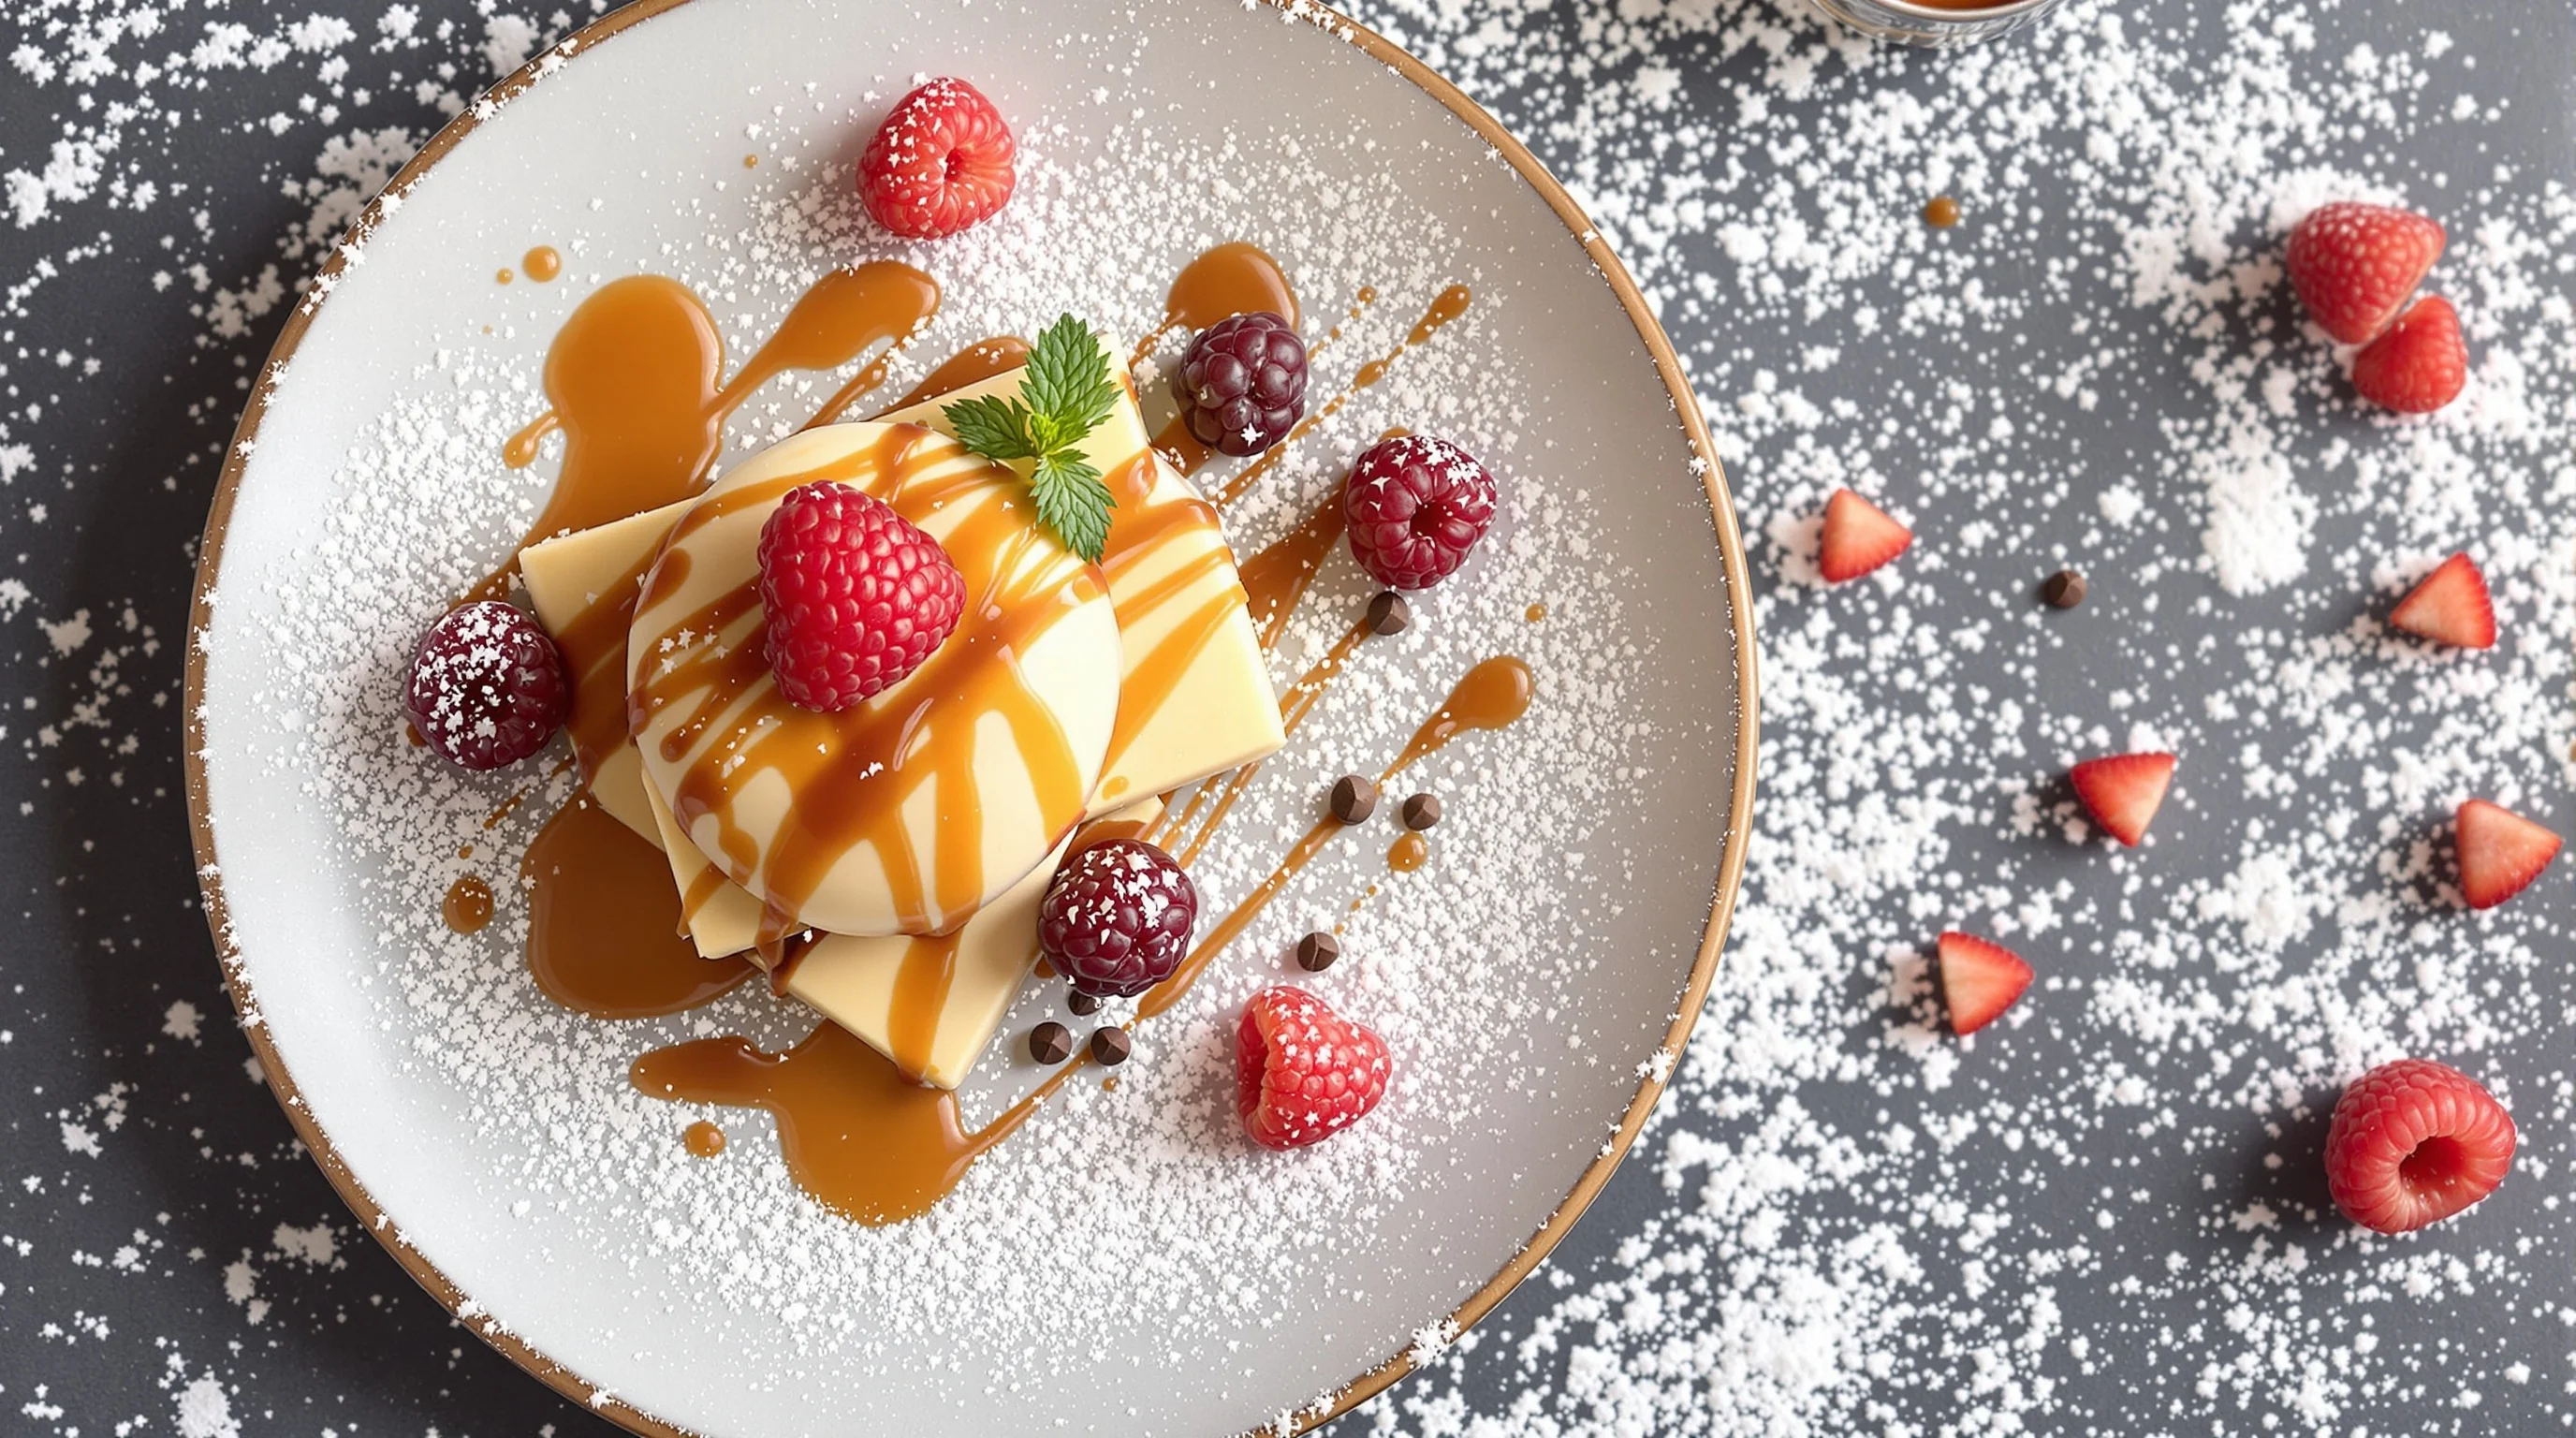
Composition, angles and food styling that sell
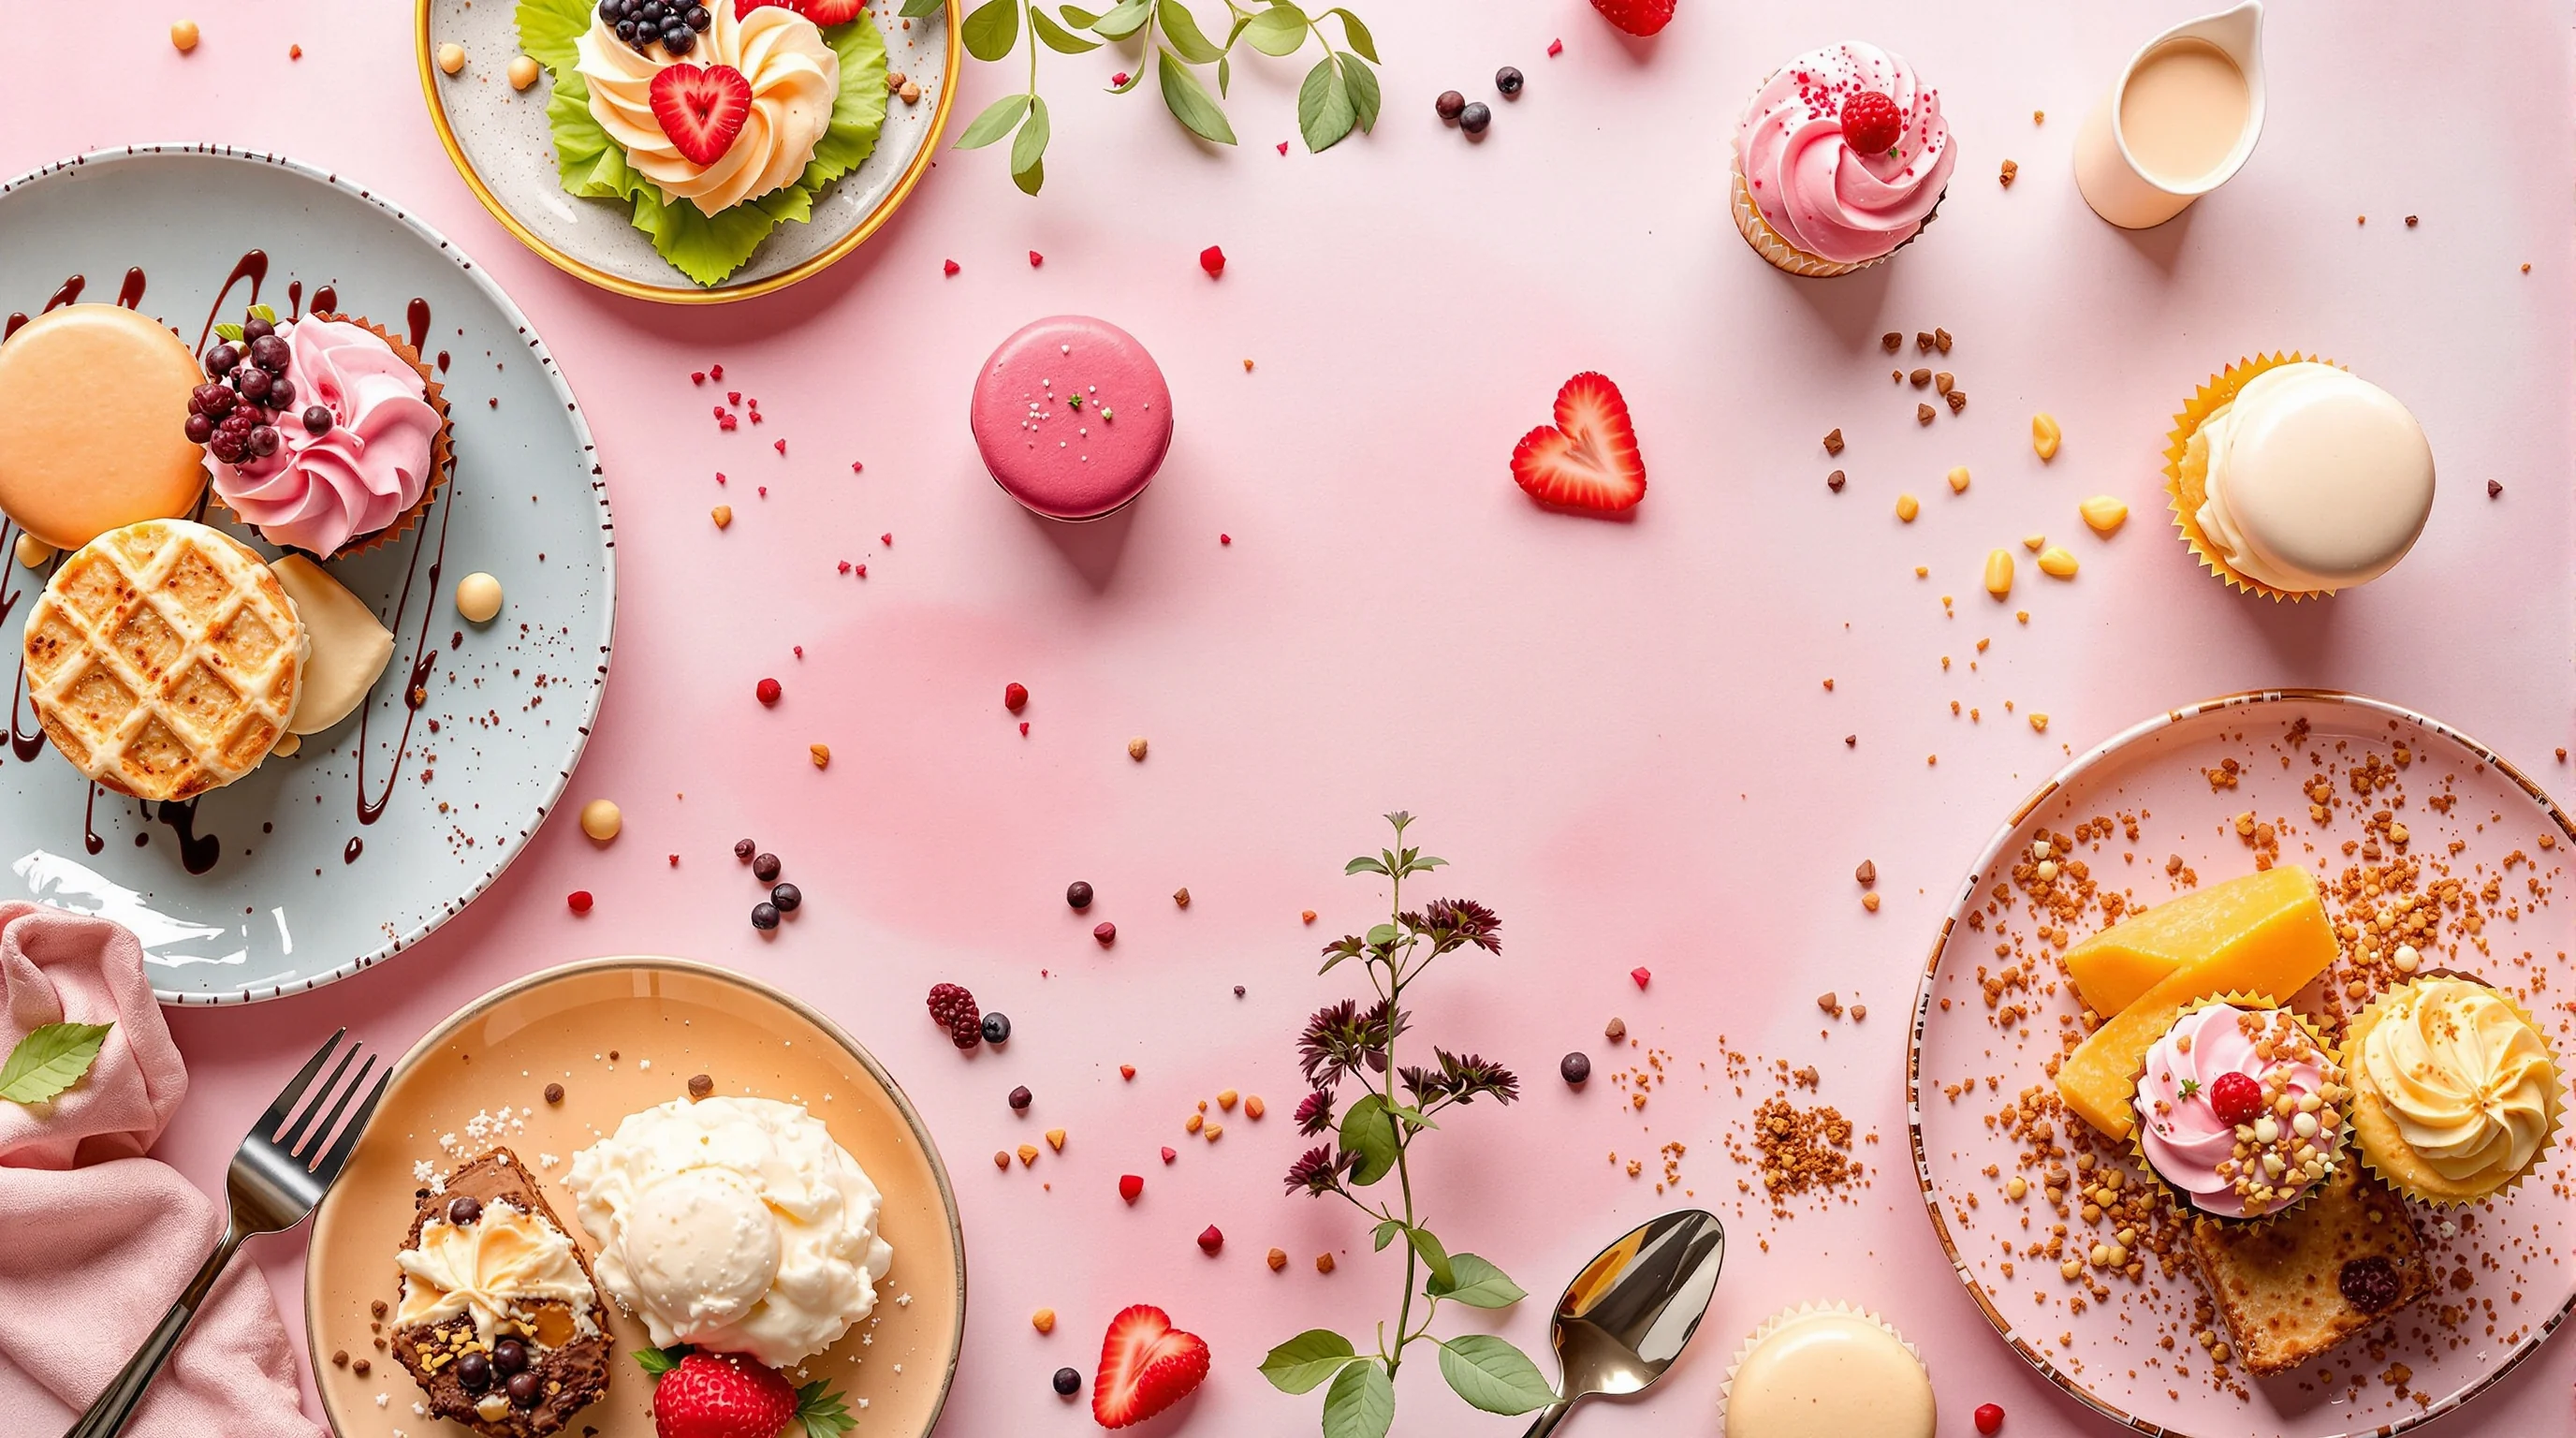
Pick an angle that showcases your dessert’s strengths. Flat-lay photography works beautifully for plated assortments, cookie spreads and pastry collections where pattern and color matter. A 45-degree angle or eye-level shot is ideal for layered desserts and dishes with height, while a tight 10–20° angle emphasizes drips, glazes and layers. Use the rule of thirds for balance and leave negative space for text or logos when designing menu art.
Food styling is critical: small garnishes, fresh ingredients and controlled crumbs bring a scene to life. Keep props complementary — no busy patterns that steal attention. For prop guidance and sourcing, consult our food photography props guide to match backgrounds, plates and utensils to the dessert mood. Thoughtful styling increases shareability and conversions on platforms like Instagram and delivery apps.
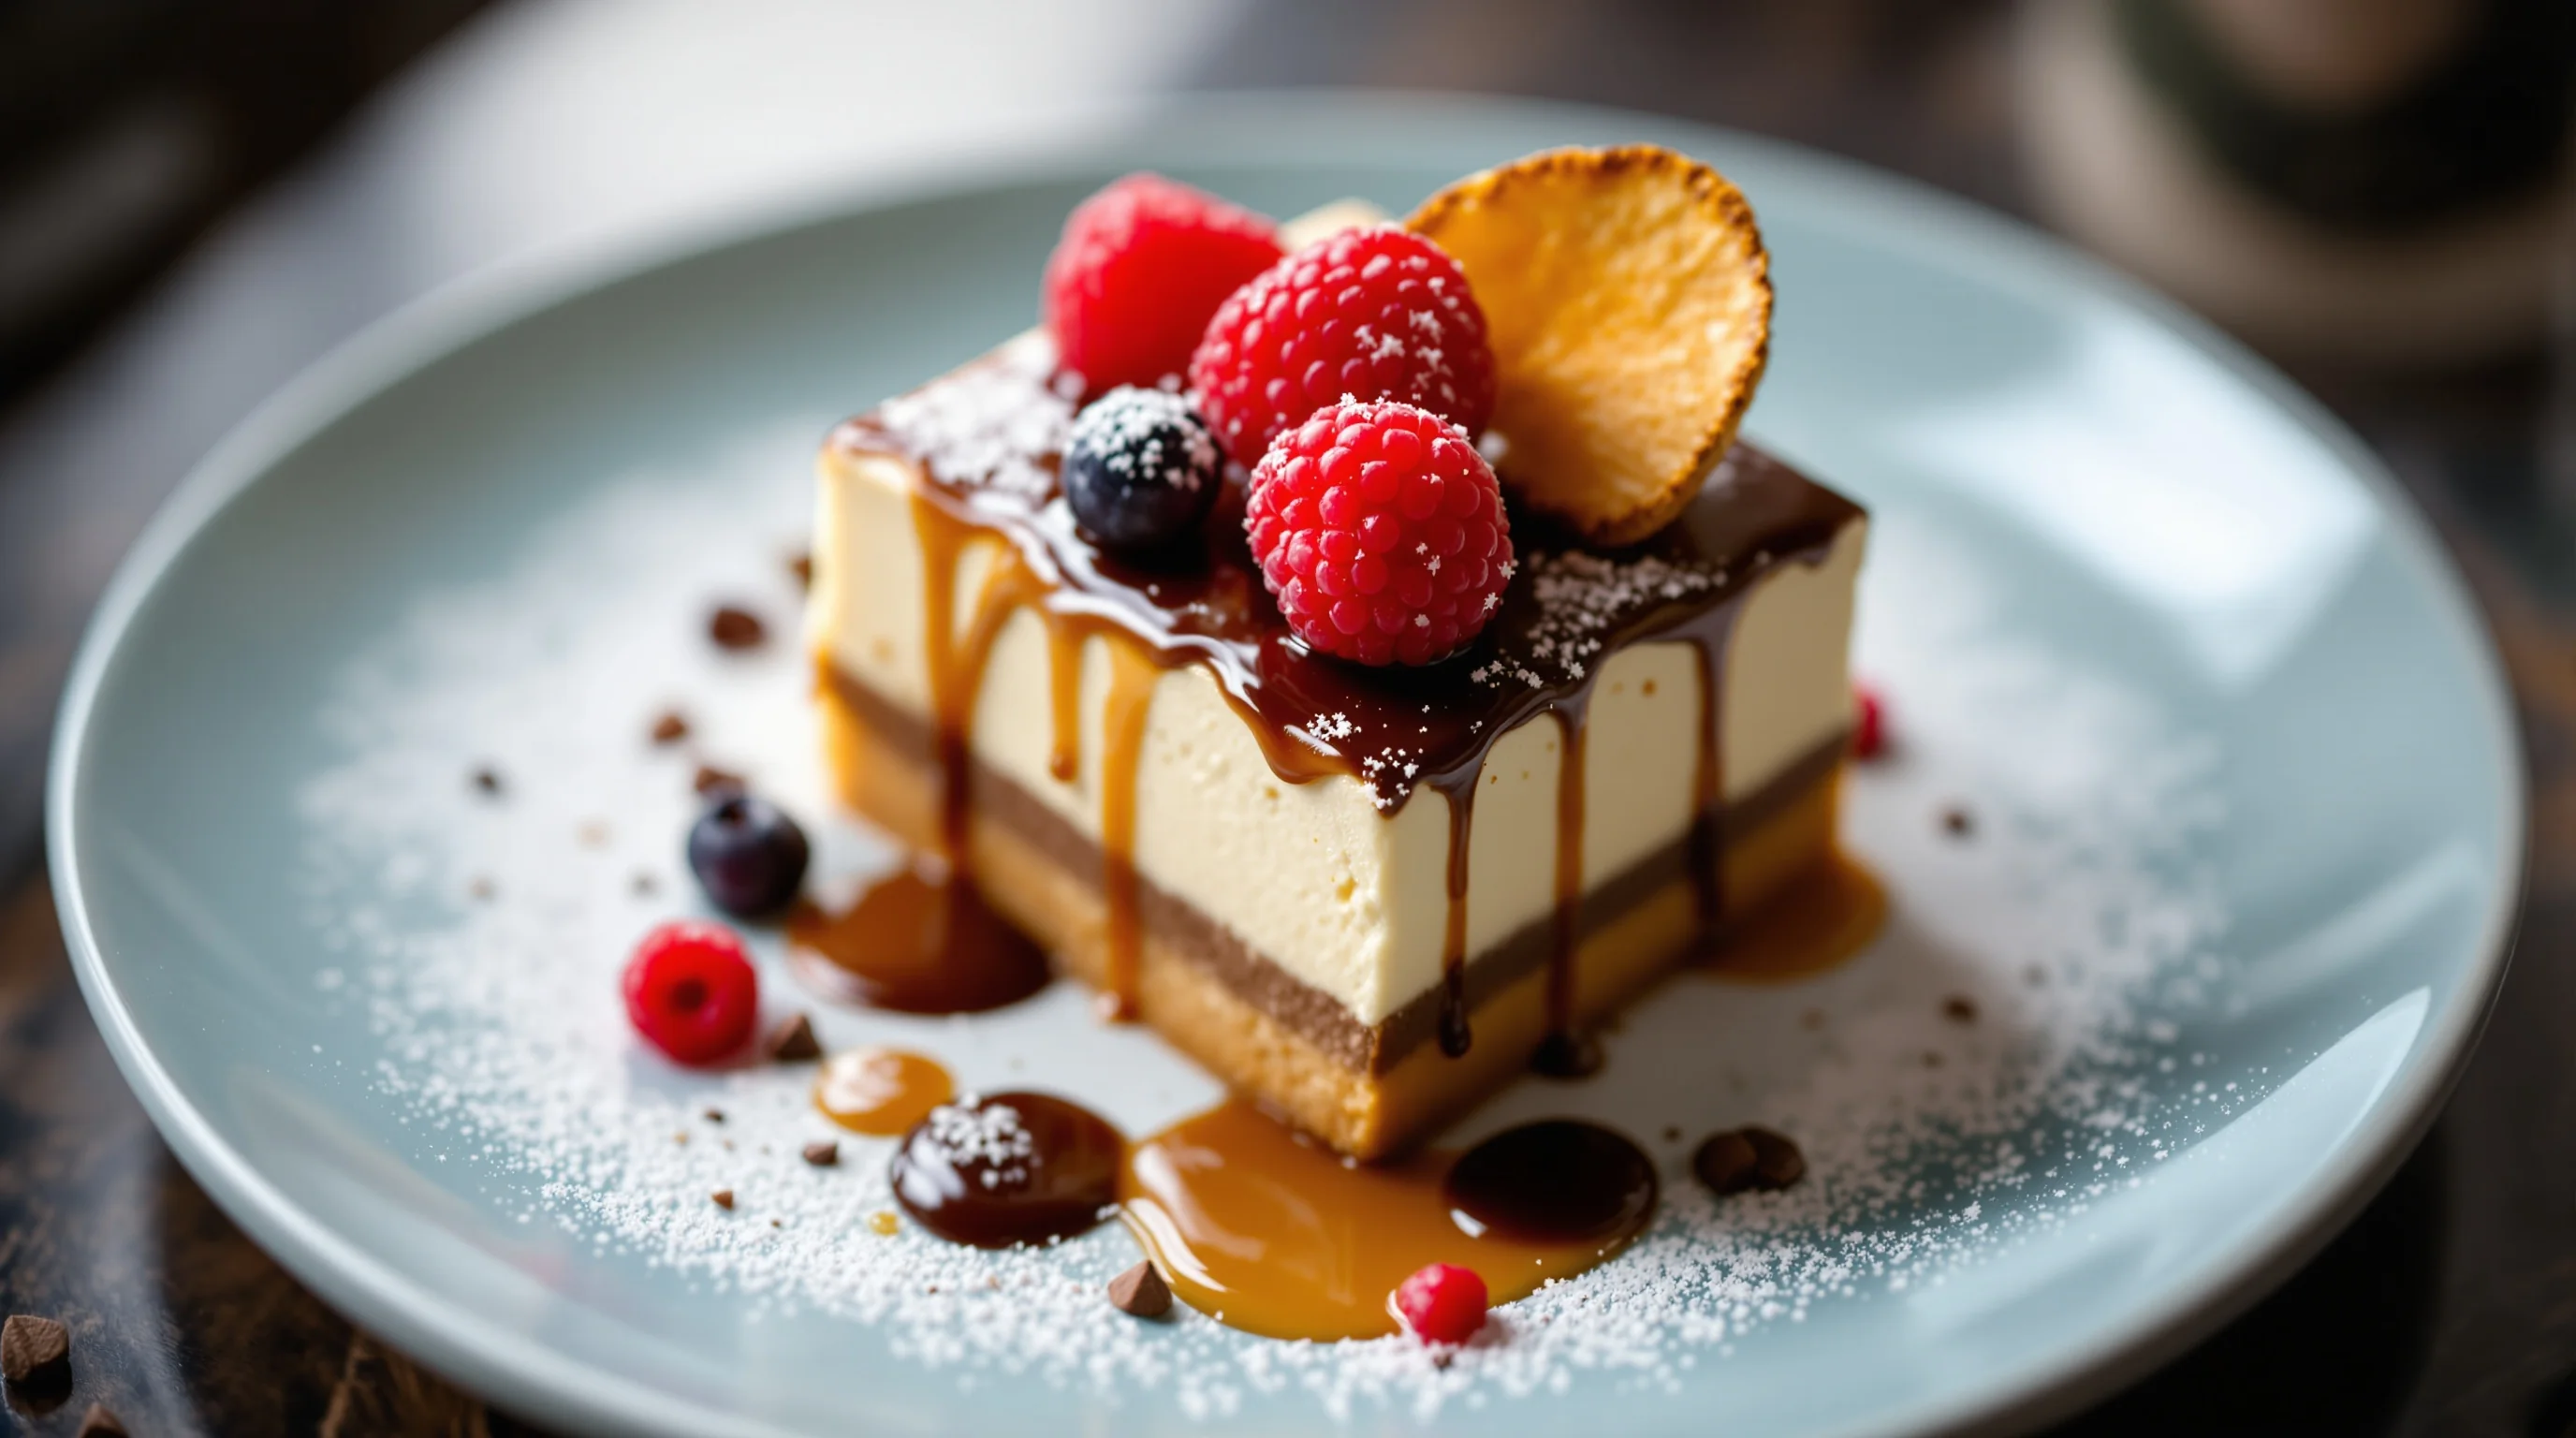
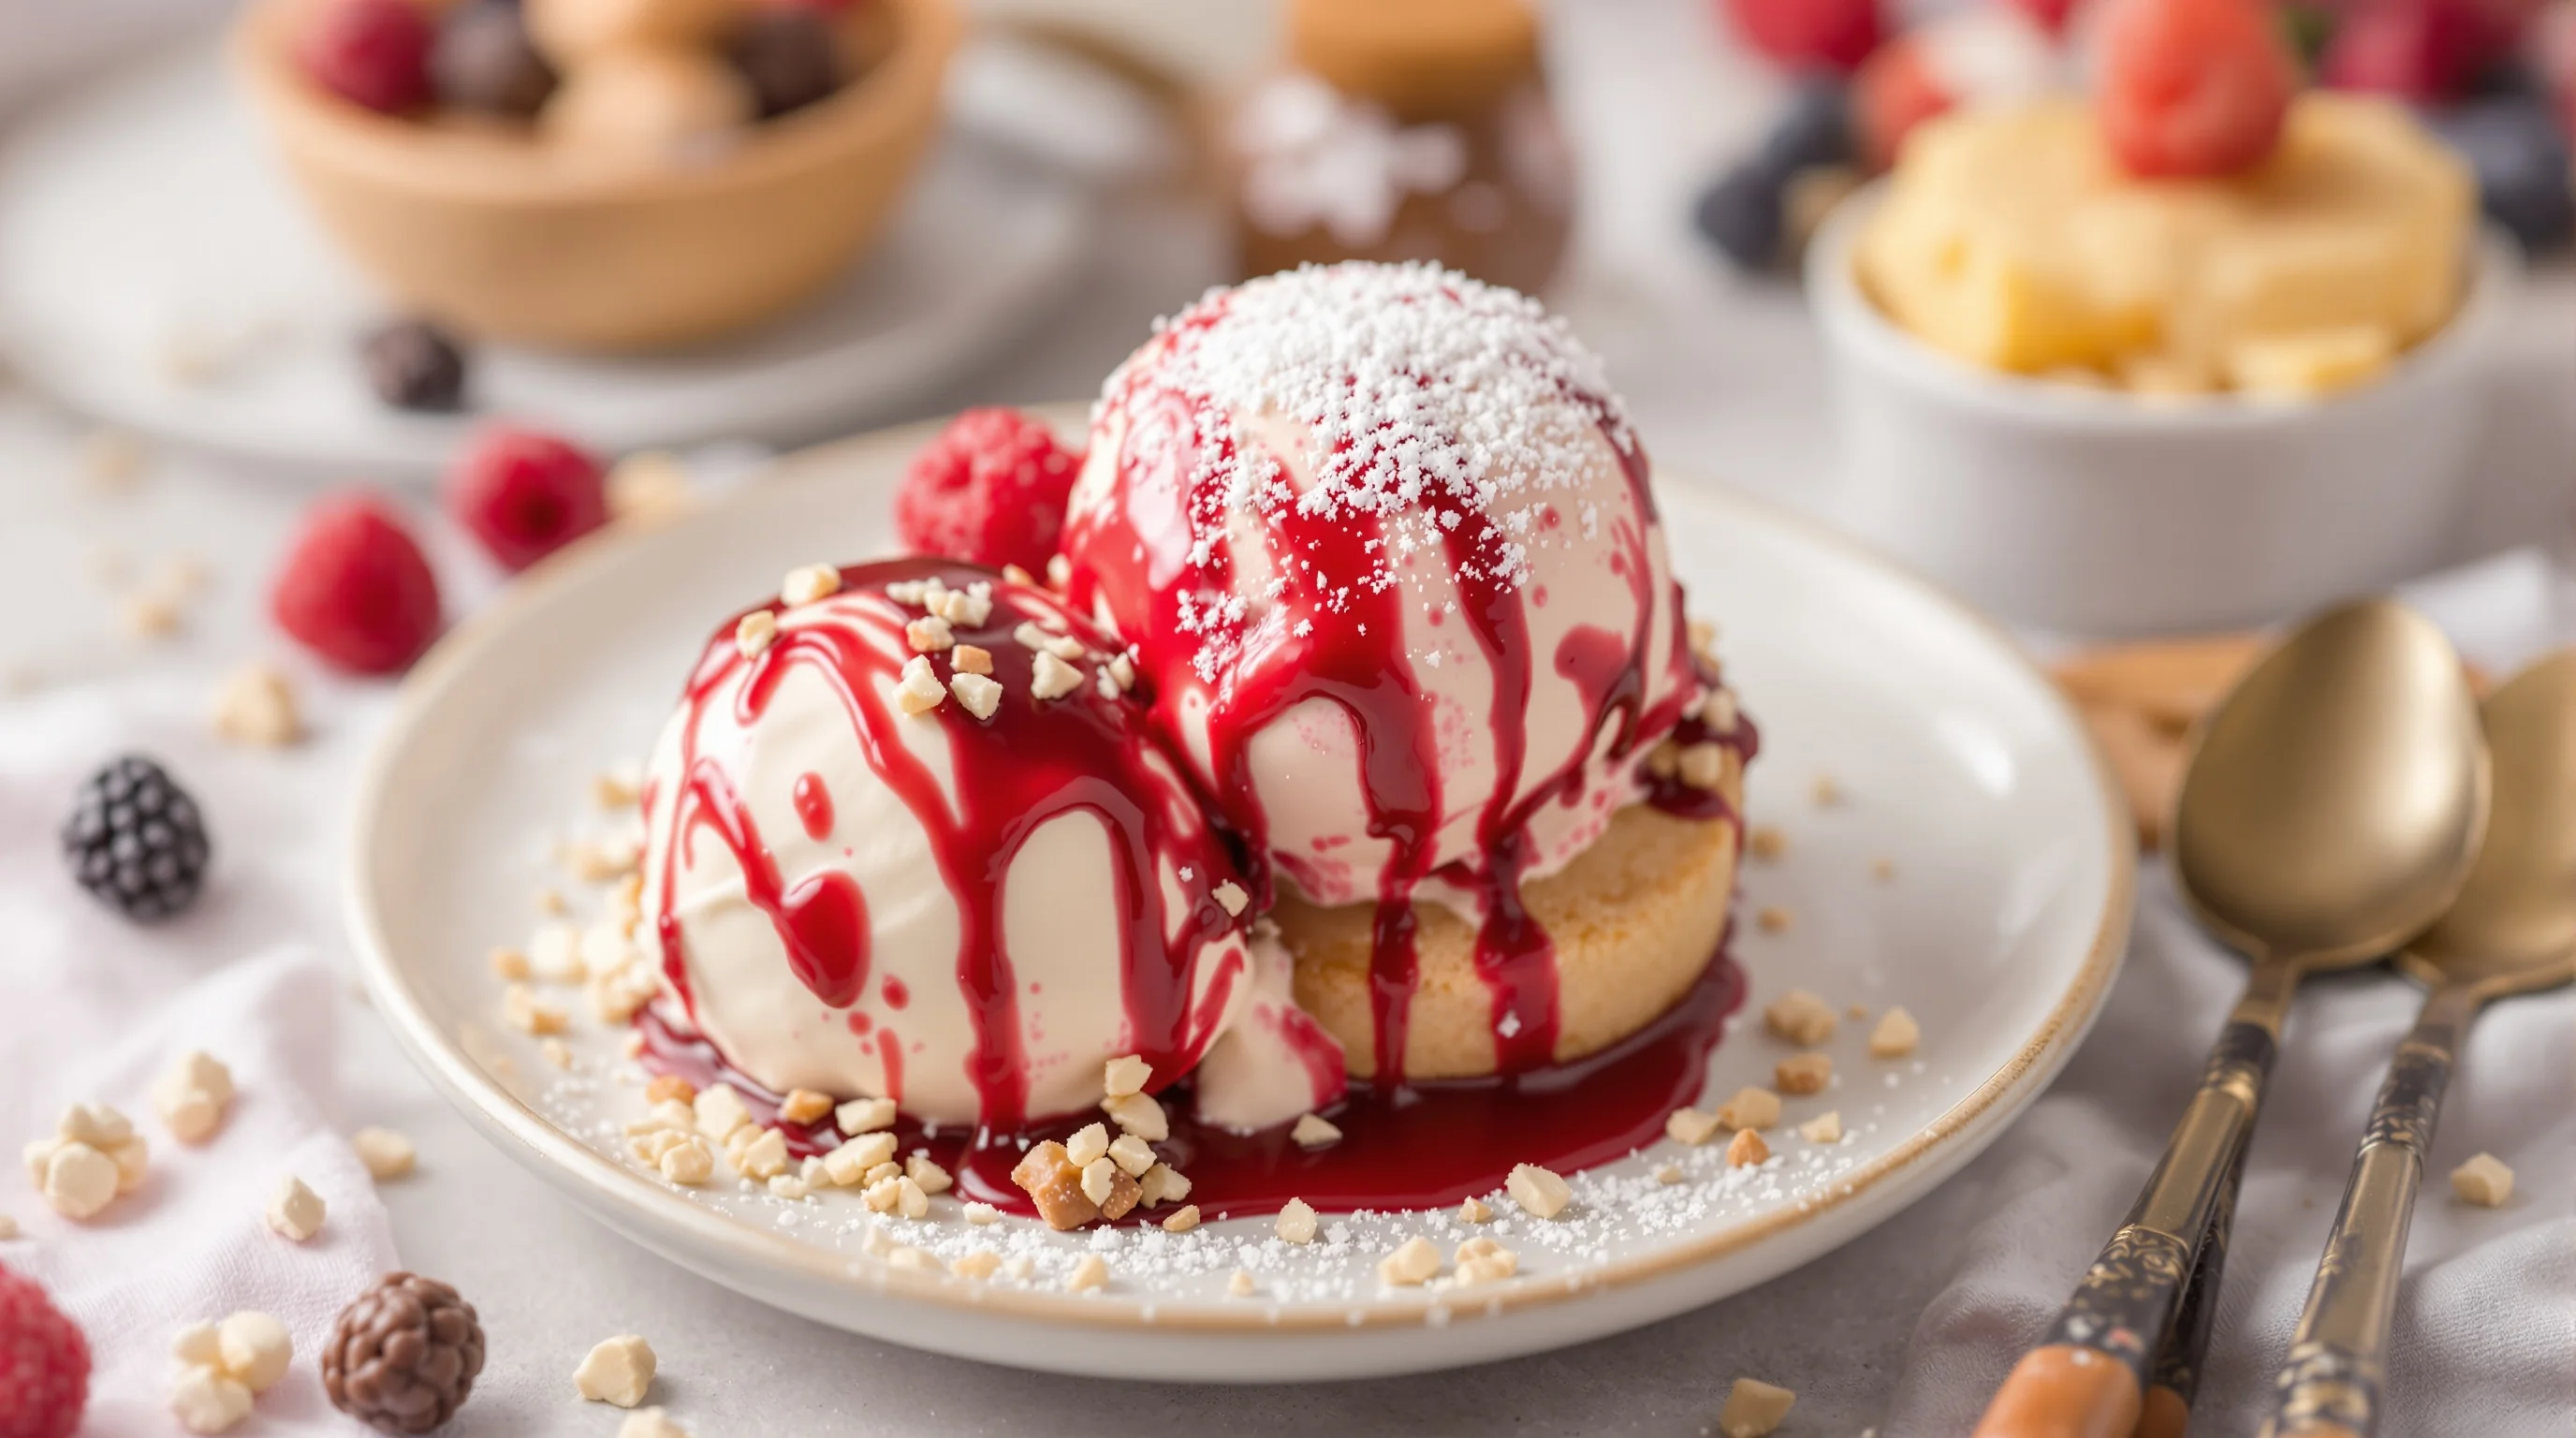
Highlighting texture: macro techniques and close-ups
Texture sells desserts. Use a shallow depth of field (wide aperture) to isolate glossy glazes, sugar crystals or flaky pastry layers while keeping the focal plane sharp on the most appetizing element. A macro lens or a high-quality macro attachment captures surface detail and emphasizes mouthfeel — perfect for macarons, crème brûlée crusts and chocolate shavings.
If you're not shooting with a DSLR, our guide The Art of Macro Food Photography explains smartphone macro tricks and affordable attachments. For very delicate desserts like meringues, gelatins and whipped cream, use faster shutter speeds, minimal handling and focus stacking where possible to deliver razor-sharp texture across the frame.
Camera settings and affordable gear options
Recommended settings for desserts: aperture f/1.8–f/4 for creamy background blur, ISO 100–400 to minimize noise, and shutter speed fast enough to avoid blur (use a tripod if you need longer exposures). For overhead flat-lays, an overhead arm or a stable tripod avoids parallax and keeps composition consistent. If you're choosing lenses, a 50mm or 85mm prime and a 100mm macro are versatile choices.
You don’t need expensive kit to get started. Budget-friendly macro attachments, a basic softbox and a sturdy tripod transform smartphone and entry-level cameras into reliable tools. Browse our recommendations in The Best Tripods for Food Photography and choose lenses with guidance from What Lens for Food Photography.
How to prevent melting and preserve presentation
Melting is the top pain point when photographing ice cream, whipped cream and glazes. Prep everything beforehand and stage shots so the dessert spends minimal time out of cold storage. Use chilled plates, metal pans, dry ice behind the set for a slow-release cooling effect, or shot-in-place methods where you photograph immediately after plating. For whipped toppings, stabilize with a small amount of gelatin or use stabilized cream if menu authenticity allows.
When you need a pause between frames, keep items refrigerated or use a cooler near your set. For editorial or social shots that allow retouching, photograph supporting elements (hands, garnishes, sauces) separately and composite in post to shorten exposure time for the fragile dessert.
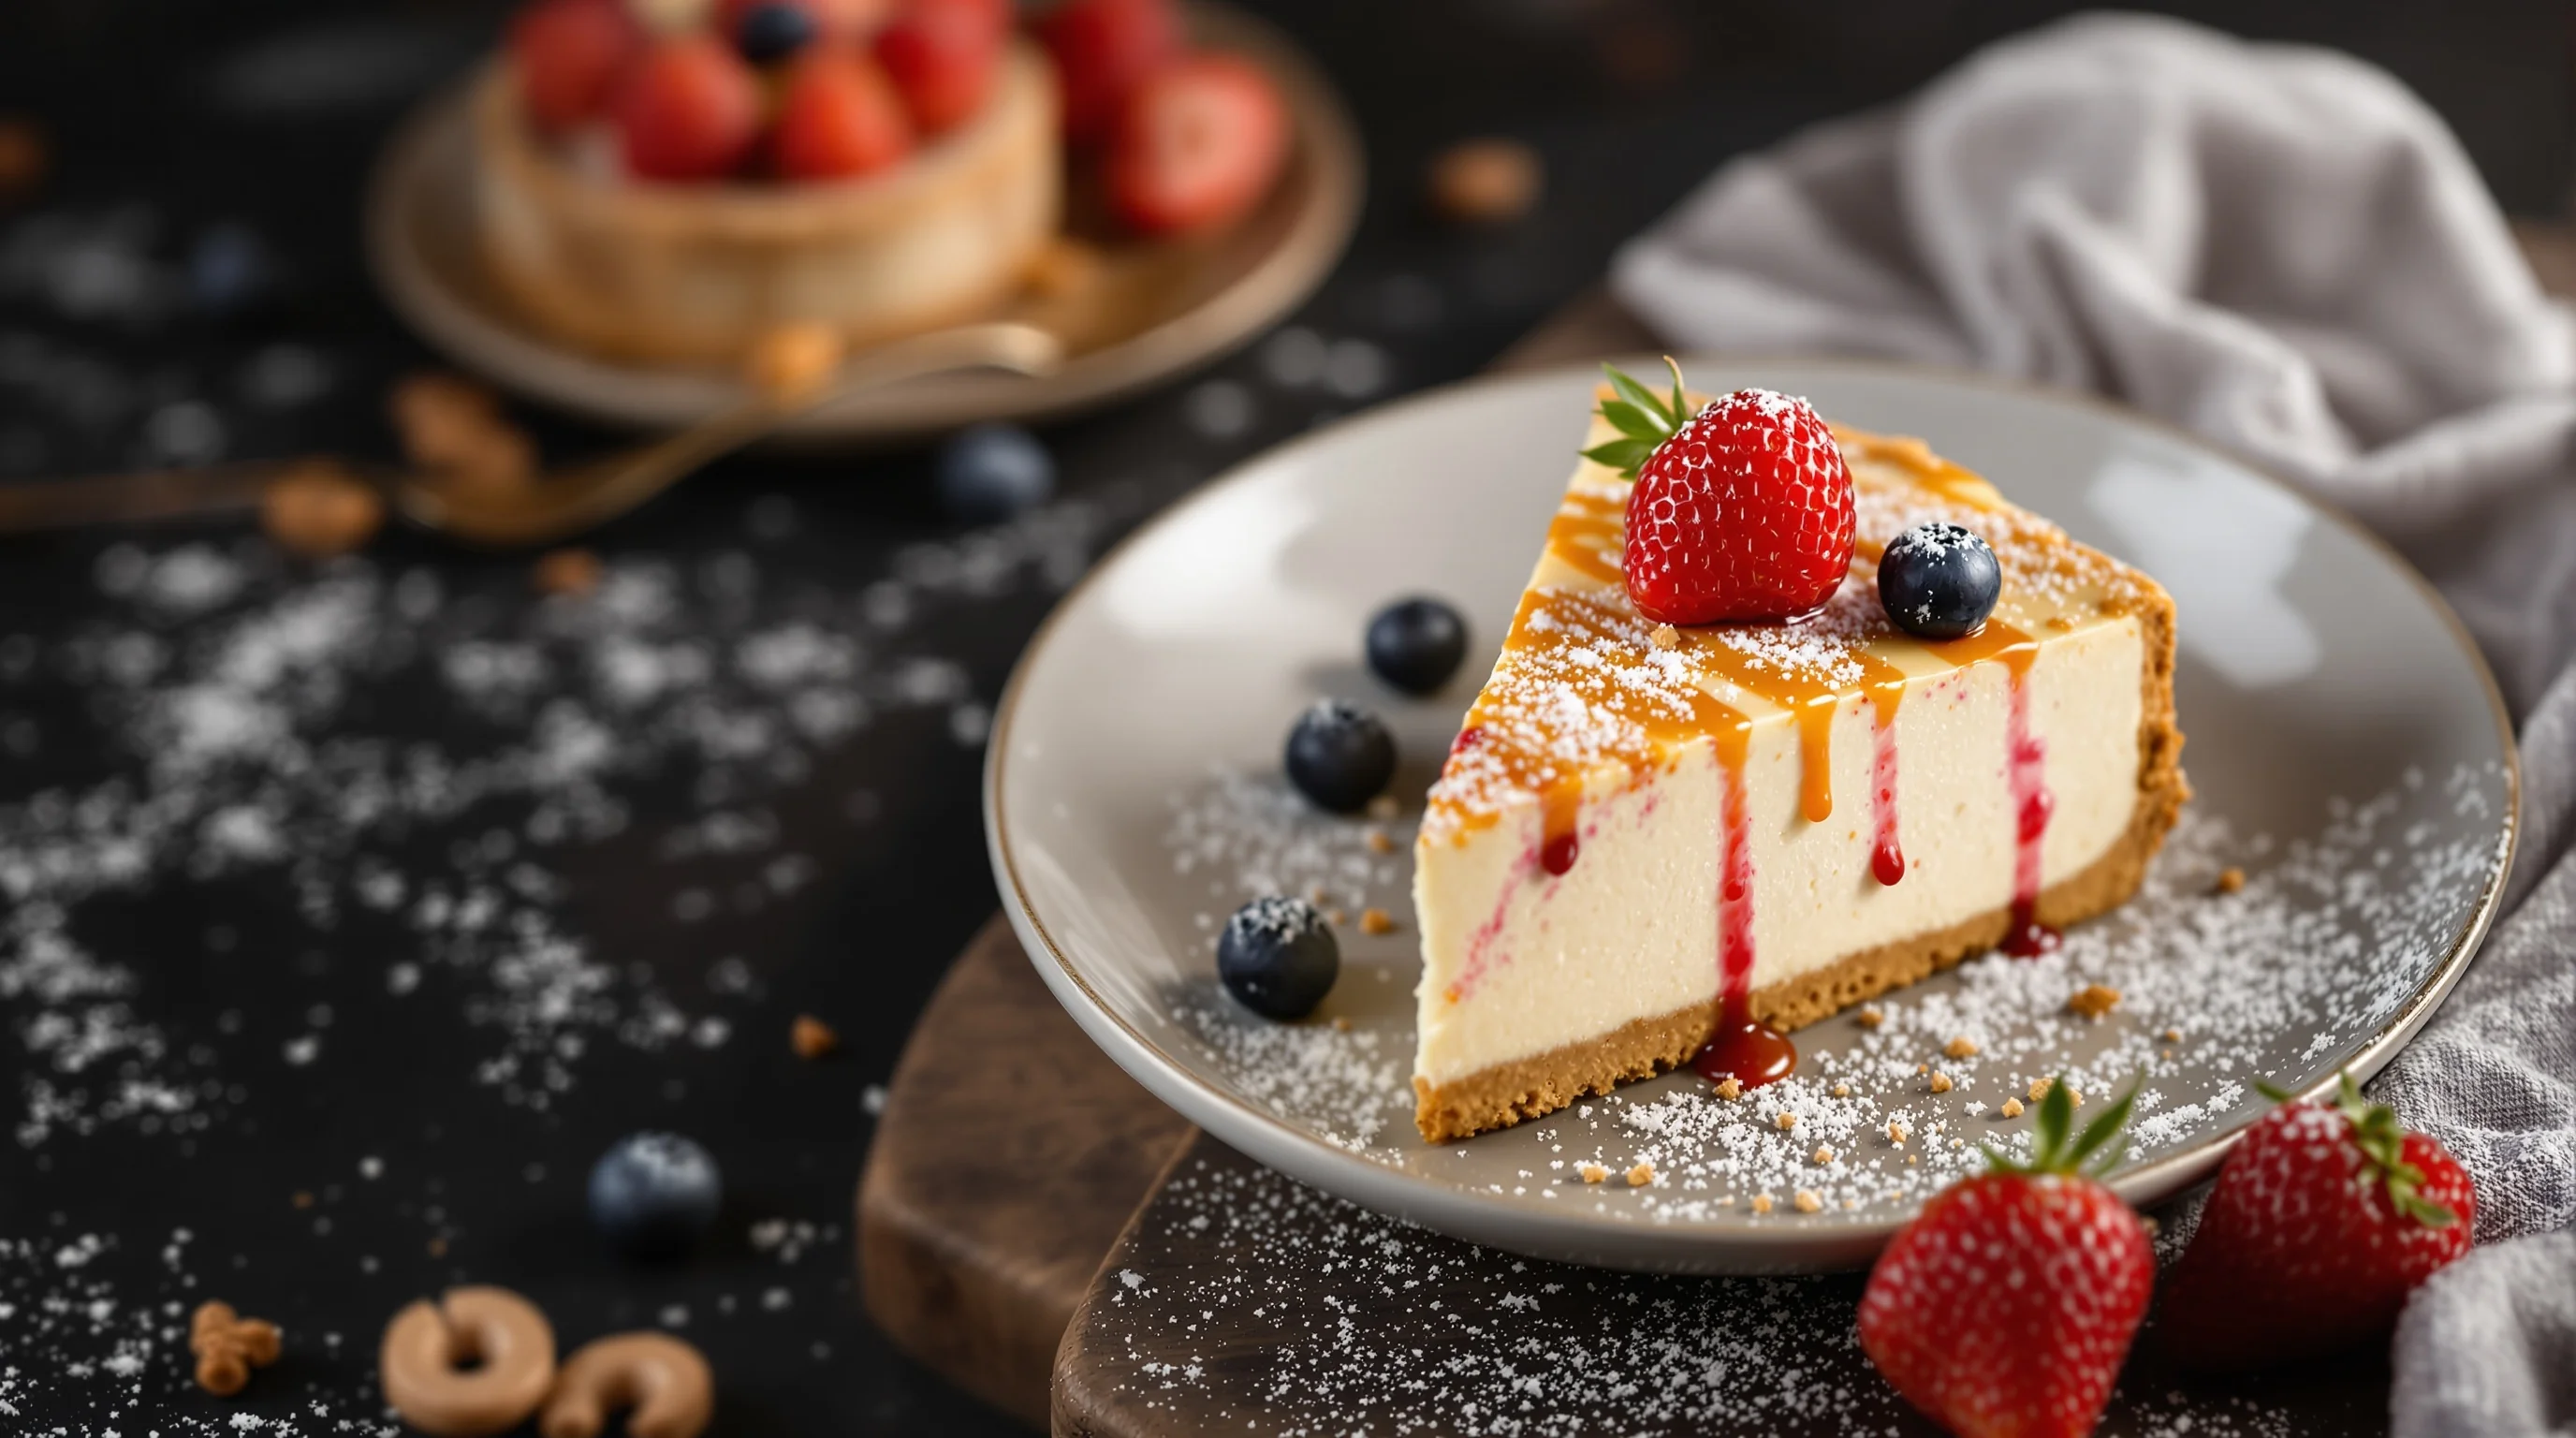
Editing and quick post-processing to make desserts pop
Post-processing should enhance, not fabricate. Correct white balance first to preserve true dessert color; increase contrast and clarity modestly to define edges and texture. Use local adjustments to brighten highlights and add subtle sharpening to the focal area. Preserve natural color saturation — oversaturation makes images feel artificial and harms brand trust.
If editing feels technical, tools like YummyPic speed the workflow. YummyPic’s one-touch filters quickly balance white light and enhance dessert colors, while their easy-food presets are optimized for food imagery. For many restaurants, YummyPic offers a cost-effective shortcut to professional-looking menu and social images without deep editing skills.
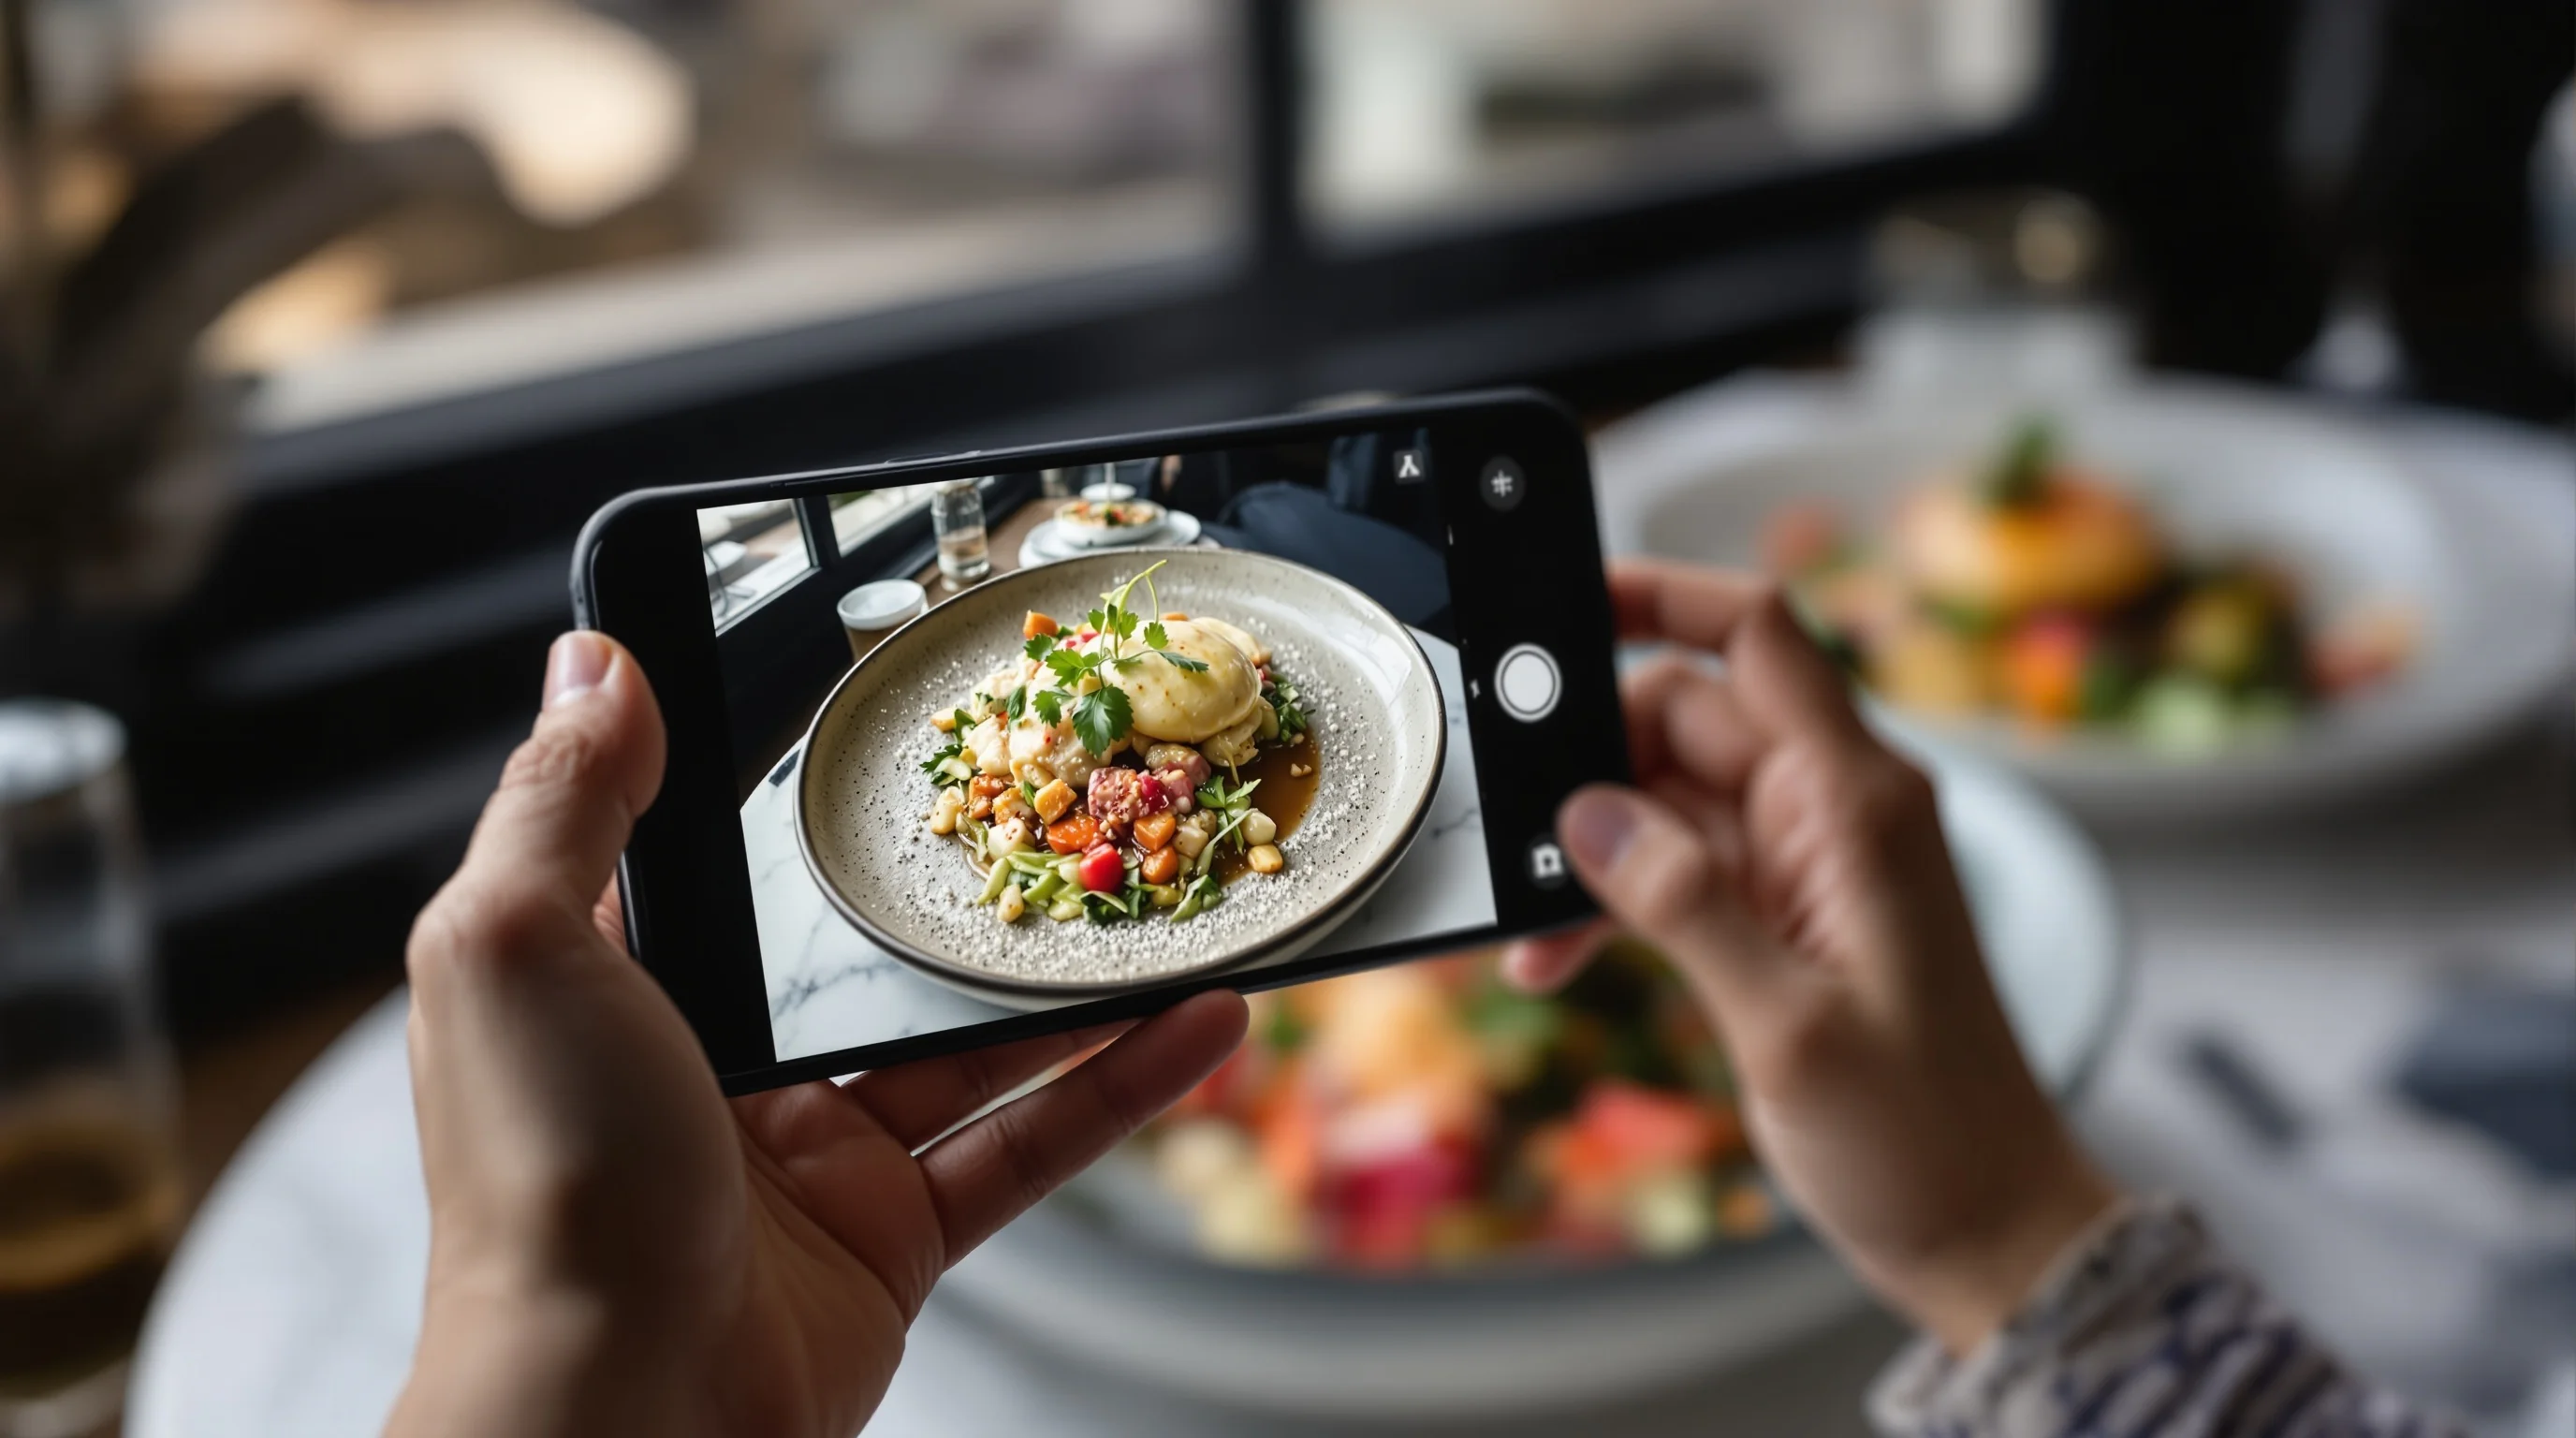
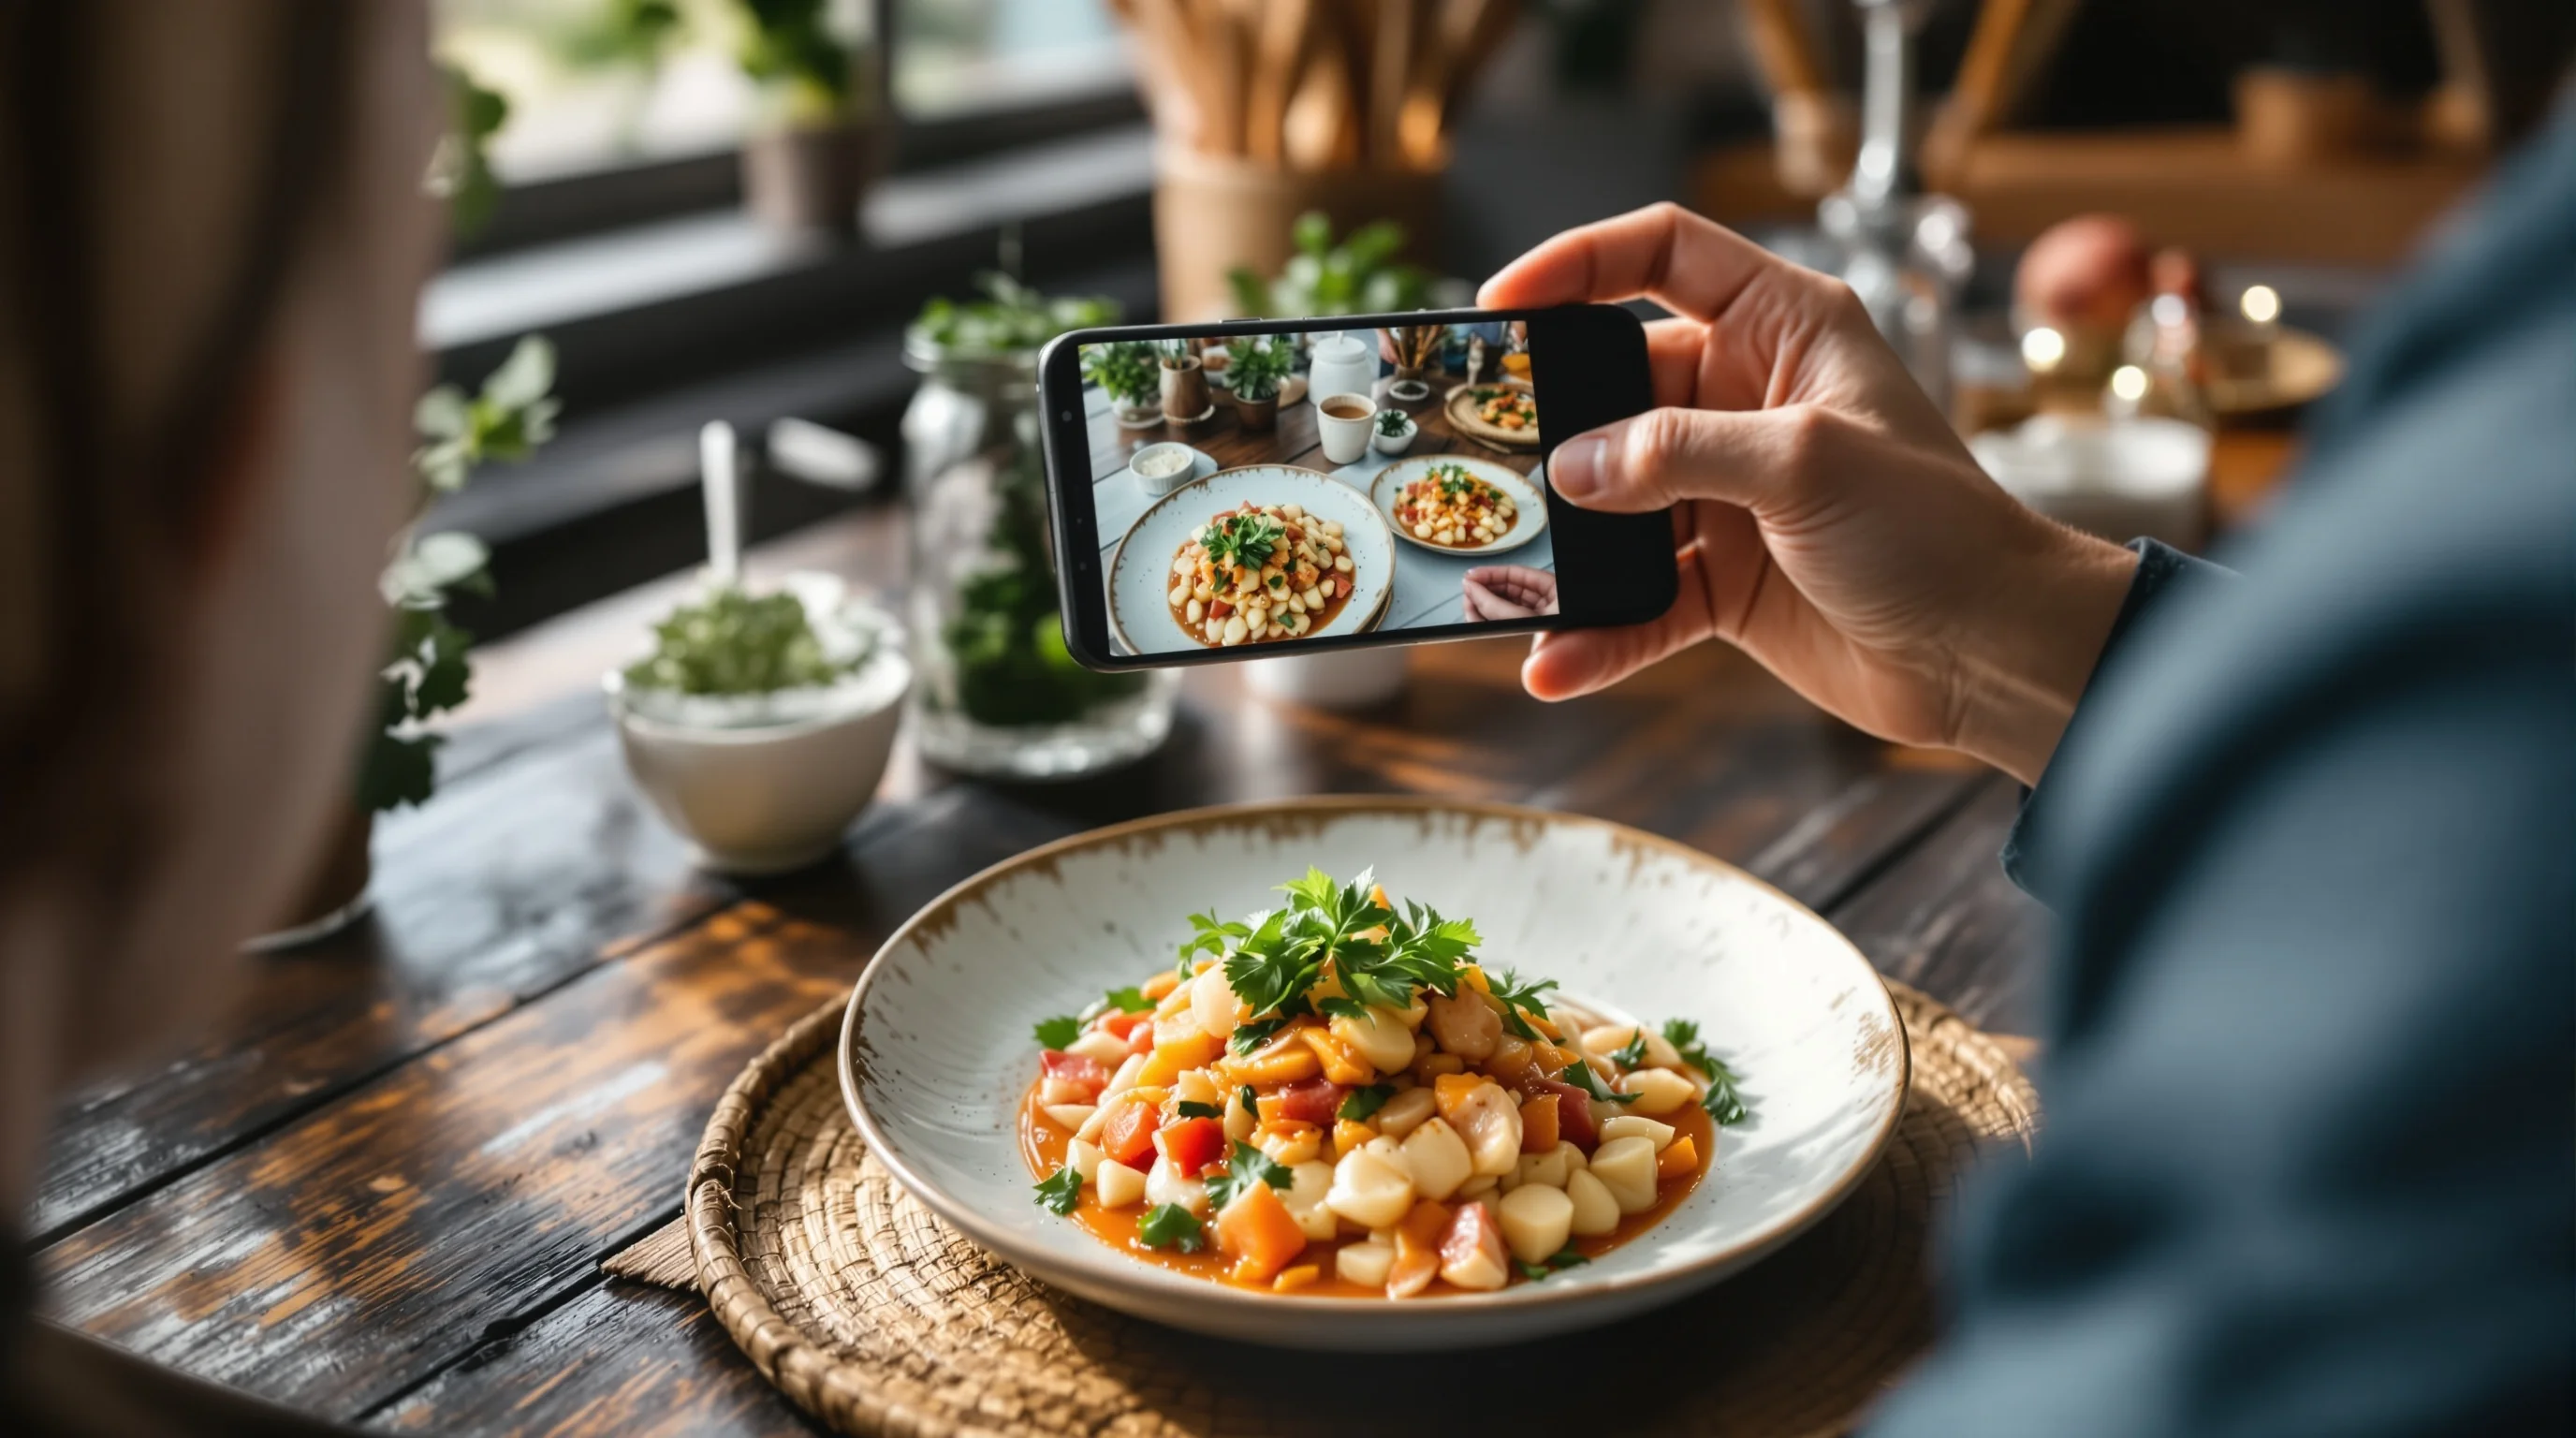
Smartphone dessert photography: practical hacks
Yes — you can use a smartphone for stunning dessert photos. Key smartphone dessert photography tips: shoot in natural diffused light, use portrait or pro mode to control depth of field, steady the phone on a mini tripod, and tap to set focus on the most appetizing detail. For macro details use a macro-lens attachment or the phone’s macro mode if available.
YummyPic sells a macro-lens attachment and food-optimized presets that make smartphone desserts look polished. This is especially useful for restaurants without DSLR gear: with a macro attachment and the right preset you can capture texture and color that work across Instagram and delivery platforms like DoorDash and Grubhub. See our platform-specific services at DoorDash Photography, Grubhub Photography and Uber Eats Photography.
Shooting difficult desserts: meringues, gelatins and whipped creams
Certain desserts demand special handling. Meringues are fragile and benefit from low-humidity shooting environments; use gentle airflow and minimal handling. For gelatins and jellies, control reflections with a polarizing filter or diffused side lighting to prevent hotspots. For whipped creams, consider stabilization (small gelatin addition) or shoot immediately after piping and freeze briefly for a firmer surface if acceptable for the dish.
When authenticity is essential, photograph the real food but take multiple frames quickly and swap in supporting elements as needed. If compositing, be transparent on menus; for socials you can emphasize the technique behind the photo to build trust and engagement.
Social sharing and engagement strategies for dessert photos
Great dessert photography is half the battle — engagement matters. Caption strategically: tell a brief story, mention ingredients, and invite tags or user photos. Use consistent visual style so your Instagram grid reads like a curated menu — research from Mondelez notes that creative, visually appealing snack photography drives discovery and repeat engagement.
Encourage user-generated content with a branded hashtag and feature customer photos to build authenticity. If you need multiple versions of the same shot for different platforms, YummyPic can transform one image into varied styles (bright & airy, dark & moody) quickly so you can test what performs best on Instagram vs. delivery platforms.
How YummyPic fits into a dessert photo workflow
For busy restaurants and small teams, YummyPic speeds creation of professional photos. Upload a single phone image and choose from food-optimized camera settings and color filters to get high-resolution results instantly. YummyPic is cost-effective compared with a studio shoot and offers flexibility to create multiple styles for menus, social and delivery apps without props or lighting rigs.
- Speed: professional photos in seconds
- Cost-effective: lower cost than staged shoots
- Variety: multiple photography styles from the same image
- Convenience: no studio setup required
- Quality: optimized for DoorDash, Grubhub and Uber Eats
If you need gear to supplement your workflow, pair YummyPic with basic investments covered in our gear guides like Best Camera for Food Photography and tripod recommendations. This hybrid approach gives you rapid, polished images while keeping creative control when you want a custom shoot.
Conclusion
Strong dessert photography combines technical control with creative styling. Prioritize soft directional light, choose angles that highlight height or texture, stabilize fragile desserts, and use macro techniques to sell mouthfeel. Edit to enhance, not overcook, and use efficient tools like YummyPic to scale image production across social and delivery platforms. With these dessert photography tips, your sweets will look irresistible and drive discovery, engagement and orders.