Introduction: Choosing the right view can turn a decent photo into an order-winning image. This article, The 5 Best Camera Angles for Food Photography, explains which angles flatter different dishes, how to compose each shot, and practical gear and editing tips you can use immediately. Whether you manage a restaurant menu, run a café Instagram account, or prepare delivery images for DoorDash or Grubhub, knowing these five camera angles saves time, reduces waste and increases appeal. We integrate expert rules and modern tools so Sie can apply them in real shoots.
Why angle matters more than you think
Food photos often look flat because the photographer picked the wrong perspective. The 5 Best Camera Angles for Food Photography are effective because each reveals different attributes: texture, height, filling or overall layout. According to research, high-quality food images influence customer behavior: 75% of ordering decisions are affected by visuals and good images can increase sales about 6.5% per item, a finding reported by MenuPhotoAI. Using the right angle amplifies those gains.
Social proof matters too. Food is a top interest on social platforms—around 43% of Instagram users rank food and drink among their top interests and there are hundreds of millions of #food posts, according to Soocial. When Sie pick the correct angle for each dish, posts perform better and menu photos convert more orders.
What are the best angles to shoot food photography from?
Short answer: overhead (90°), 3/4 or 45°, straight-on side (0°), low/worm’s-eye and close-up/macro. Experts summarize the essentials well: "The main food photography angles are overhead, 3/4, and straight-on" — Paresh Photography. Each angle highlights different food qualities and is the foundation of The 5 Best Camera Angles for Food Photography.
Integrating all five means Sie can choose the most flattering look quickly. Overhead shows layout and ingredients, 3/4 gives a diner’s perspective, straight-on emphasizes height, low-angle offers drama for tall subjects, and macro zooms into texture. As noted by Skylum, a 90° overhead shot suits pizza, salads and bowls; Lensviewing explains that macro and eye-level shots capture frosting and steam.
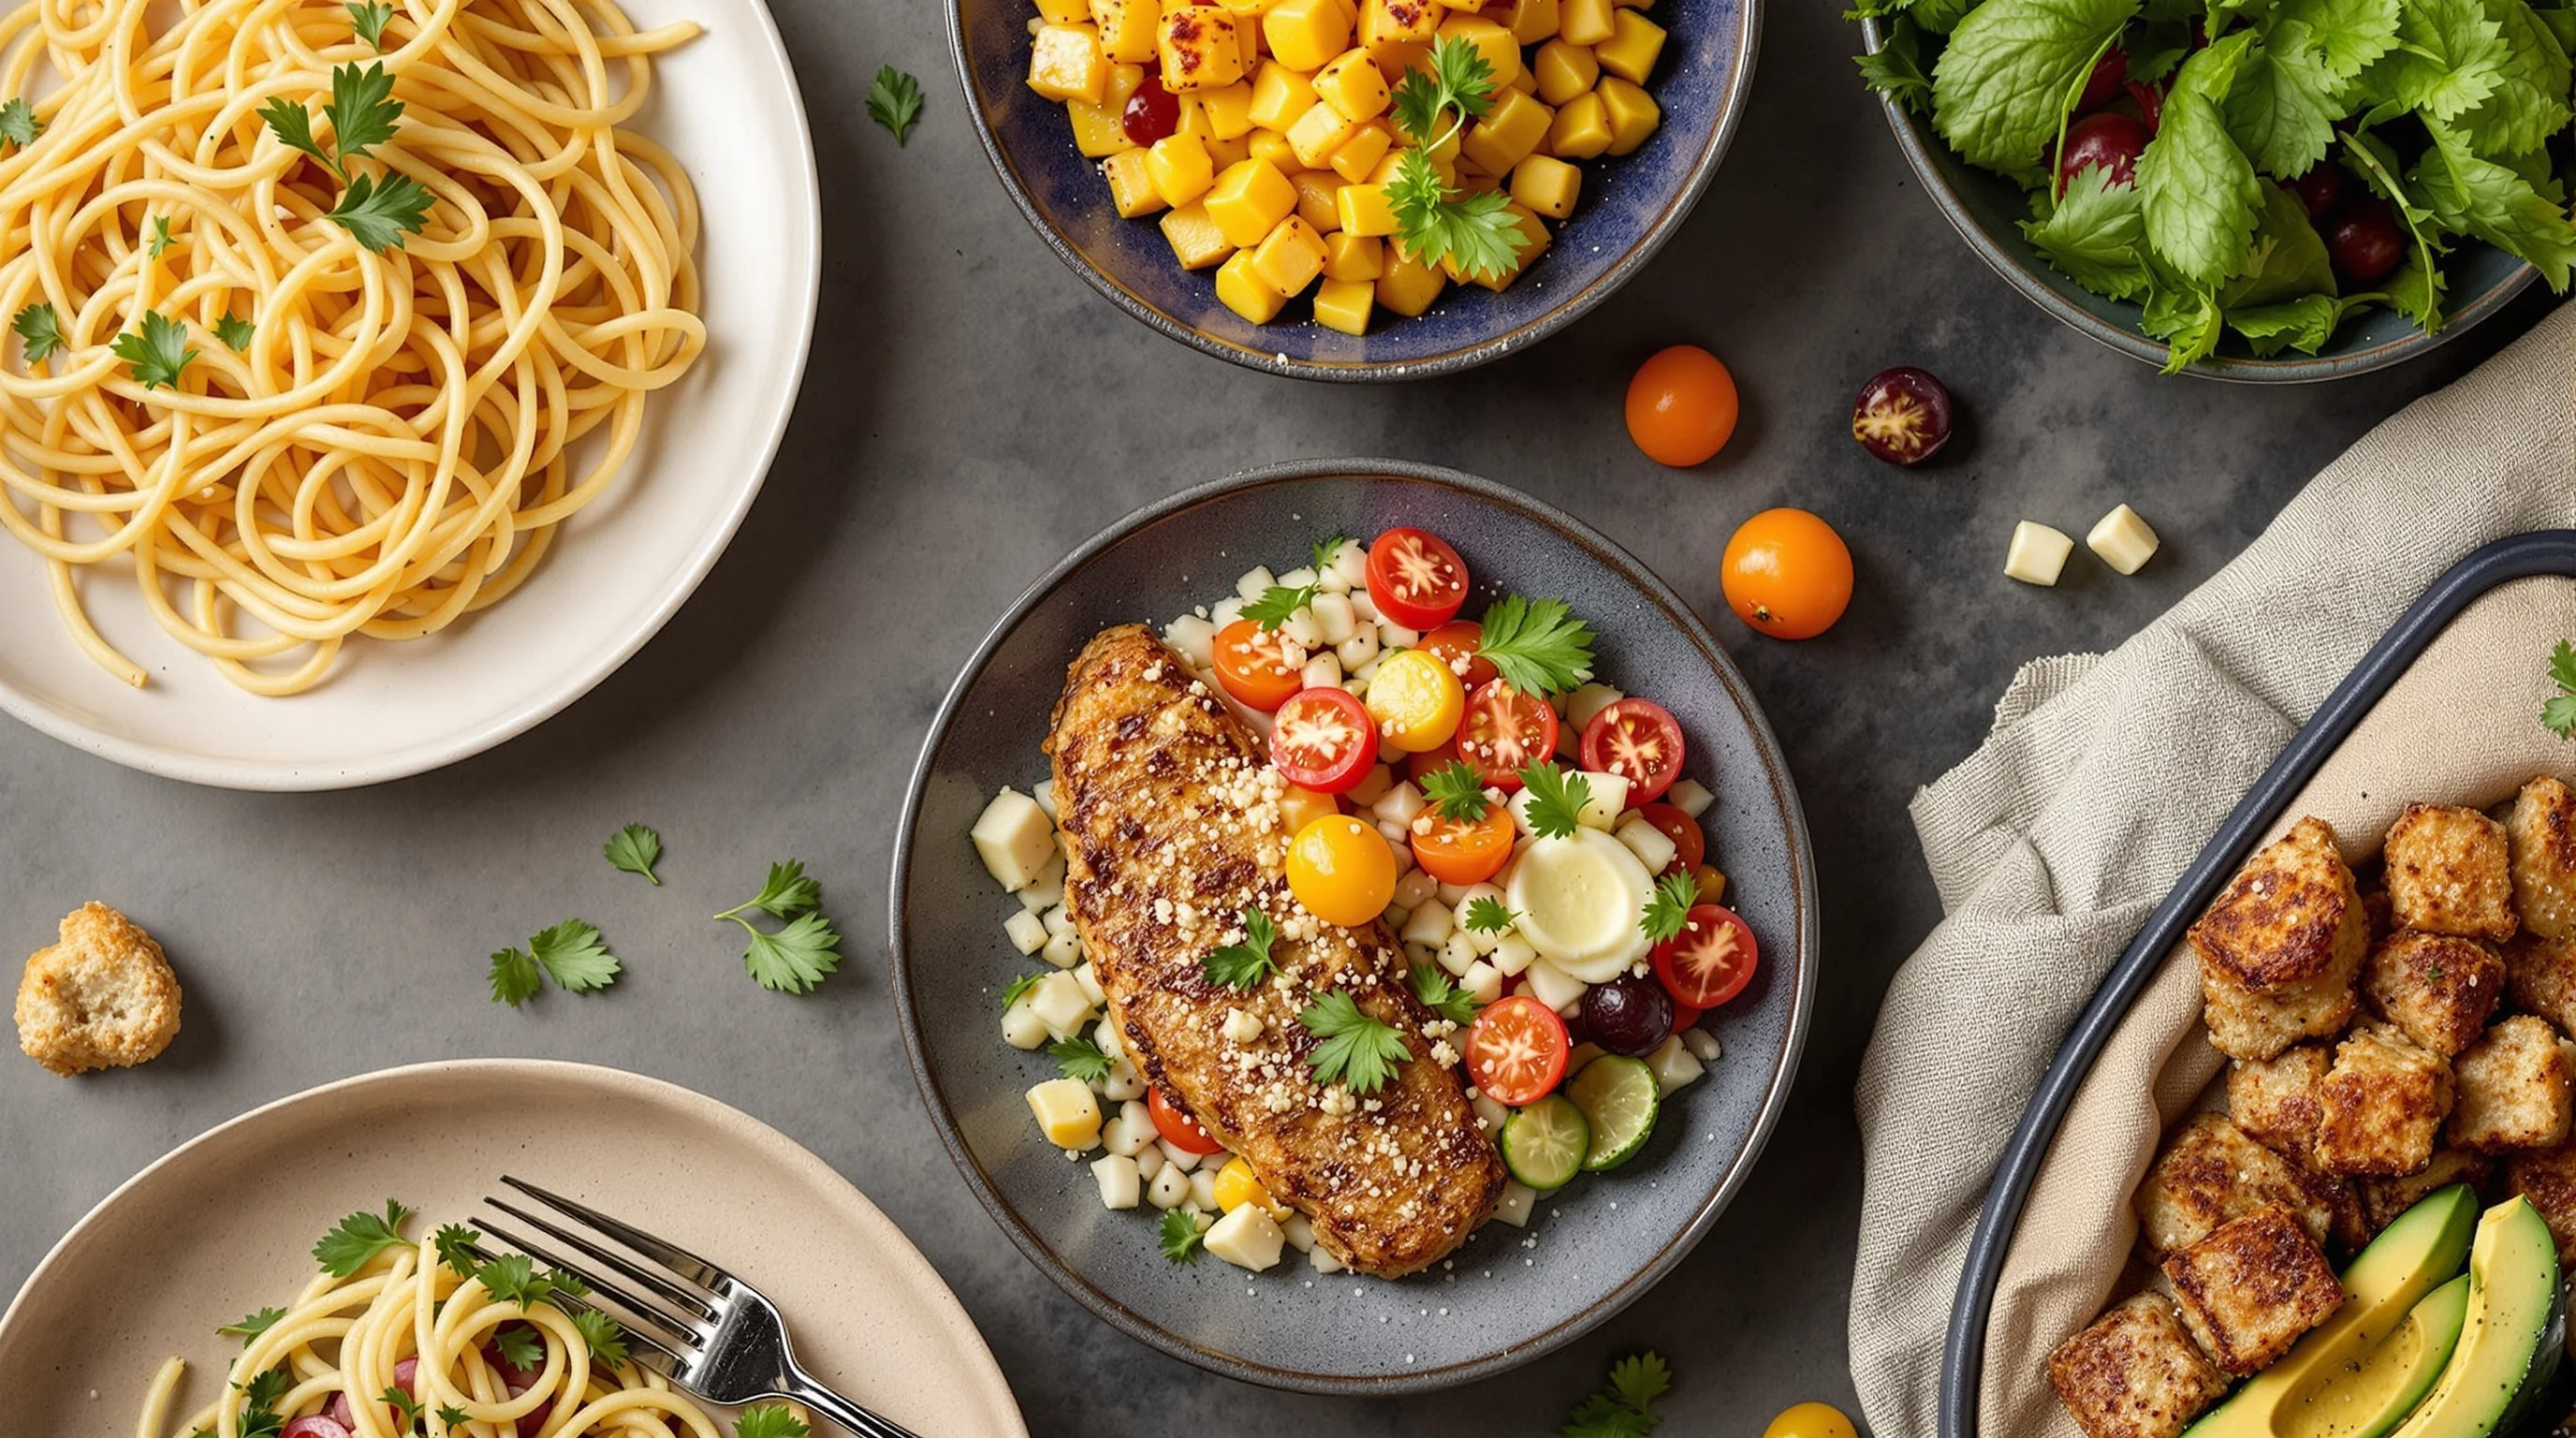
1) Overhead (flat-lay): when to use it and how to compose
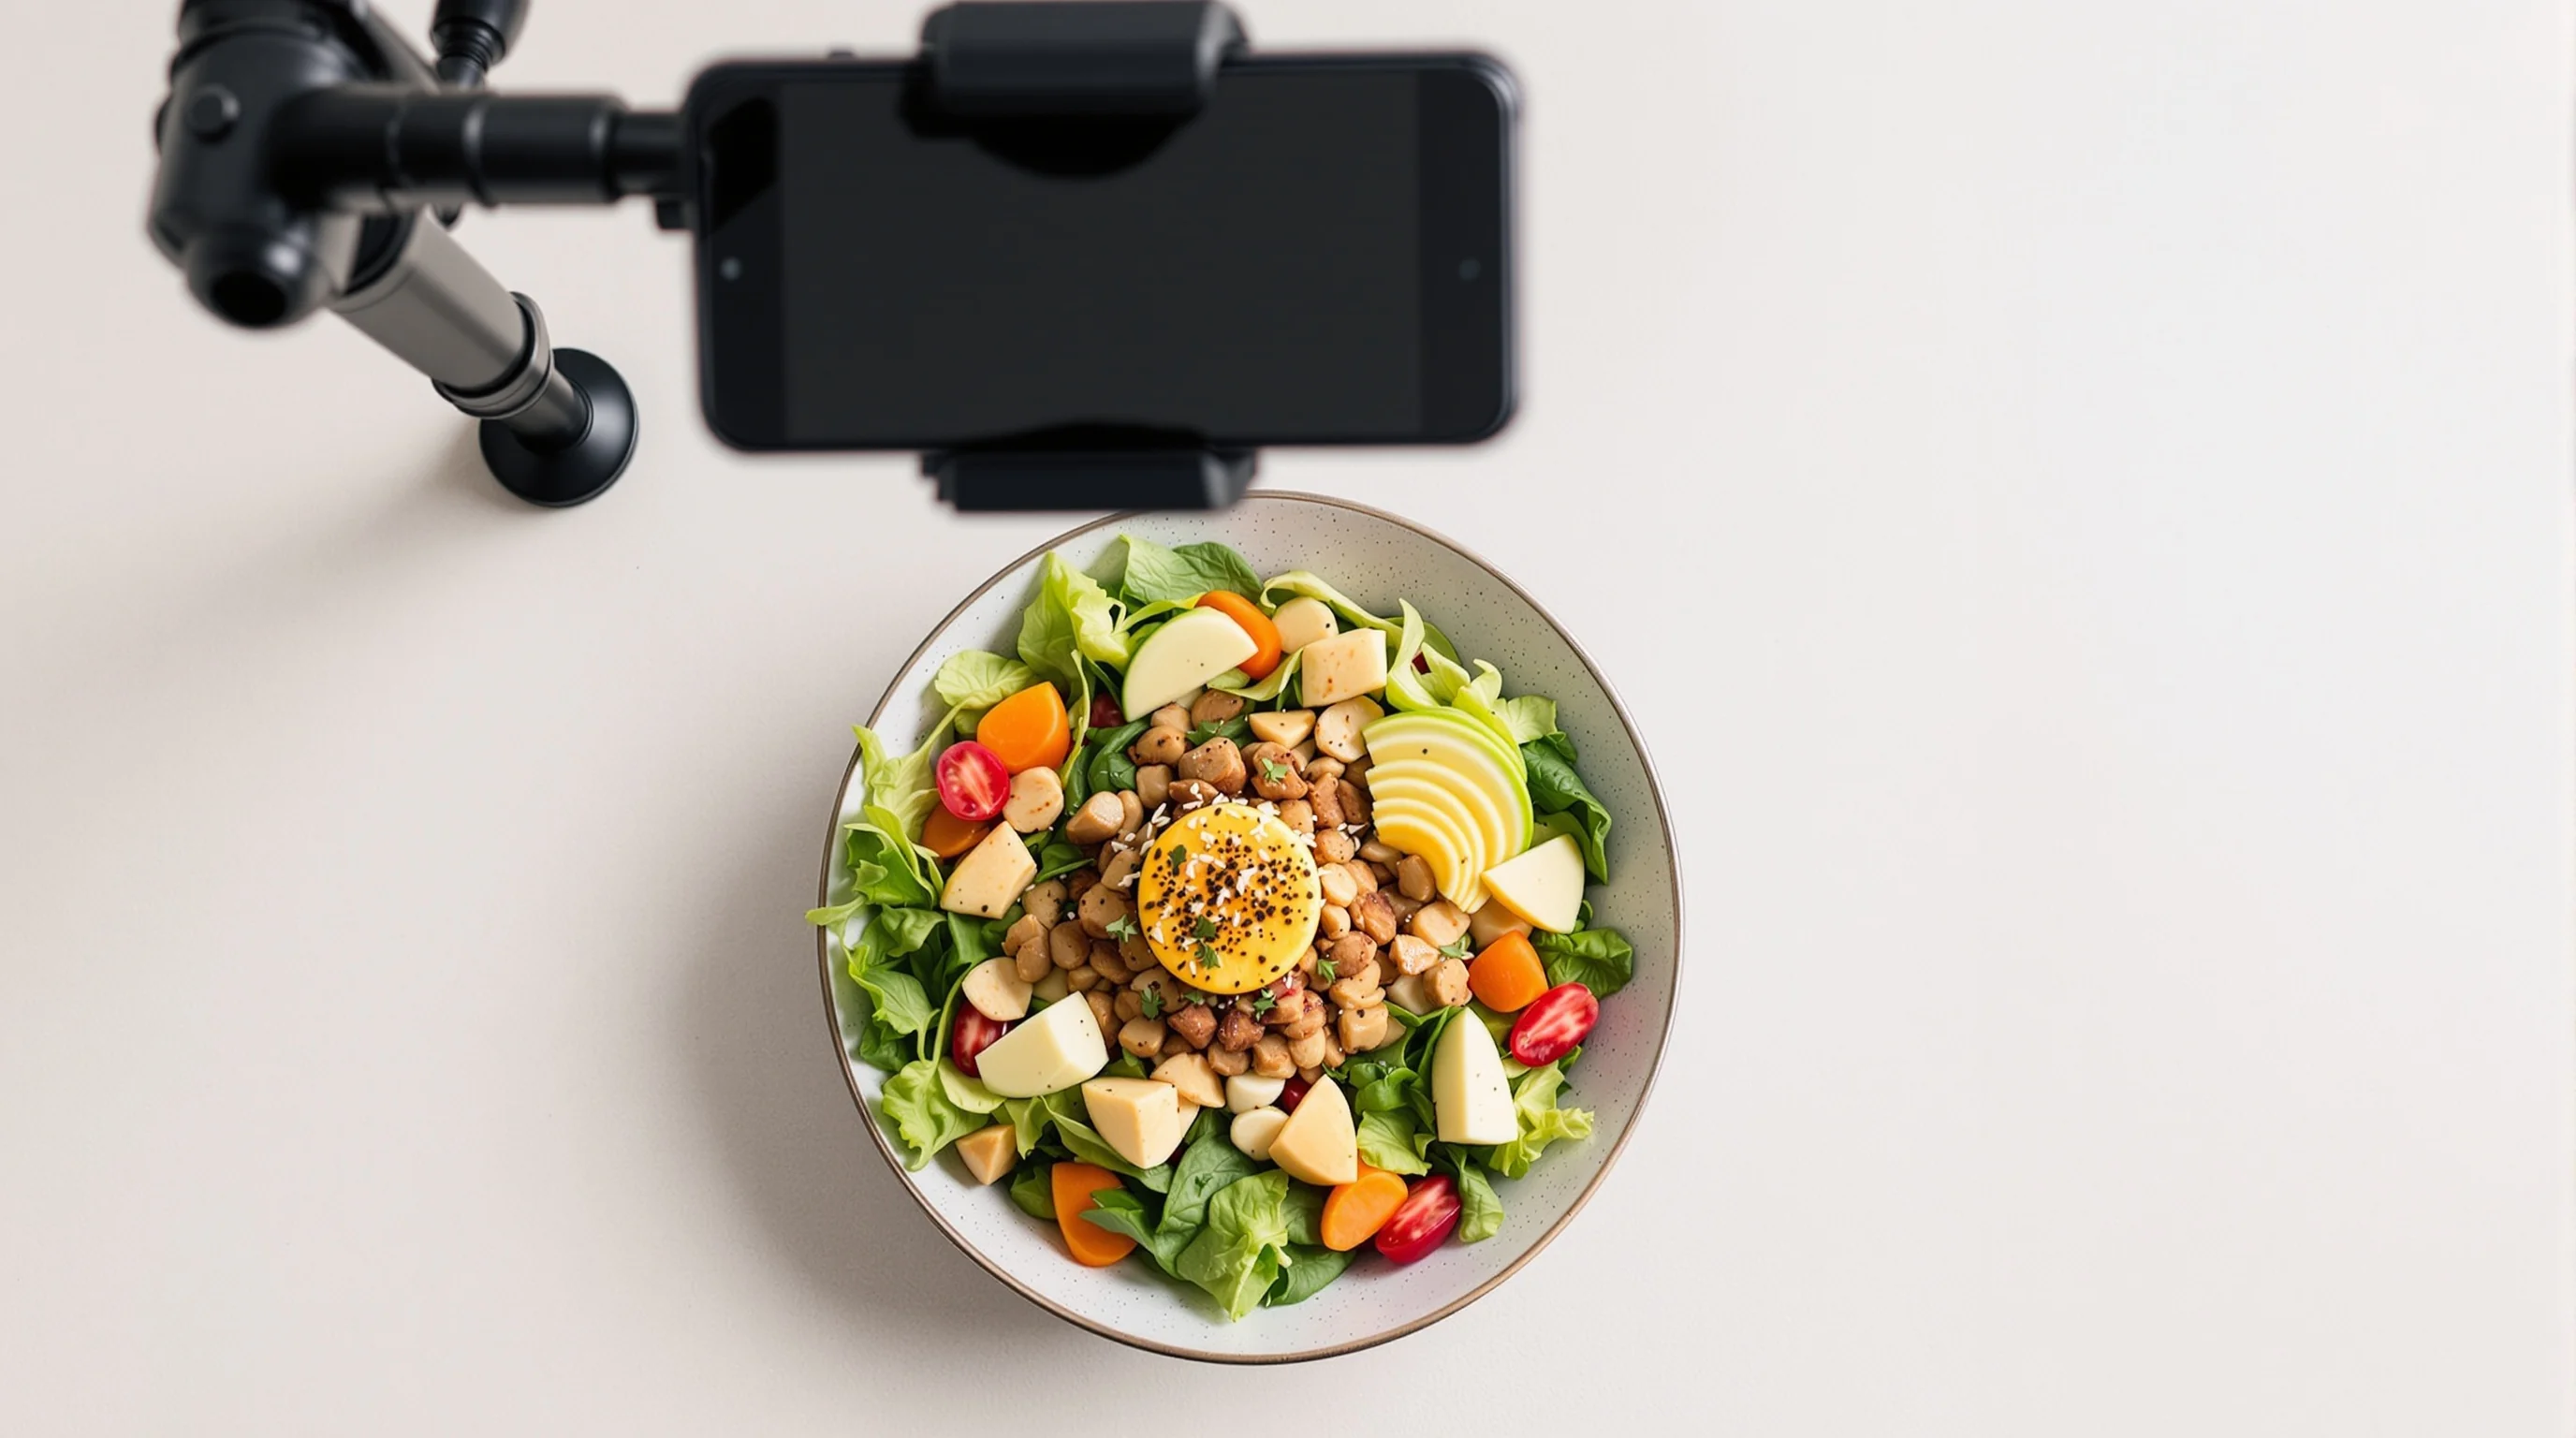
Overhead, or flat-lay, is the first of The 5 Best Camera Angles for Food Photography for a reason: it captures the entire plate and surrounding props, making composition and negative space powerful tools. Use overhead for flat dishes (pizza, salads, bowls, tapas), ingredient arrangements and table scenes. Skylum highlights that a 90° angle is ideal for textured and patterned layouts because everything sits on the same plane.
Composition tips: arrange elements in layers, use the rule of thirds and leave breathing room. A tripod with a horizontal arm helps; see our best tripods for food photography for stable overhead setups. If Sie shoot overhead with a smartphone, use a clamp or overhead rig to avoid lens creep—our guide on lens creep fixes is useful.
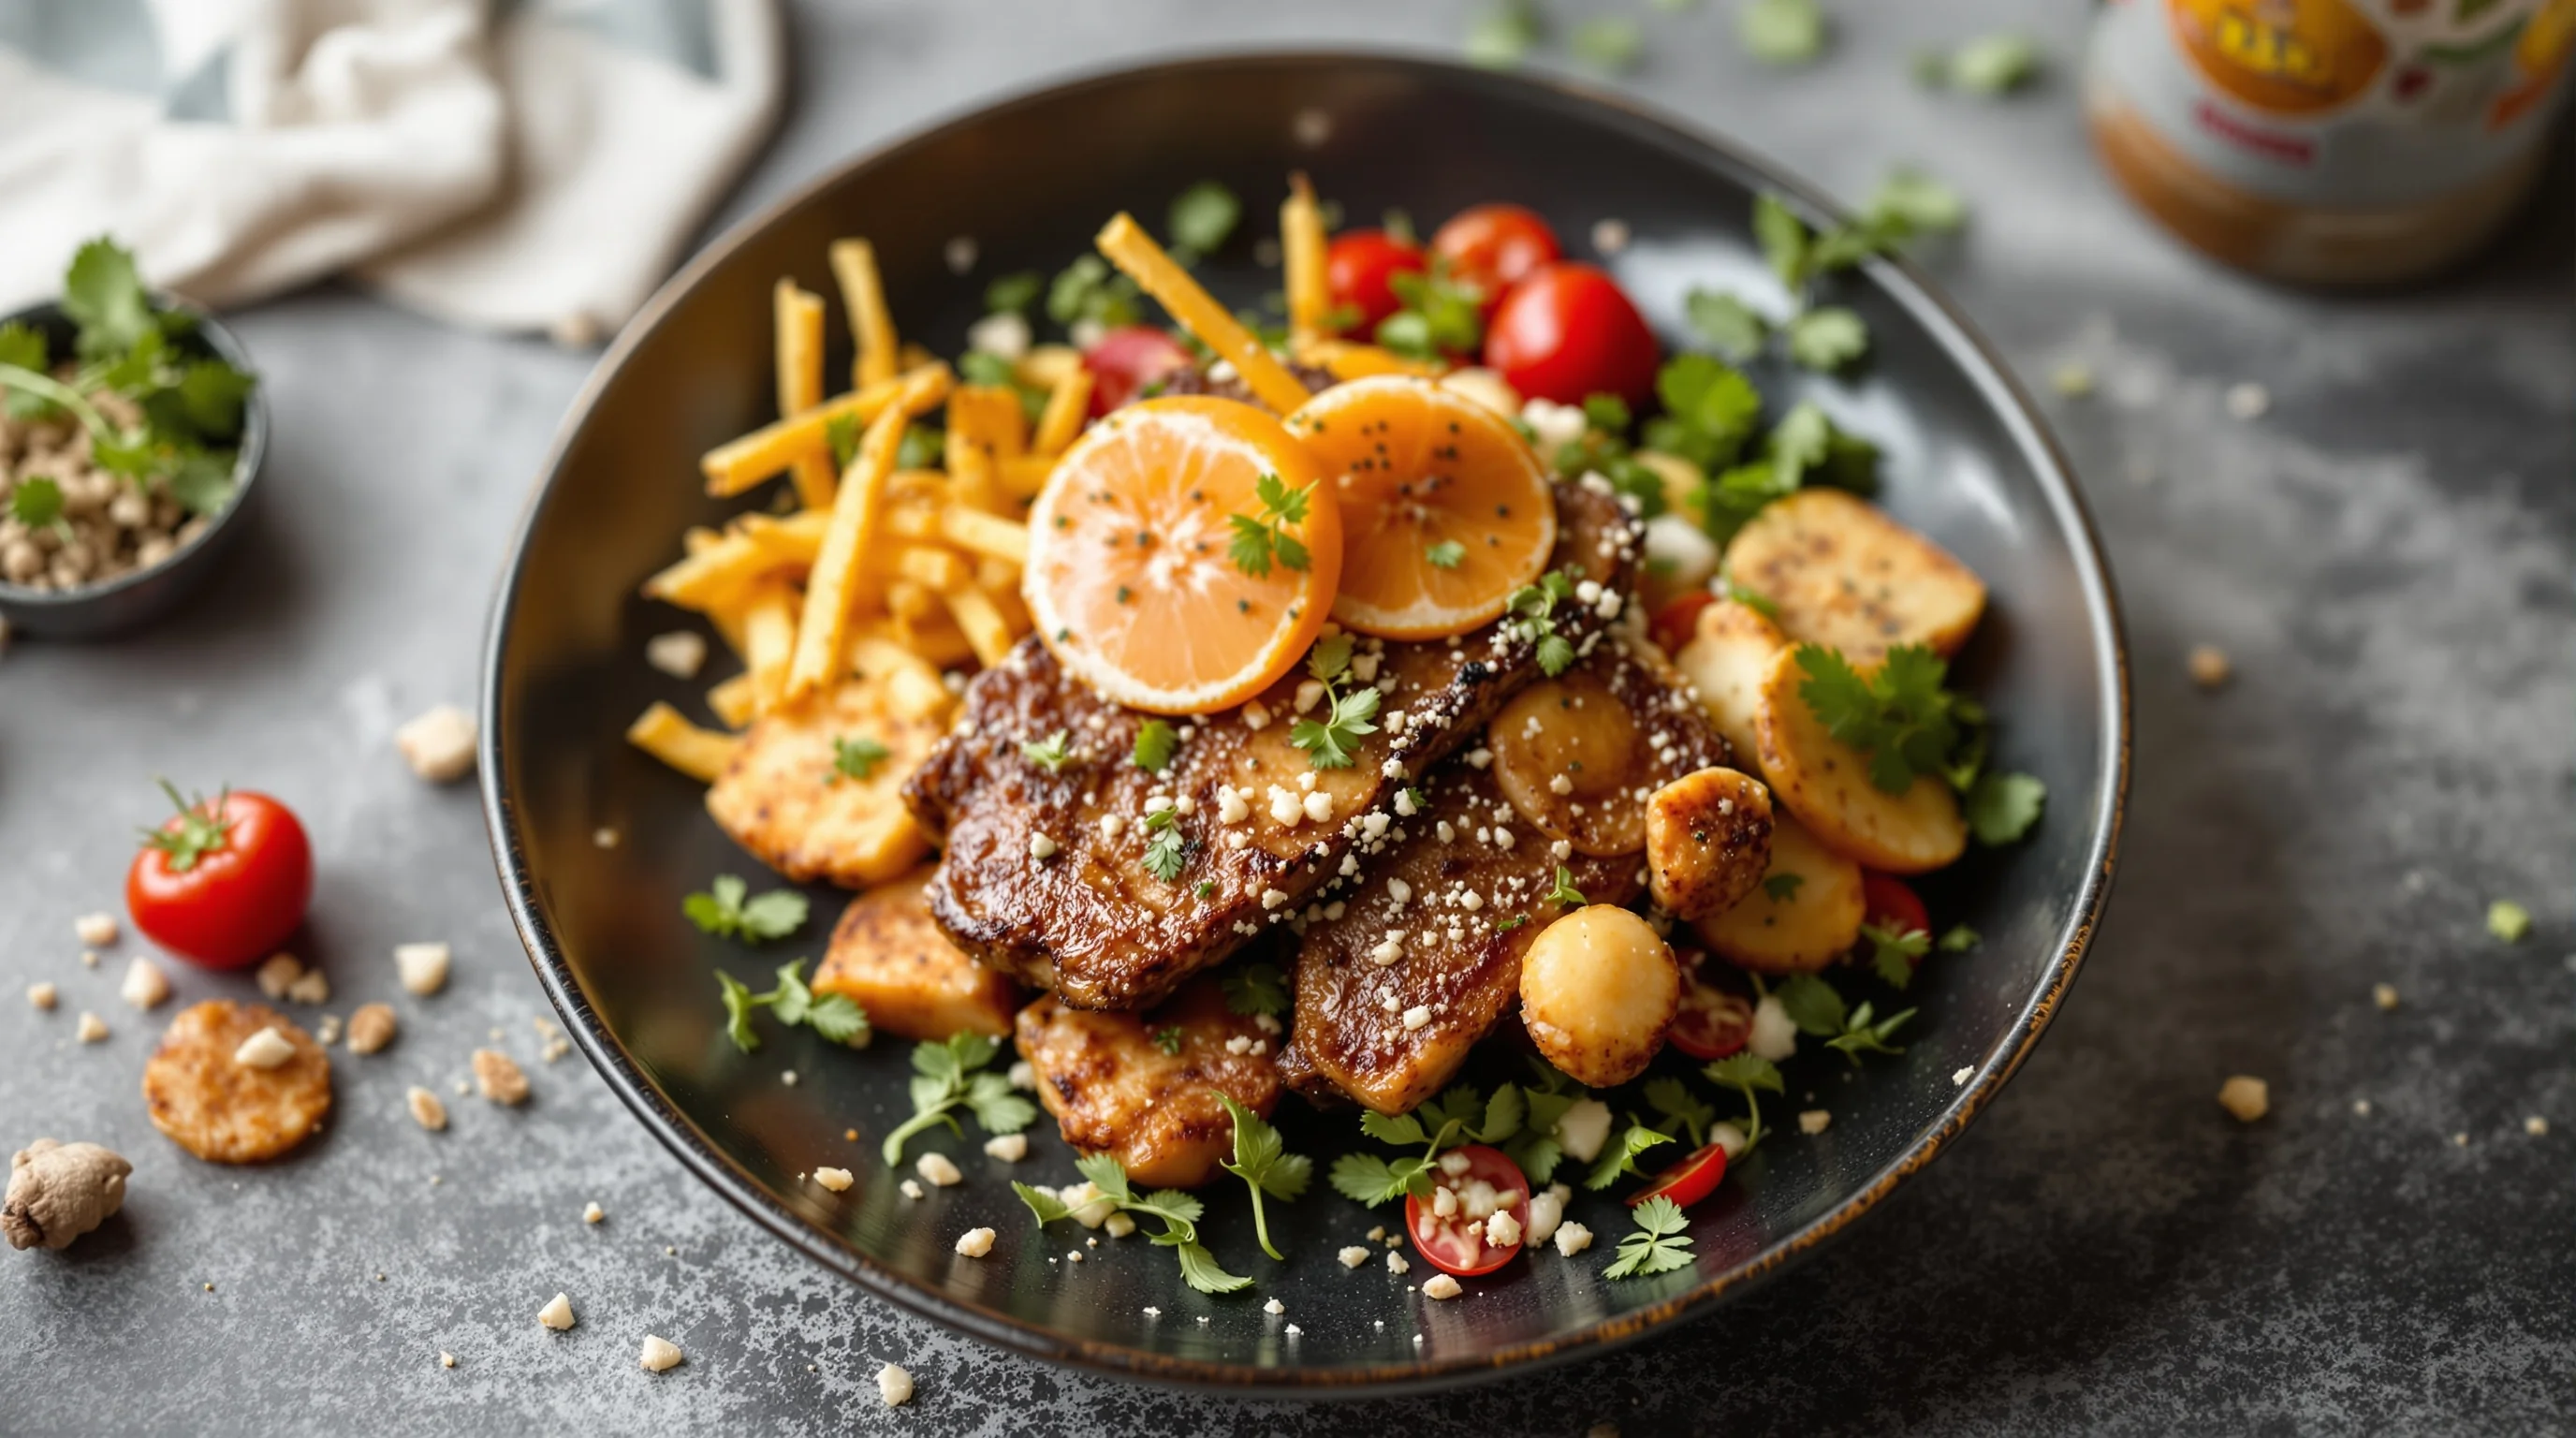
2) 45° (3/4) angle: the diner's perspective
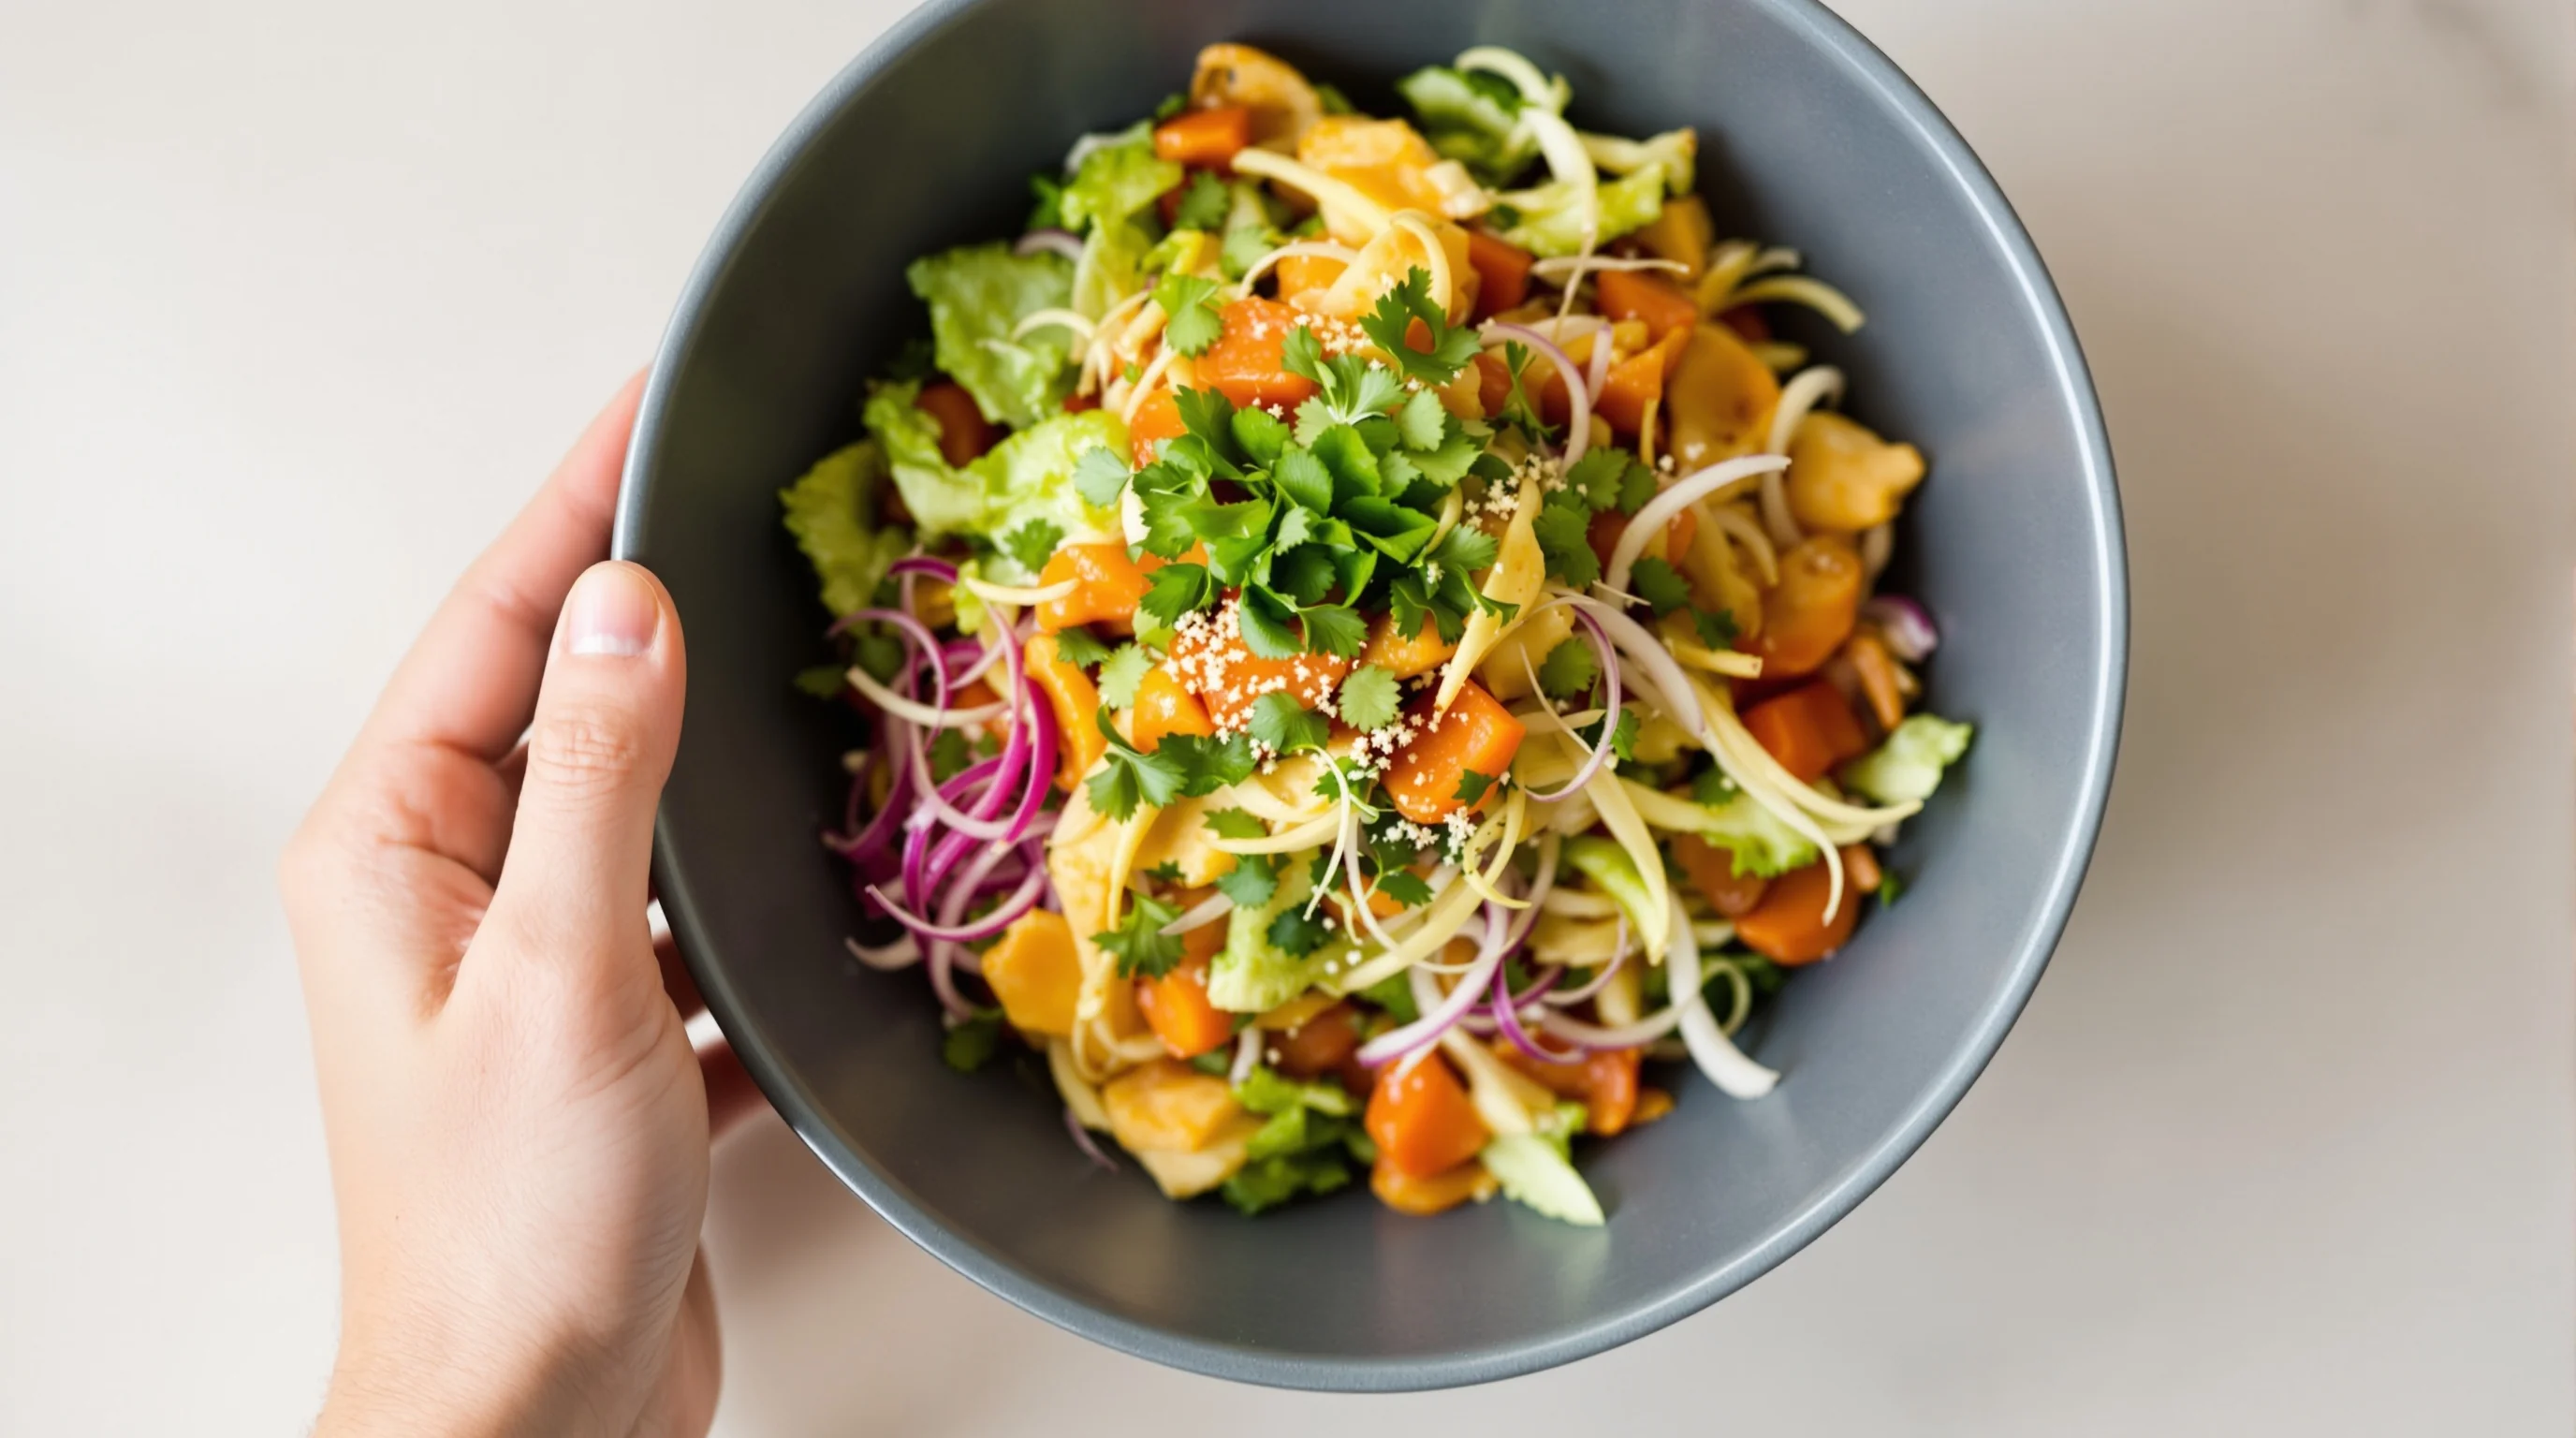
The 3/4 or 45° angle is central to The 5 Best Camera Angles for Food Photography because it balances top and side details. It reveals the surface texture and plate height without losing context. Paresh Photography notes this angle provides a diner’s view and is versatile for most plated dishes.
How to use it: set your camera roughly 45 degrees to the plate, step back to include background elements and choose an aperture that keeps the main subject sharp while softly blurring the background. For composition and styling pointers, see our How to Stage Food Like a Professional Stylist guide.
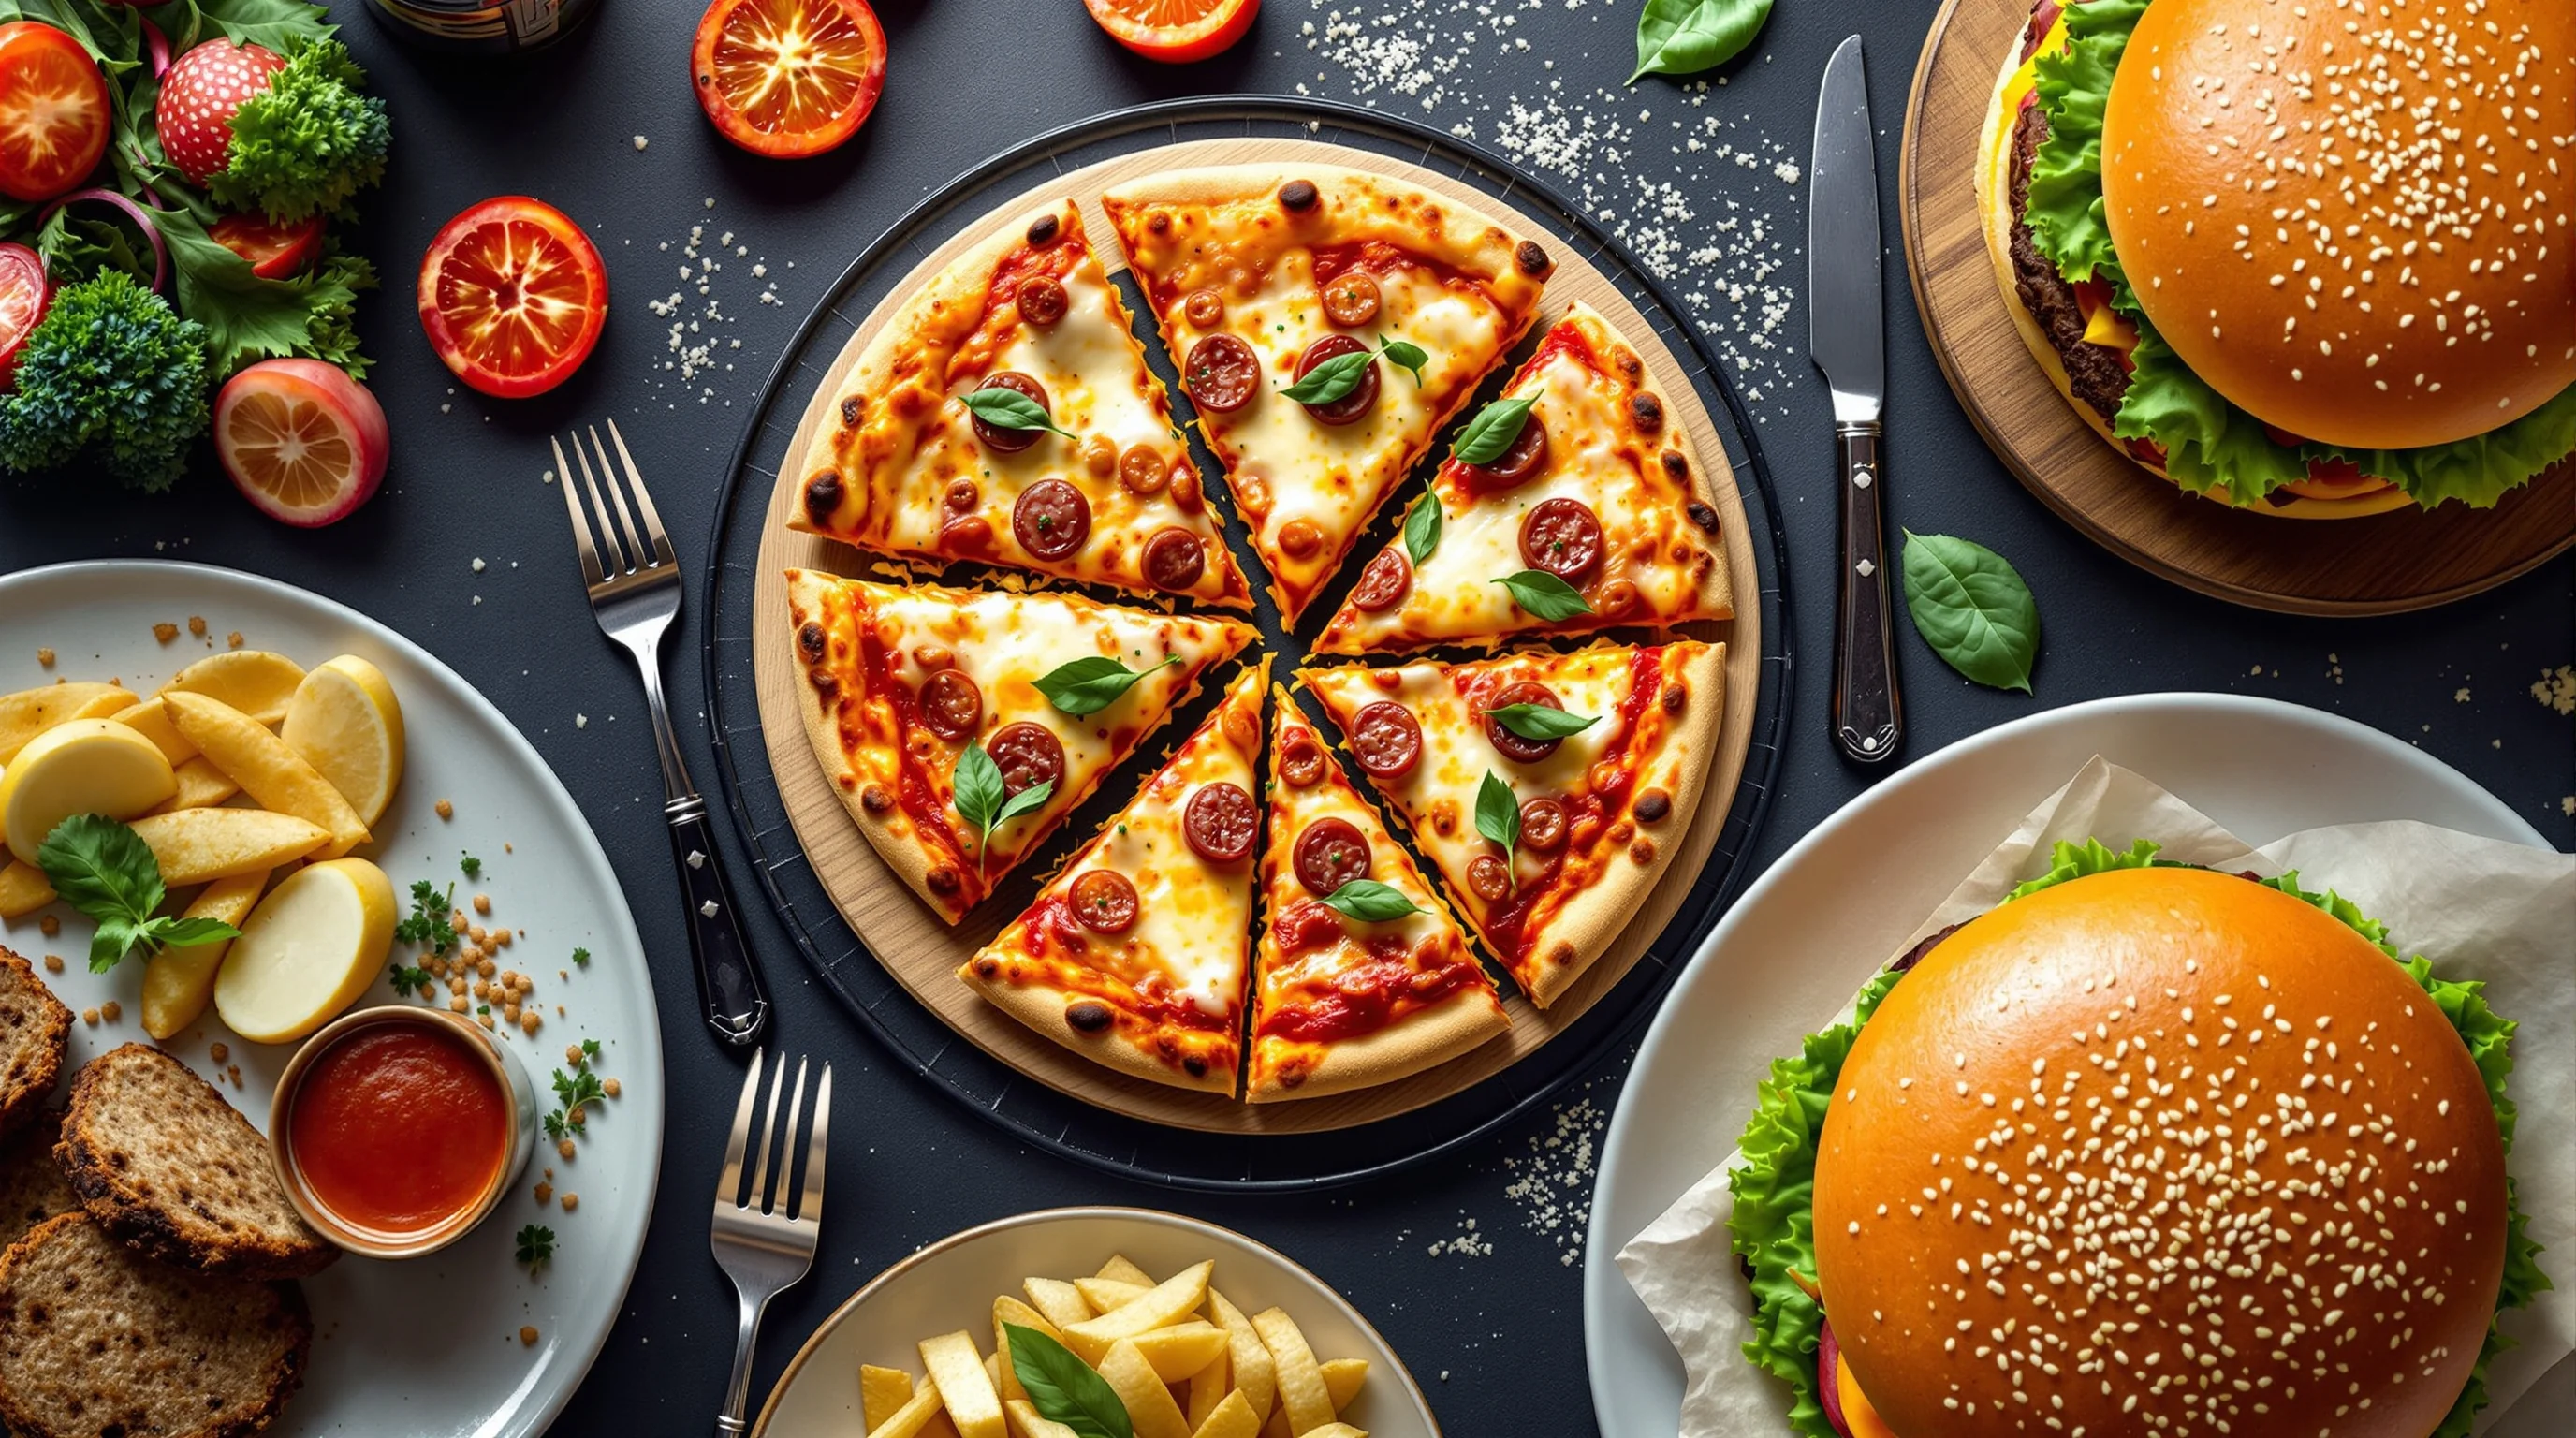
3) Straight-on (side) and low angles: show height and layers
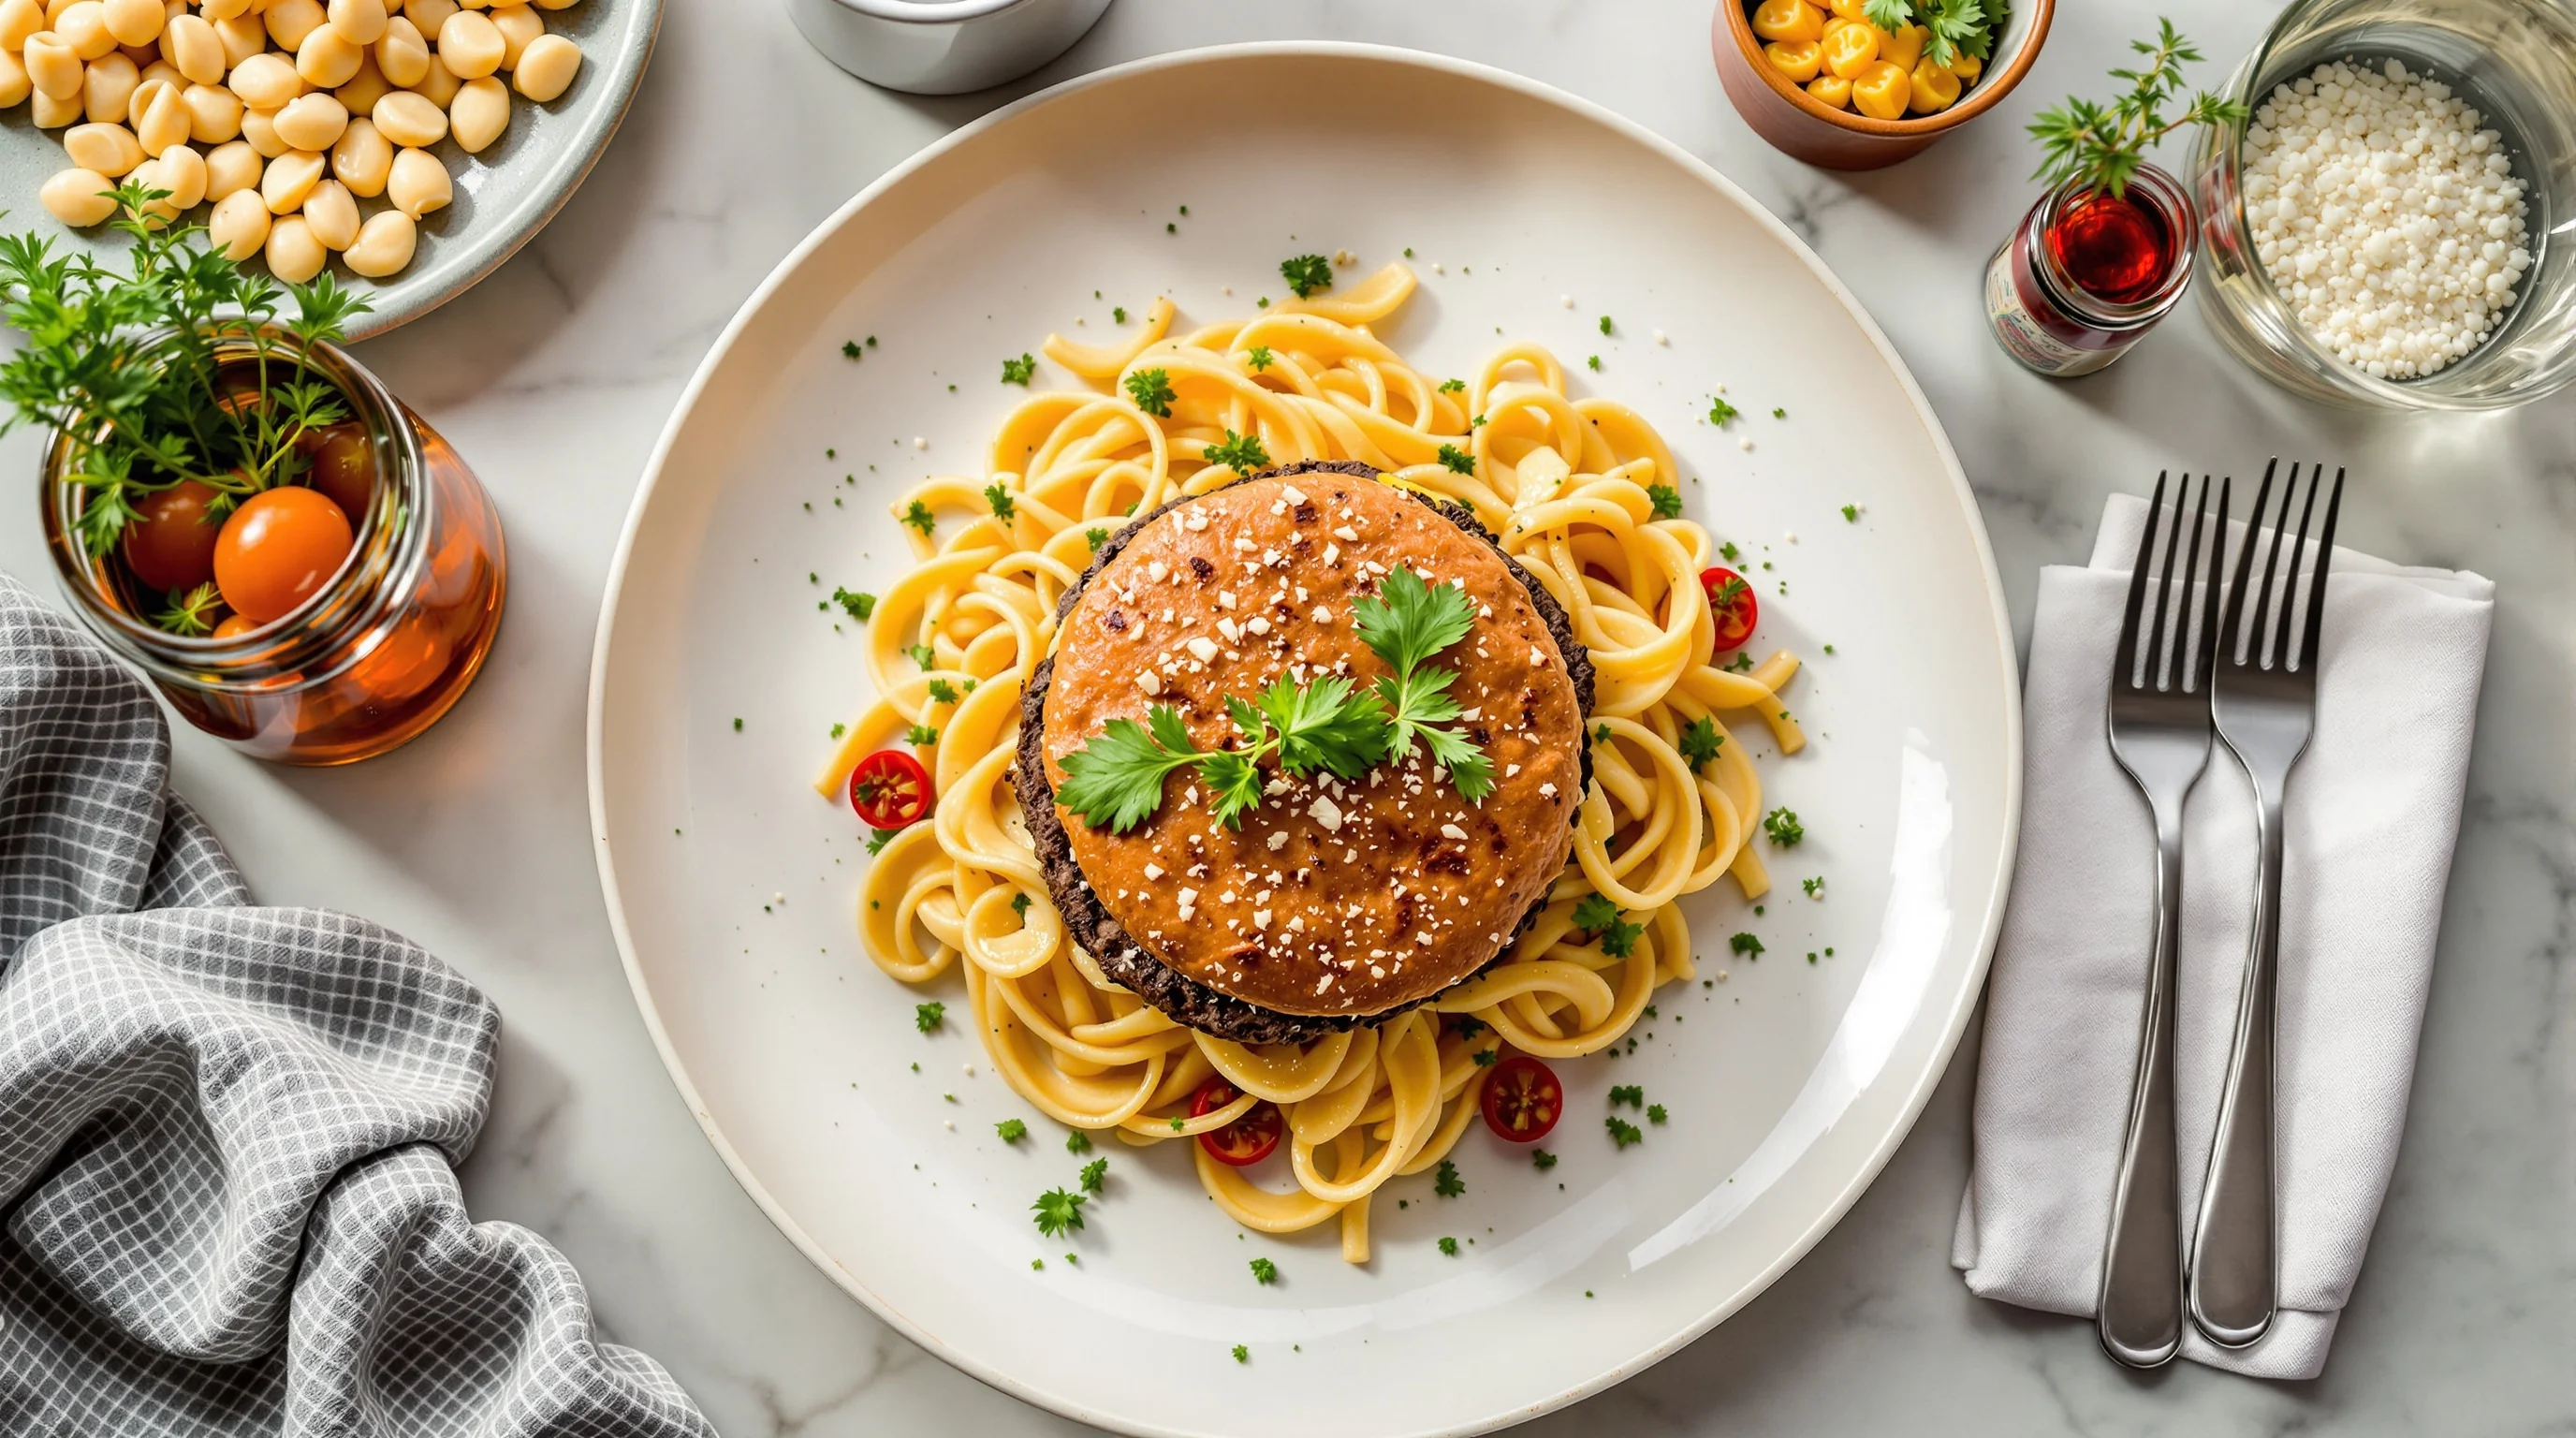
Straight-on (0°) emphasizes height, so use it for burgers, layered cakes, sandwiches and drinks. Skylum recommends straight-on shots to show stack and architecture. A low or worm’s-eye angle intensifies drama—perfect for towering burgers or frothy drinks—while eye-level shots immerse the viewer in the scene.
Gear note: a 50mm or 85mm prime lens with a medium aperture (f/2.8–f/5.6) works well to keep the subject sharp with pleasing background separation. For a complete lens selection, consult our guide What Lens for Food Photography.
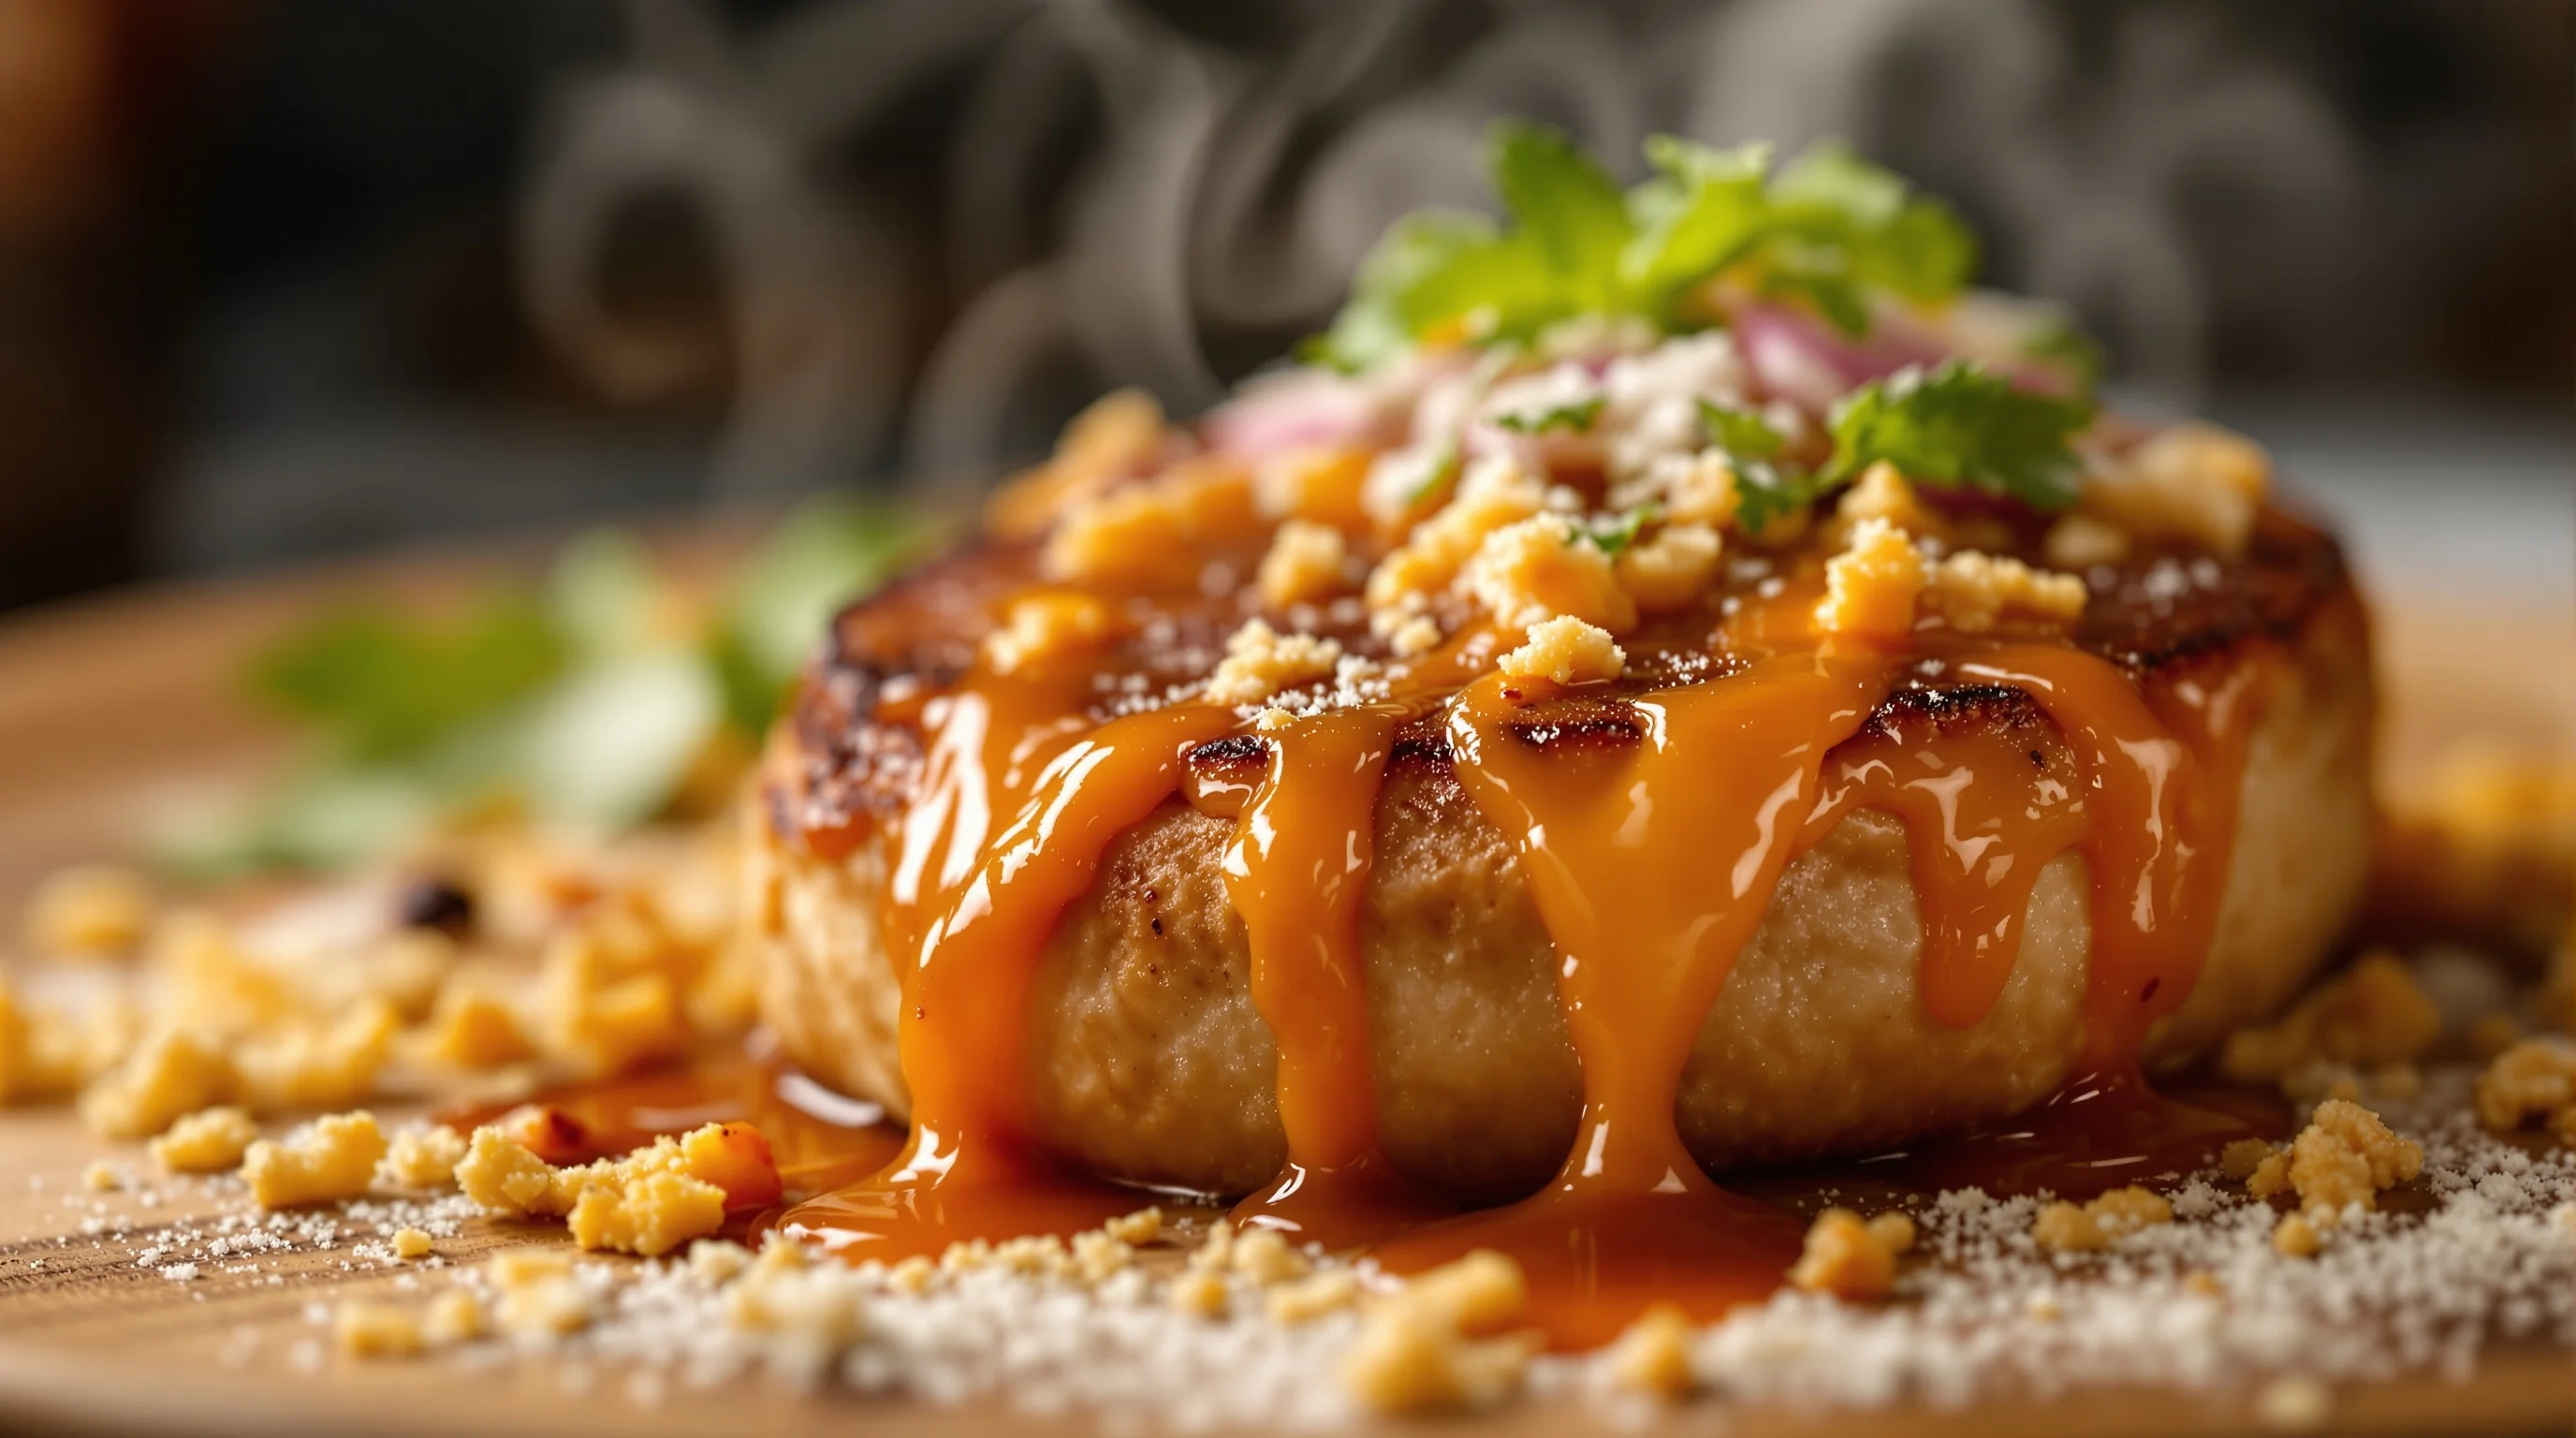
4) Macro and close-up shots: texture sells
Macro and close-up views are the fourth of The 5 Best Camera Angles for Food Photography, and they excel at showing texture—crumbs, glaze, steam, micro-bubbles in beverages. Lensviewing highlights that macro shots emphasize details like frosting and crisp edges and are highly effective for desserts and crispy items.
Practical steps: use a dedicated macro lens or extension tubes, stable support and focus stacking for shallow-depth-of-field shots. If Sie need a deep dive, our Art of Macro Food Photography guide covers gear and focus techniques.
5) Low-angle and diagonal views: add energy and movement
The fifth angle in The 5 Best Camera Angles for Food Photography is the creative low or diagonal shot. These perspectives add action—pouring sauces, falling garnish, steam rising—creating dynamic images that stand out on social feeds. They are less common in competitor guides, so using them gives a unique voice to menu and social photos.
When to use: apply low angles for drinks and tall desserts or diagonal compositions for bowls and skewers to lead the viewer’s eye. Combine with a narrow aperture for depth or wide aperture to isolate a detail.
How angle choice affects different dishes: step-by-step examples
Example 1 — Pizza: start with an overhead flat-lay to show toppings and slices, then shoot a 45° for a plated slice with melting cheese, and finish with a close-up of the crust. Example 2 — Burger: use straight-on to show the stack, 3/4 to include fries in context, and low-angle for a dramatic, heroic look. These step-by-step choices are why The 5 Best Camera Angles for Food Photography recommends mixing angles to tell a complete visual story.
- Pizza: overhead → 45° → close-up crust
- Burger: straight-on → 45° → low-angle
- Bowl/Salad: overhead → 45° (to show depth) → macro for dressing textures
These sequences help decide which image to use on menus versus social media: overhead for recipe or ingredient-focused posts, 3/4 for menu thumbnails, and close-ups for ads and hero images.
Lighting, composition and practical settings for each angle
Lighting is a constant across The 5 Best Camera Angles for Food Photography. Natural side light works for 3/4 and side shots; overhead often uses soft, even light. Use a reflector to fill shadows and a black card to deepen contrast. For camera settings: shoot RAW, keep ISO low (100–400), and choose aperture by angle—wide apertures (f/1.8–f/2.8) for macro isolates, medium apertures (f/4–f/8) for 3/4 and straight-on, and narrower (f/5.6–f/11) for overhead to keep the frame sharp.
If Sie prefer a focused guide to mood lighting, see our Dark & Moody Food Photos article for step-by-step natural-light setups and reflector use.
Lens and equipment recommendations per angle
Choosing gear reduces trial-and-error. For overhead and flat-lay choose a wide-ish prime or standard zoom (24–50mm on APS-C equivalence). For 3/4 and straight-on use 35–85mm primes; 50mm is a reliable all-rounder. For macro shots use a 90–105mm macro lens. Our Best Camera for Food Photography page gives complete gear options including tripods and clamps ideal for each angle.
Stability matters—especially for macro and overhead shots—so invest in a good tripod. If Sie frequently shoot menu items for delivery platforms, check our specialized guides for DoorDash, Grubhub and Uber Eats to learn platform image specs: DoorDash, Grubhub, Uber Eats.
Editing and finishing: quick fixes that honor the angle
Post-processing should enhance the chosen angle. Brighten midtones for overhead layouts, increase local contrast for 3/4 and side shots, and sharpen textures for macro. YummyPic’s food-specific filters and auto-enhancement tools are designed to preserve the intent of each angle—making toppings pop in overheads or enhancing steam in macro shots—without over-processing.
For color accuracy and consistency across menus, use batch editing presets and export at platform-appropriate sizes. YummyPic can transform a simple smartphone capture into multiple styles instantly, which is ideal when Sie need menu images optimized for DoorDash, Grubhub or Instagram.
Using YummyPic to speed angle decisions and production
YummyPic accelerates the workflow described in The 5 Best Camera Angles for Food Photography. Upload one base photo and the AI offers composition overlays, angle-specific enhancements and multiple styles. That means Sie can test overhead vs 3/4 views quickly and download high-resolution, platform-ready images in seconds—saving time and money compared with a full photoshoot.
- AI-driven composition guides and overlays to pick the best angle
- Food-optimized filters and auto-enhancement for each perspective
- Step-by-step in-app tutorials for beginners and staff
Common mistakes and how to avoid them
Avoid these pitfalls when applying The 5 Best Camera Angles for Food Photography: 1) Using only one angle for all dishes; 2) Shooting without stabilisation for macro or overhead; 3) Over-editing and losing natural texture. Remember the expert advice: "Experimenting with different angles can greatly enhance your food photos" — Paresh Photography. Test sequences and refine based on platform performance.
If Sie plan shoots, our 10 Steps to Prepare for a Food Photoshoot checklist helps avoid on-set mistakes and ensures consistent results.
Conclusion
The 5 Best Camera Angles for Food Photography are overhead, 3/4 (45°), straight-on (side), macro/close-up and low/diagonal perspectives. Each angle serves a distinct purpose—showing layout, height, texture, or drama—and when combined they tell the full story of a dish. Use the lens and lighting guidance above, experiment with sequences for each menu item, and leverage tools like YummyPic to produce consistent, high-converting images for menus and social platforms.