Introduction: Overhead (flat-lay) images are among the most effective ways to showcase a dish — and the easy way to capture perfect overhead food shots is simpler than many restaurateurs assume. In diesem Leitfaden erfahren Sie, wie Sie stabile top-down photos with minimal gear, consistent lighting and quick composition rules that improve menu and social images. Overhead or flat‑lay photography places the camera about 90° above the dish; this perspective highlights shape, color and arrangement, and it can make even simple ingredients look beautiful, according to Bootstrapped Ventures. Whether you use a DSLR, mirrorless camera or a smartphone, small changes in mounting, light and styling yield crisp, appetizing results. This article answers common questions (How do I take stable overhead food photos at home? What equipment or tripod is needed? What are the best composition and lighting tips?), fills gaps on smartphone-specific rigs and DIY mounts, and shows fast editing options so you can publish menu-ready images quickly.
What exactly is a flat-lay and why it works
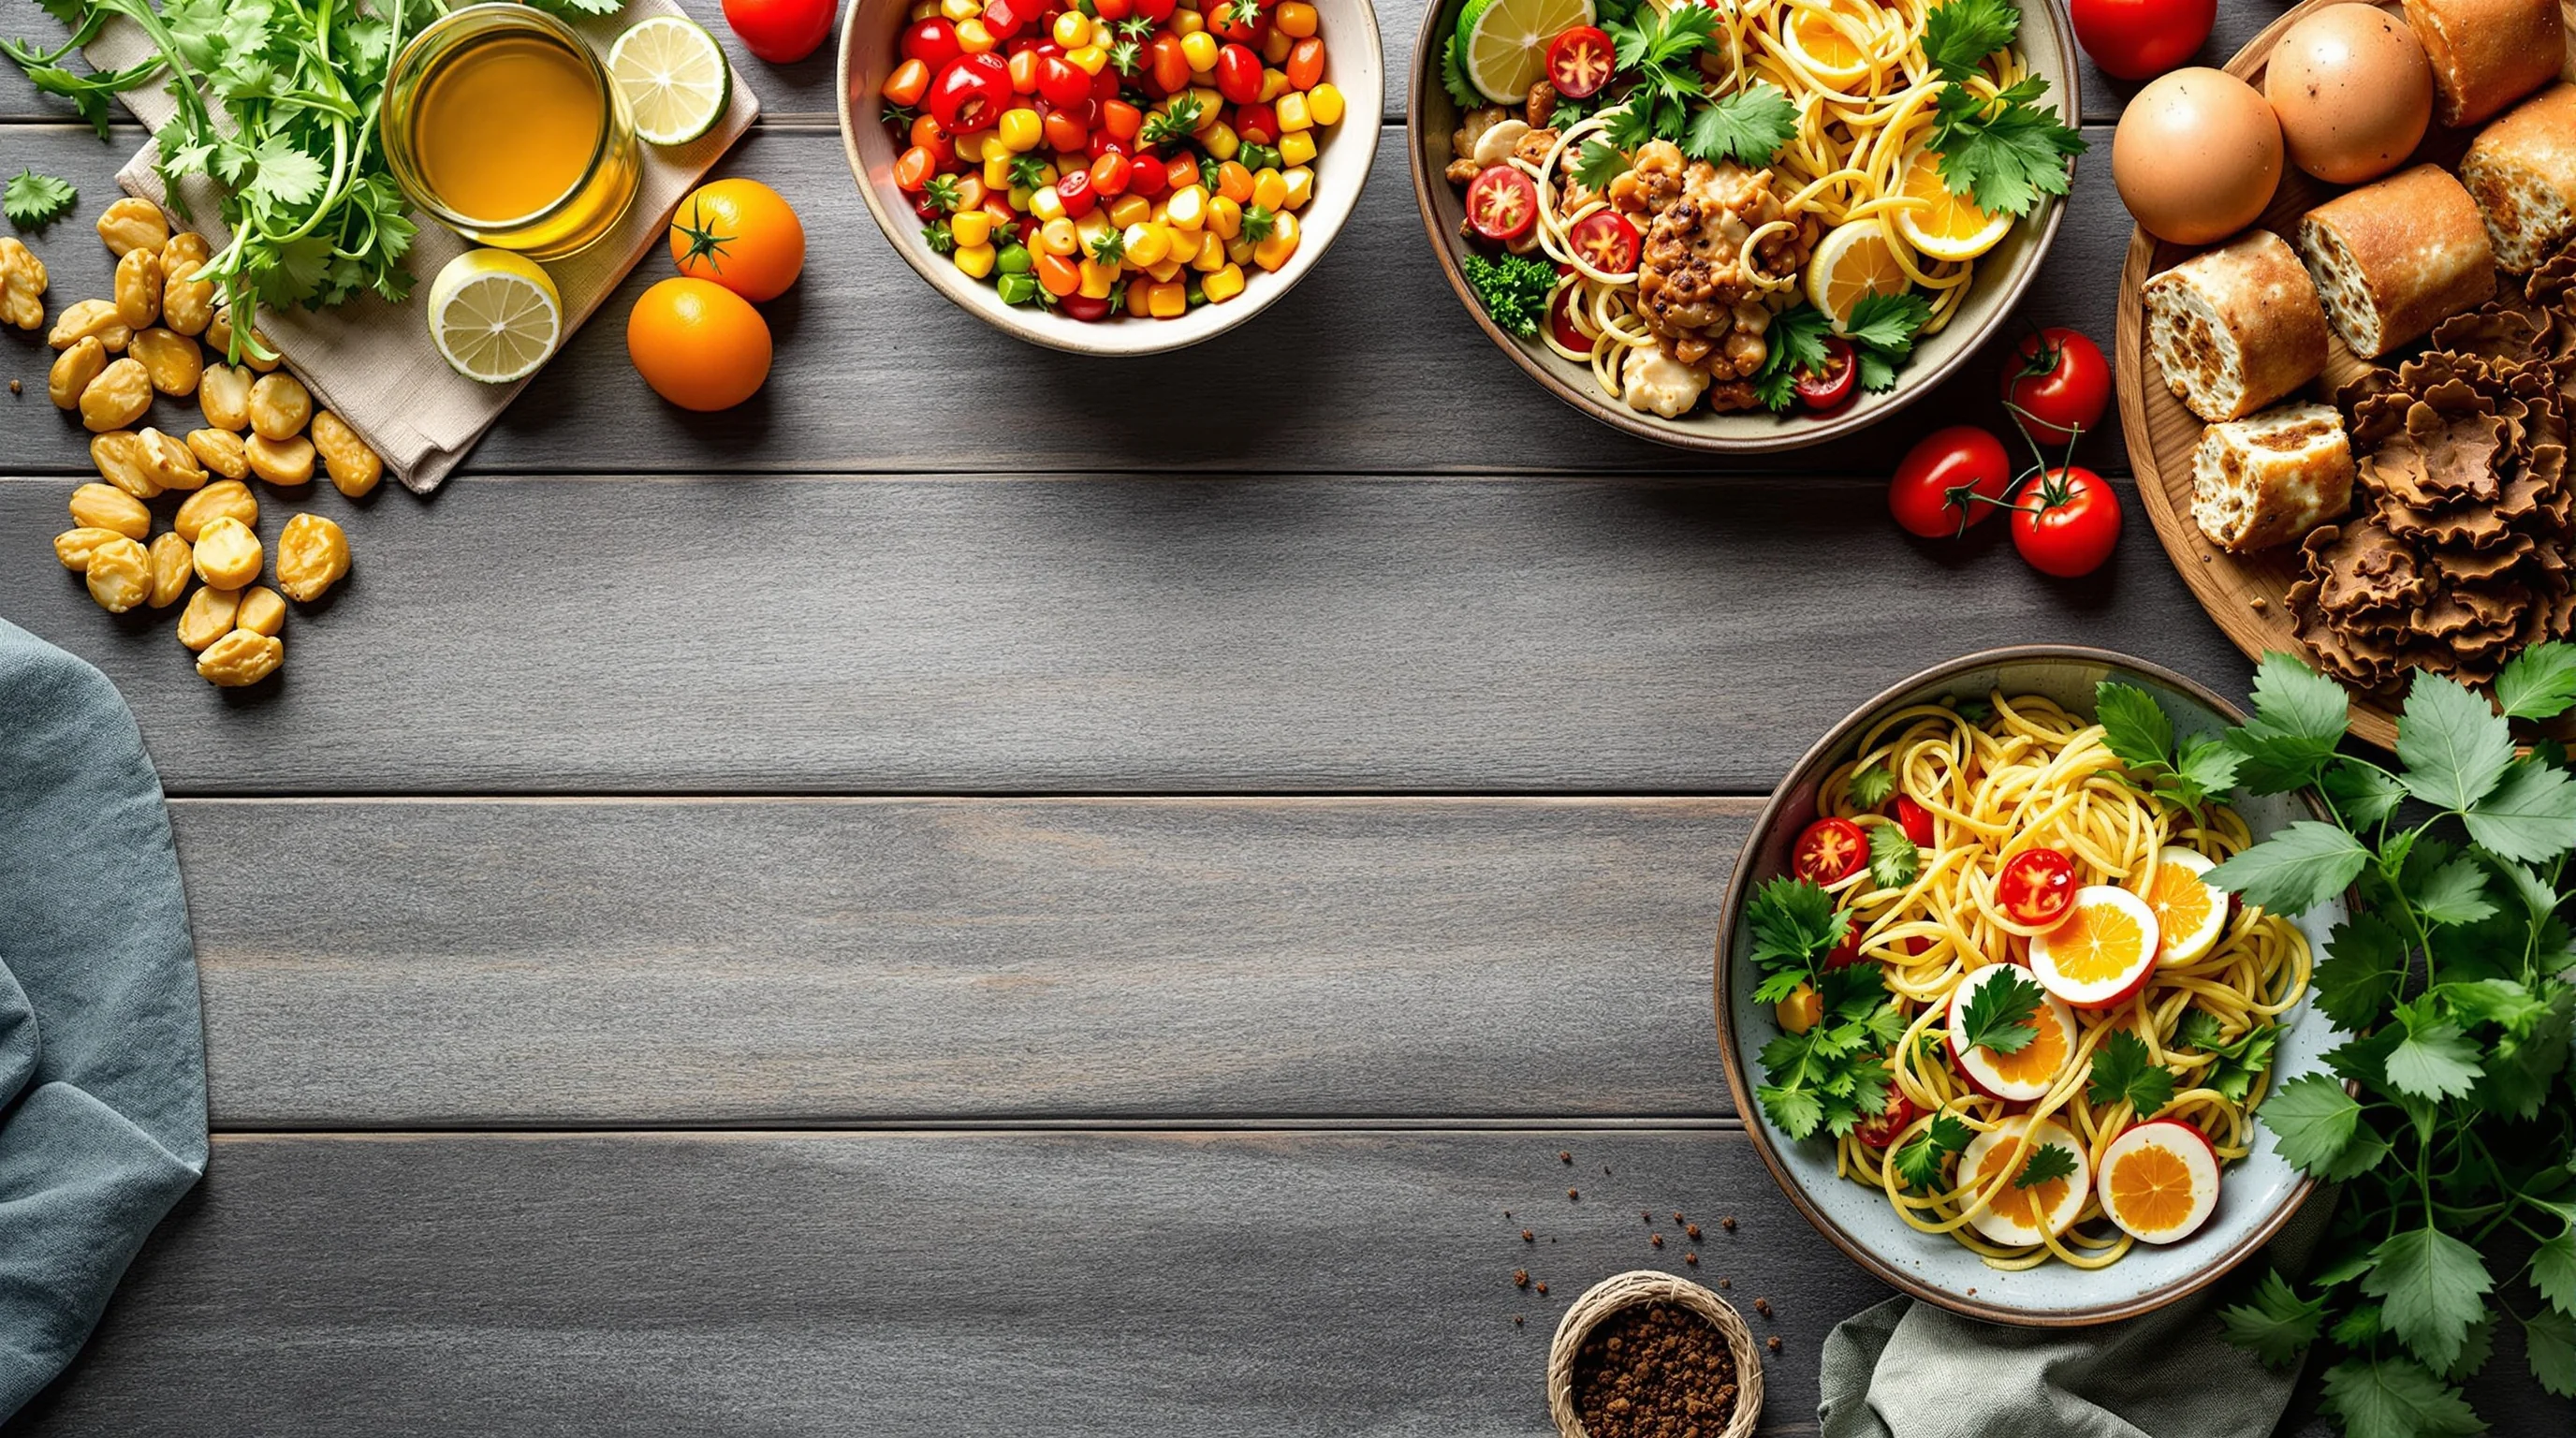
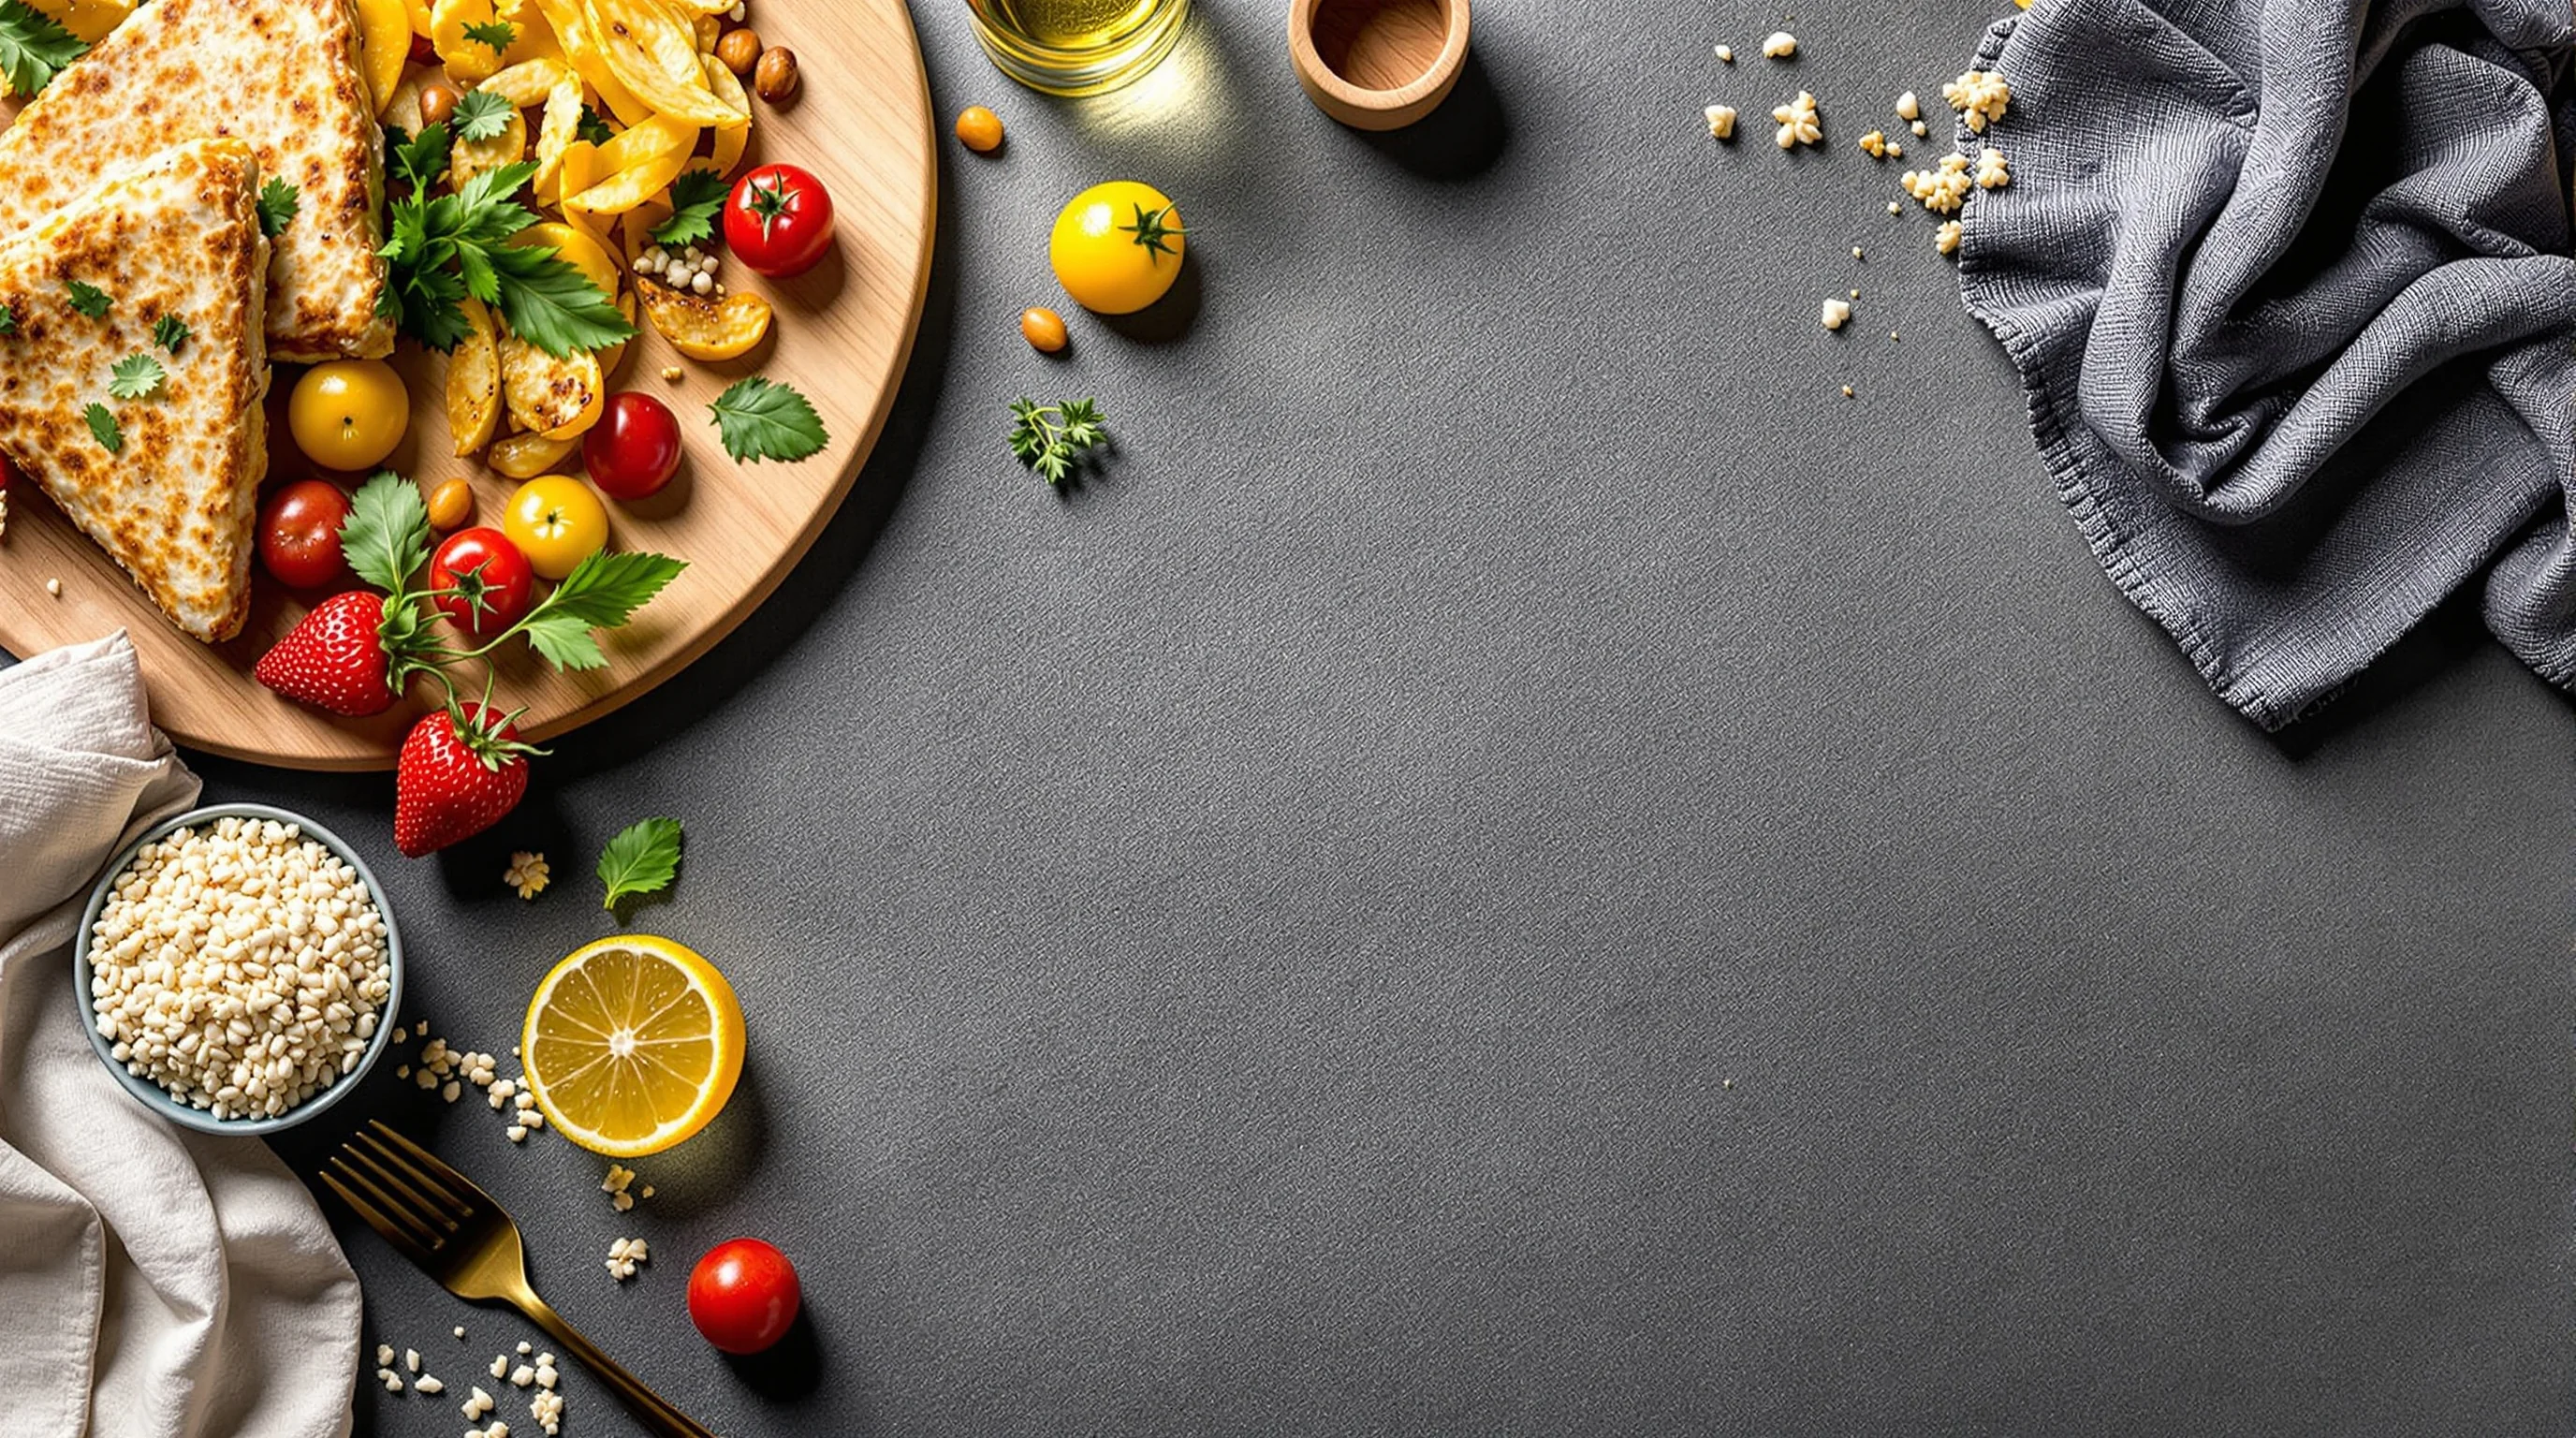
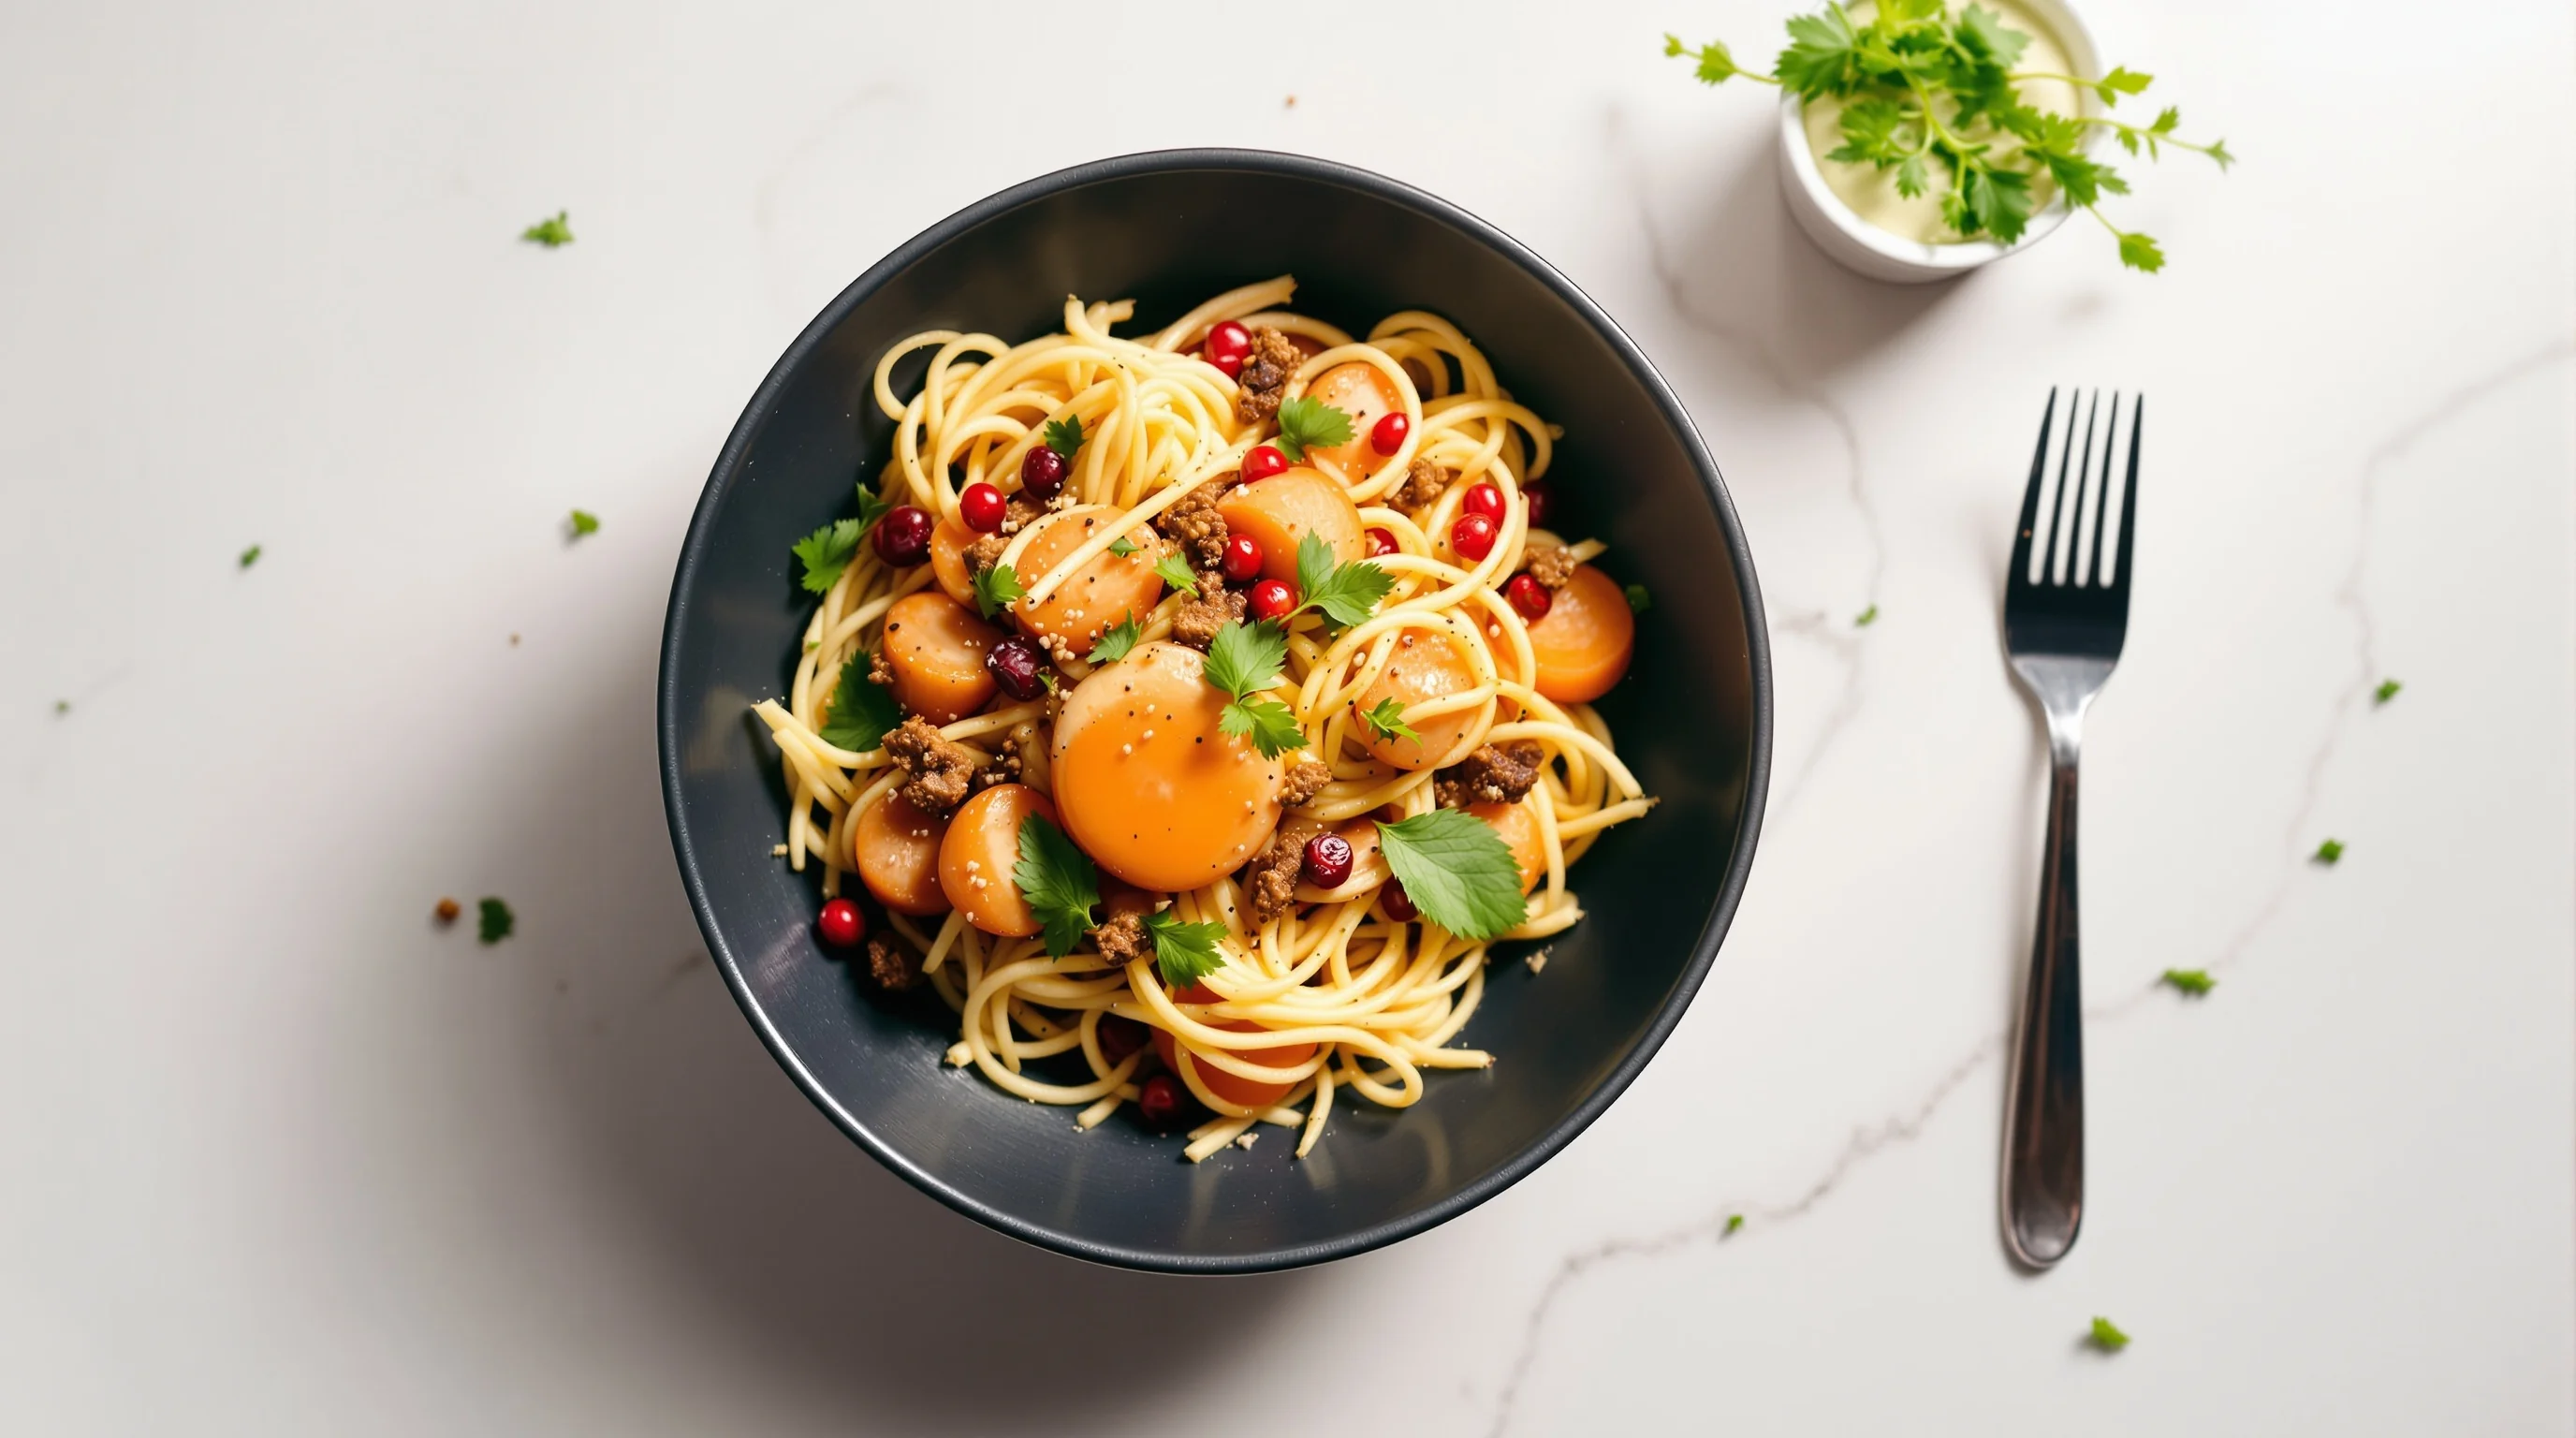
A flat-lay, or overhead food shot, places the camera directly above the plate so the image is shot at a roughly 90° angle. This is the easy way to capture perfect overhead food shots when you want to emphasize arrangement, color and pattern rather than depth. As noted in the research, shooting from directly above brings shapes and colors forward and naturally highlights texture and arrangement (source: Out of Town Blog). The perspective is particularly strong for bowls, salads, spreads and composed tabletop scenes where details and repetition create visual interest.
Because this style reduces distracting background depth, composition decisions become simpler: you focus on placement, negative space and contrasting elements. That makes the flat-lay an excellent choice for menus, Instagram and delivery platforms where clarity and immediate appetite appeal matter most.
How do I take stable overhead food photos at home?
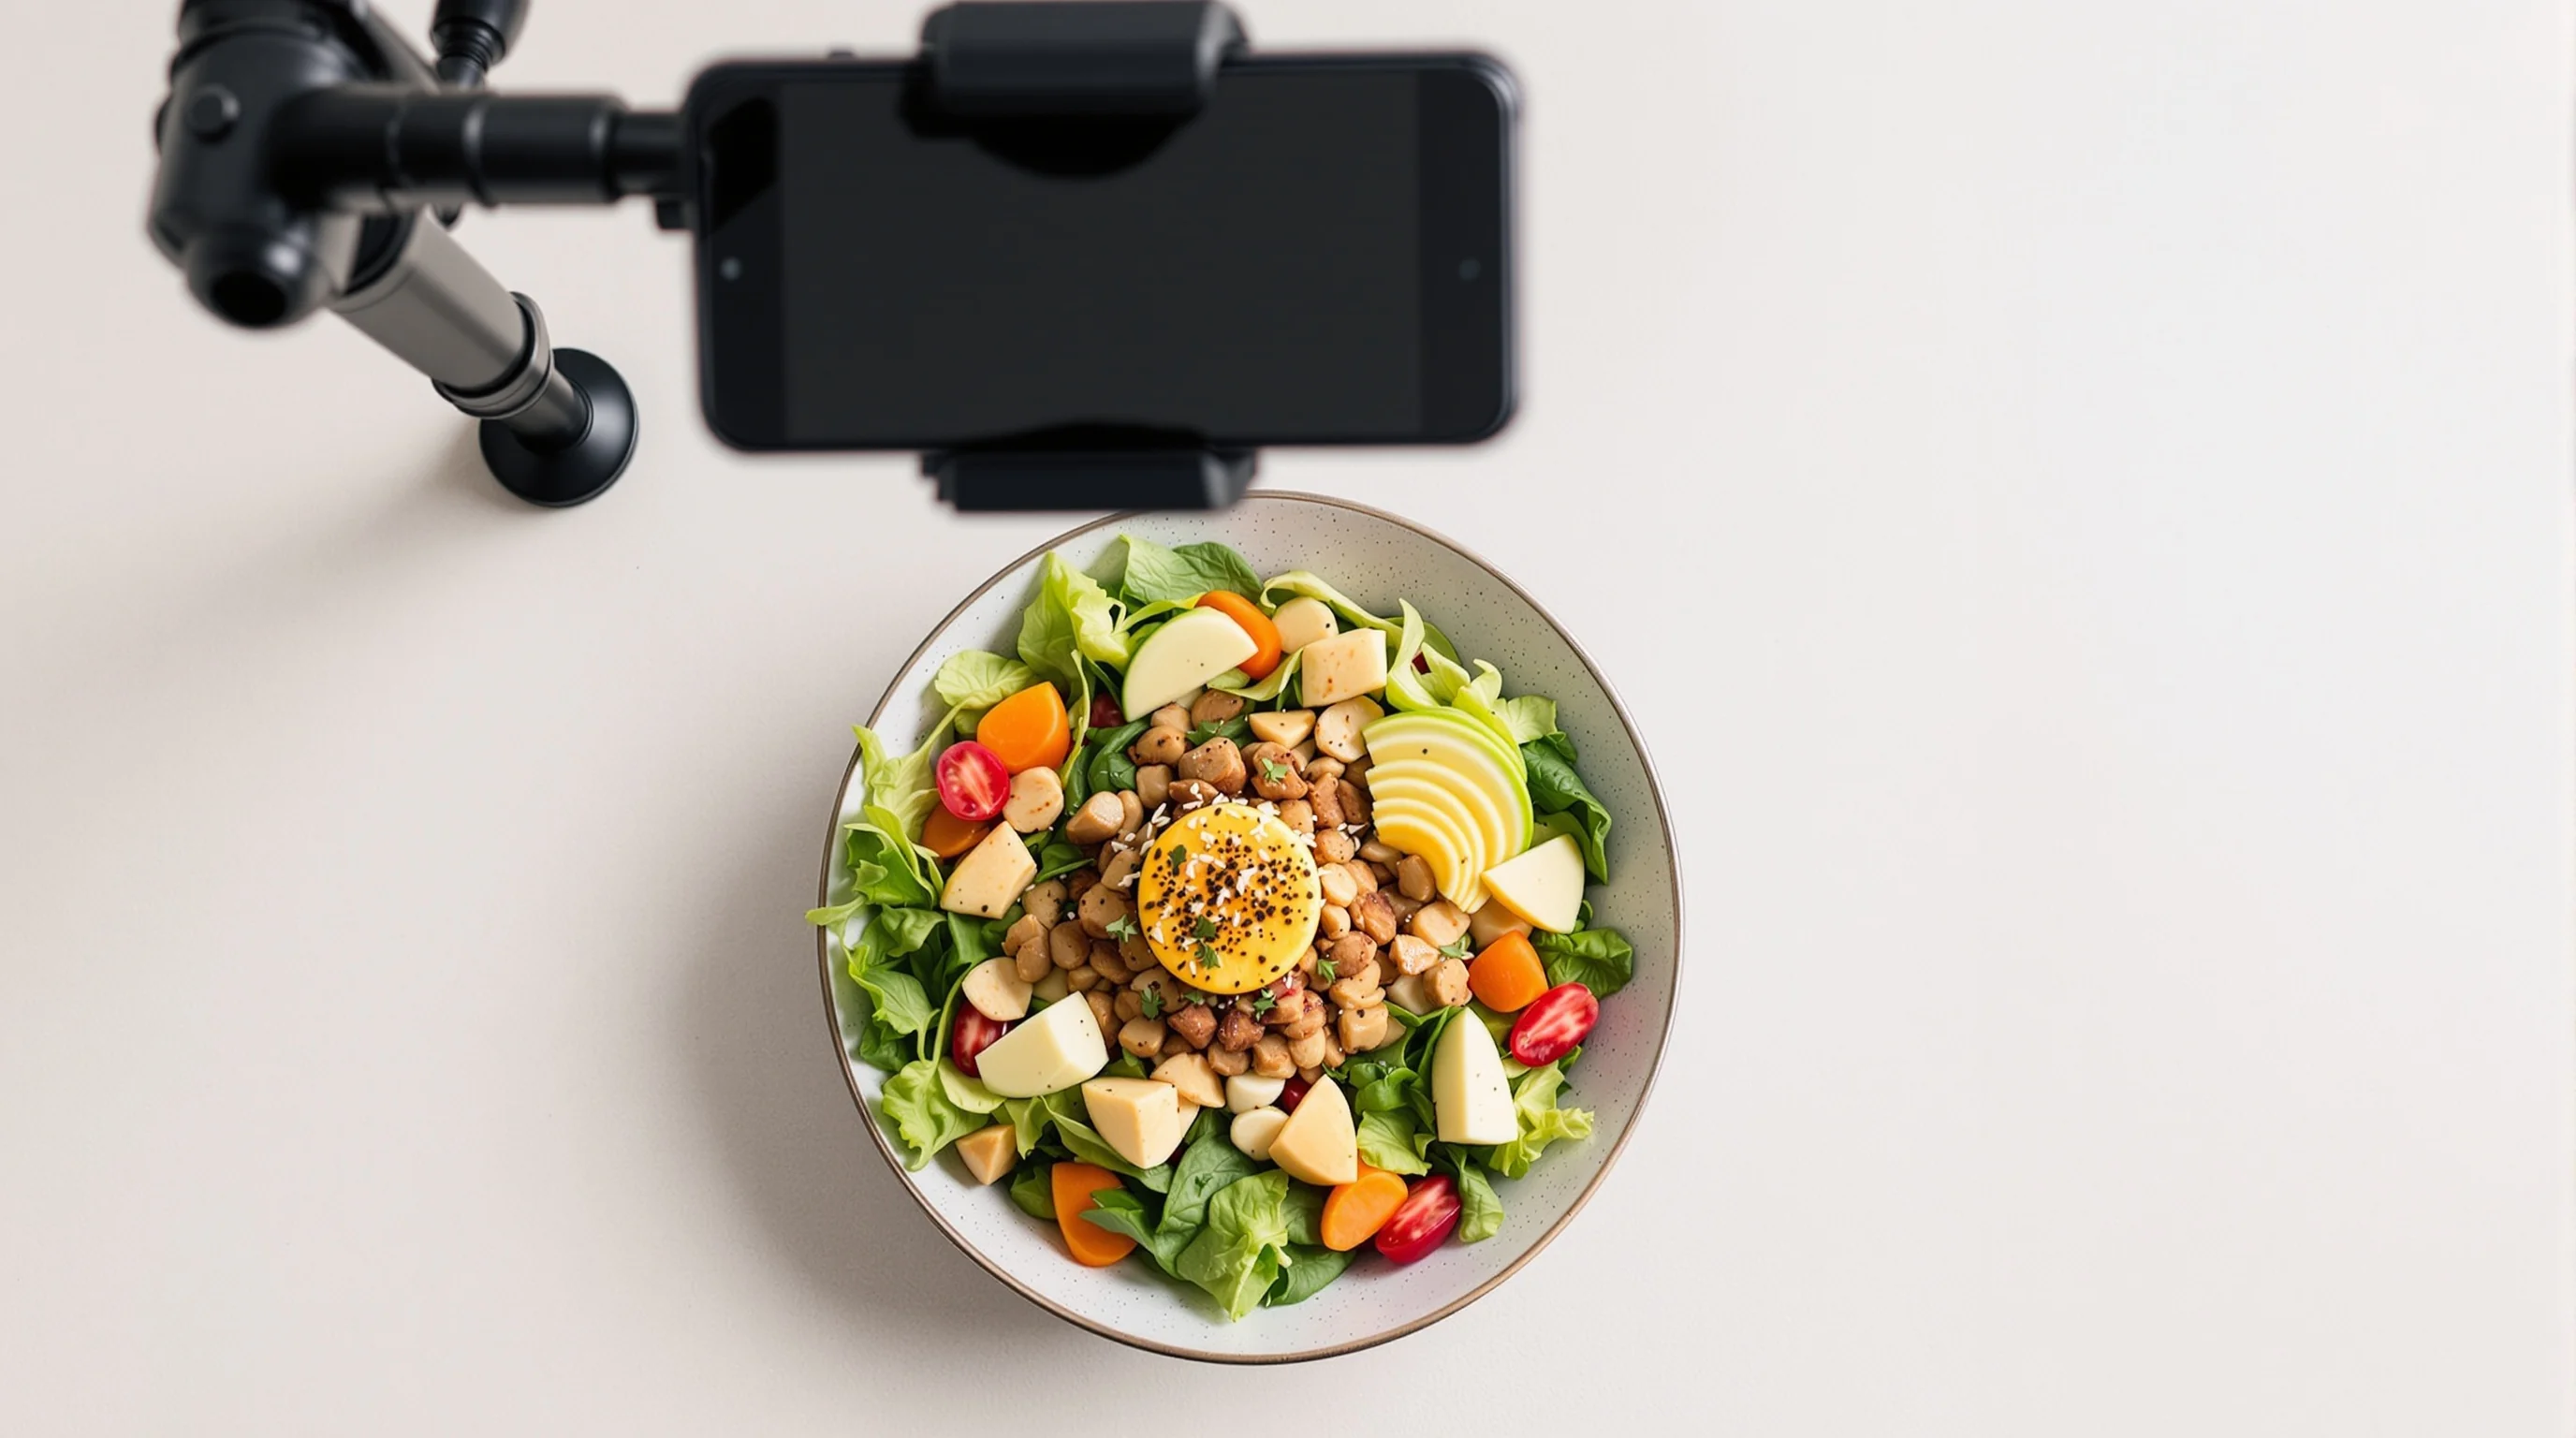
Stability is the core answer to how you take stable overhead food photos at home. A steady, fixed mount prevents blur and camera tilt, which is why many tutorials recommend a tripod or overhead rig. MotionArray puts it succinctly: "Using a tripod will ensure that you can perfectly angle your overhead shots" (source: MotionArray). At home, the priority is to secure the camera or phone so you can compose without holding the device above the food.
Practical steps at home: set up on a solid table, clamp an arm or use a boom over the surface, lock the camera's exposure and focus, and use a timer or remote shutter to avoid camera shake. If you shoot with a smartphone, attach it to a stable mount and avoid balancing the phone on unstable objects. Small adjustments—leveling the rig and ensuring the lens is parallel to the table—make dramatic differences in final sharpness.
Equipment and tripod options for flat-lay food photography
When considering what equipment or tripod is needed for flat-lay food photography, choose stability and reach. A sturdy tripod with a horizontal arm or an overhead rig is ideal for cameras; for smartphones, lightweight clamp arms and dedicated overhead mounts are inexpensive and portable. Many food creators prefer a cross-arm tripod or a boom arm that clamps to a table to avoid heavy stands. See our guide on The 5 Best Camera Angles for Food Photography for angle and lens recommendations.
Budget alternatives include: a counter clamp arm with a smartphone holder, a C-stand if you have studio space, or a suspension arm made from an adjustable microphone boom. If lens creep is a concern with longer lenses when shooting overhead, consult our post on What Is Lens Creep and Why It Ruins Food Photos — Practical Fixes for quick mechanical fixes.
- Crossbar tripod or boom arm for DSLR/mirrorless
- Table clamp + smartphone mount for mobile flat‑lays
- Lightweight overhead mount (YummyPic works with phones)
- Remote shutter release or phone timer to avoid shake
Smartphone-specific rigs and DIY mounts
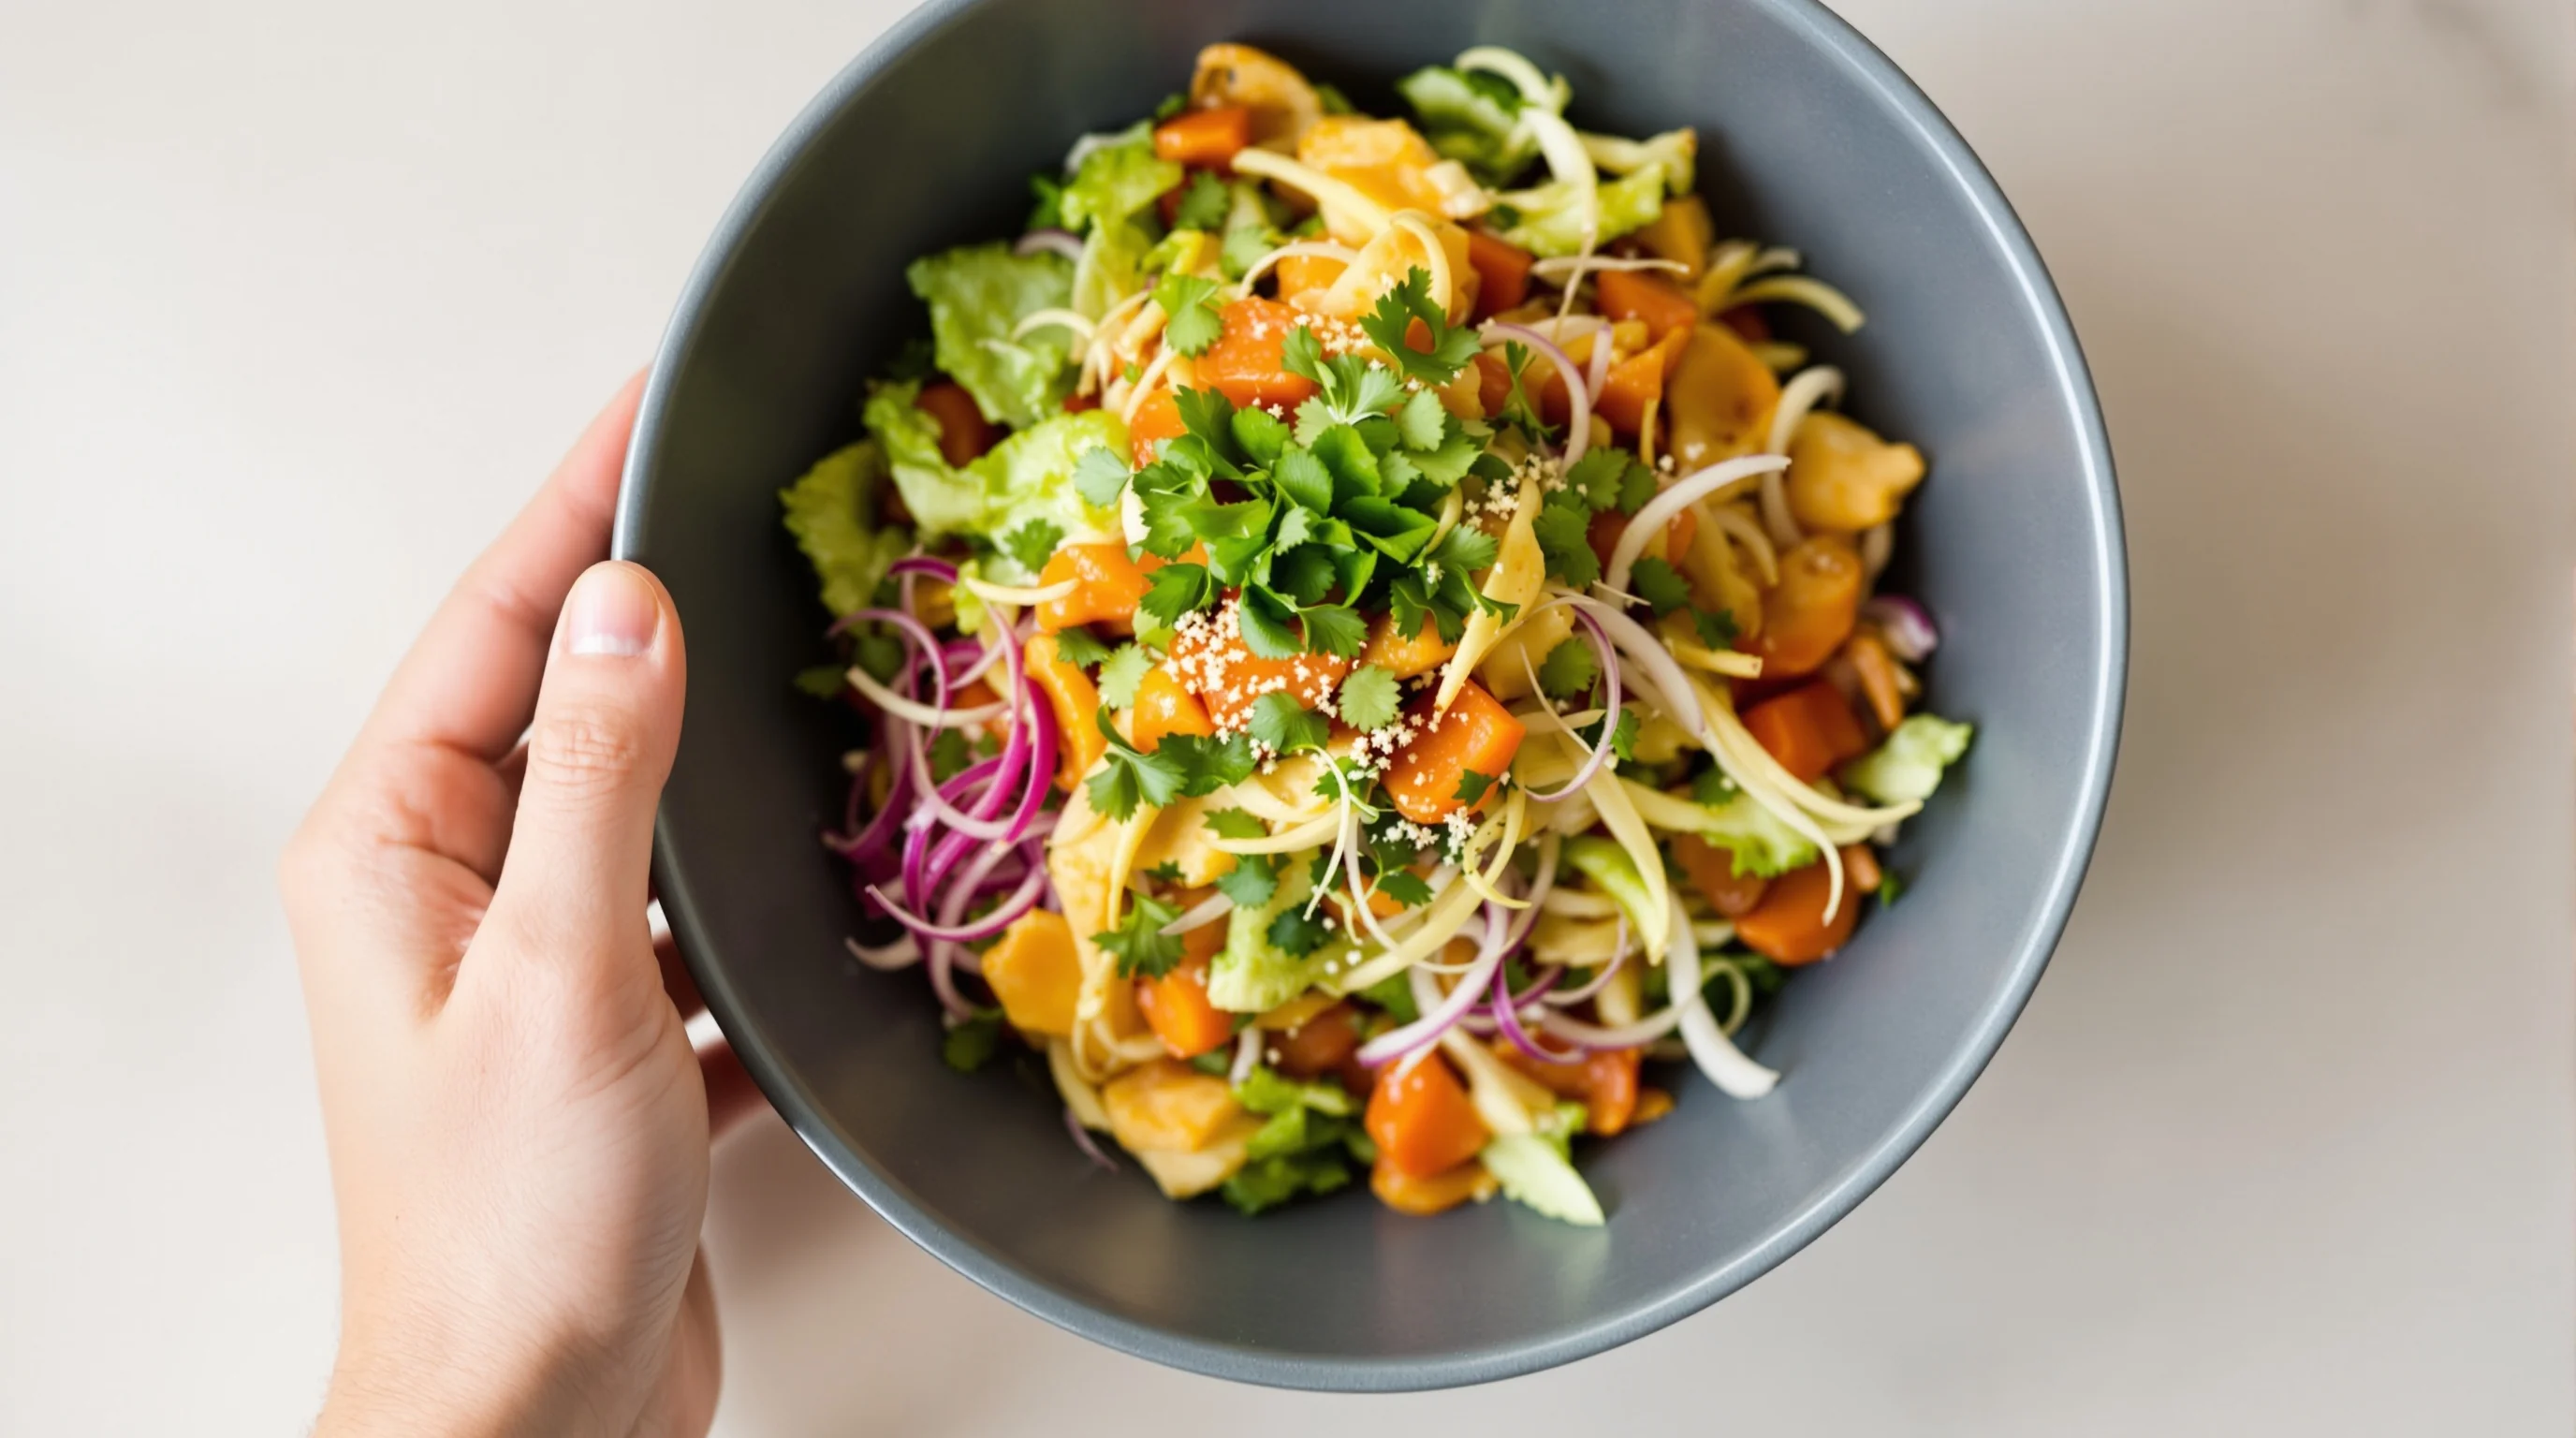
Competitor content often overlooks smartphone-specific overhead solutions. The easy way to capture perfect overhead food shots with a phone is to use a clamp-mounted arm, a simple DIY rig or purpose-made solutions like YummyPic. YummyPic fits any smartphone to easily capture flat lays, offering a stable fixed rig without the bulk of studio tripods. Lightweight mounts reduce the risk of tipping and make it simple to shoot many dishes rapidly—ideal for restaurant menu workflows.
DIY options: attach a horizontal broom handle to two stacks of books and secure with clamps, or build a tabletop frame from PVC to hang a phone holder. Always ensure the phone is centered and level above the dish. For quick setup and repeatable results, a dedicated smartphone mount is faster and safer than ad-hoc rigs.
Lighting and composition tips that make flat-lays pop
Lighting is the second pillar once the camera is stable. Natural light from a side window produces soft, directional light that emphasizes texture without harsh shadows—perfect for many flat-lays. If window light isn’t available, use continuous LED panels with diffusion to mimic soft daylight. For restaurants, consistent lighting helps menu photos and delivery platform images look professional; see our 7 Restaurant Lighting Tricks for Better Food Photos (Practical) for applied techniques.
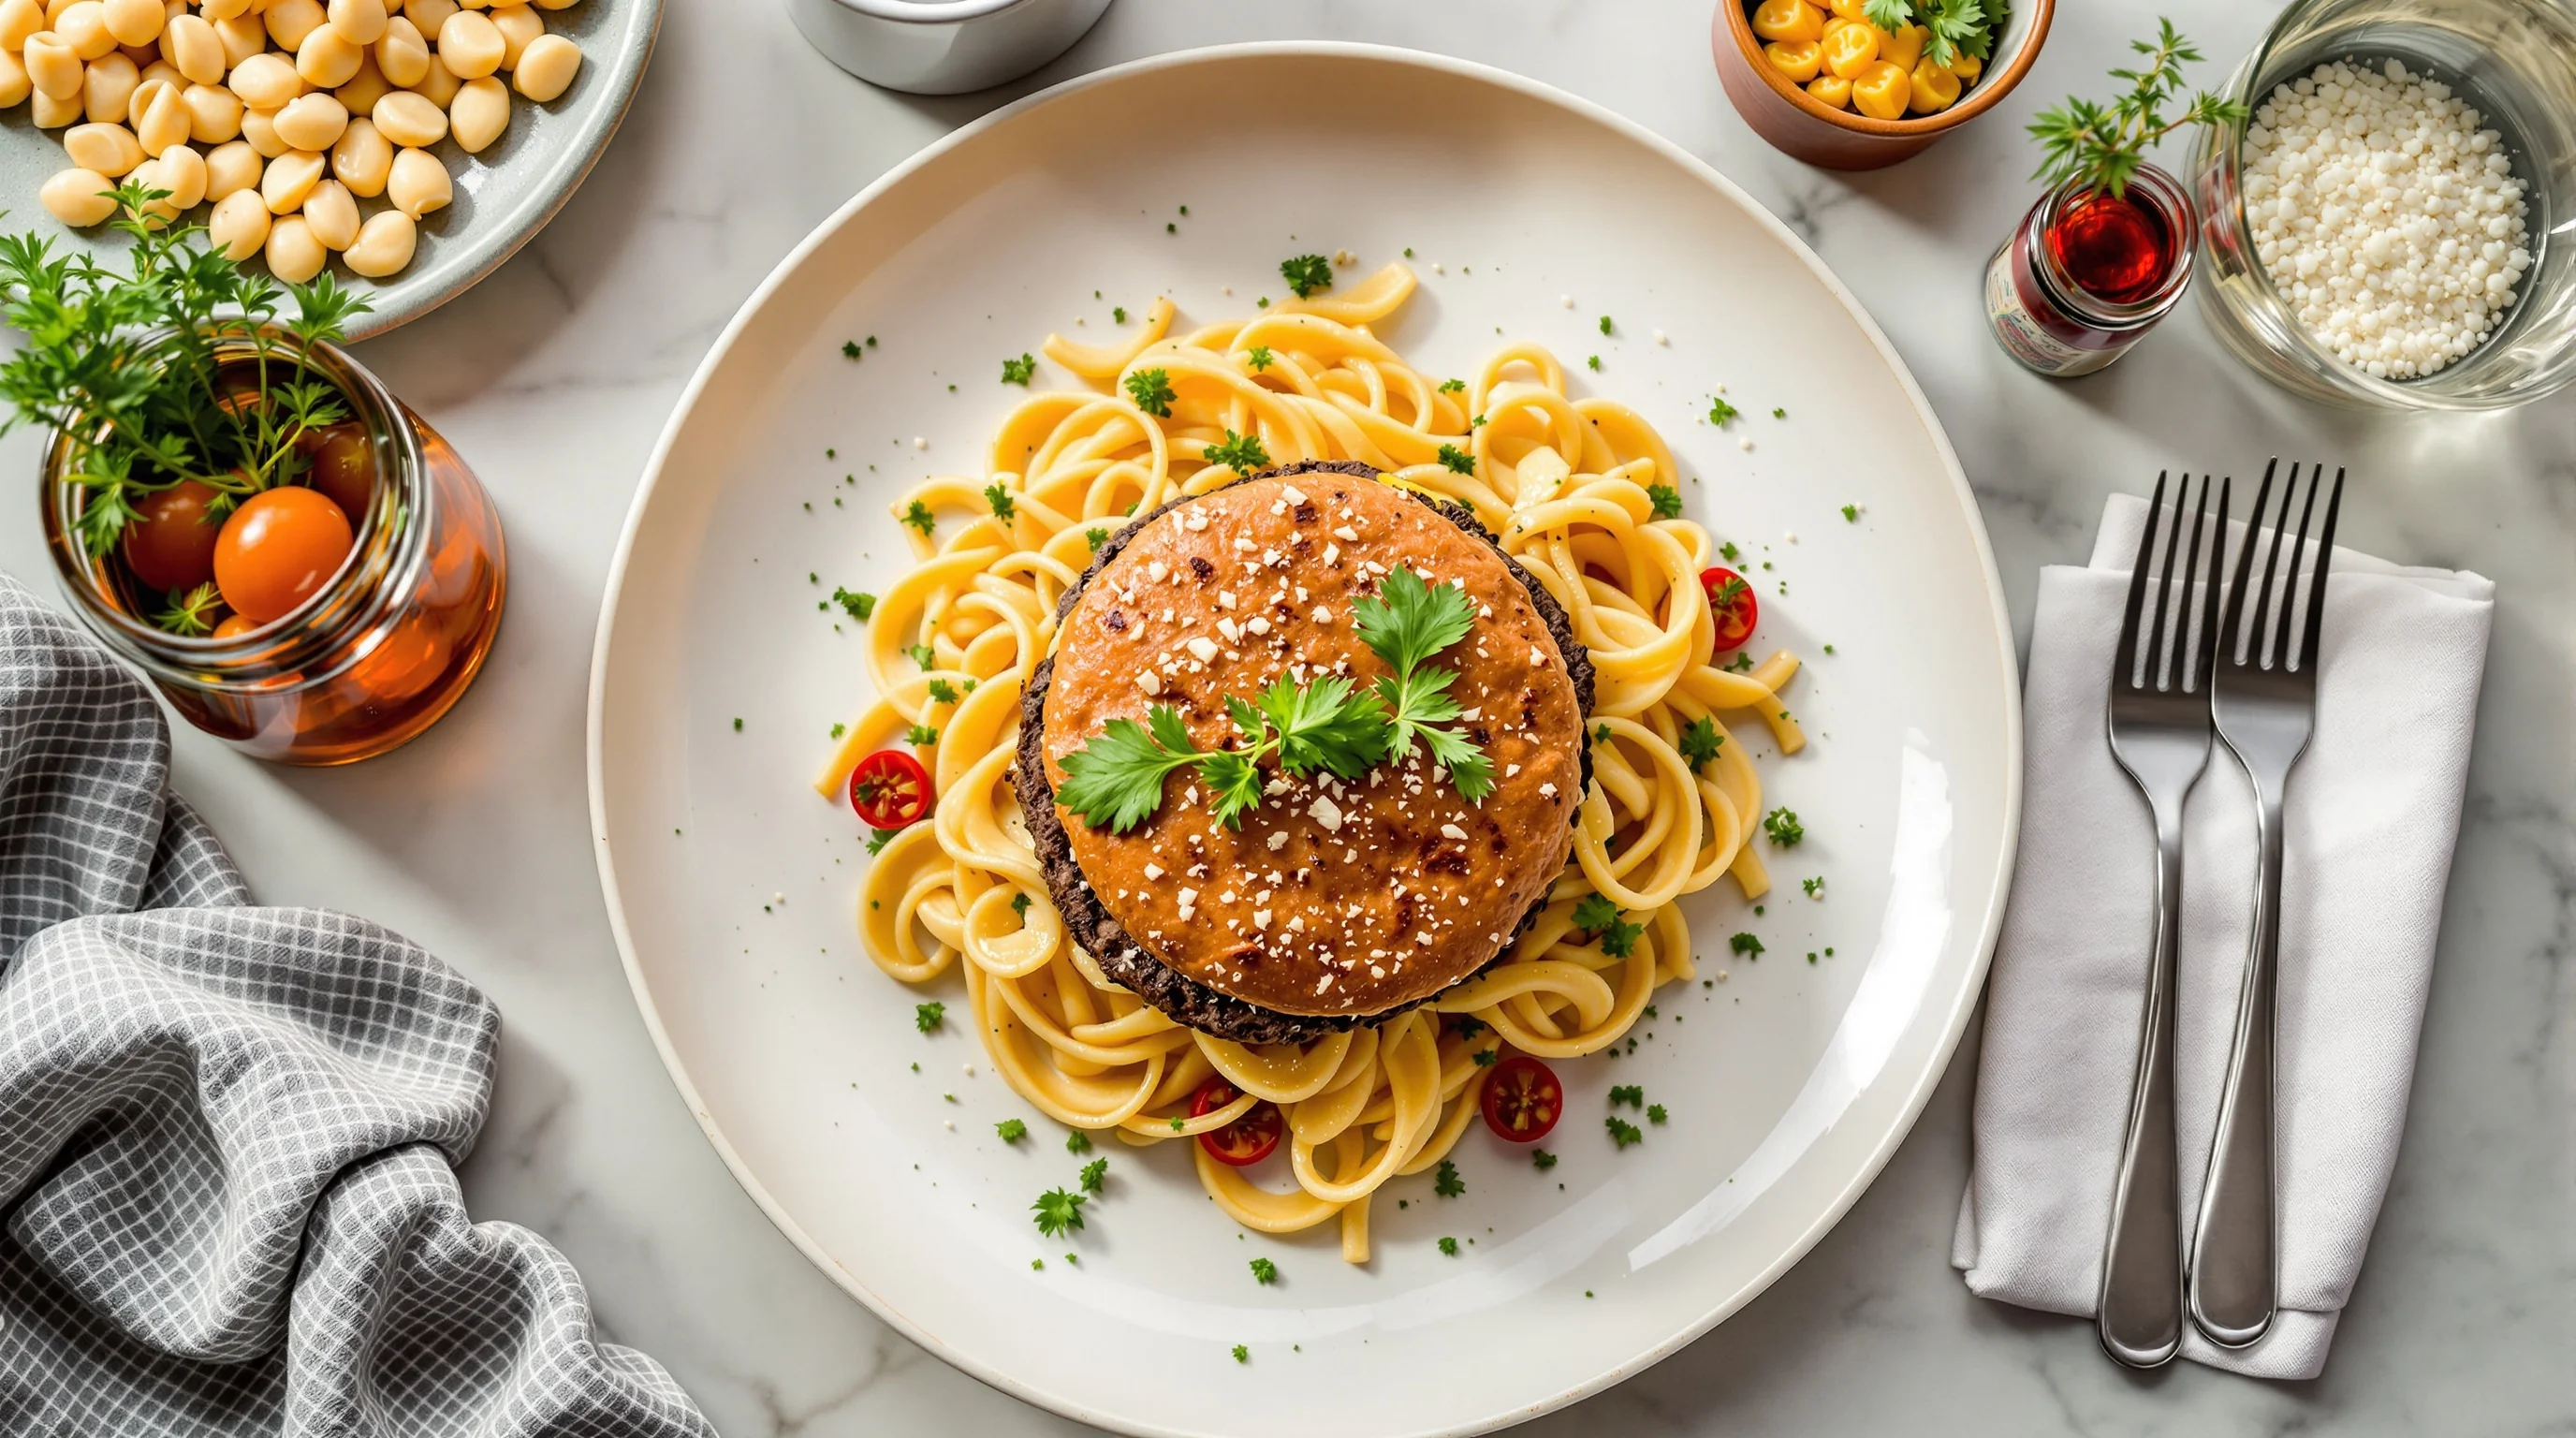
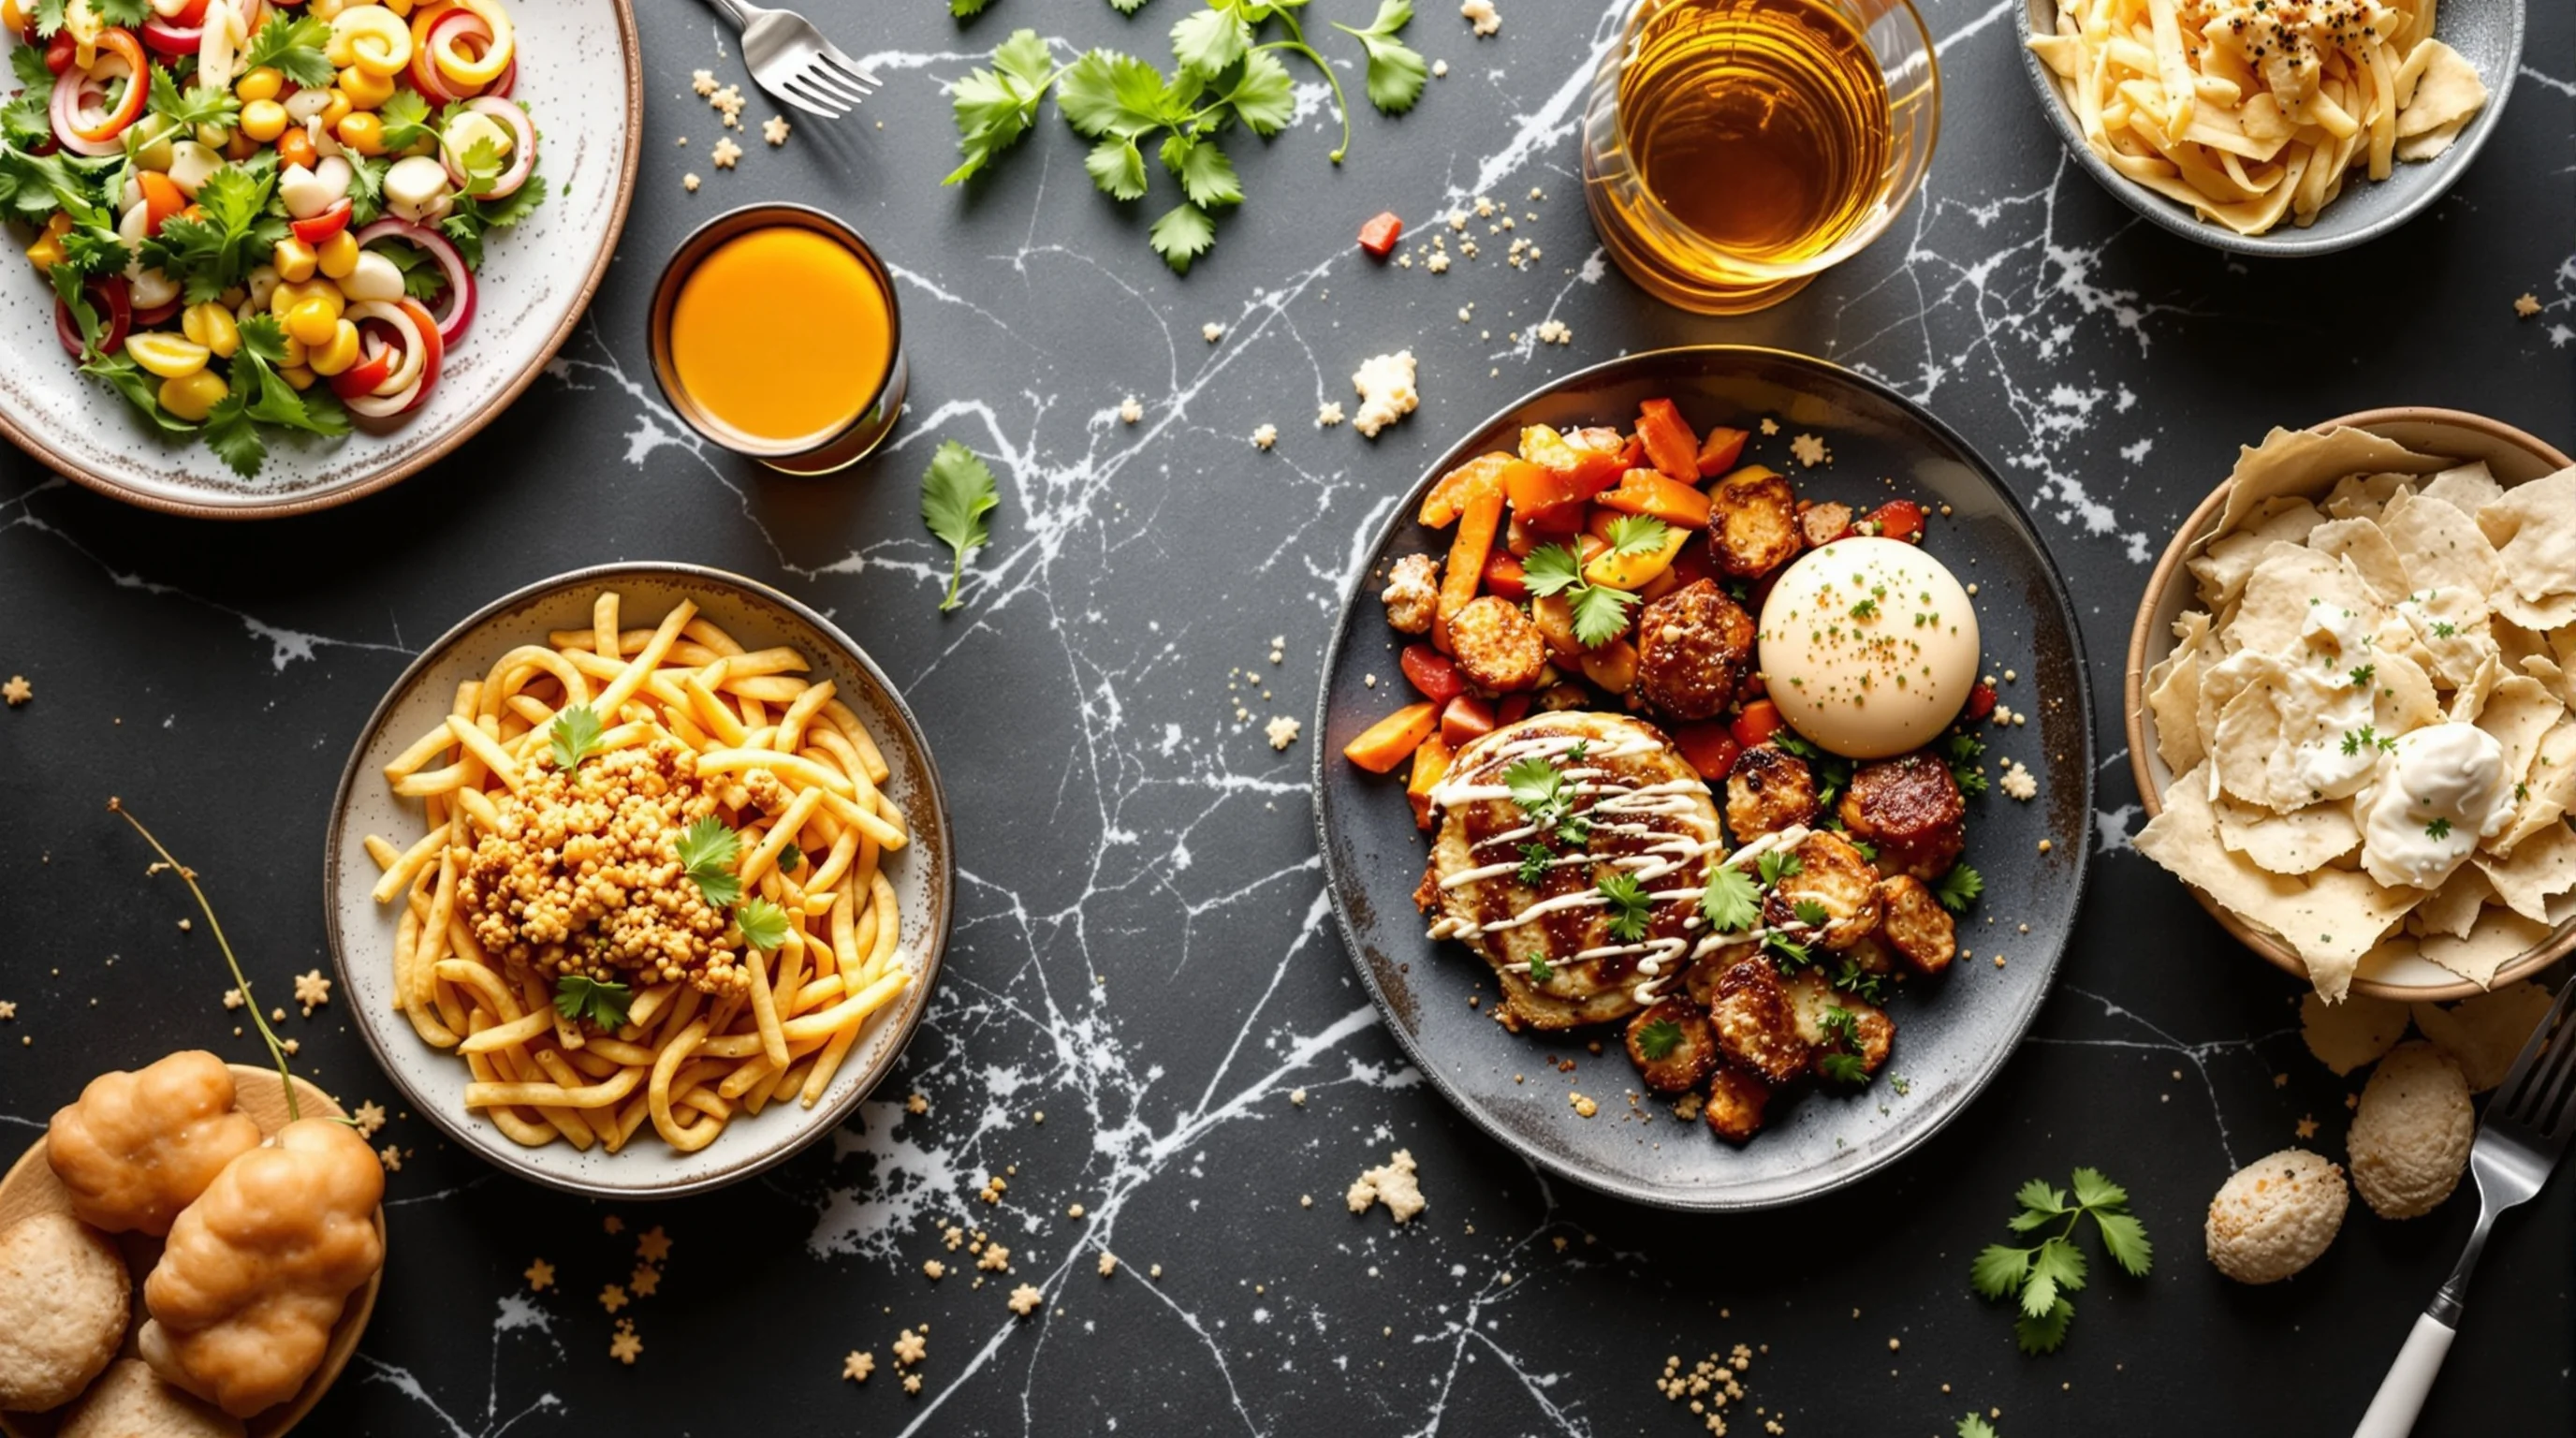
Composition: use negative space, group items deliberately, and apply the rule of thirds for focal points. Flat-lays often benefit from a clear subject (bowl, sandwich, pizza slice) surrounded by complementary props. Keep the surface simple and choose props that contrast in color or texture. As Bootstrapped Ventures notes, bright, clean and uplifting images make food look more appealing — "Bright, clean, and uplifting images" (source: Bootstrapped Ventures).
- Position the main dish slightly off-center (rule of thirds)
- Use props sparingly — one main prop and one accent
- Create small clusters (fork, napkin, garnish) to lead the eye
- Leave breathing room (negative space) for text overlays
Camera settings and quick post-processing for flat-lays
For cameras, shoot with a modest aperture (f/5.6–f/8) to keep the entire scene sharp; use ISO as low as possible and set shutter speed per light conditions. Lock focus on the center of the dish or use manual focus if your camera permits. When using a smartphone, tap to lock exposure and use HDR sparingly to avoid flattening texture. MotionArray reminds photographers that stabilizing gear matters: "Using a tripod will ensure that you can perfectly angle your overhead shots" (source: MotionArray).
Post-processing: crop to the intended platform ratio (square for Instagram, platform specs for DoorDash/Grubhub/Uber Eats), adjust white balance, increase clarity slightly to emphasize texture, and boost saturation modestly for appetizing color. If you need instant, consistent upgrades without a full edit workflow, consider AI tools that transform simple phone photos into menu-ready images quickly.
Quick checklist: set up, shoot, edit (step-by-step)
Follow a compact checklist when shooting multiple dishes. The easy way to capture perfect overhead food shots is to standardize workflow so results are repeatable, especially in a busy kitchen. A checklist reduces decision fatigue and speeds production for menus and delivery photos.
- Clear and level your surface; choose a neutral background
- Mount the camera/phone and secure a parallel lens axis
- Dial in exposure, lock focus, and use a remote/timer
- Arrange dish and props, take multiple frames from same height
- Edit for white balance, crop to platform ratio, export high-res
For restaurants, create a shot list and a repeatable table map so staff can plate and photographers can shoot quickly. See our 10 Steps to Prepare for a Food Photoshoot: Complete Checklist for a deeper planning template.
YummyPic and fast alternatives to full photoshoots
If time, budget or space limit a professional photoshoot, YummyPic is a practical solution. YummyPic transforms simple food photos into professional, restaurant-quality images in seconds — ideal for busy restaurant owners who need consistent images for DoorDash, Grubhub and Uber Eats. Rather than hiring a full team or carrying studio gear, upload a plain overhead photo and let the AI generate several styles (bright & airy, moody, editorial) optimized for delivery platforms.
YummyPic addresses common pain points: stabilizing an overhead shot, complex setups and the cost of professional photographers. It complements good photography practice—use stable mounts and decent light, then use YummyPic to speed the edit and produce multiple platform-ready variations.
- Easy-to-use overhead camera mount (no bulky tripod needed)
- Stable fixed rig for crisp, shake-free flat-lay photos
- Adjustable height and angle for versatile shots
- Lightweight and portable design
Common problems and fast fixes
Problem: Slight blur or tilt in the frame. Fix: tighten clamps, use remote shutter and check that the lens axis is parallel to the tabletop. Problem: Flat, lifeless color. Fix: tweak white balance, add a soft reflector or boost contrast slightly in post. Problem: Props overpower the dish. Fix: simplify and use negative space to restore focus on the food.
If repeating lens drift or 'lens creep' occurs in overhead setups, consult our post on What Is Lens Creep and Why It Ruins Food Photos — Practical Fixes for quick mechanical and workflow solutions.
Practical tips for restaurants, cafes and delivery platform images
Restaurants need consistent images that sell. Statistics show food and drink rank as a top interest for 43% of Instagram users and nearly 50% of Americans regularly take photos of their food (source: Soocial). That means strong overhead images drive engagement and perceived value. For delivery platforms, crop and lighting consistency are critical: ensure each overhead shot is clear, well-lit and cropped to the platform’s preferred aspect ratio.
Use the same surface or background across similar dishes to create a cohesive menu presentation. For DoorDash, Grubhub and Uber Eats, we also provide platform-specific services to optimize images — see our DoorDash Photography, Grubhub Photography and Uber Eats Photography pages for more.
Conclusion
Summary: The easy way to capture perfect overhead food shots is built on three pillars—stable mounting, thoughtful lighting and repeatable composition. Use a reliable overhead mount (or a smartphone rig like YummyPic-compatible mounts), favor soft natural or continuous light, and apply simple composition rules to guide the viewer’s eye. Standardize workflow with a checklist, shoot multiple frames, and use quick editing or AI tools to produce consistent, platform-ready images. With modest investment and a disciplined process, Sie can create attractive flat-lays that boost menus, social posts and delivery conversions.