Introduction: If you manage a restaurant, cafe or food brand, strong imagery sells. This guide explains how to photograph chicken dishes that look delicious — from lighting and angle choices to plating, smartphone vs DSLR workflows, and speedy AI editing. We will address common pain points: chicken can appear dull brown, lighting can flatten texture, and many food creators lack styling or editing know-how. You will get step-by-step setup, chicken-specific styling tricks (glazes, brush-on fats, citrus and herbs), and practical post-processing options so your photos convert more orders on DoorDash, Grubhub, Uber Eats and Instagram.
Why high-quality chicken photos matter
Food images drive decisions. According to Soocial, food photos receive roughly 30% higher engagement than non-food images, and displaying compelling dish photos on menus or apps can increase conversions by about 6.5–30%. That matters for chicken dishes, which often risk looking bland if not lit, styled, or edited correctly. Great images don’t just look nice — they increase orders and customer trust. Remember the old maxim: "We eat first with our eyes." — Apicius. Use that principle to guide every choice from plating to editing.
Well-shot chicken imagery also reflects brand quality. A golden, juicy roast looks like care and craft; a dry, flat photo suggests rush and neglect. Research shows over 50% of Americans photograph their food, and platform culture rewards shareable imagery — nearly 488 million Instagram posts use #food. Investing a little time into composition, styling and editing yields measurable returns for menus and social channels.
How do I make my chicken dish look more appetizing in photos?
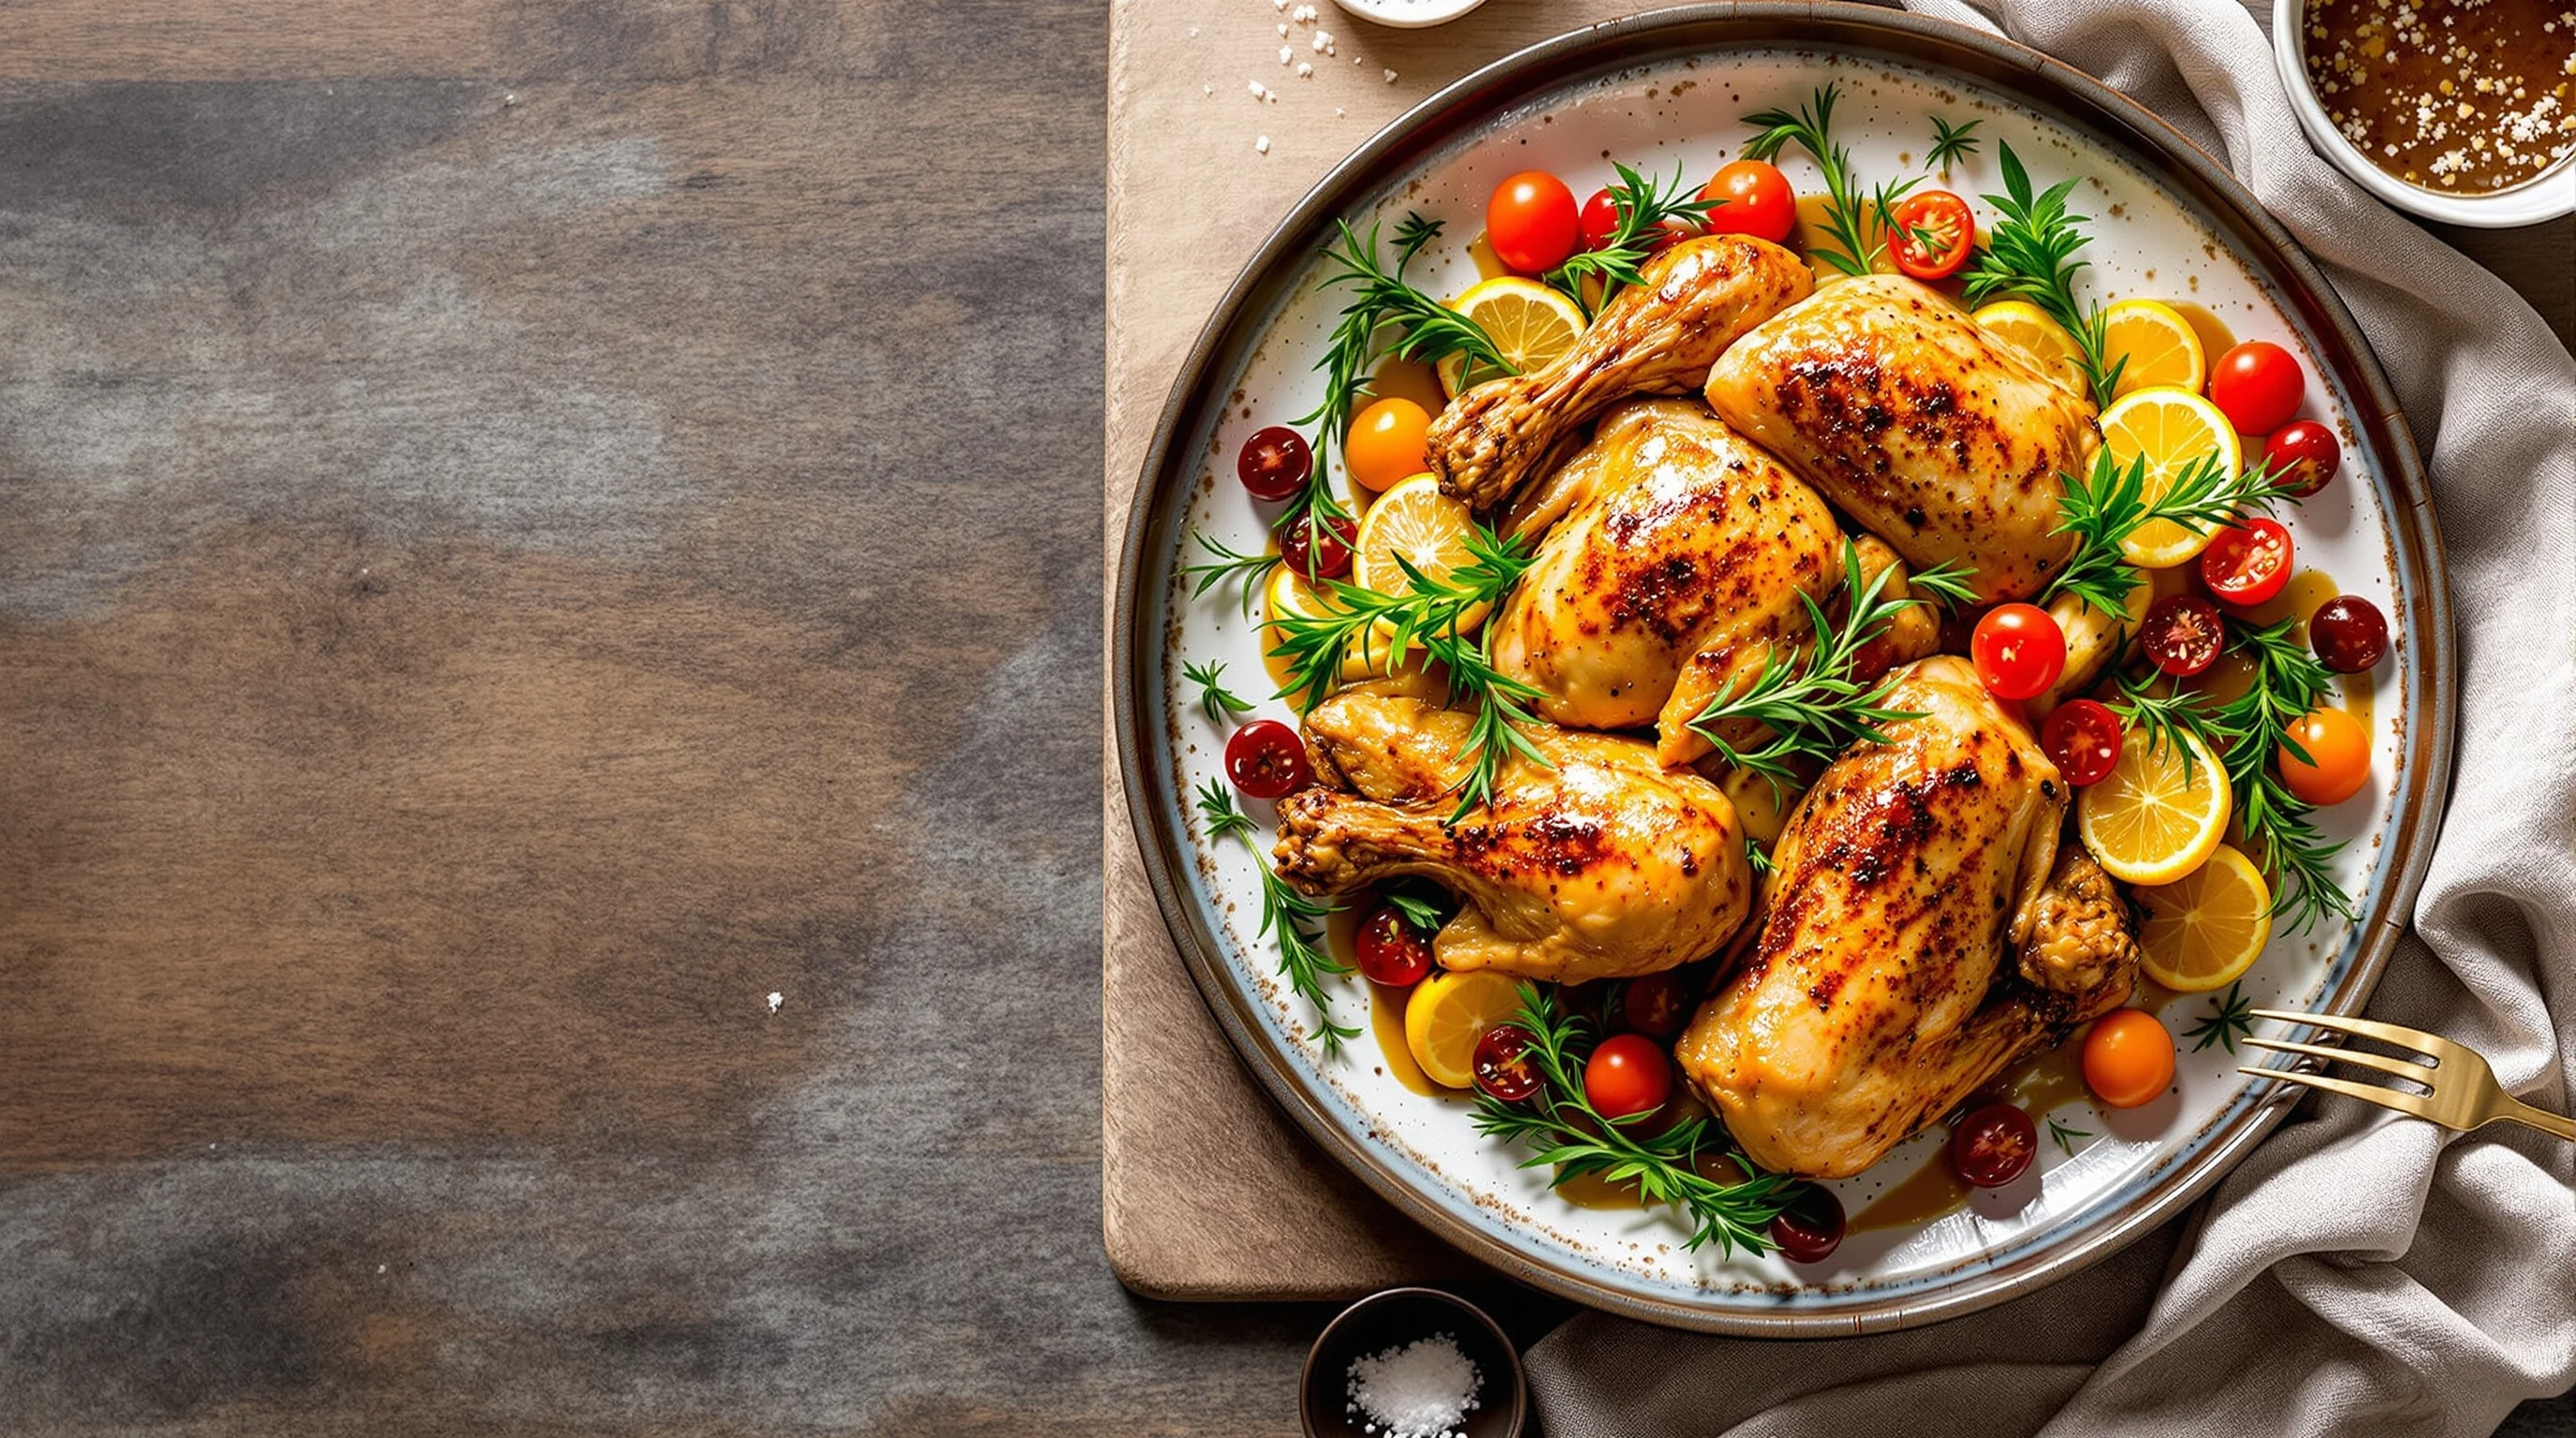
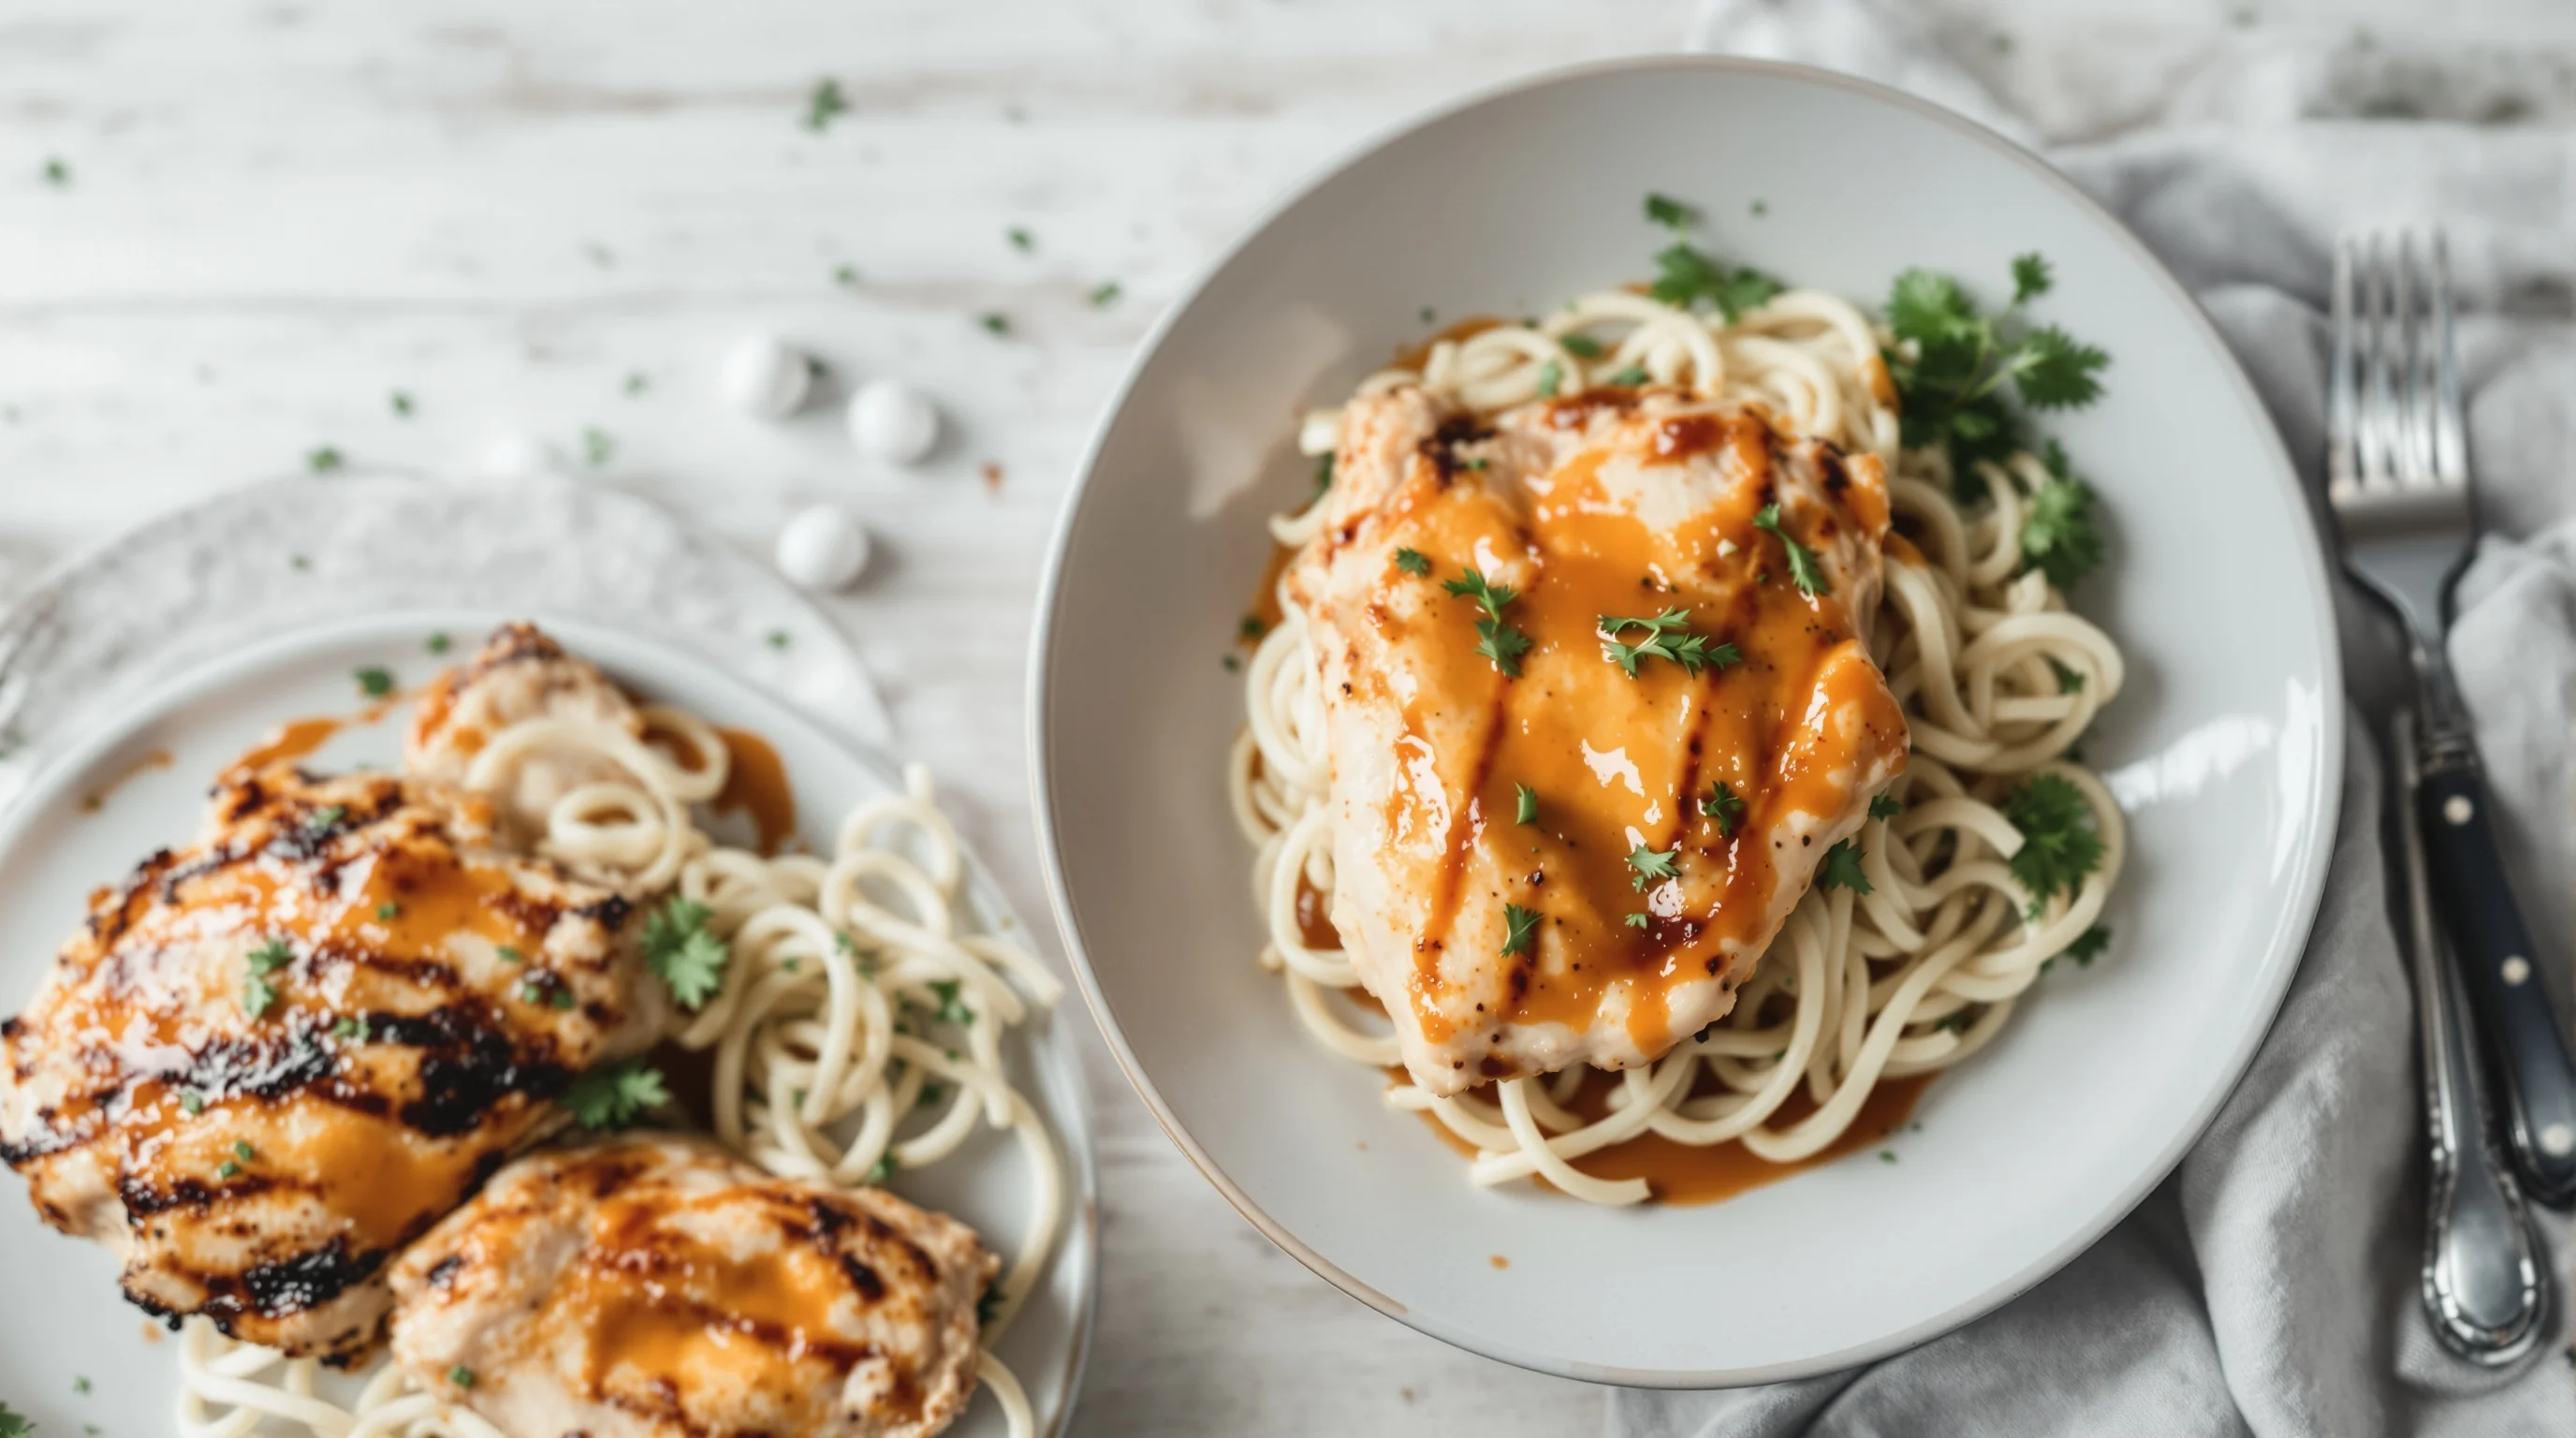
Start by addressing the most common issues: dull colour, flat texture and dry appearance. For roast or grilled chicken, brush a thin layer of oil or melted butter right before shooting to create a warm, appetizing shine; this technique is recommended by food stylists and chefs and helps emphasize crisp skin without appearing greasy. Add fresh garnishes — rosemary, parsley sprigs, lemon slices or halved cherry tomatoes — to create color contrast and visual freshness. According to spicegoddess and styling experts, these simple moves improve perceived juiciness and vibrancy.
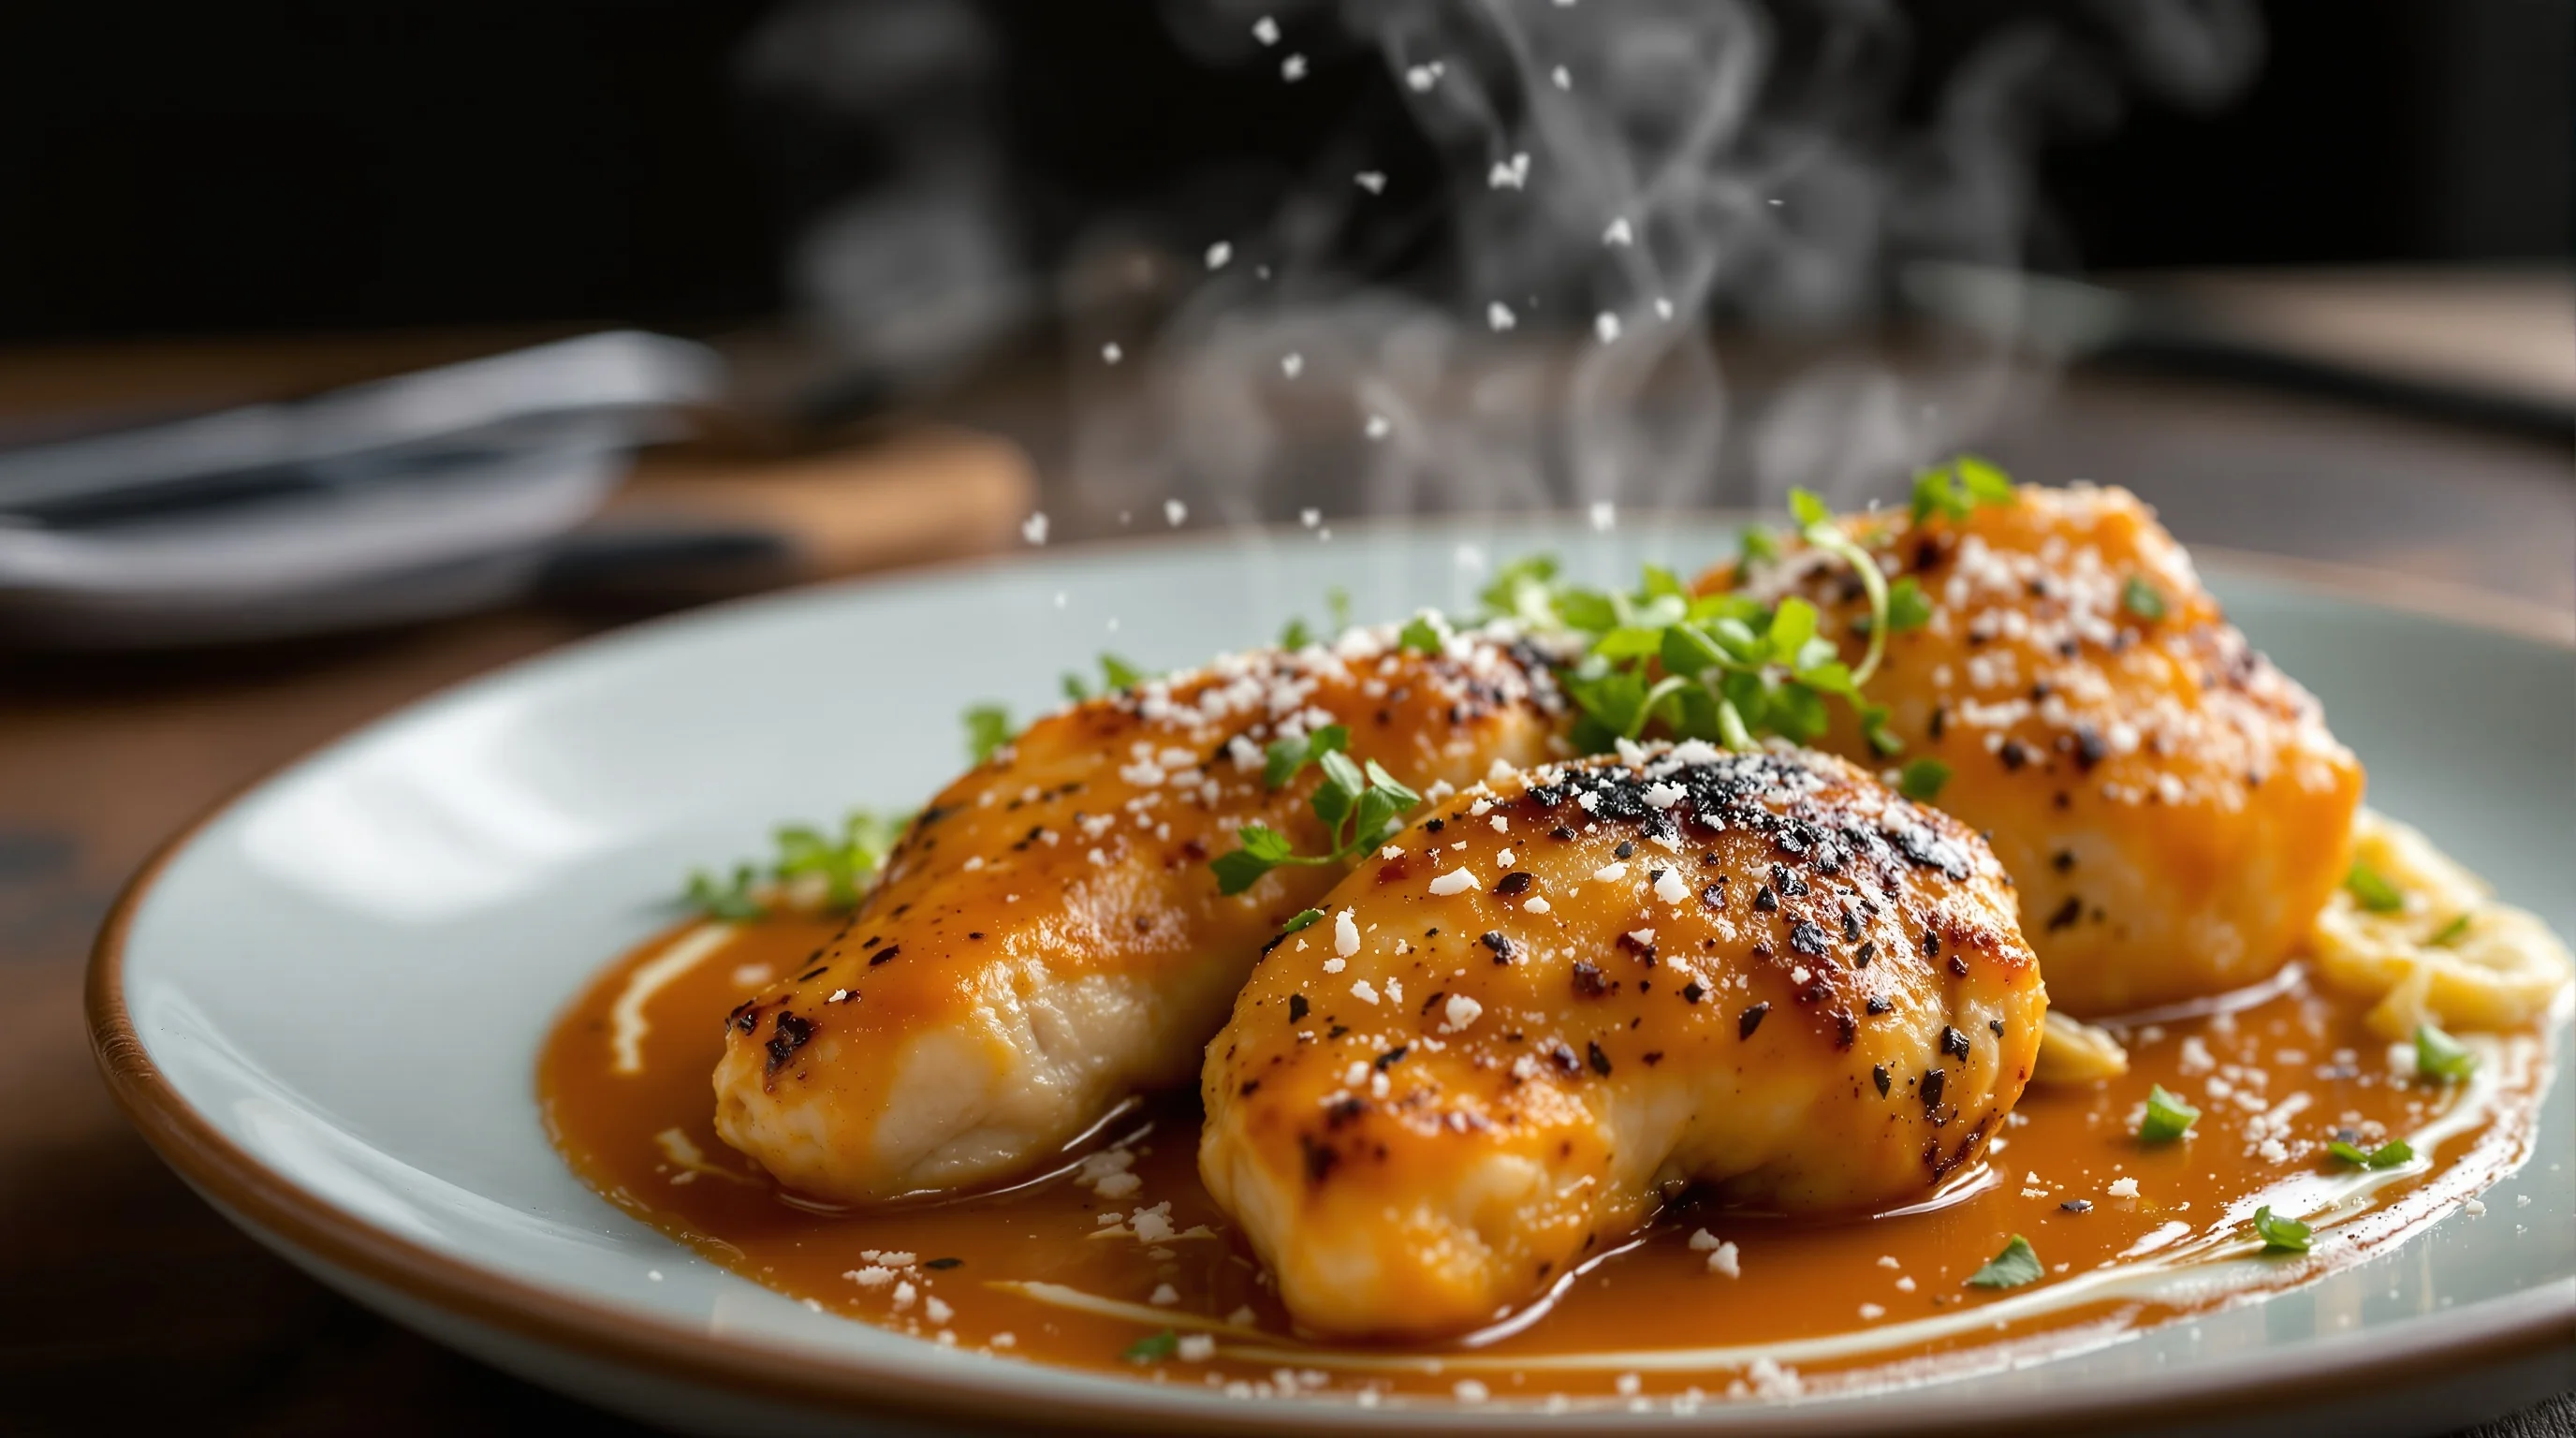
Composition and depth help too. Use a shallow depth of field to isolate the chicken while suggesting depth with leading lines or the golden spiral. A small amount of steam (captured quickly) or a crisp sauce drizzle can also signal freshness. If you need a step that saves time, consider AI-driven enhancement for white balance and color boost so the chicken looks golden and appetizing immediately.
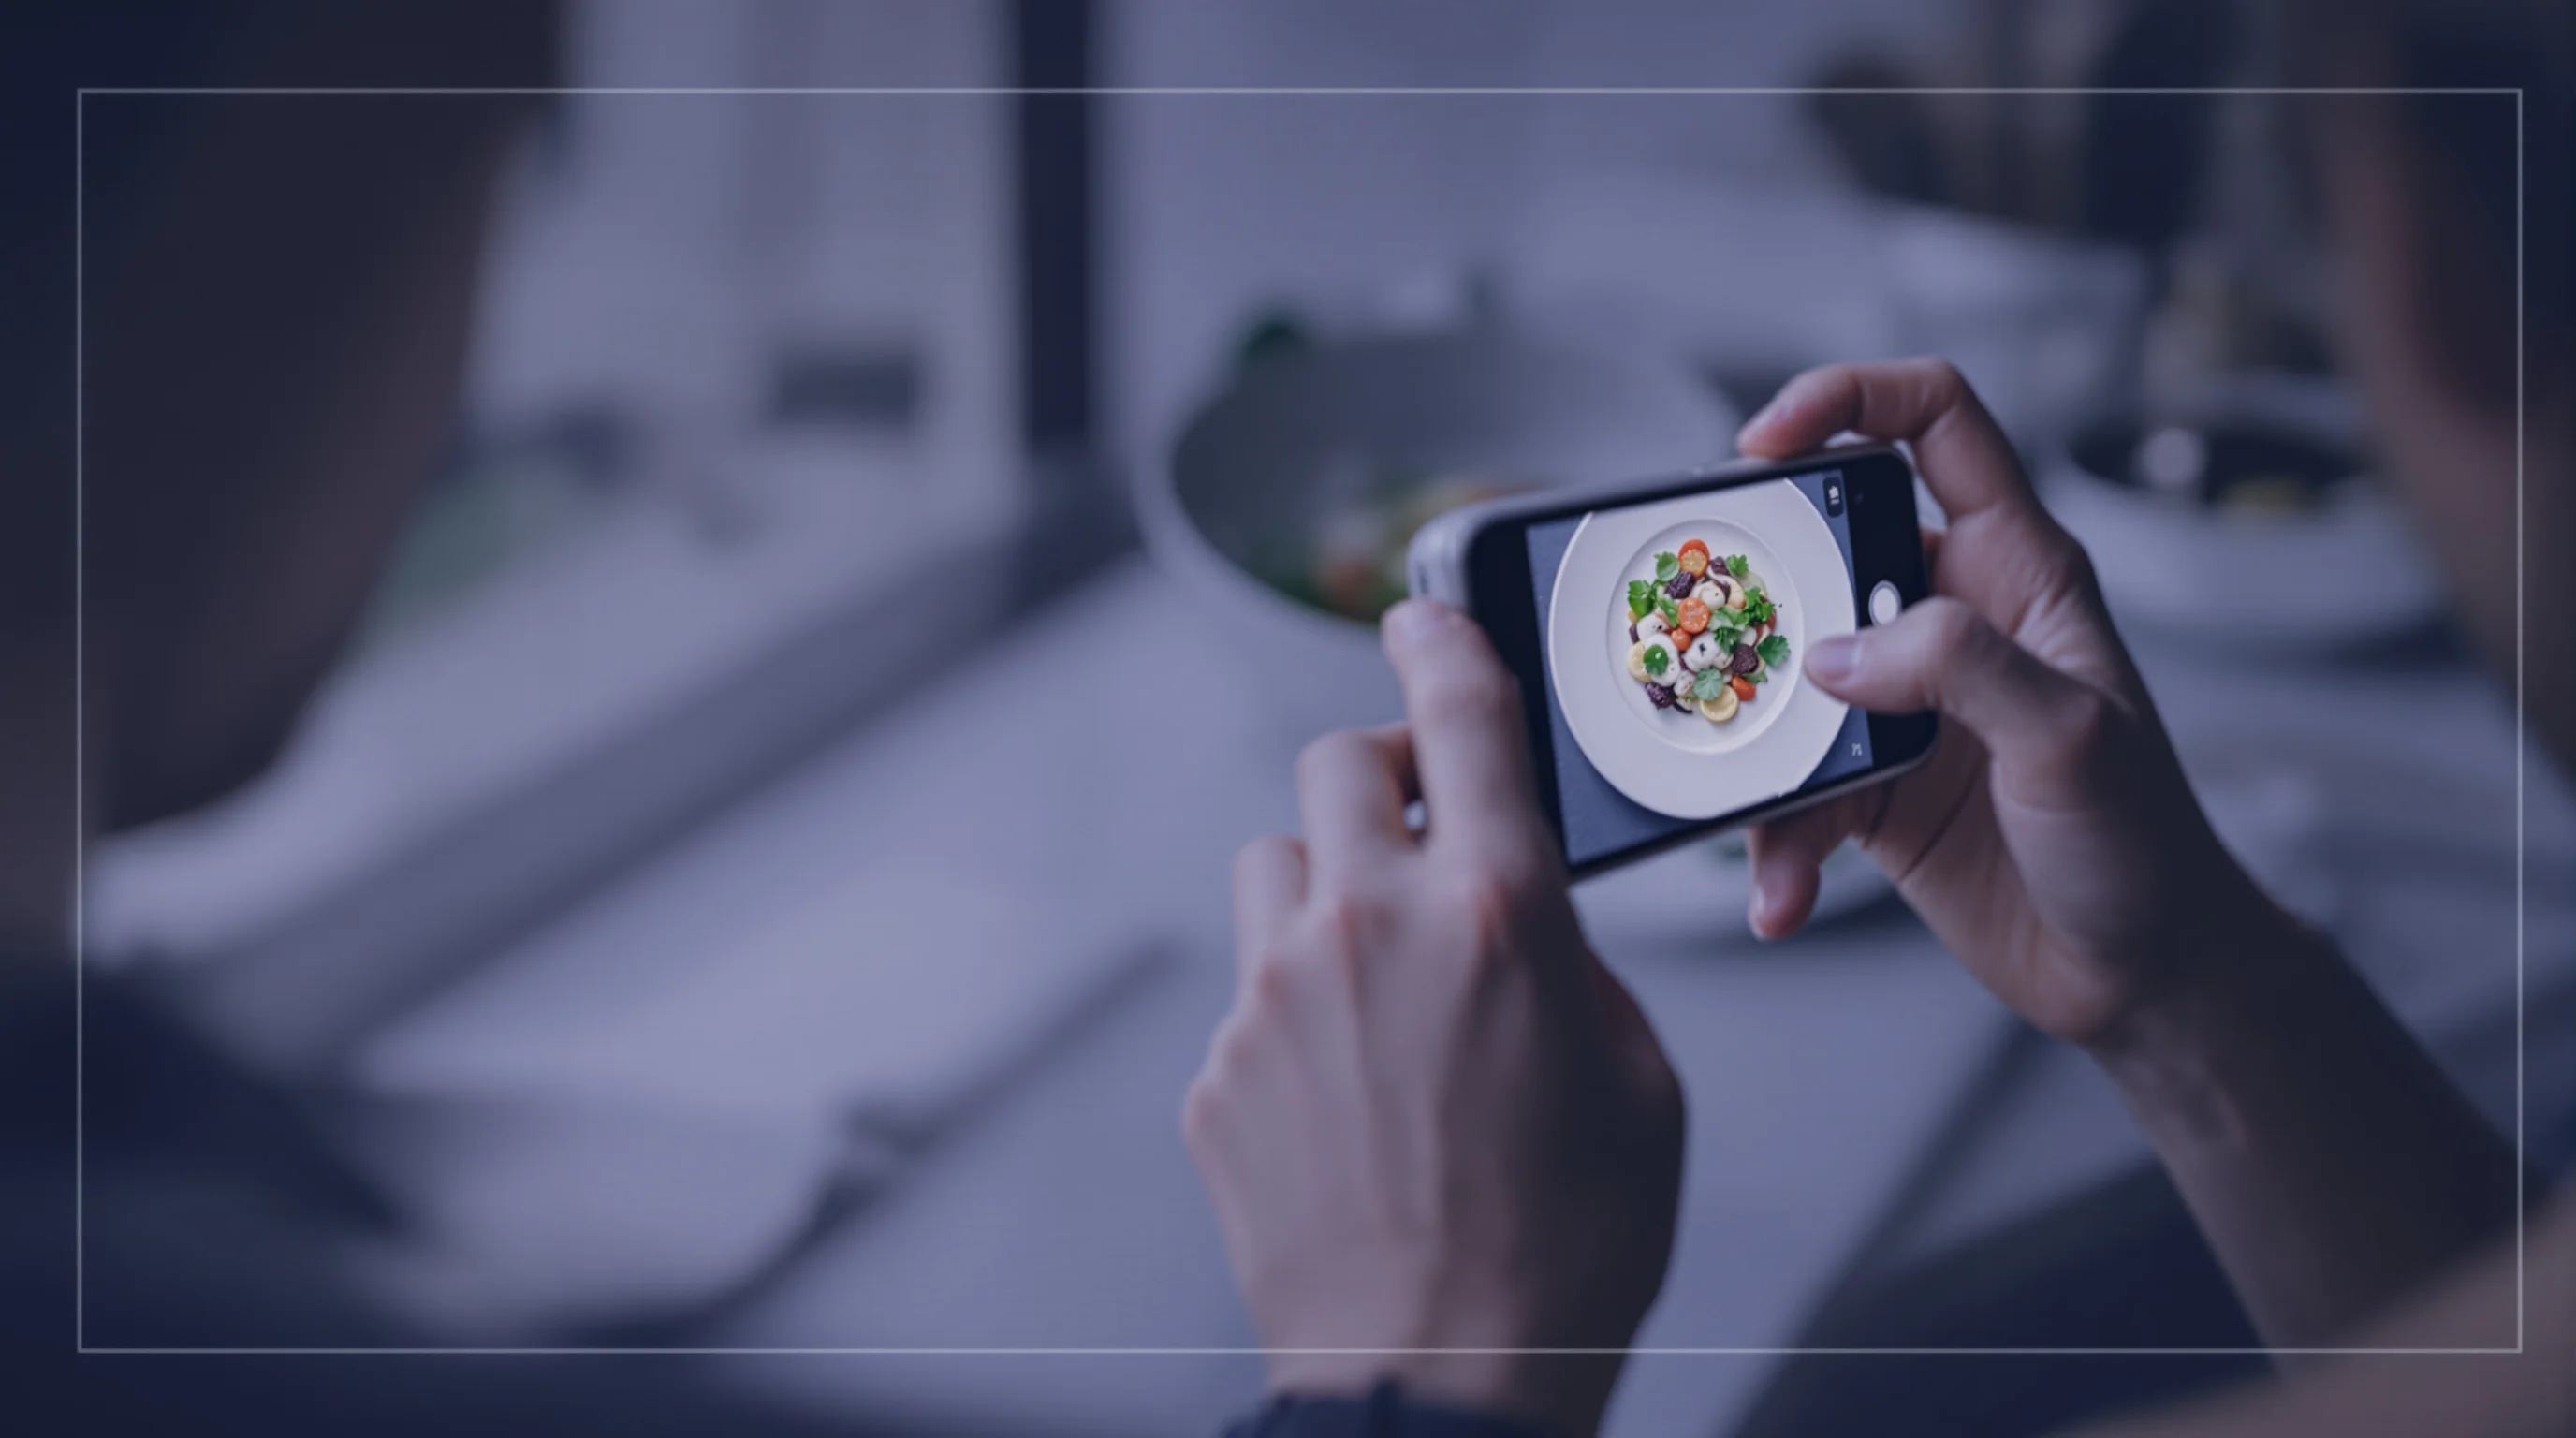
What camera angle and settings are best for photographing chicken?
Choice of angle depends on the dish. For flat or composed plates (salads with sliced chicken, bowls, skewers), an overhead or flat-lay emphasizes arrangement. For roast chicken, cutlets, or any dish with height and texture, a 45° or three-quarter angle will showcase thickness and skin detail. Use a wide aperture (f/1.8–f/4) for a shallow depth of field to draw attention to the key element, and keep ISO low (100–400) to avoid noise. Adjust shutter speed for available light; use a tripod when shutter speed drops below 1/125s to maintain sharpness.
"I typically always try to have a plan. I’ll have a style in mind before I start."
Sarah Aagesen
If you shoot with a smartphone, lock exposure and use grid lines to apply the rule of thirds. For more control, try the phone’s pro mode to set ISO, shutter speed and white balance. If you want deeper reading on lenses and when to use them, see our guide What Lens for Food Photography — Choose the Right Lens for Every Shot and for stabilisation consider The Best Tripods for Food Photography.
How can I style and garnish a chicken plate for a great photo?
Styling focuses on three goals: contrast, story and texture. Add bright garnishes (fresh herbs, citrus) for color contrast and place them to lead the eye to the chicken. Use complementary sides (roasted veg with glossy finish, a smear of sauce) to create variety in color and texture. Keep props minimal and consistent with your brand: a rustic board for homestyle dishes or clean white plates for modern menus. As Chef/Stylist Zola Nene advises, brushing roasts with olive oil brings out shine and freshness.
- Brush skin with melted butter or oil just before shooting to increase gloss.
- Use micro herbs or torn parsley rather than large leaves for scale.
- Add citrus halves or wedges for brightness and to suggest flavor.
- Include a cut or slice showing the interior to display juiciness.
For plated sandwiches or bowls with chicken, reveal the interior: slice a roast chicken breast at an angle, or pull apart a leg to expose moist meat. Consider a quick mist of water on roasted veggies (not the chicken skin) to keep them looking fresh. If you need a props primer, consult our props guide Food photography props: Essential props, styling & sourcing guide.
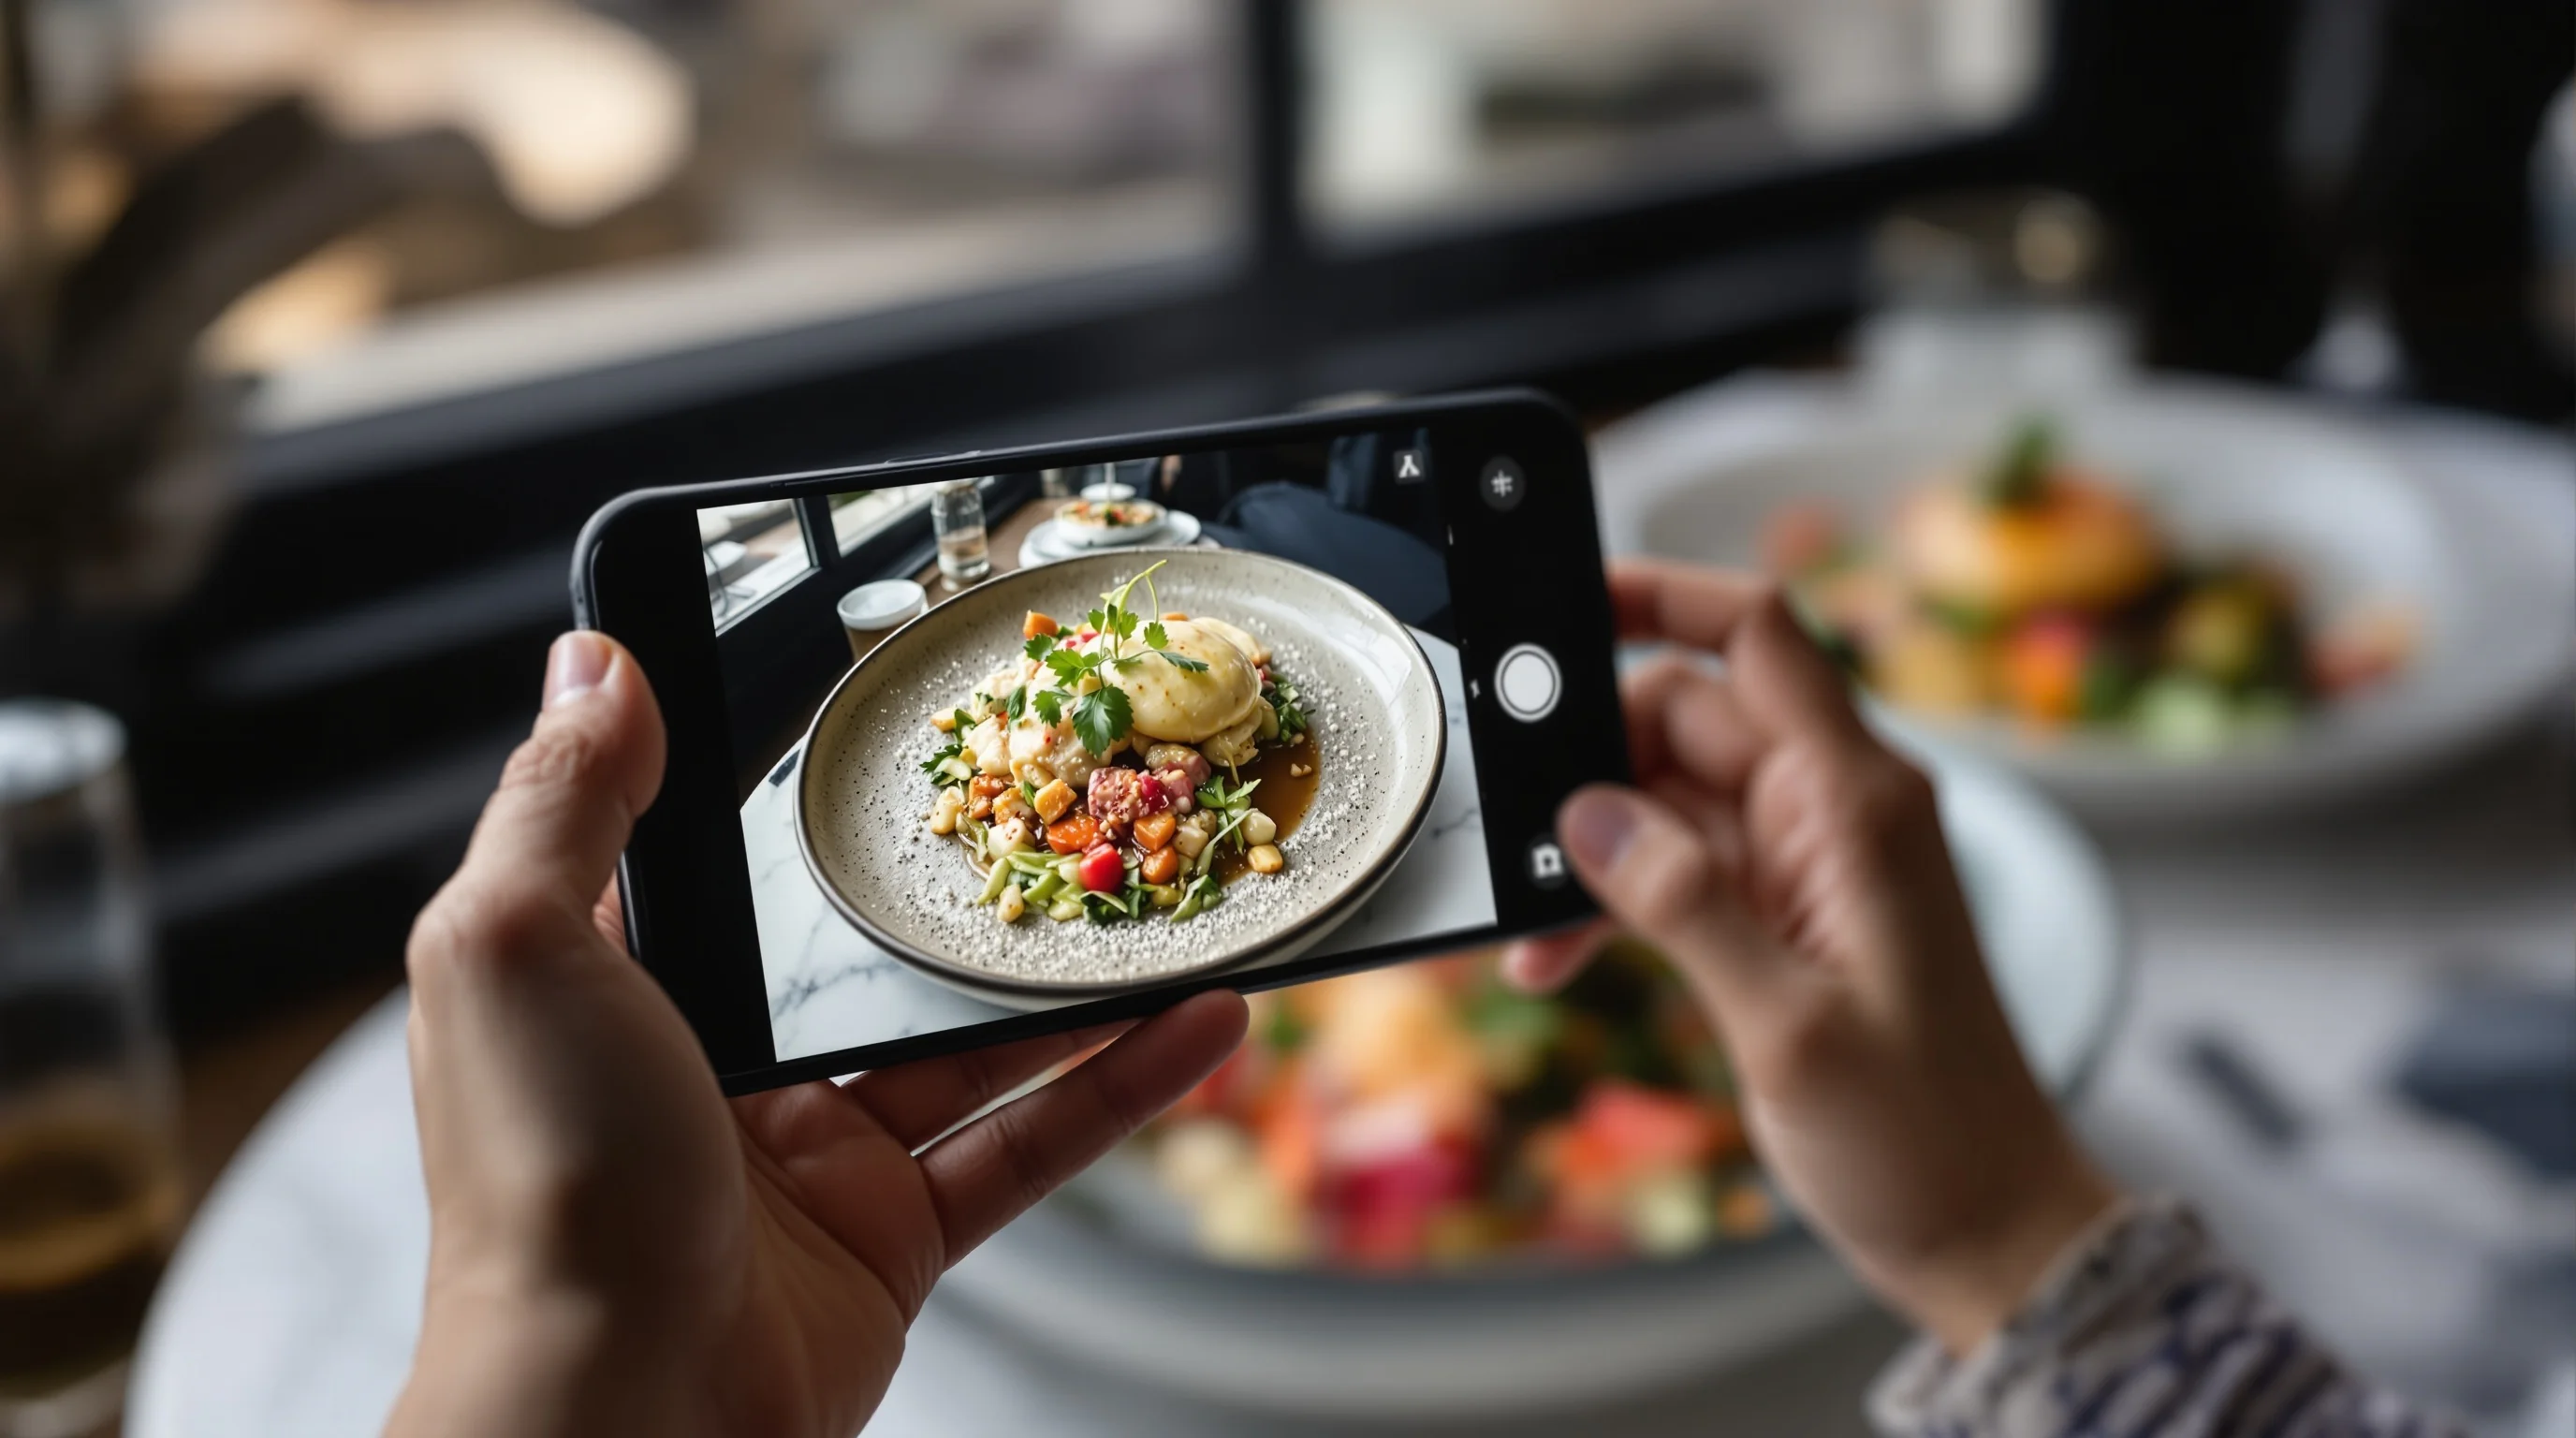
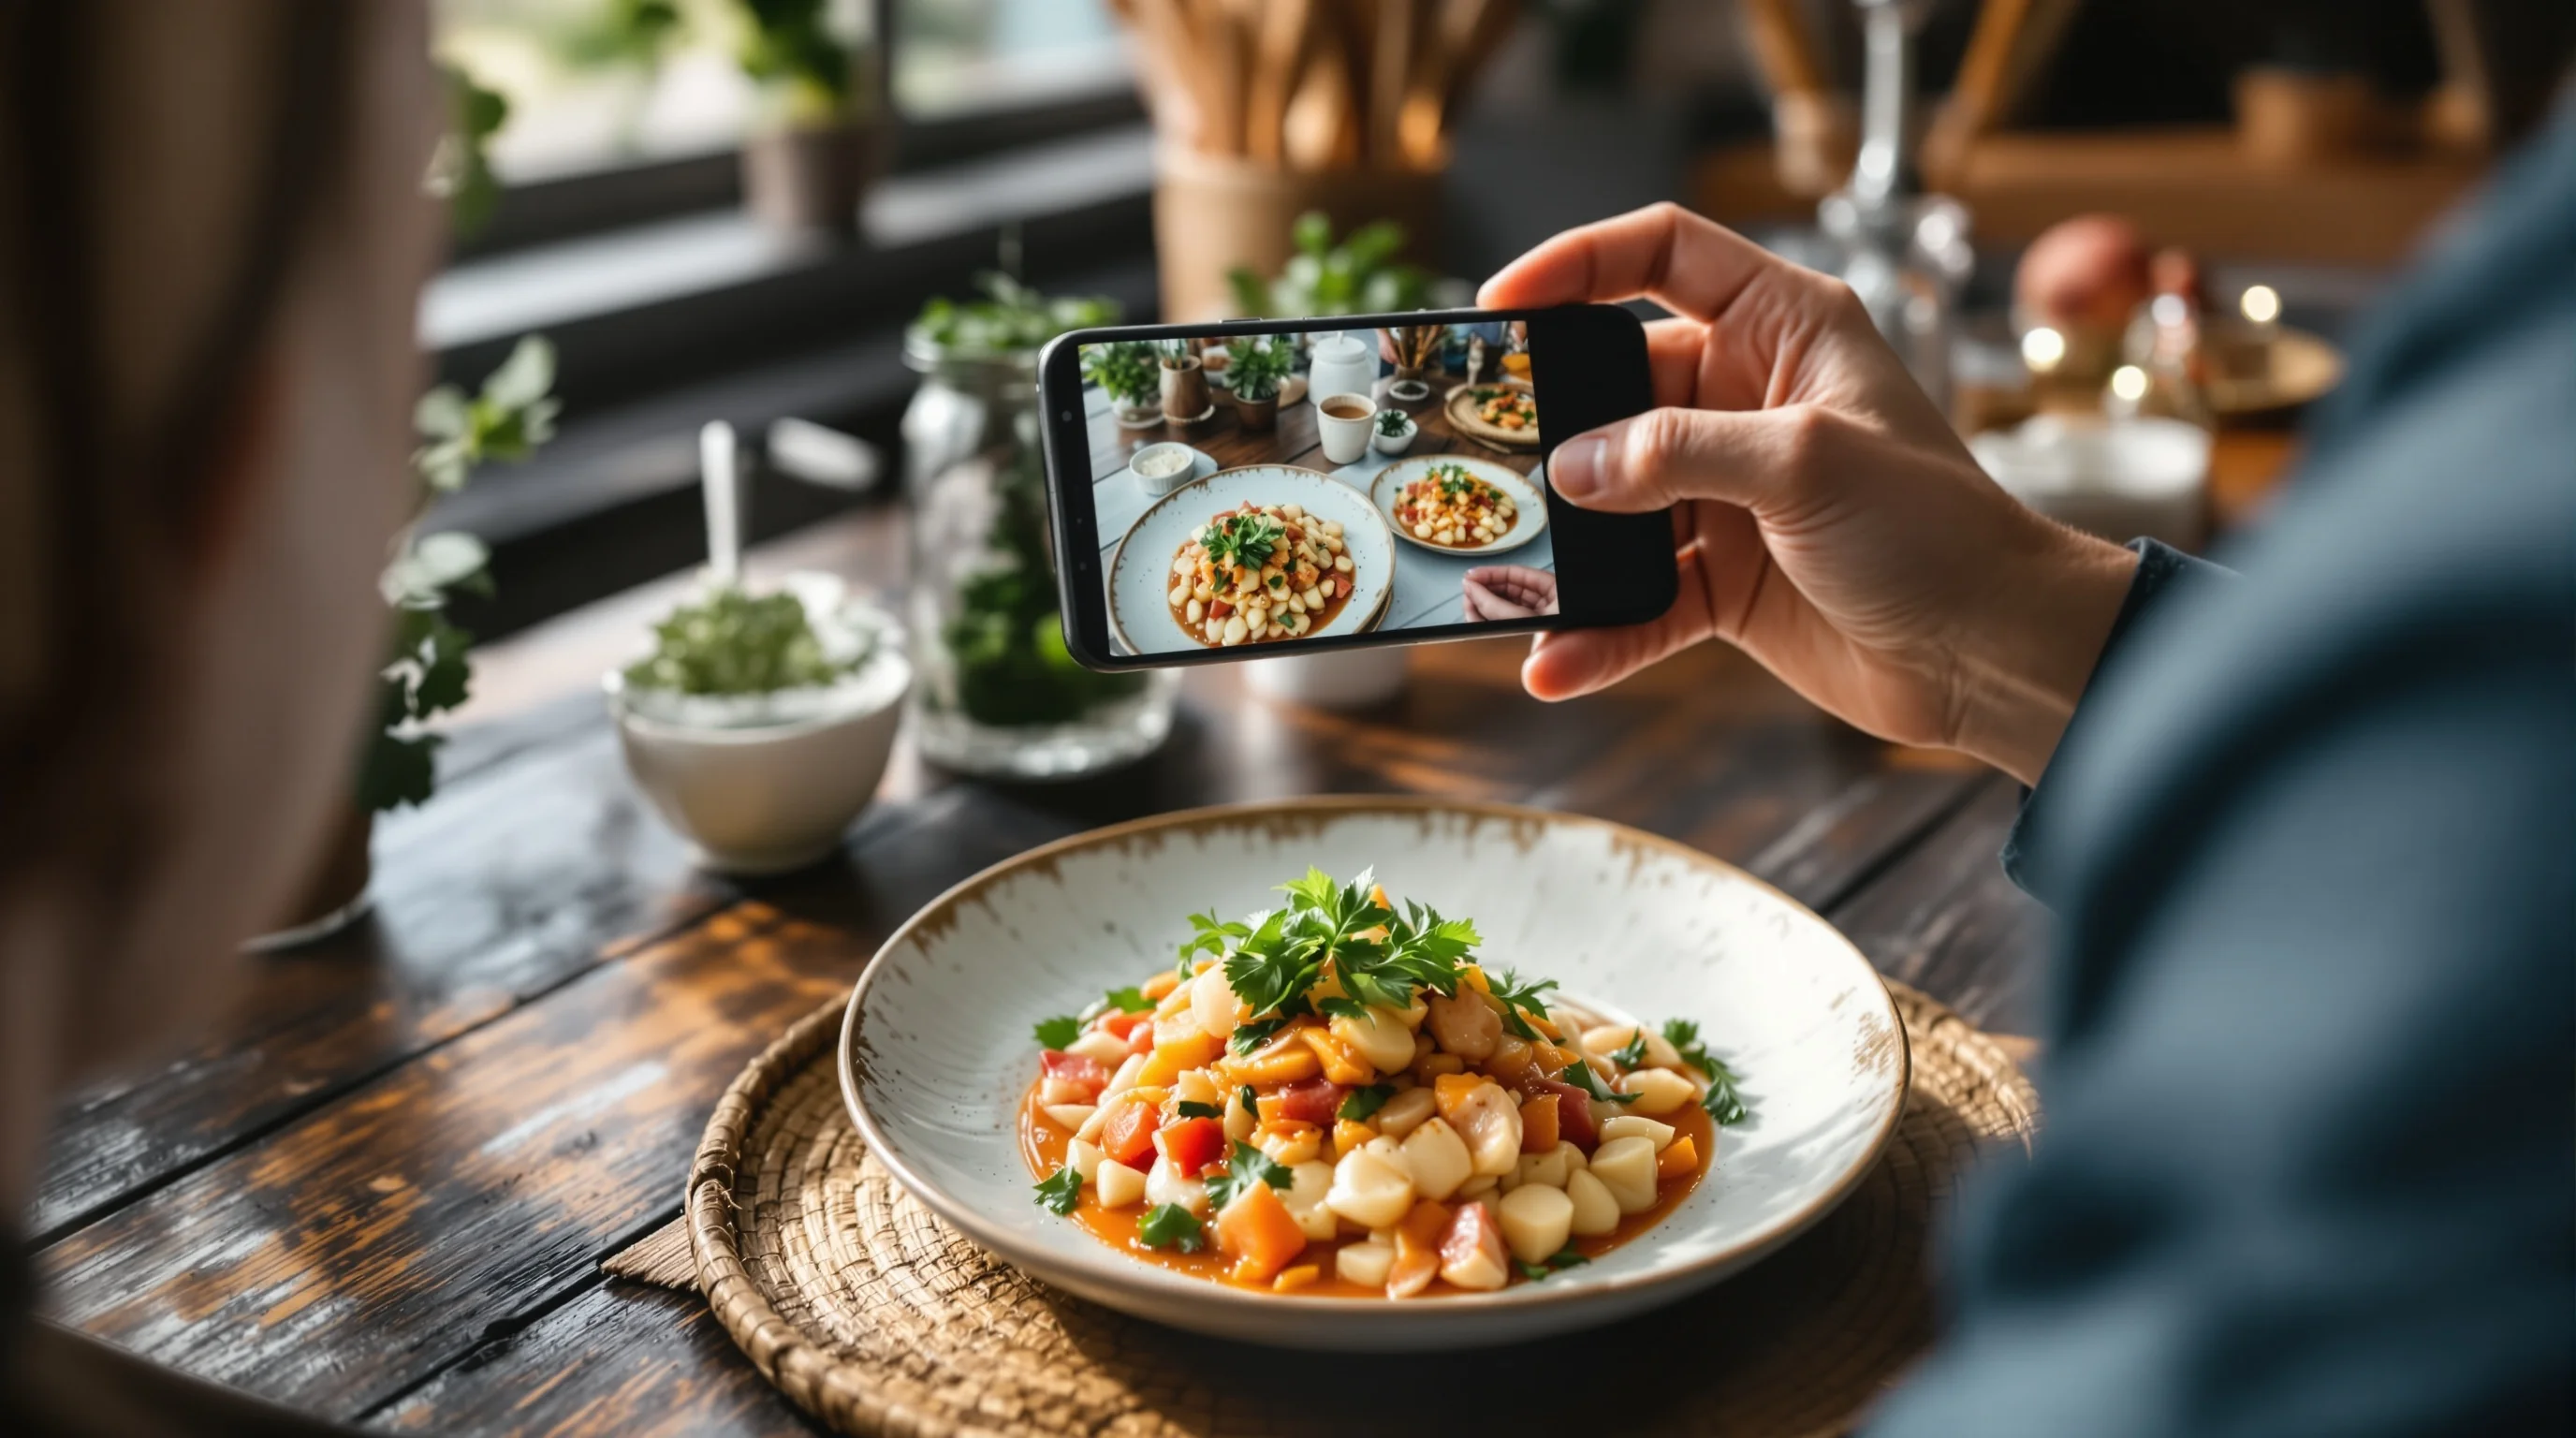
Smartphone vs DSLR workflow: practical steps for chicken shoots
Smartphones are capable if you adapt your workflow. For both phone and DSLR, follow the same pre-shoot checklist: choose light, prep plate, style, shoot multiple frames and finish with quick edits. On a DSLR, use a prime lens (50mm or 85mm equivalence for tight shots) and manual exposure to control depth and background blur. On a phone, use portrait mode or pro mode, lock focus/exposure, and bracket exposures if possible. If you’re undecided on gear, read our camera guide Best Camera for Food Photography.
Smartphone pros: speed, portability, built-in HDR and easy social upload. DSLR pros: better low-light performance, shallow depth of field control, and superior image quality for menus. When time is tight, shoot with your phone and use an AI tool like YummyPic to instantly correct white balance, boost color and produce restaurant-ready images ideal for DoorDash, Grubhub or Uber Eats.

Pre-shoot setup: step-by-step for chicken dishes
1) Plan the style and color story — bright & airy, dark & moody or editorial-natural. 2) Choose backing and plate: neutral textures for busy plates, dark slate for contrast. 3) Prep the dish last-minute: brush with oil/butter and add wet elements (sauces) just before shooting. 4) Arrange garnishes strategically to add color contrast and guide the eye. 5) Fire off test frames to set white balance and exposure. 6) Shoot multiple angles and a detail close-up. These steps prevent the common problem of a once-perfect dish turning dull during a long shoot.
- Define the shot style and mood.
- Set up natural, diffused window light with a reflector.
- Plate and apply final glaze or oil immediately before shooting.
- Shoot wide, medium and close-up frames; capture a cut or pull-apart view.
- Edit quickly or batch-process with AI to match brand style.
Natural diffused daylight is usually most flattering; avoid direct sun which creates harsh highlights. Use a diffuser or lightweight fabric over the window and a white card as a reflector to fill shadows. For tricky interiors, place the set near a large window and use a black flag to deepen shadows for a richer mood. These lighting techniques are consistently recommended by food photographers and Adobe Creative Cloud guides.
Lighting, composition and camera settings — quick reference
Lighting: diffuse window light is best. Exposure: keep highlights controlled to retain skin texture. Composition: use leading lines and the rule of thirds or the golden spiral to draw the eye. Aperture: f/1.8–f/4 for shallow depth; f/5.6–f/8 for group shots or full-table views. Shutter speed: 1/125s or faster handheld to avoid blur. White balance: set manually or correct in post — chicken skin must be warm, not orange. Tripods allow slower shutter speeds and careful framing; see our tripod guide The Best Tripods for Food Photography for recommendations.
Composition tips: leave negative space so the plate breathes, use leading lines from cutlery or napkins, and avoid centering everything. For a more dynamic image, tilt the camera slightly for motion or capture a moment — a sauce pour, a fork pulling meat. These small actions communicate texture and make the chicken feel freshly served.

Post-processing, quick edits and AI tools
Post-processing should be fast and consistent. Basic adjustments: crop, correct white balance, boost contrast, recover shadows, and selectively increase saturation for garnishes. If you lack time or editing skill, AI platforms like YummyPic speed the process: one-click food-optimized filters enhance color, correct white balance, boost detail and even suggest framing variations. YummyPic is particularly useful for restaurants that need multiple platform-ready styles — bright & airy for Instagram, high-contrast for delivery apps.
💡 Pro Tip
Use selective clarity/texture on the chicken skin to emphasize crispness, and slightly reduce clarity on the background to keep focus on the dish.
YummyPic value: instant professional results, cost-effective versus hiring a photographer, and flexibility to produce multiple versions for DoorDash, Grubhub and Uber Eats. Upload one image and download high-resolution variations in seconds — ideal for small kitchens and operators who must update menus quickly without a full shoot.
Checklist: final touches that make chicken photos pop
- Brush with oil or butter right before shooting.
- Include a cut or peeled section to show juicy interior.
- Add fresh garnishes for color contrast.
- Use diffused natural light and a reflector.
- Shoot handheld and on tripod for variety.
- Edit for white balance and targeted clarity (or use YummyPic).
Small details influence perception: a sprinkle of coarse salt, a smear of sauce, or a steam plume. These cues tell the viewer the dish is fresh and well-prepared. Professionals often plan these accents in advance to minimise re-shoots and food waste. As Sarah Aagesen emphasized, planning a style in advance reduces decision fatigue during the shoot.
Conclusion
Photographing chicken dishes that look delicious is achievable with attention to light, angle, styling and fast, reliable editing. Use natural diffused light, shallow depth of field to separate the subject, and chicken-specific styling such as brushing with oil, revealing the interior, and adding fresh garnishes. If you need speed or consistent menu images, AI tools like YummyPic deliver polished, platform-ready photos in seconds — a cost-effective complement to in-house shooting. Apply the checklist and workflows here to increase engagement and orders across DoorDash, Grubhub, Uber Eats and social media.