Introduction — A great burger photo can boost orders, strengthen a brand and make menus irresistible. This guide, How to Photograph Burgers Like a Pro: Juicy, Melty, Perfect, walks Sie through practical, restaurant-ready steps for lighting, composition, styling and editing so burgers look juicy, cheese looks melty and layers pop. Whether Sie shoot with a DSLR, a mirrorless camera or a smartphone, Sie will learn precise camera settings, advanced styling secrets (freeze, inject, grill-mark techniques), smartphone hacks for fast content, and a workflow that delivers menu-ready images for DoorDash, Grubhub and Instagram.
Why great burger photos matter for restaurants
A compelling burger image is more than eye candy — it drives orders. According to Soocial, 37% of people notice burger images before other foods, and research from ResearchGate shows restaurants using high-quality dish images can see up to ~30% higher sales and that 53.3% of customers say they are likely to revisit if the food looks good in photos. Good burger photography is an investment: appetizing visuals increase conversions on menus, delivery platforms and social ads.
Start by defining the use: menu photos for delivery platforms need clean, isolated shots that read clearly at thumbnail size, while Instagram can support moodier, stylized portraits. When planning a shoot, match the style to platform requirements — for example, prepare square or vertical crops for social and high-resolution horizontal crops for websites and menus.
Lighting: soft, diffused light is your foundation
Lighting for food photography makes or breaks a burger shot. "Lighting is the foundation of great burger photography. Soft, diffused light is your friend" — Source: Retouching Labs. Use a large window with a diffuser or a softbox to create soft side light that reveals texture without harsh shadows. Avoid direct midday sun; instead, position the burger so highlights define the bun, cheese and juices, and use a white reflector to fill in shadowed areas.
For controlled studio setups, use a key light at 45 degrees and a fill light or reflector opposite. If Sie need more punch—carefully add a small rim light behind the burger to separate it from the background. For on-location shoots in cramped kitchens, consider portable LED panels with adjustable color temperature to match ambient light.
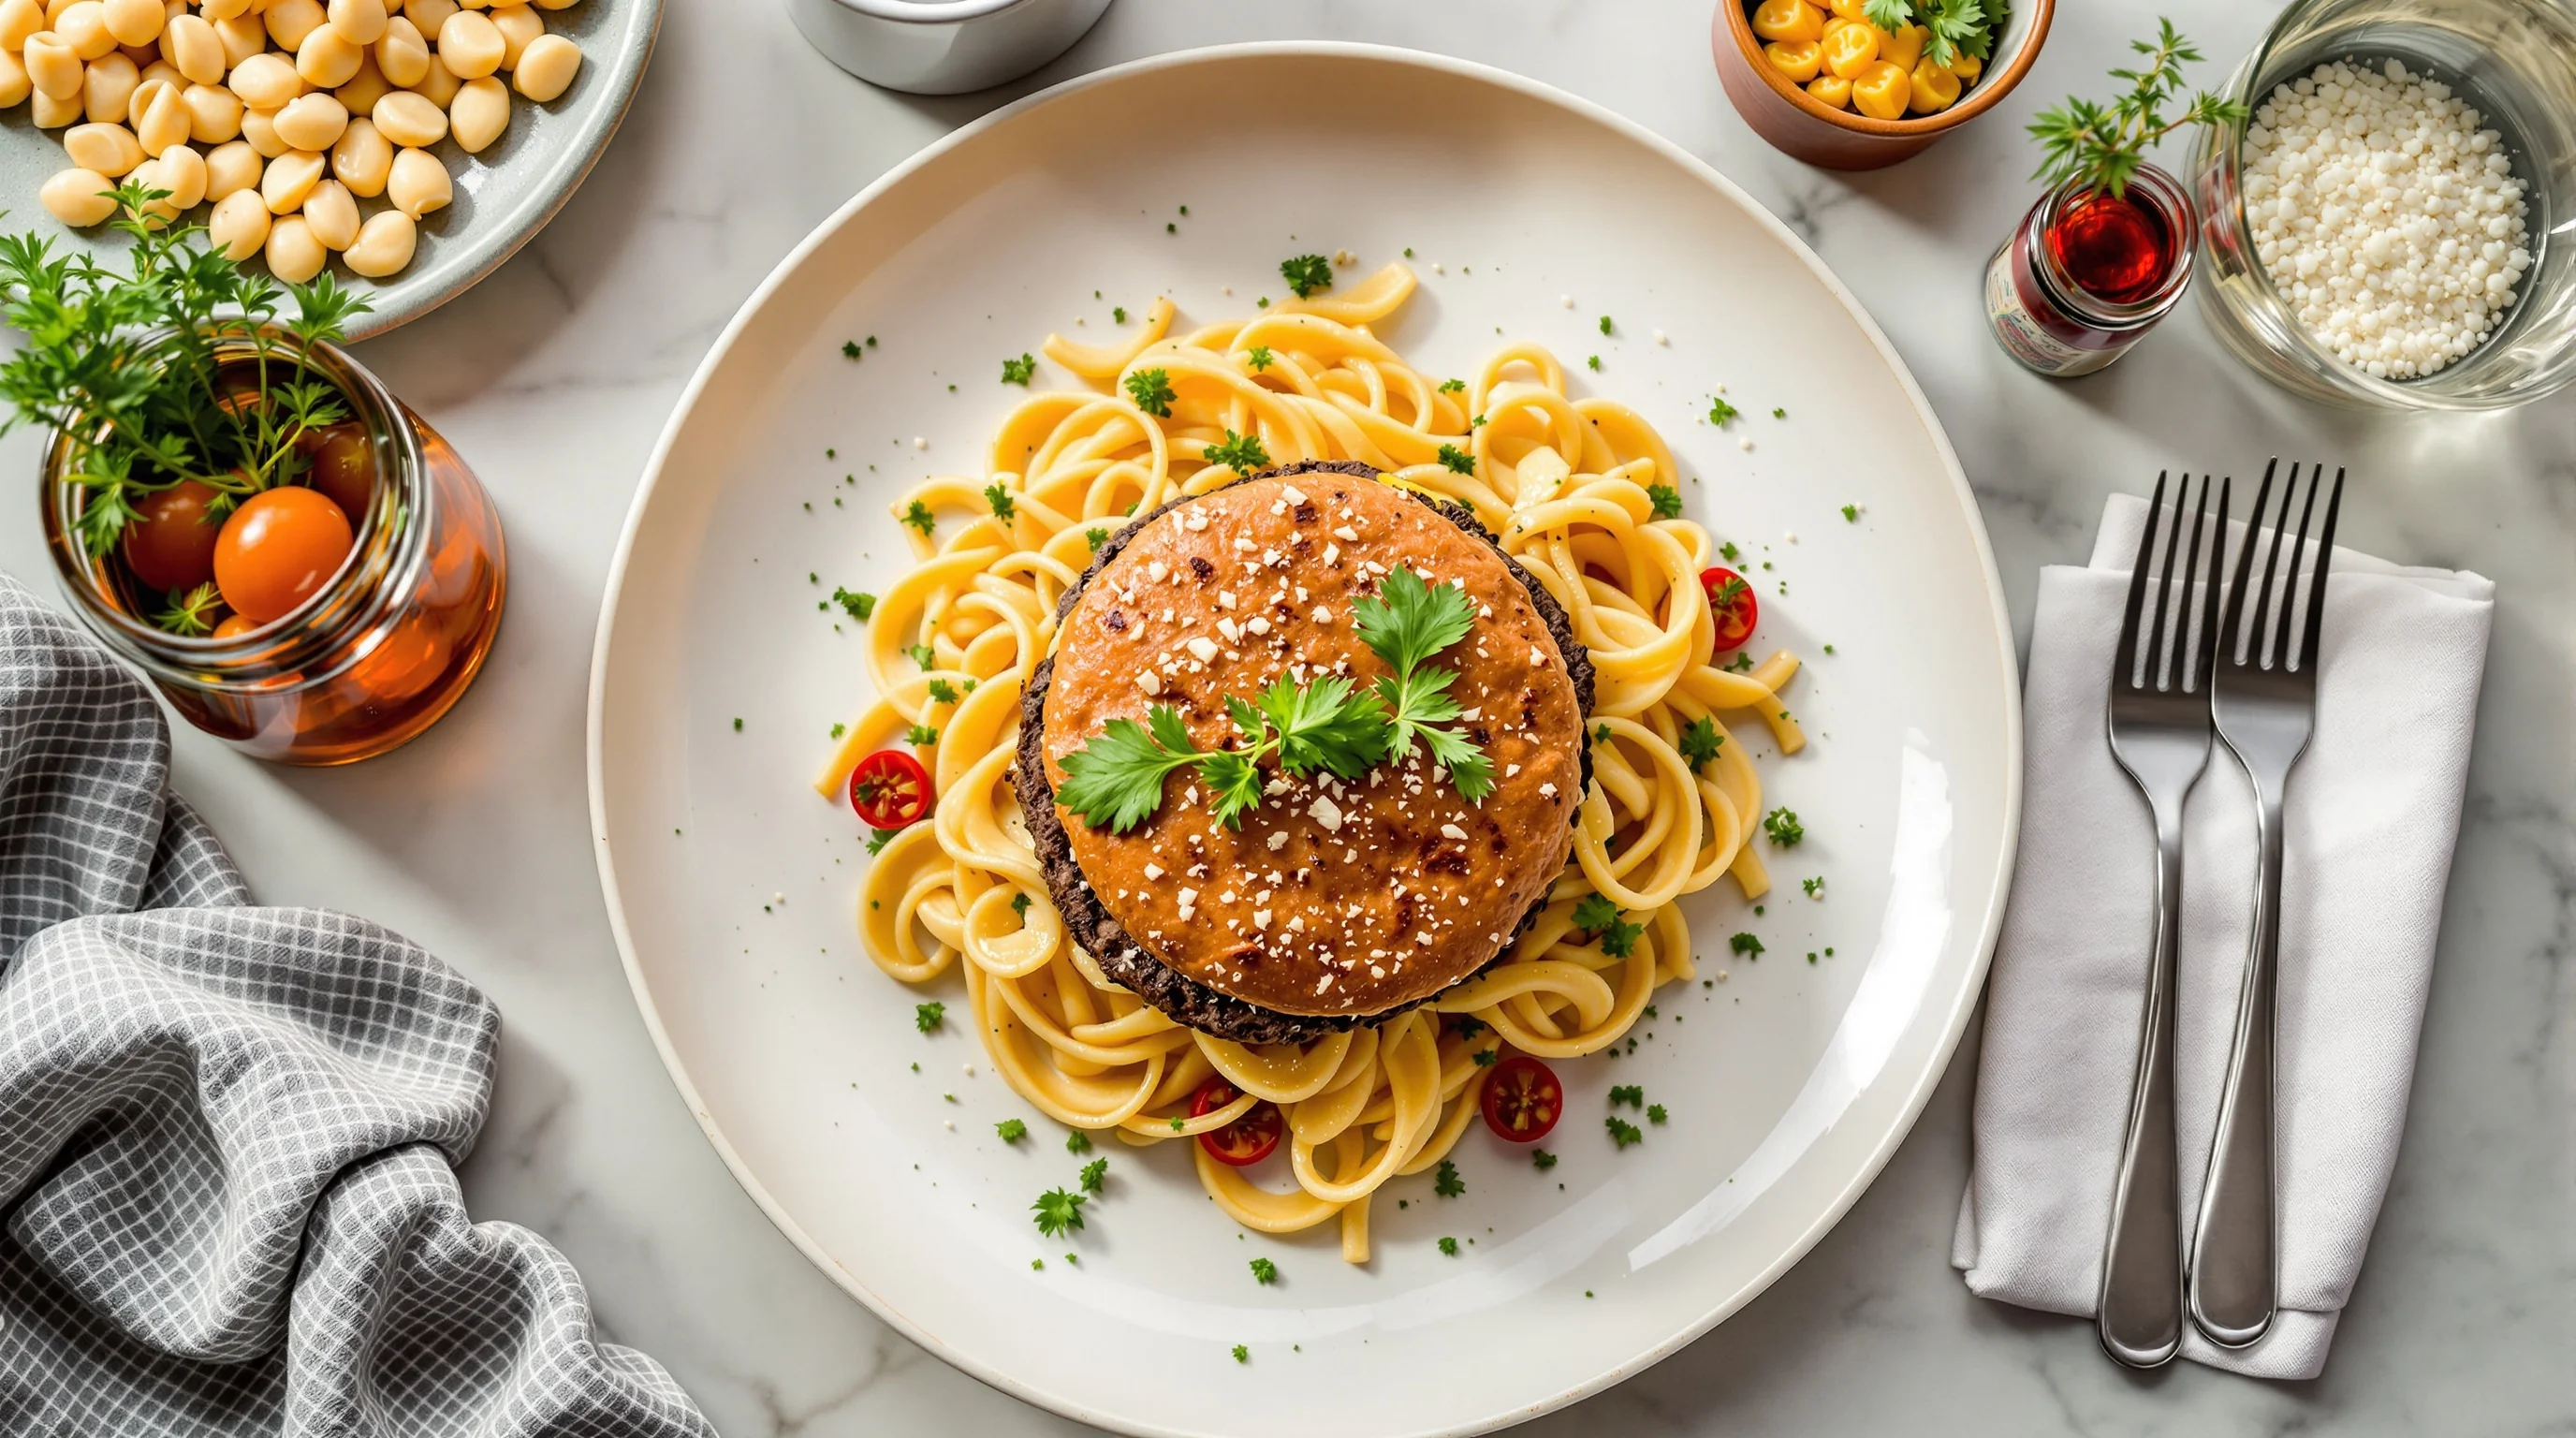
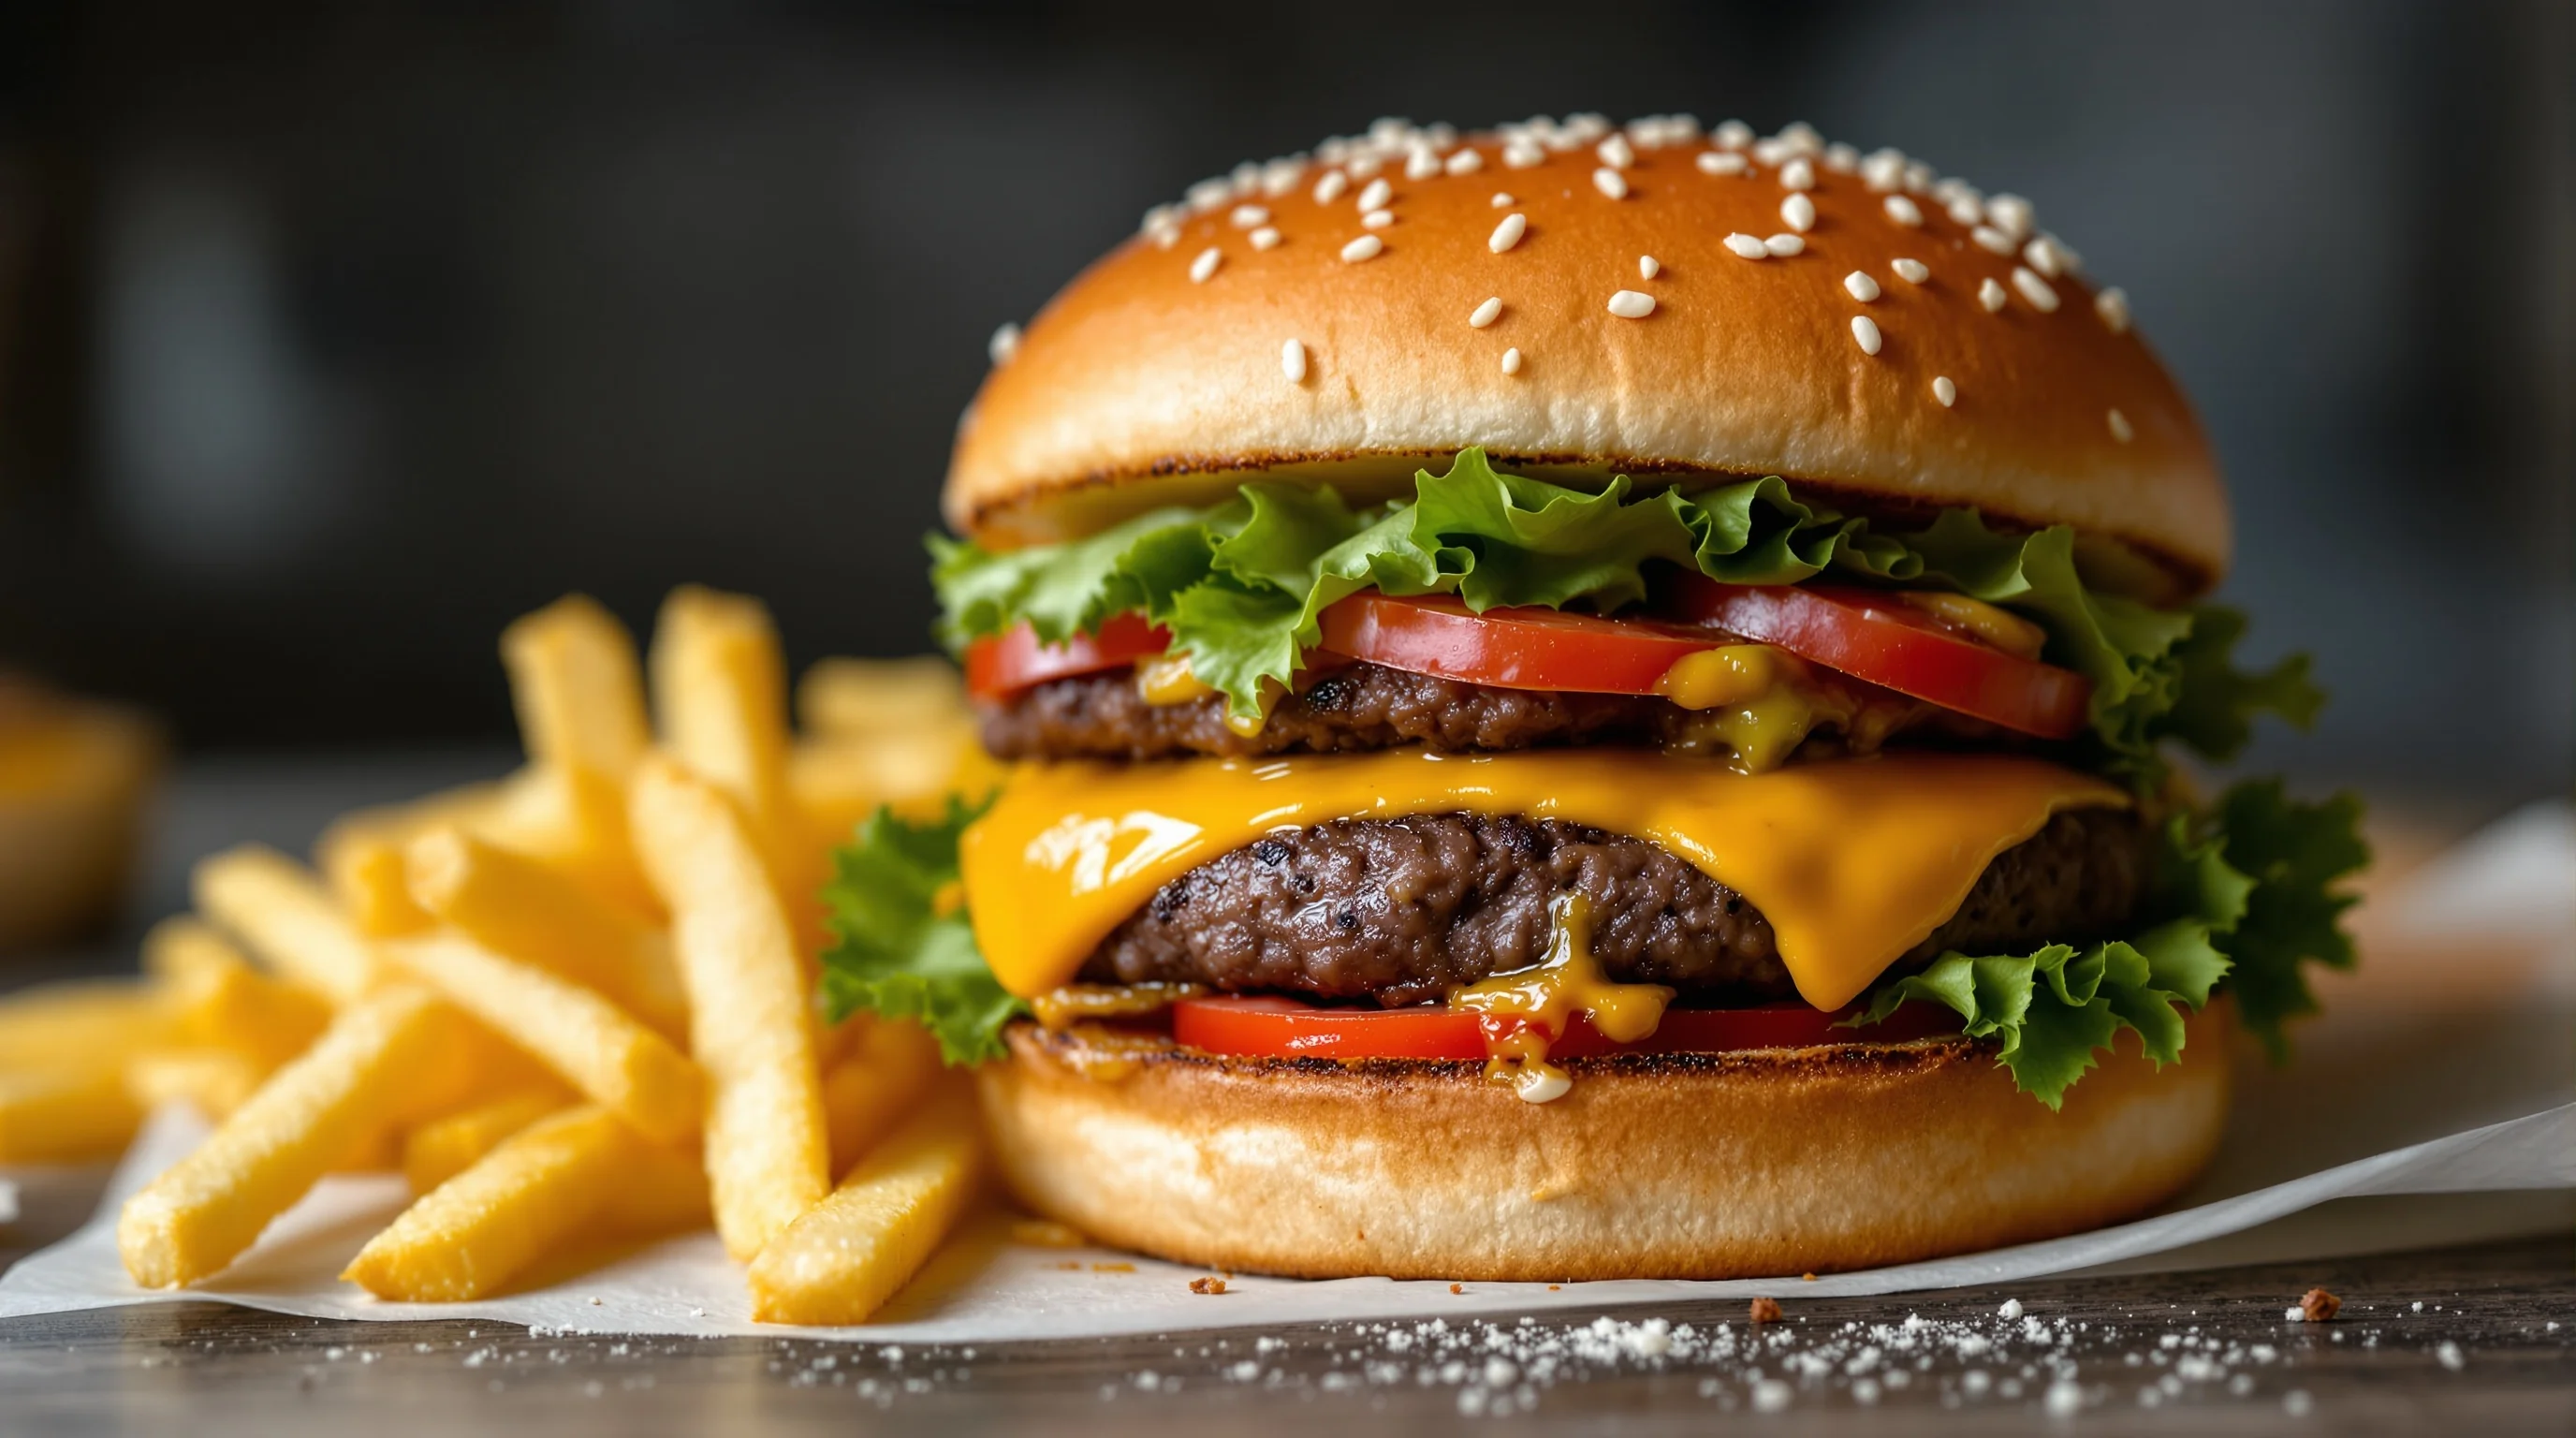
Angles, composition and making layers sing
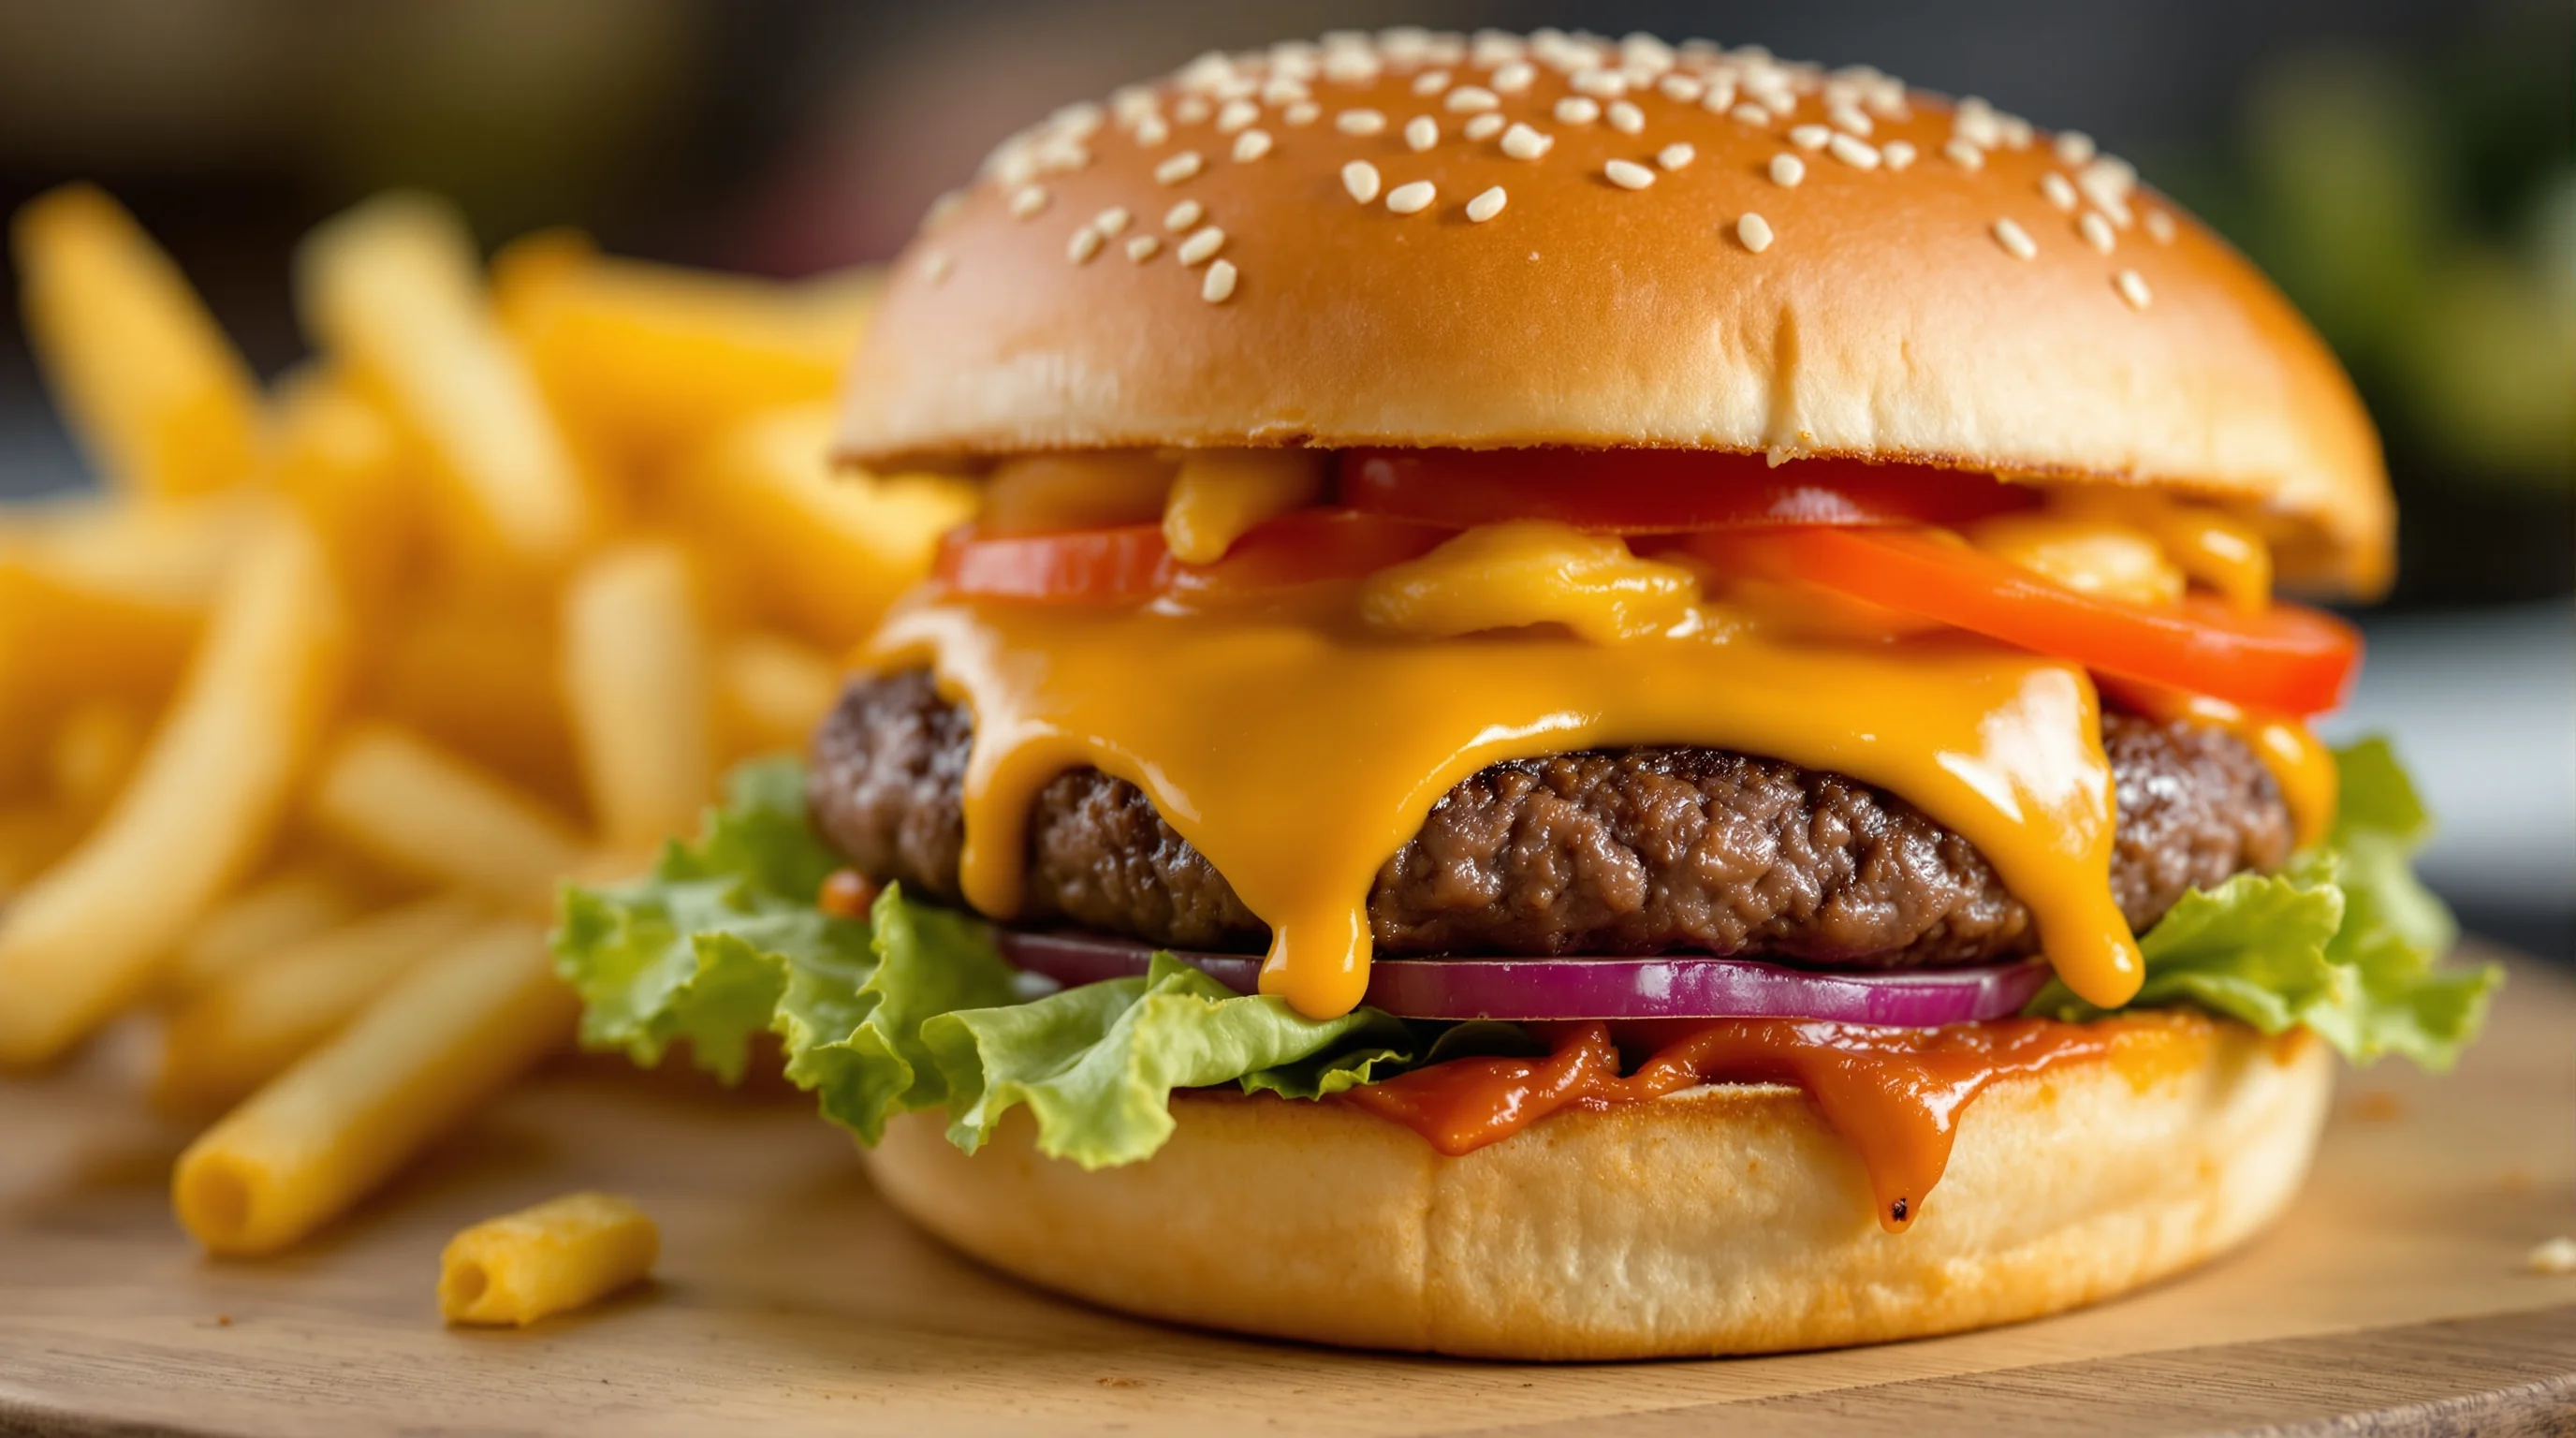
Angle selection defines how juicy and melty a burger appears. Side-view (about eye level) emphasizes layers — bun, lettuce, patty, cheese — and is the classic menu shot. A 45-degree angle gives depth and is ideal for showing melted cheese drips. Overhead works for flat-lays with fries and sides. Use the rule of thirds and negative space to create appetizing composition — place the burger off-center and keep props minimal.
For composition tips that extend beyond burgers, see our guide on food photography composition rule of thirds — Practical Guide. When shooting, make sure the focal plane cuts through the most interesting textures — typically the cheese-juicy patty seam — and keep depth of field shallow to achieve a creamy background and highlight juicy burger details.
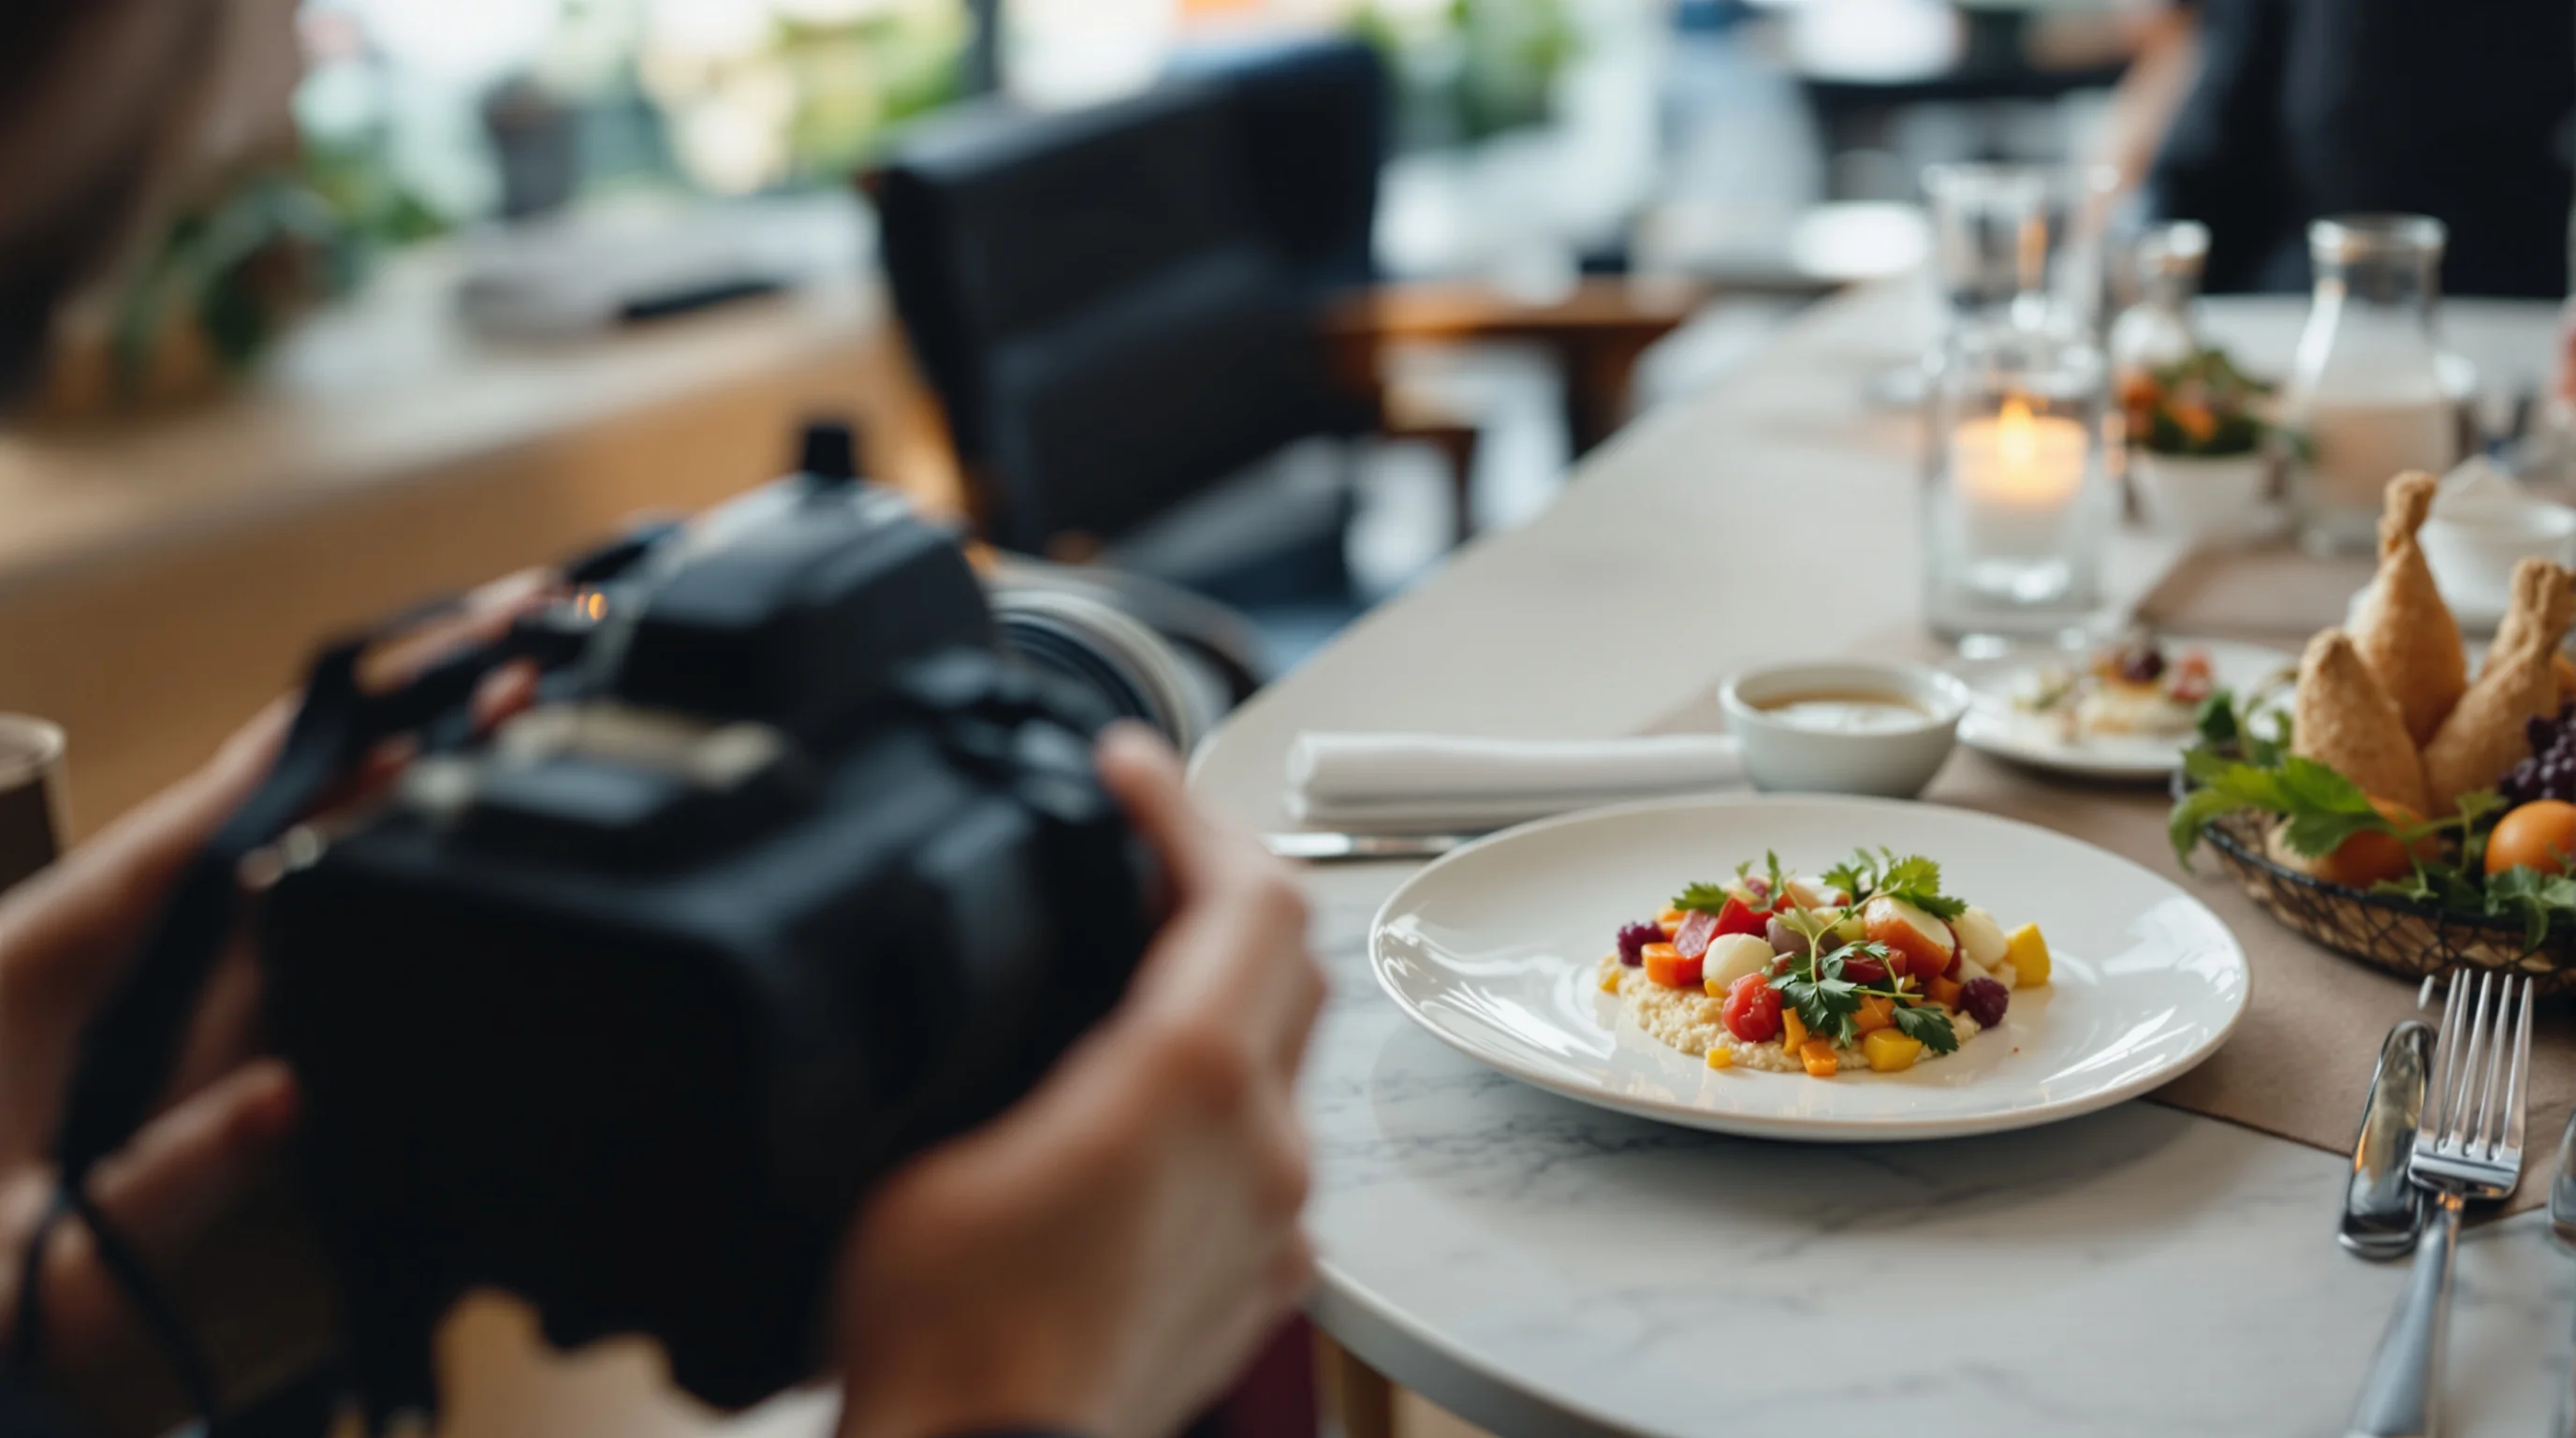
Camera gear and precise settings for burger shots
Gear choices matter but good technique matters more. Use a macro lens or get close with a 35mm or 50mm to capture juicy texture — a macro lens is ideal for close-up detail. Shooting in RAW gives maximum latitude for color and exposure adjustments. Stabilize the camera on a sturdy tripod; learn more in our tripod guide if Sie need a recommendation.
Recommended camera settings for a classic burger portrait: aperture f/2.8–f/5.6 for shallow depth of field, shutter speed 1/125s or faster (use higher speed if Sie handheld), ISO as low as possible to avoid noise (ISO 100–400), and set white balance to match your light source or use Auto WB and correct in RAW. Manual focus or focus peaking helps nail the cheese-patty junction. For smartphones, lock exposure/focus and use portrait mode sparingly—manual apps give better control.
- Use RAW (or highest-quality format) for editing flexibility.
- Aperture: f/2.8–f/5.6 to isolate the burger.
- Shutter speed: 1/125s+ or a tripod with remote trigger.
- ISO: 100–400; raise cautiously to preserve color and detail.
- White balance: match light or correct in post.
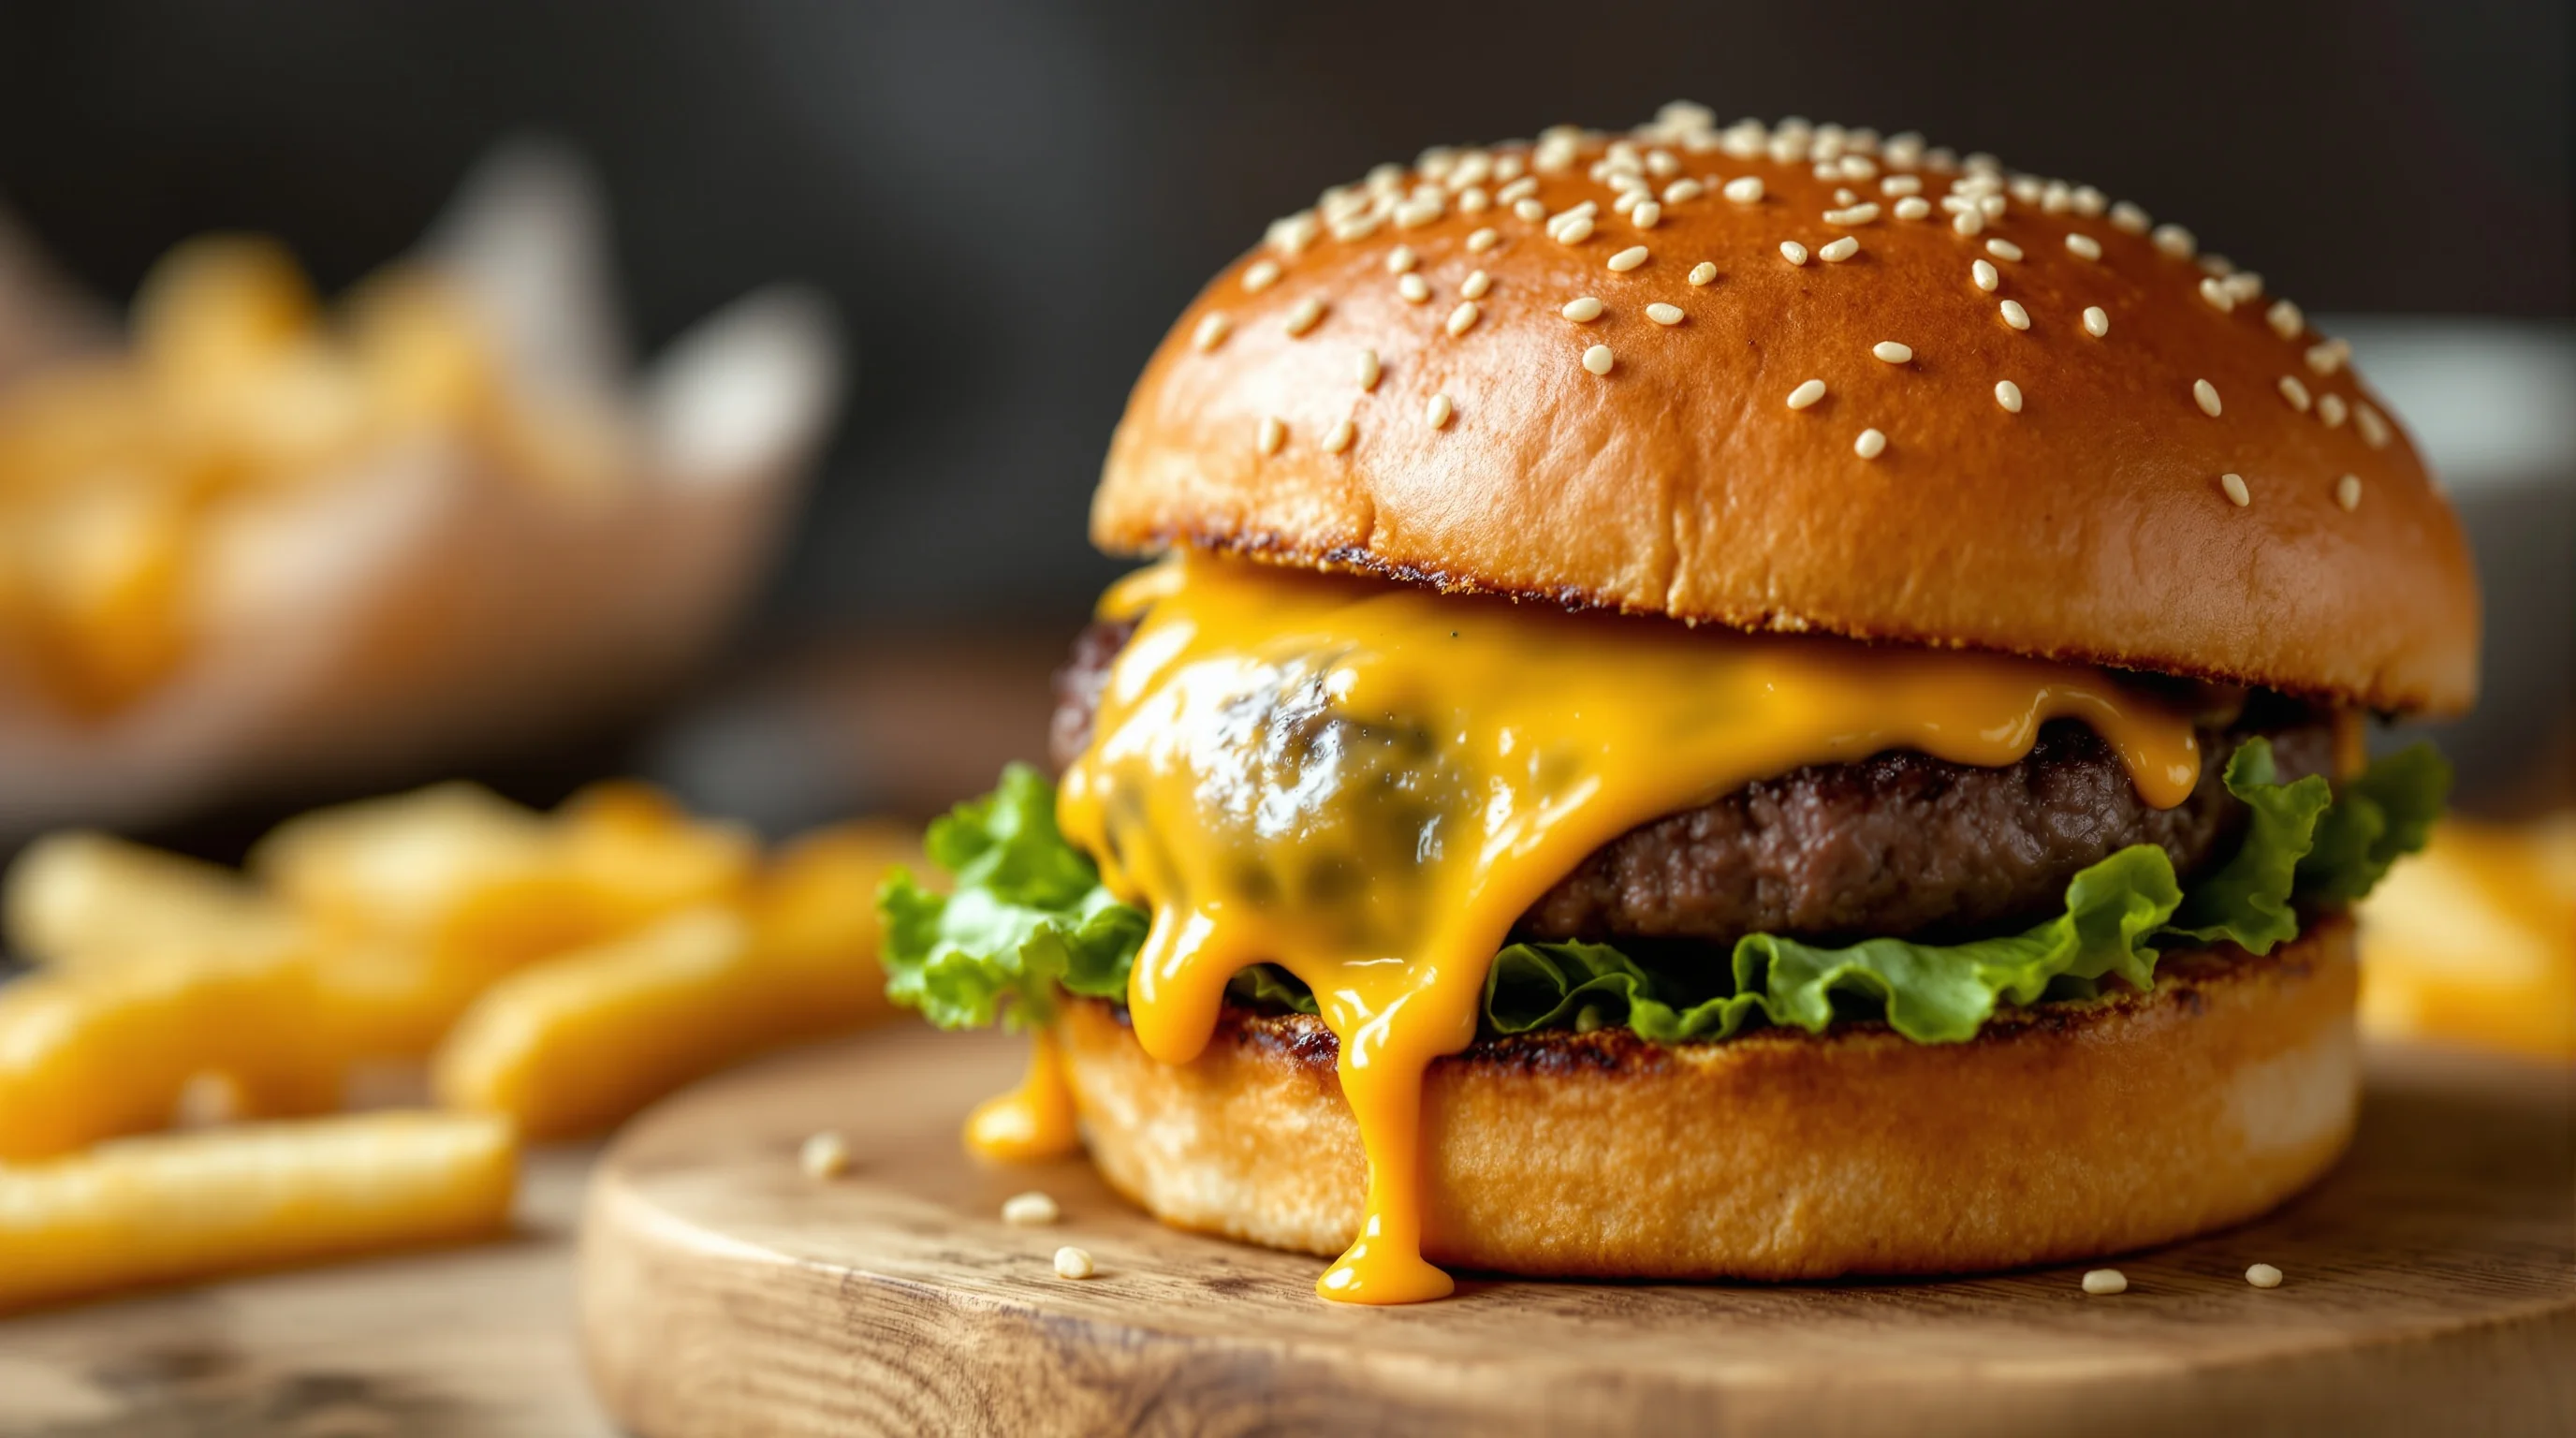
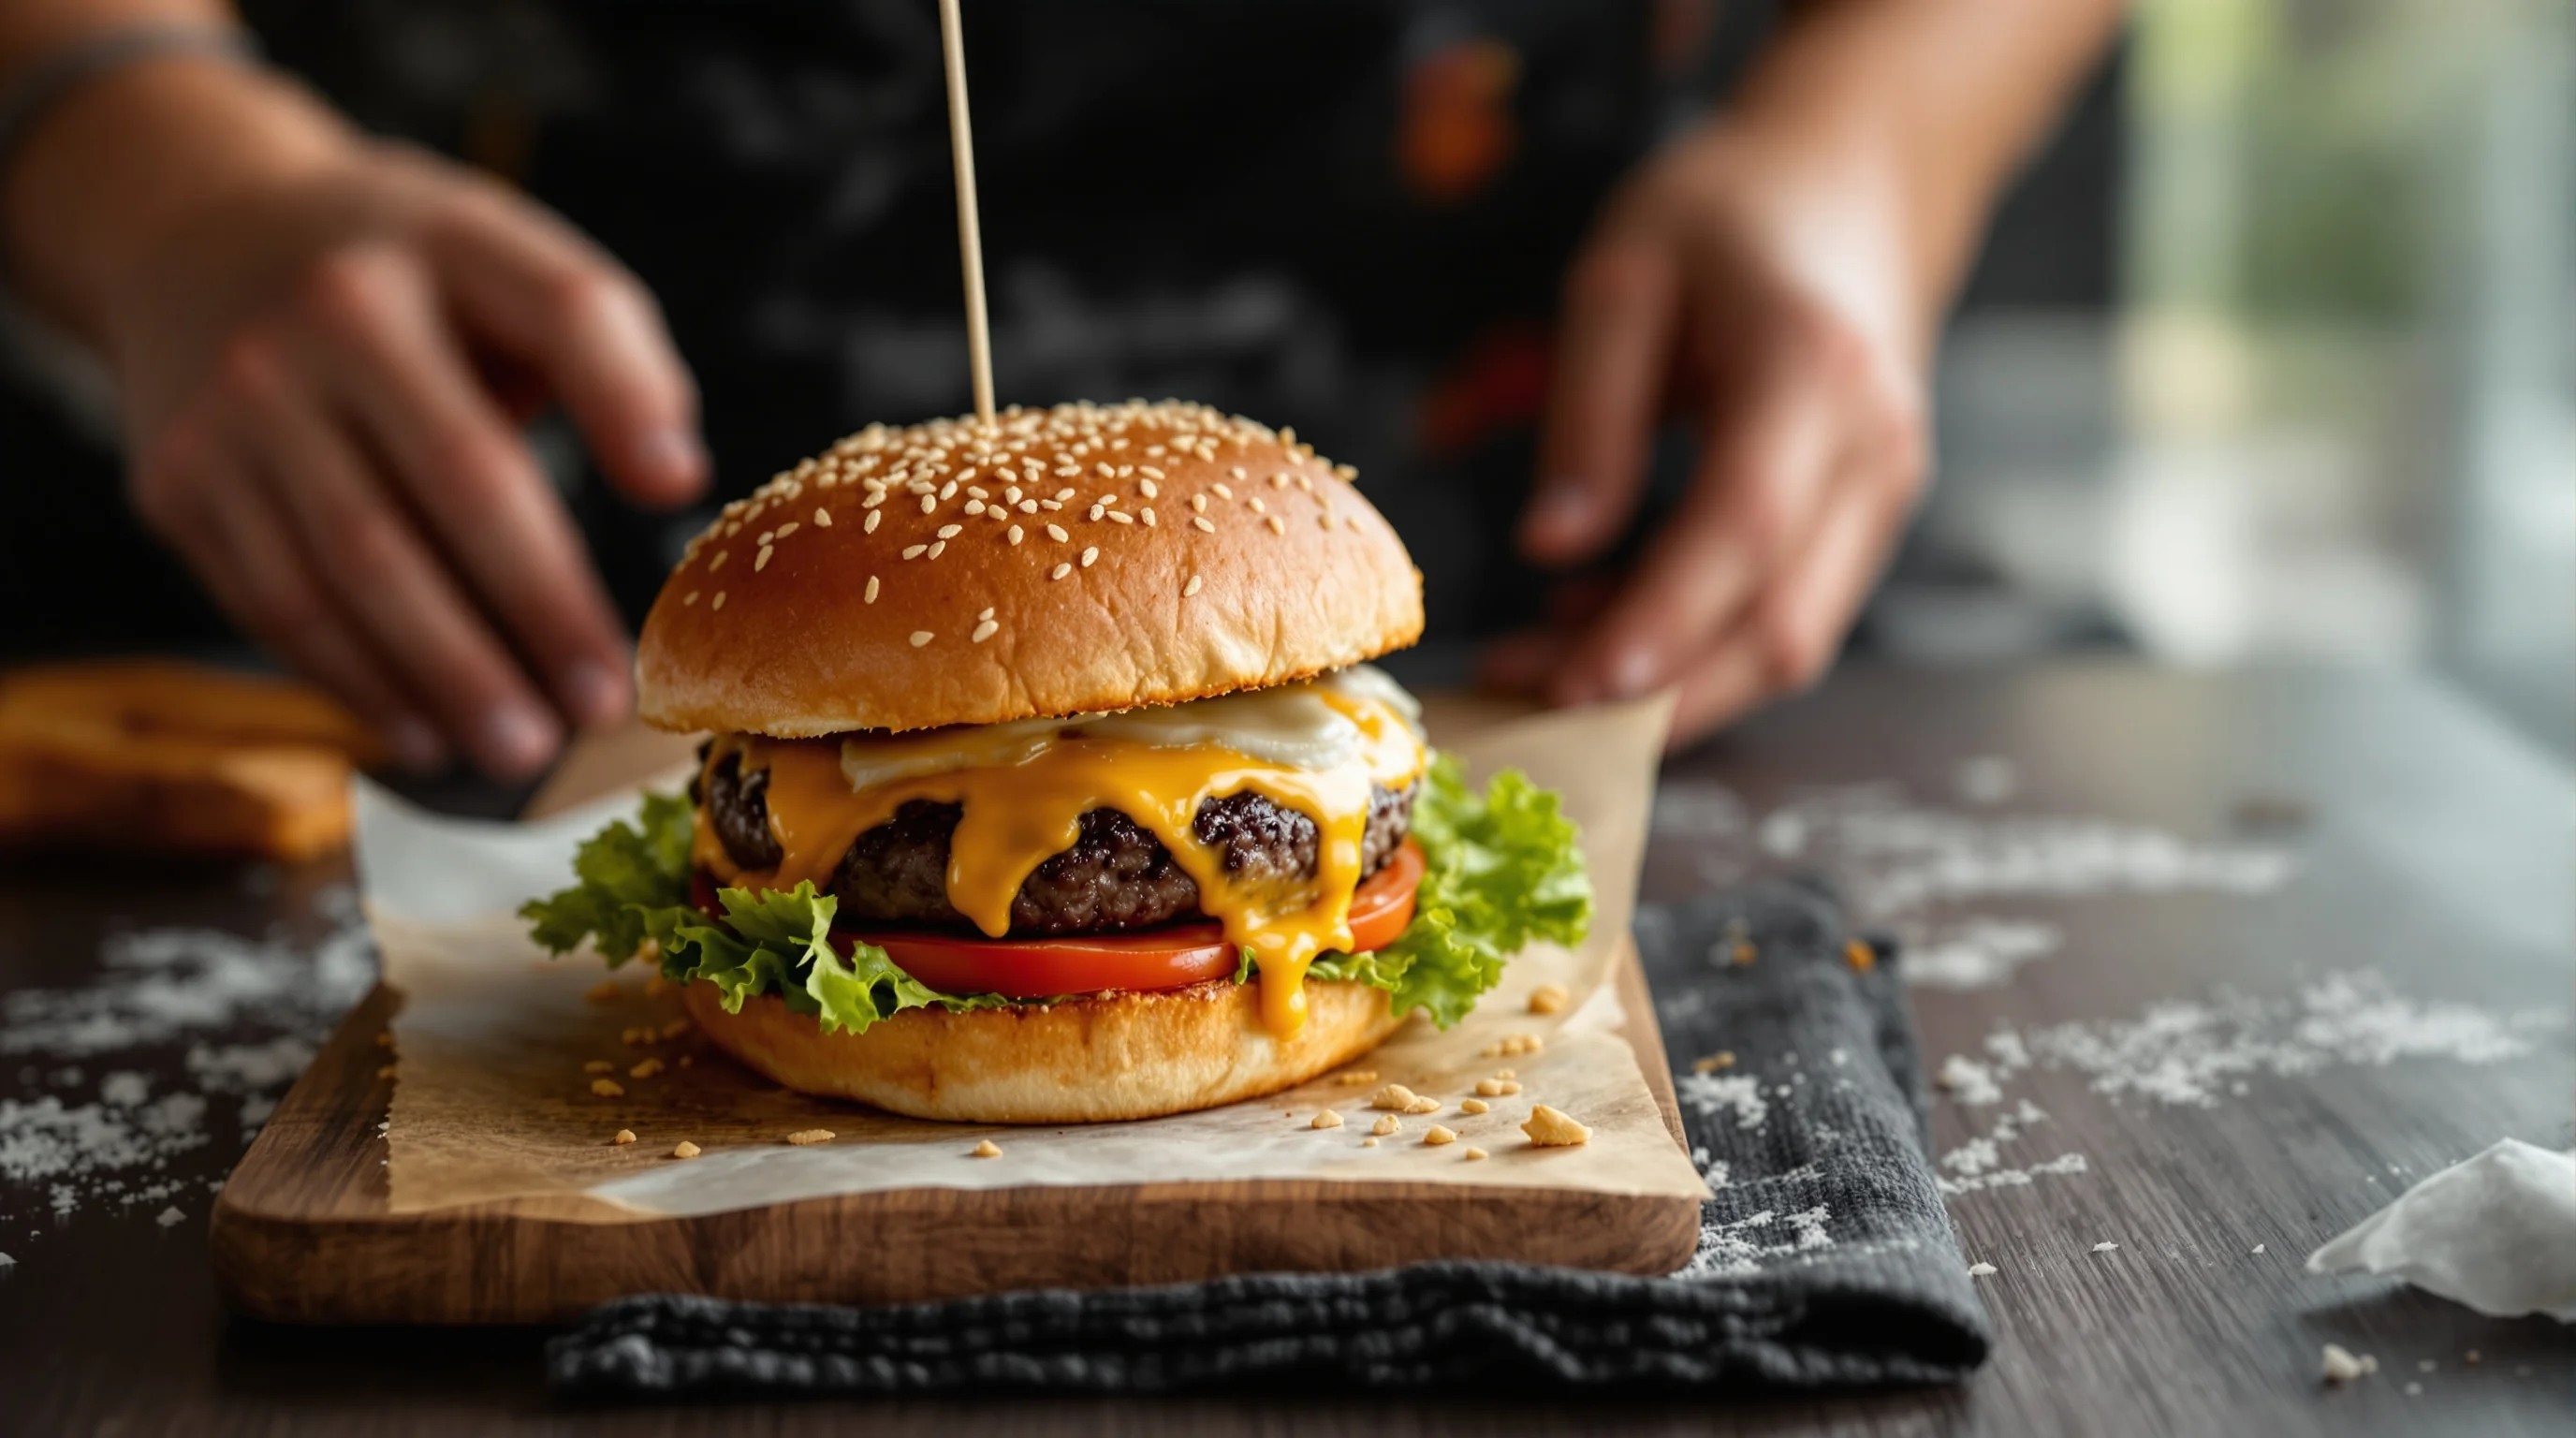
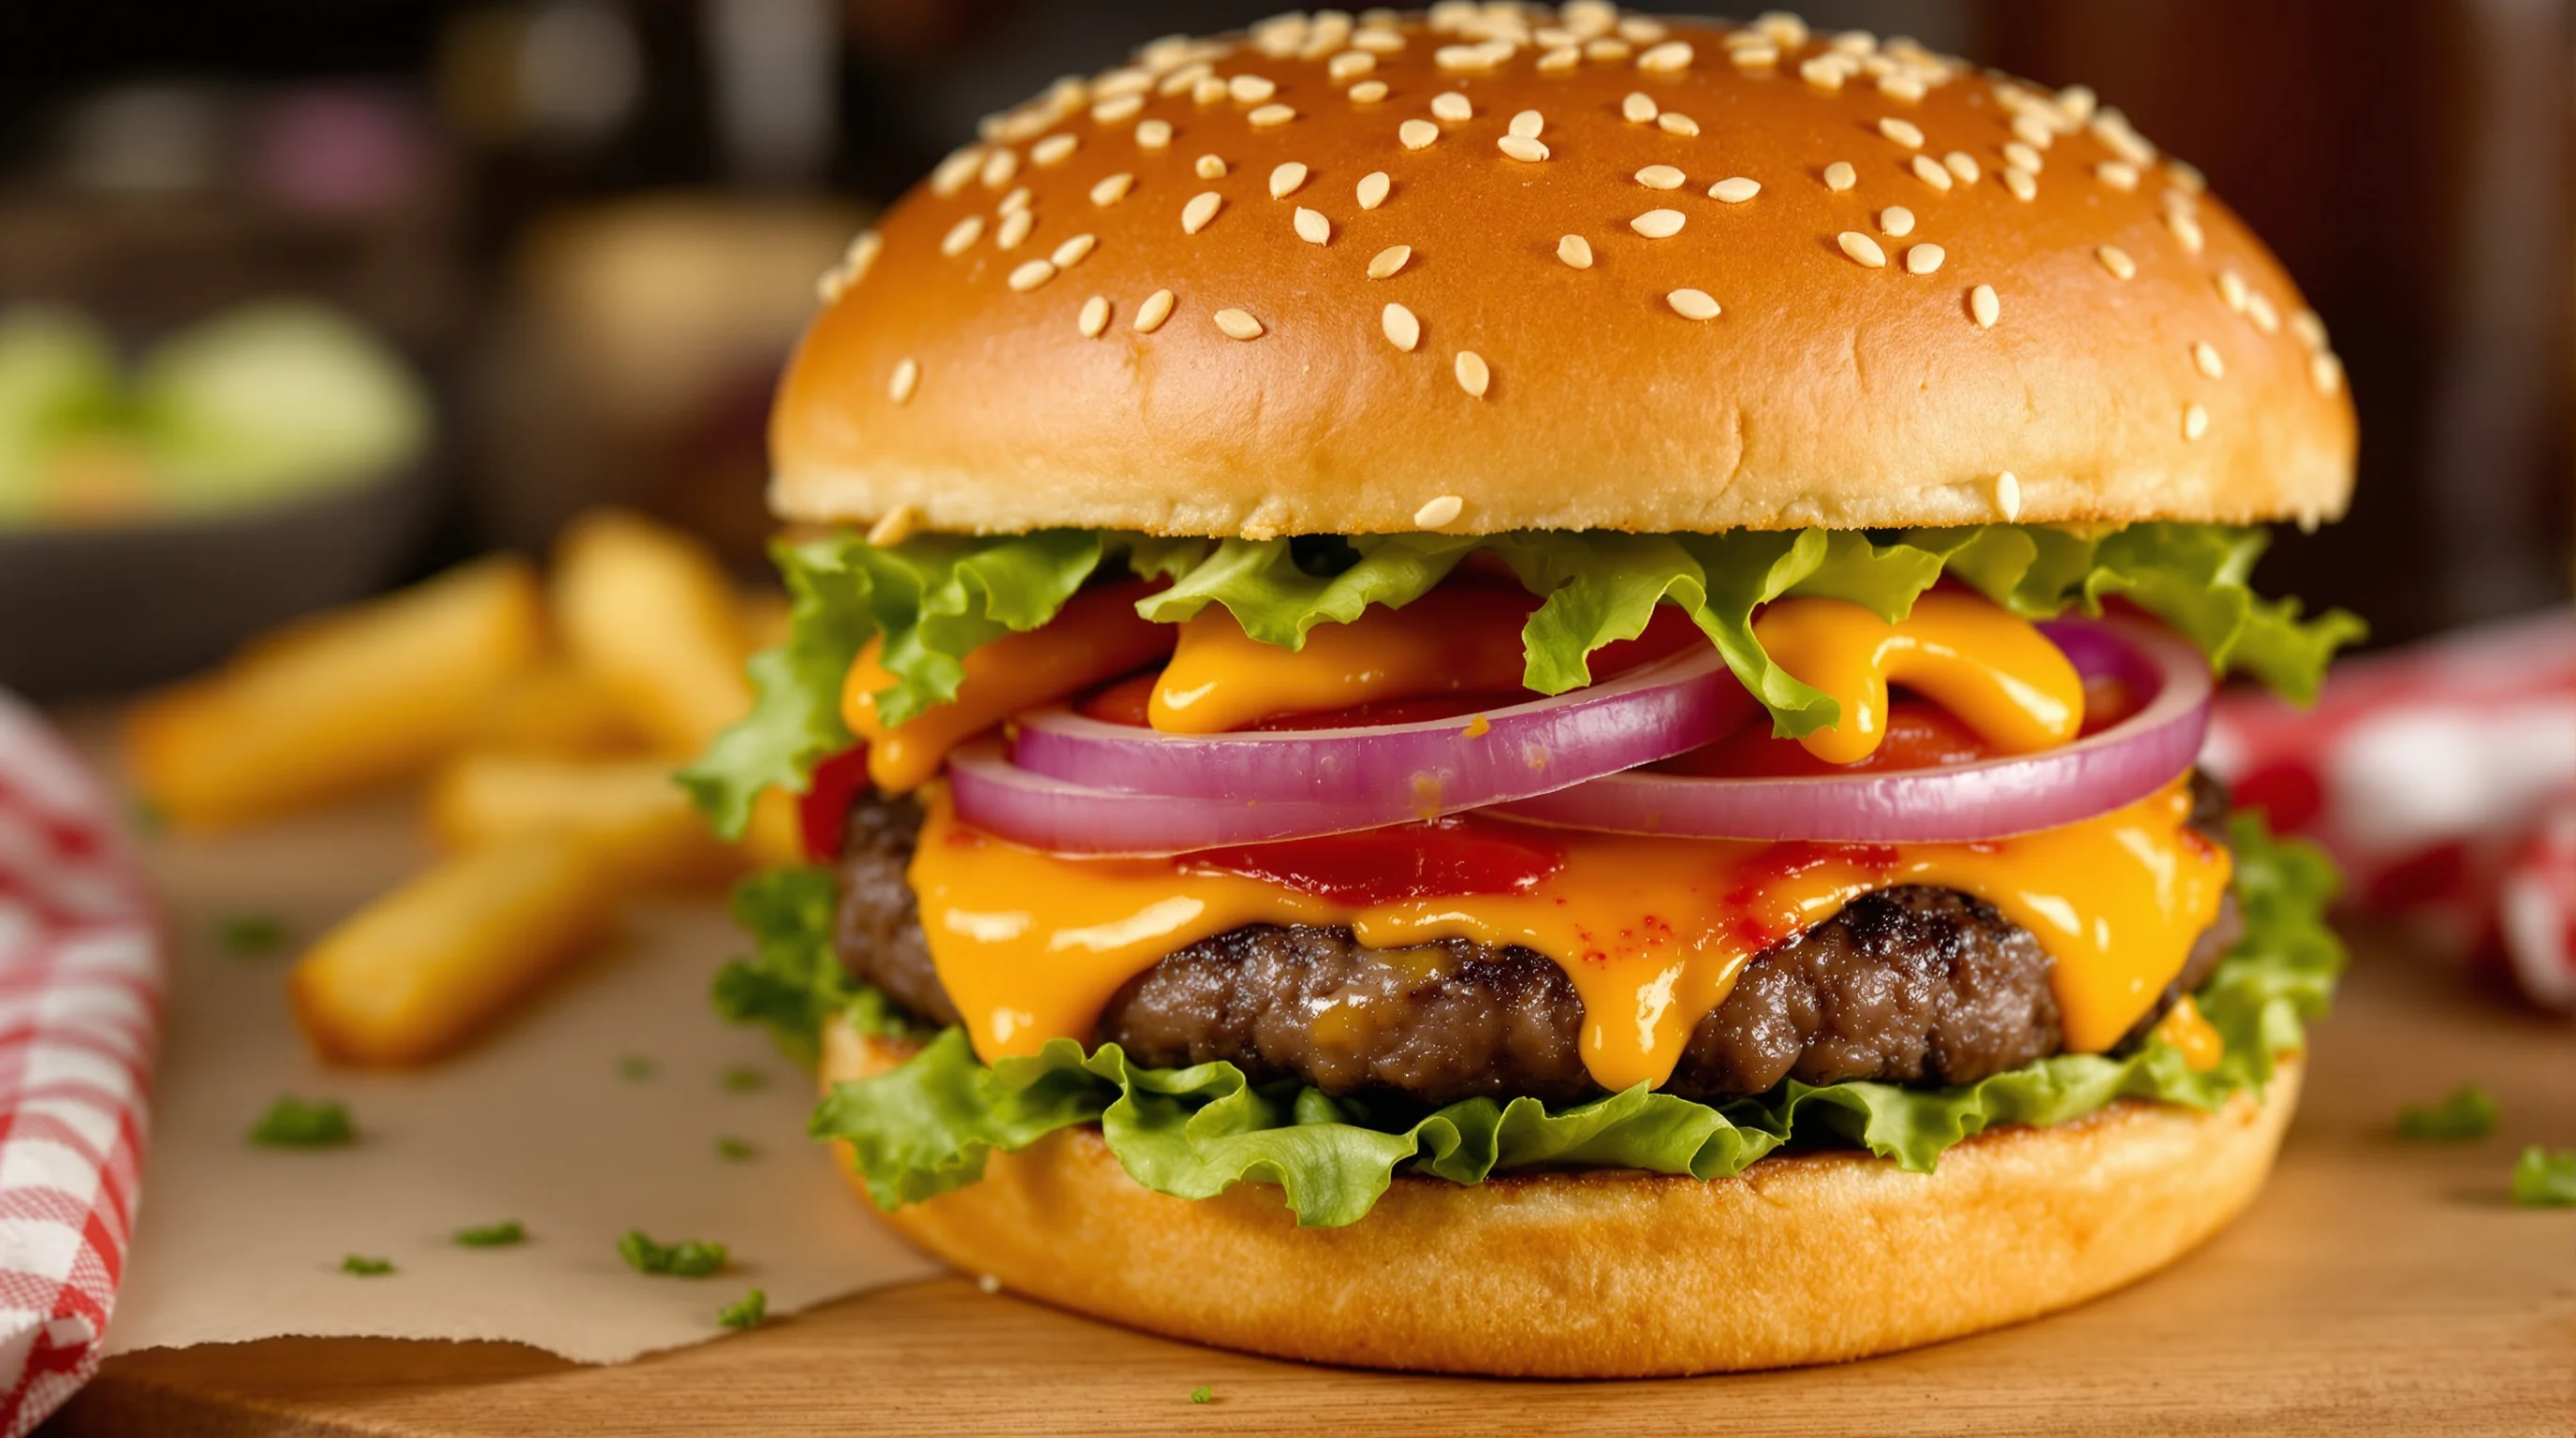
Styling secrets: height, melt and the illusion of juiciness
Food styling is where burgers go from ordinary to mouthwatering. Professionals pick hundreds of buns to find the perfect crown, arrange ingredients with tweezers and even freeze patties briefly to create height. Add a slice of cheese on top then photograph quickly to capture the melted-cheese look; brush a bit of oil on the patty if it’s looking dry to simulate juiciness. A plastic syringe is great for applying sauce precisely and keeping the bun pristine.
Advanced tricks fill the content gaps many tutorials ignore: inject a small amount of beef jus or flavored oil into the patty for internal shine, use a charcoal starter or heated skewer to create crisp grill marks, and use a hair dryer or torch for controlled melting. When stacking, thread a thin skewer through the center and remove in post-processing to maintain a natural look.
"A picture is worth a thousand words – in the case of burgers, it can be the deciding factor for a customer choosing one burger over another"
Source: Retouching Labs
These styling steps make the burger visually persuasive. Small details like glossy buns, visible grill marks and the right amount of melted cheese influence perceived taste and quality. If Sie want more prop and styling guidance, our props guide covers boards, napkins and plate choices that complement burger shots.
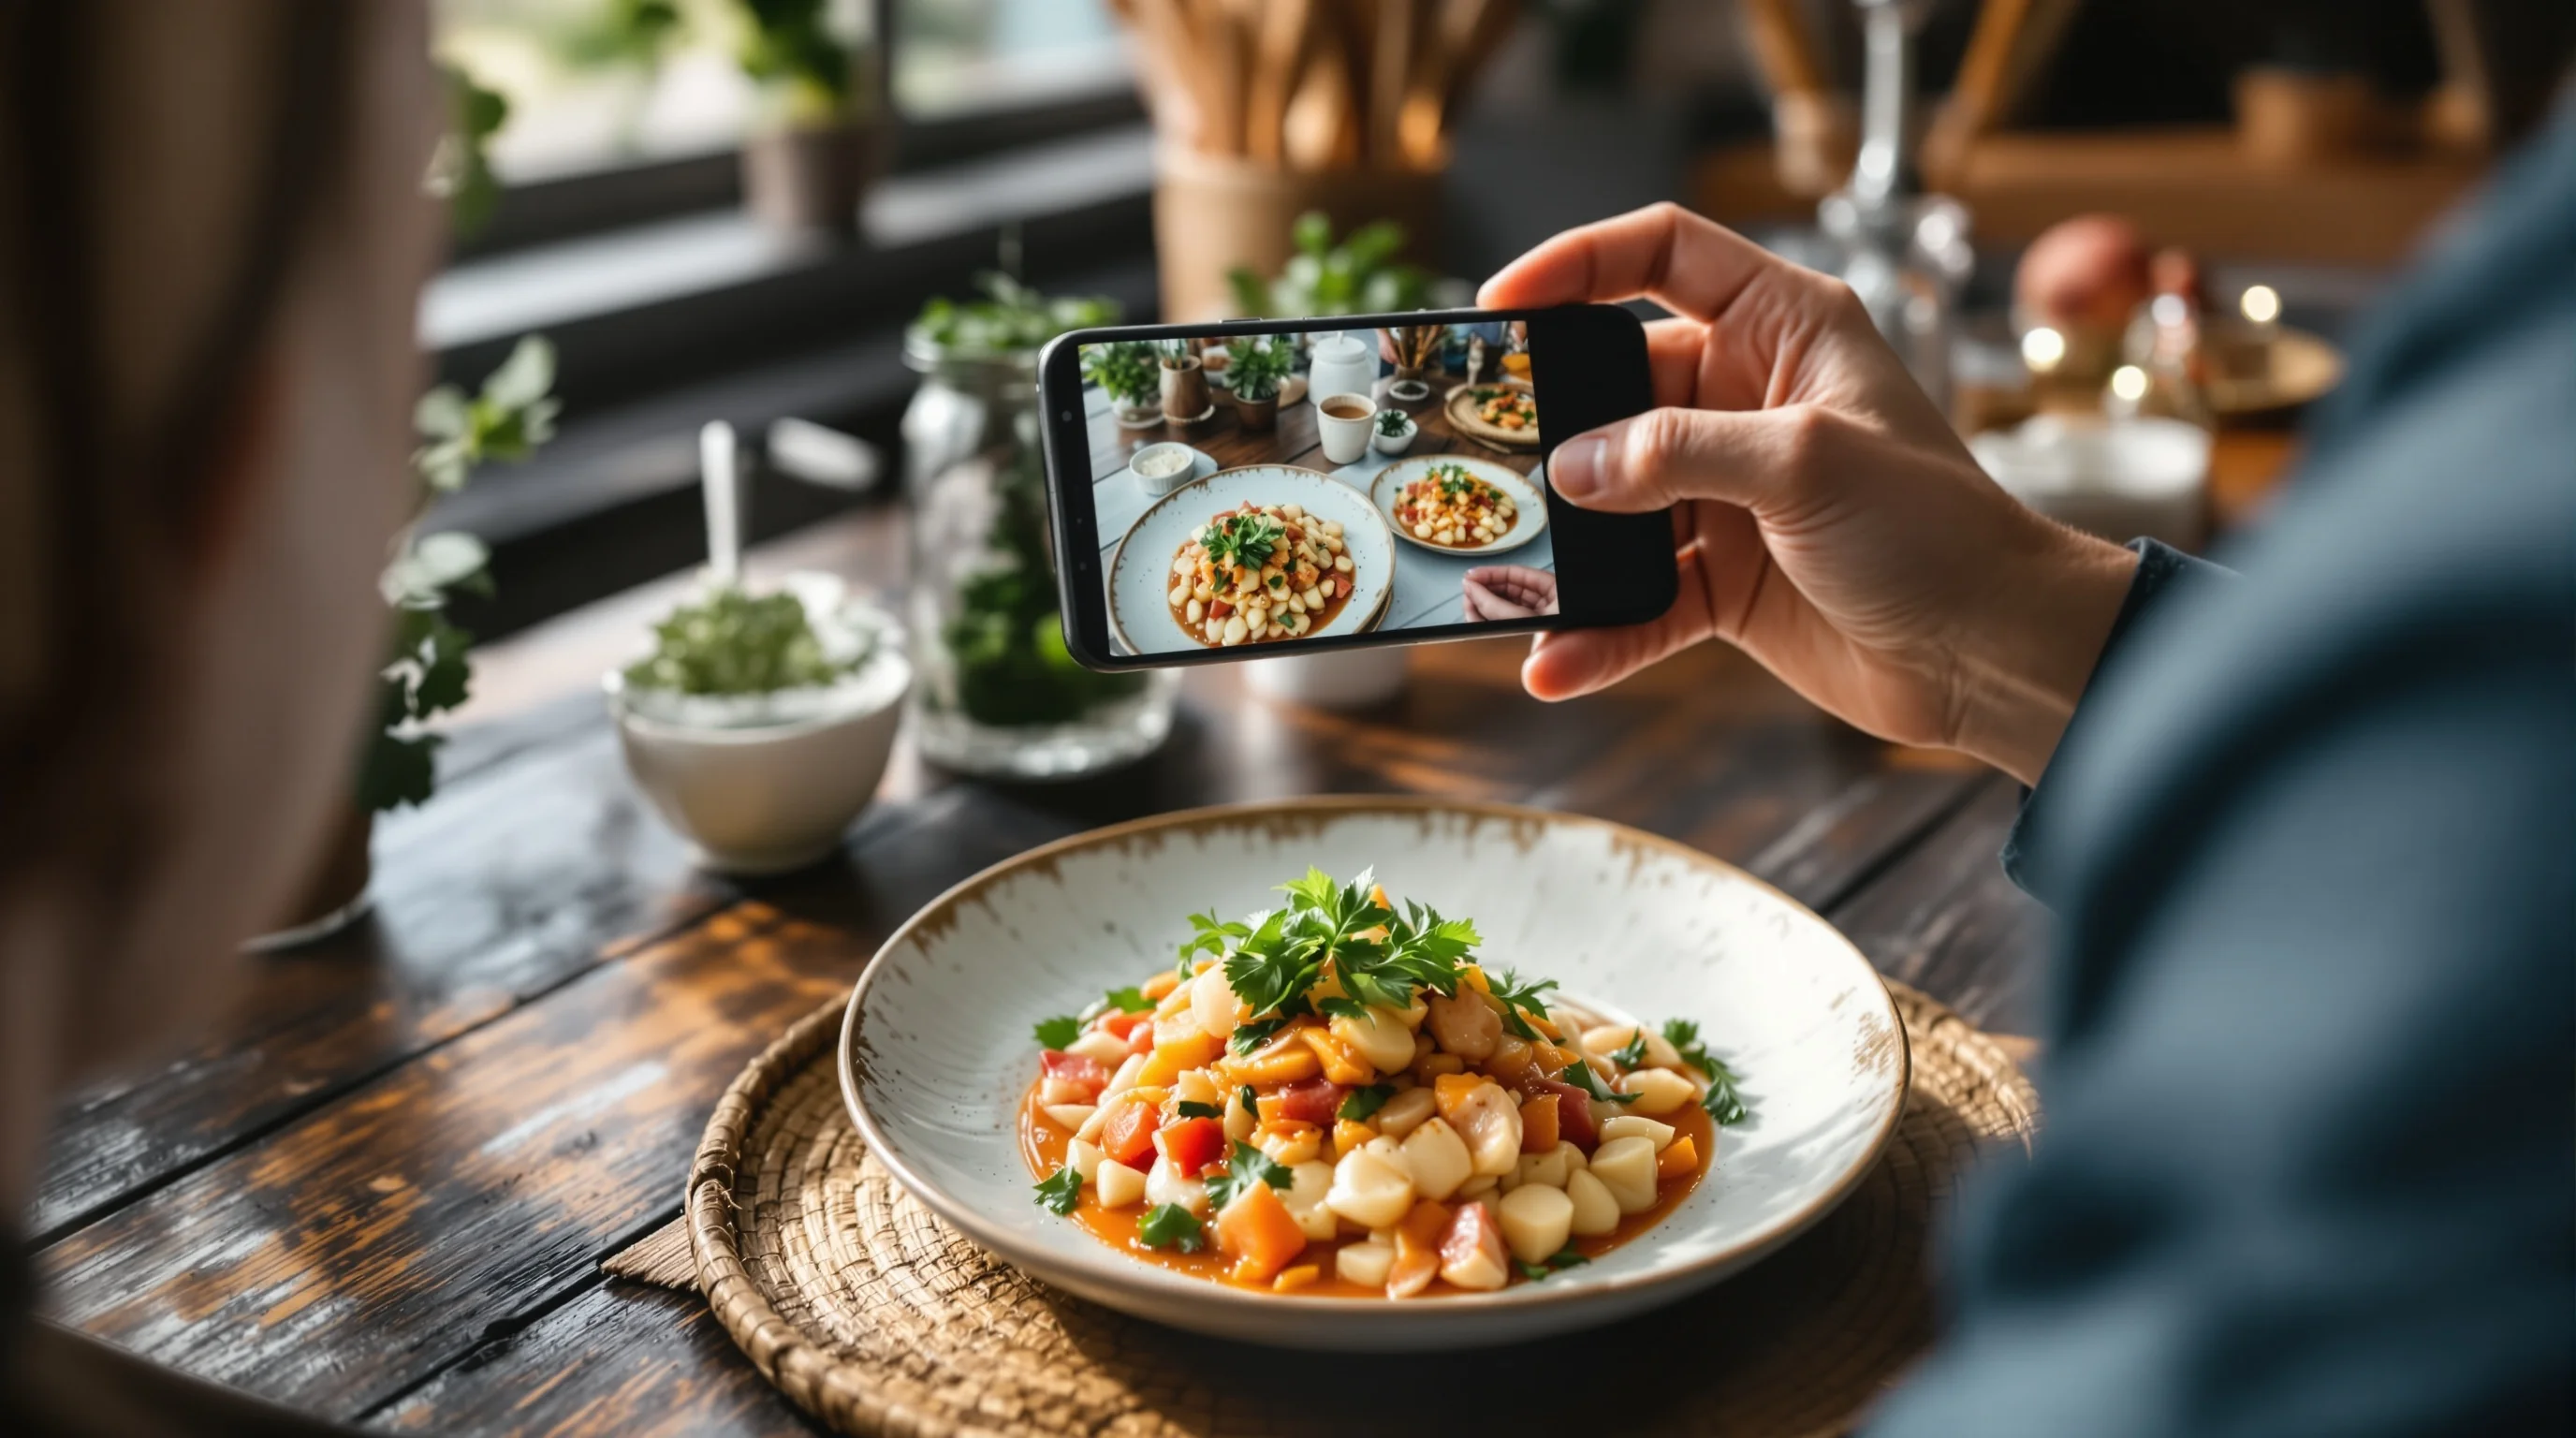
Smartphone hacks and fast workflows for busy kitchens
Many restaurants rely on smartphone food photography. You can achieve professional results with a phone by following burger-specific hacks: use a clamp tripod for stability, shoot in RAW/DNG with a manual camera app, lock focus/exposure, and use a DIY diffuser (thin white cloth over window light). For melty cheese photography, use burst mode to capture the exact moment the cheese starts to drip.
To speed production, design a quick styling checklist and standard crop templates for DoorDash, Grubhub and Uber Eats. For platform-specific tips see our pages for DoorDash Photography, Grubhub Photography and Uber Eats Photography.
Post-processing: RAW, color, contrast and sharpening
Post-production is non-negotiable for mouthwatering burger photography. Shoot in RAW and use Lightroom for base adjustments: exposure, contrast, white balance and vibrance. Bring out texture with clarity and selective sharpening on the patty and bun. Use Photoshop for blemish removal (tweezers and skewers often leave small holes), composite replacement of skewers if needed, and to softly dodge/burn areas for emphasis.
Food photographers typically do heavy post-production: shoot in RAW and use Lightroom + Photoshop for color, contrast, and detail enhancement, as noted by industry guides. Export multiple sizes and crops optimized for social, menus and delivery platforms; save a high-resolution master and platform-specific exports (square, 4:3, 16:9) to speed uploads.
Filling the content gaps: advanced techniques and formats
To address common gaps: for in-depth camera settings, practice bracketing exposures and live view focus stacking for extreme close-ups. Consider shooting short video clips or cinemagraphs to show cheese pull on social. For unusual styling, freezing a patty briefly creates structure during assembly; use injection techniques with a syringe to increase on-camera juiciness without sogginess.
Also plan for platform-specific formats: create square crops for Instagram, thumbnails for delivery apps and HDR-style images for web banners. Consistent lighting and neutral backdrops make it easier to re-crop the same master image into multiple aspect ratios with minimal retouching.
Scale production with YummyPic: fast, affordable menu photos
Not every restaurant has time or budget for lengthy shoots. YummyPic transforms simple food photos into professional, restaurant-quality images in seconds. Upload a single shot of your burger and choose styles—bright & airy for Instagram or clean and neutral for delivery platforms like DoorDash and Grubhub. It’s cost-effective and eliminates the need for extensive on-set styling or equipment.
YummyPic’s value for restaurant workflows: speed, consistent image quality, and platform-ready outputs. Use YummyPic when Sie need multiple variations of the same dish—download high-resolution images instantly and publish to delivery platforms without waiting for a photographer.
- Speed: Professional photos in seconds vs. hours.
- Cost-effective: Fraction of hiring a pro photographer.
- Multiple styles: Bright, moody, or neutral for different platforms.
- Convenience: No set, lights or props required.
Practical shooting checklist: quick steps before you press the shutter
Use this compact checklist for repeatable results: pick the best bun, sear for grill marks, brush oil for shine, apply cheese and photograph quickly, use a diffuser and reflector for soft light, set aperture and shutter for a sharp focal area, and shoot RAW. Keep a syringe for sauces, tweezers for micro-adjustments, and a skewer for stacking. Store presets for consistent editing across your menu images.
💡 Pro Tip
When styling multiple burgers, assemble and shoot in small batches so ingredients remain fresh. For menu-ready shots, keep a spare patty and bun to replace anything that sogs between frames.
Conclusion
Photographing burgers like a pro combines lighting, lens choice, careful styling and decisive editing. Follow the steps above—soft, diffused lighting, side or 45-degree angles, macro or close focal lengths, styling tricks (oil, syringe, grill marks), and purposeful post-processing—and Sie’ll consistently create juicy burger pictures that convert. If Sie need to scale quickly and want consistent, high-quality menu photos for DoorDash, Grubhub or Instagram, YummyPic offers an efficient, affordable solution to produce multiple styles instantly.